· Todd Martin · Home Decor & DIY · 22 min read
Can You Trim An Area Rug
Can You Trim An Area Rug for a Perfect Fit?
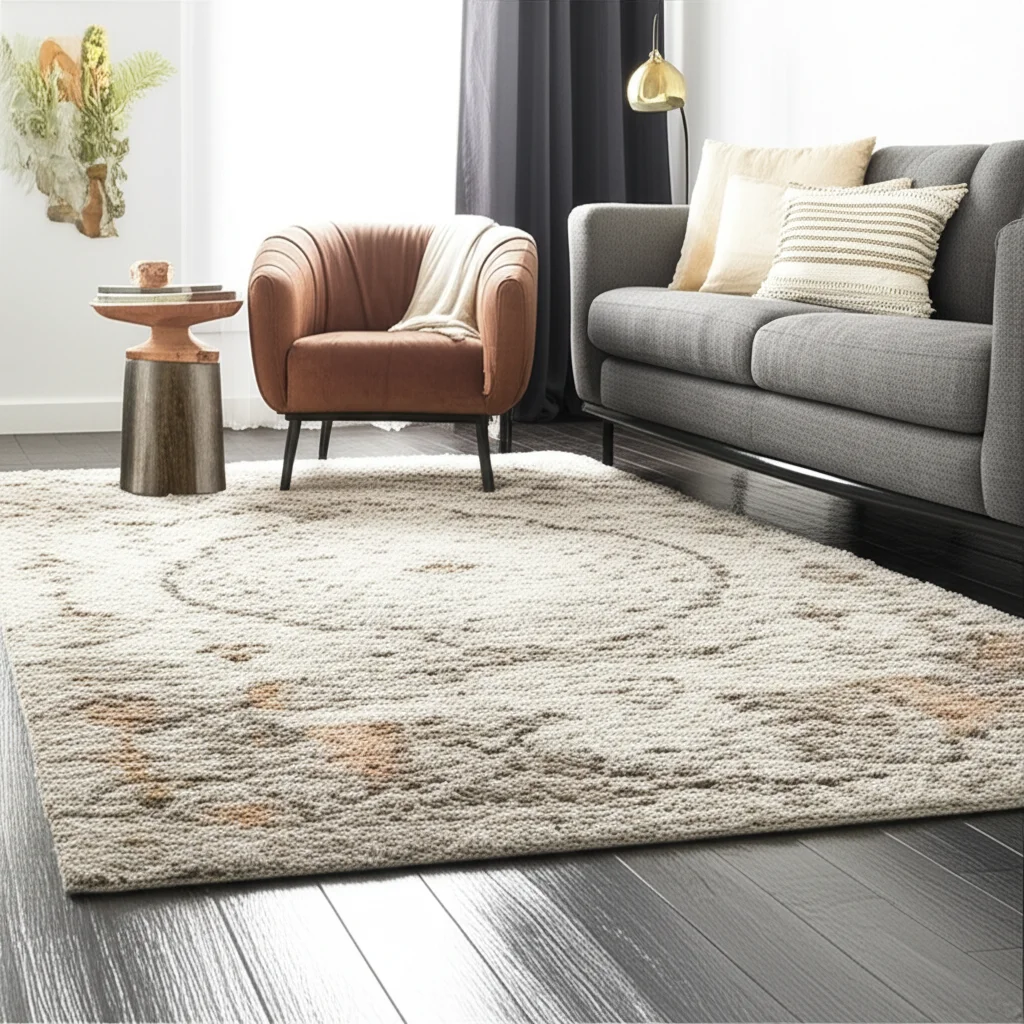
Have you ever found the perfect area rug, only to realize its size is slightly off for your space? It’s a common dilemma. A rug that is too large can overwhelm a room, while one that’s too small might look out of place. Many people wonder if they can adjust their rug’s dimensions. I often hear questions like, “Can you trim an area rug without ruining it?” The good news is, yes, in many cases, you can.
Trimming an area rug can customize it for a unique space. This project allows you to repurpose an existing rug or make a new purchase fit just right. We will explore the types of rugs suitable for trimming, the tools you need, and the step-by-step process. You will also learn about crucial finishing touches like binding. By the end, you will understand how to trim an area rug for a professional look.
Takeaway
- Most area rugs made from synthetic fibers, low-pile natural fibers, or flat weaves are suitable for trimming.
- Careful measurement and precise cutting are essential to achieve a straight edge.
- Binding or finishing the edges after trimming prevents fraying and ensures durability.
- Specialized tools like a utility knife, straightedge, and heavy-duty scissors are necessary.
- Professional help might be better for high-value or intricate rugs.
You can trim an area rug. It requires careful planning, the right tools, and an understanding of rug materials. Properly trimmed, a rug can perfectly fit your space. You can achieve a custom look and avoid fraying by finishing the edges.
Understanding Area Rug Materials and Trimming Suitability
Not all area rugs are created equal when it comes to trimming. The material and construction of your rug determine if it can be successfully resized at home. Some rugs handle cutting well, while others will unravel immediately. I always recommend checking the rug’s backing and pile type before starting any trimming project. Understanding these aspects helps you decide if a DIY trim is a good idea.
Synthetic rugs, like those made from polypropylene or nylon, are often good candidates. Their fibers are durable and less prone to fraying after cutting. Low-pile rugs, regardless of material, also tend to be easier to work with. Flat-weave rugs, such as kilims or sisal, can also be trimmed, but they often require immediate edge finishing. This quick finishing step prevents unravelling.
Best Rug Types for DIY Trimming
- Polypropylene/Nylon Rugs: These synthetic rugs are generally stable. Their fibers are often heat-set, making them resistant to fraying when cut. You can cut these with less worry about immediate damage.
- Low-Pile and Flat-Weave Rugs: Rugs with short loops or a flat surface, like sisal, jute, or certain wool rugs, are easier to cut cleanly. The tightly woven structure provides more stability.
- Rug Pads: If you plan to trim an area rug, you will likely need to trim its rug pad too. Most rug pads are easy to cut with scissors. A properly sized rug pad also helps prevent movement. You can learn more about how to attach rug pad to rug for better stability.
Rug Types to Approach with Caution
- High-Pile and Shag Rugs: These rugs are difficult to cut straight. Their long fibers can create a messy edge, and the backing might not hold up well. Trimming a shag rug often leads to an uneven appearance. You might find resources on how to clean a high-pile shag rug more useful than trimming it.
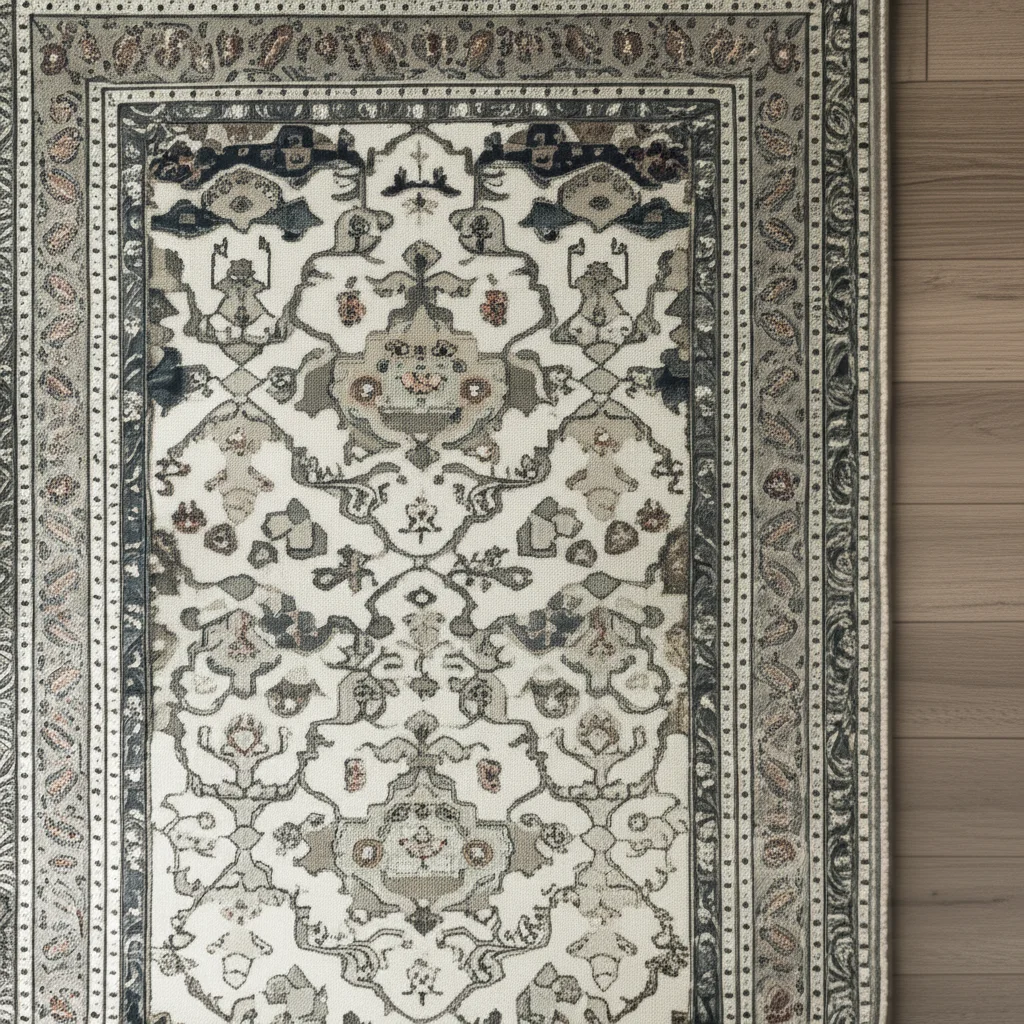
- Hand-Knotted or Woven Rugs: Persian, Oriental, or other hand-knotted rugs are art pieces. Cutting them can destroy their value and structural integrity. These rugs unravel easily from cut knots. I strongly advise against trimming these types of rugs.
- Rugs with Intricate Backings: Some rugs have complex backing systems. Cutting into these backings can compromise the rug’s overall structure. Always inspect the rug’s underside before attempting any cuts.
Understanding your rug’s construction is the first step. If your rug falls into the “caution” category, consider a professional service. A professional can assess the rug and trim it with specialized equipment. This ensures a clean cut and preserves the rug’s integrity. For suitable rugs, you are ready to prepare for the trimming process.
Essential Tools and Materials for Trimming an Area Rug
Preparing with the right tools is critical for a successful area rug trimming project. Using improper tools can lead to crooked cuts, frayed edges, or even damage to your rug. I always gather everything I need before I begin. This ensures a smooth and efficient process. Quality tools make a big difference in the final outcome.
Having the correct items ready saves time and frustration. It also helps you achieve a neat, professional finish. You do not want to be halfway through a cut and realize you lack a critical item. A clean and spacious workspace is also important. This allows you to lay out the rug flat.
Tools for Measuring and Marking
- Measuring Tape: A long, flexible measuring tape is indispensable. It helps you accurately determine the new dimensions of your rug.
- Straightedge or Large Ruler: A sturdy straightedge, like a metal yardstick or a long level, is crucial. It guides your cutting tool for perfectly straight lines. Avoid using flimsy rulers.
- Chalk or Fabric Marker: Use a washable chalk or a fabric marker to draw your cut lines. This mark needs to be visible but easily removed. Make sure it contrasts with your rug color.
Tools for Cutting
- Heavy-Duty Utility Knife with New Blades: A sharp blade is vital for cutting through rug material cleanly. Dull blades will snag and tear the fibers. Always use new, sharp blades for each project.
- Heavy-Duty Scissors: For smaller adjustments or stubborn areas, a pair of strong, sharp scissors can be useful. These should be able to cut through thick fabric.
- Carpet Cutter (Optional but Recommended): A specialized carpet cutter offers more control and precision than a standard utility knife for thicker rugs. This tool can make the job much easier.
Materials for Finishing Edges
- Rug Binding Tape or Fabric Glue: This is essential for preventing fraying after you trim the rug. Binding tape offers a more durable finish. Fabric glue can work for temporary solutions or smaller rugs. You can explore how to bind a rug yourself for comprehensive details.
- Strong Thread and Needle (for Binding): If you choose to hand-sew binding tape, you will need a sturdy needle and thread that matches your rug or binding.
- Hot Glue Gun and Glue Sticks (for some binding types): A hot glue gun can be used with certain binding tapes or for quick fixes. Ensure the glue is suitable for fabrics.
Safety Gear
- Heavy-Duty Gloves: Protect your hands from sharp blades and rough rug fibers.
- Safety Glasses: Protect your eyes from flying debris or accidental slips of the blade.
Remember, safety first. Always cut away from your body. Keep your fingers clear of the blade’s path. A steady hand and careful attention to detail will ensure a clean cut and a professional result. Gather your tools, clear your space, and get ready for the next step.
Step-by-Step Guide to Trimming an Area Rug
Trimming an area rug requires patience and precision. A methodical approach ensures a professional result and prevents costly mistakes. I always break down the process into manageable steps. This helps me stay organized and focused. Remember, measure twice, cut once is a golden rule in this kind of project.
Take your time with each stage. Rushing can lead to uneven lines or over-cutting. A perfectly trimmed rug will look like it was custom-made for your room. This attention to detail elevates your home’s aesthetic.
Step 1: Prepare Your Workspace and Rug
First, clear a large, flat, and clean area. A garage floor, a large cleared room, or even an outdoor patio works well. Ensure the surface is hard and smooth, not carpeted. Lay the rug out completely flat, face up. Smooth out any bumps or creases. You can learn how to get bumps out of area rugs before you start cutting. This ensures accurate measurements.
If the rug is dirty, consider cleaning it first. A clean rug is easier to mark and cut. Depending on the material, you might explore methods like how to clean area rug DIY. Make sure the rug is fully dry before trimming.
Step 2: Measure and Mark the Cut Lines
This is the most critical step. Decide on your rug’s new dimensions. Use your measuring tape to mark points along the rug’s edge. For example, if you want to shorten one side, measure from the existing edge inwards. Connect these marks with your chalk or fabric marker, using a long straightedge to create a perfectly straight line. Double-check all measurements before making any marks.
Measure at several points along the proposed cut line. This ensures the line is parallel to the opposite edge and straight. Draw a light line first, then a darker, more defined line once you are sure of your measurements. Mark the side you intend to keep.
Step 3: Make the Initial Cut
Place your straightedge firmly along the marked cut line. If possible, have a second person hold it for added stability. Wearing heavy-duty gloves, use your sharp utility knife or carpet cutter. Apply steady, firm pressure as you draw the blade along the straightedge. Do not try to cut through the entire rug in one pass, especially for thicker rugs. Make several shallow passes.
For very thick rugs, you might need to flip the rug over and cut from the back. The back often shows the weave structure, which can guide your cut. Be extra careful if cutting from the back, as your line might not be perfectly visible. Cut slowly and deliberately.
Step 4: Trim the Remaining Edges (if necessary)
Once one side is trimmed, reposition the rug and repeat the measuring, marking, and cutting process for any other sides you need to trim. Always ensure your new cuts are perpendicular or parallel to the other edges, as desired. Use a large carpenter’s square to check for right angles if you are trimming two adjacent sides. This ensures your rug remains rectangular or square.
Take small, precise cuts rather than one large, hurried cut. This allows for minor adjustments as you go. Remember to change your utility knife blade frequently; a dull blade is a safety hazard and will ruin your rug.
Step 5: Prepare for Edge Finishing
Once all cuts are made, remove any excess rug material. Inspect the newly cut edges. If there are any stray threads or uneven spots, carefully snip them with your heavy-duty scissors. The goal is to have as clean and straight an edge as possible. This prepares the rug for the crucial next step: finishing the edges to prevent fraying. A raw edge will unravel quickly.
This meticulous preparation ensures your rug looks neat and lasts a long time. Now, let’s move on to making those raw edges durable and attractive.
Finishing the Edges: Binding and Hemming Your Area Rug
Once you have successfully trimmed your area rug, the raw edges must be finished. This is perhaps the most important step in the entire process. Without proper finishing, your newly cut rug will quickly unravel, fray, and look messy. The goal is to protect the cut edge and give the rug a professional, tidy appearance. I consider this step non-negotiable for a lasting result.
There are several methods for finishing a rug’s edge. The best method depends on your rug’s material, your skill level, and the tools you have. Each method aims to secure the fibers along the cut line. This protection makes the rug more durable and prevents unsightly damage.
Option 1: Iron-On or Self-Adhesive Binding Tape
This is often the easiest and most accessible method for DIY enthusiasts. Iron-on binding tape has adhesive on one side. You fold the tape over the raw edge of the rug and apply heat with an iron to activate the adhesive. Self-adhesive tape has a peel-and-stick backing.
- Process: Lay the binding tape along one side of the cut edge. Ensure half of the tape covers the top of the rug and the other half folds underneath. Press firmly. If it’s iron-on, use a hot iron, pressing slowly and firmly to activate the glue. For self-adhesive, peel the backing and press firmly.
- Pros: Relatively quick and easy. Does not require sewing skills. Provides a clean finish.
- Cons: Durability can vary. Over time, the adhesive might weaken, especially with heavy foot traffic or frequent cleaning. It might not be suitable for very thick rugs.
Option 2: Fabric Glue or Fray Check
For thinner rugs or as a quick solution, a strong fabric glue or “fray check” liquid can be applied along the cut edge. This creates a clear, flexible seal that prevents unraveling.
- Process: Apply a thin, even bead of fabric glue directly along the cut edge on the rug’s underside. Press the fibers firmly into the glue. Allow it to dry completely, typically for 24 hours. Fray check is applied in a similar way, saturating the cut edge slightly.
- Pros: Simple, requires minimal tools. Inexpensive.
- Cons: Less durable than binding tape or sewing. Can make the edge stiff. May not hold up well to washing or heavy use. Best for decorative rugs in low-traffic areas.
Option 3: Sewing On Binding Tape (Recommended for Durability)
This method provides the most durable and professional finish. You use specialized rug binding tape and sew it around the raw edge. You can do this by hand or with a heavy-duty sewing machine. Learning how to bind a rug yourself offers a detailed guide to this process.
- Process for Hand Sewing: Cut the binding tape to the length of your rug edge, adding a few inches for overlap. Fold the tape over the raw edge, enclosing it. Use a sturdy needle and strong thread (nylon or upholstery thread is ideal). Stitch through the tape and rug, securing the binding on both sides. Use a whip stitch or a blanket stitch for a neat finish.
- Process for Machine Sewing: If you have a heavy-duty sewing machine capable of handling thick materials, you can machine-stitch the binding. Use a strong needle (e.g., denim or leather needle) and heavy-duty thread. Place the folded binding tape over the edge and sew slowly and carefully.
- Pros: Highly durable, professional look. Can withstand more wear and tear and cleaning.
- Cons: Requires sewing skills and time. Machine sewing requires a robust machine.
No matter which method you choose, take your time and be thorough. A well-finished edge makes all the difference in the longevity and appearance of your trimmed area rug. This final step transforms a raw cut into a custom, functional piece for your home.
Potential Challenges and How to Overcome Them
Trimming an area rug might seem straightforward, but challenges can arise. Being aware of these potential pitfalls helps you prepare and react effectively. I always anticipate problems so I am not caught off guard. Knowing how to troubleshoot ensures your project stays on track.
Even with the best planning, unexpected issues can occur. A little foresight and problem-solving can turn a potential disaster into a minor setback. This section covers common challenges and offers solutions.
Challenge 1: Crooked or Uneven Cuts
This is perhaps the most common issue when trimming a rug. A slight deviation from your marked line can result in a wavy or angled edge.
- Prevention: The best way to prevent this is meticulous measurement and marking. Use a very long, sturdy straightedge. Have a second person hold it firmly during cutting. Make multiple light passes with your utility knife instead of one deep cut.
- Solution: If the cut is slightly uneven, you might be able to trim a small amount more to straighten it. If the cut is very crooked, you might need to adjust your rug’s dimensions slightly to achieve a new, straight line. Consider making the rug smaller than initially planned.
Challenge 2: Fraying or Unraveling During Cutting
Some rug materials, especially natural fibers or those with looser weaves, can start to fray as you cut them.
- Prevention: Ensure your utility knife blade is razor-sharp. Dull blades tear instead of cut cleanly. For particularly prone materials, consider applying a thin line of fabric glue or painter’s tape along the cut line before cutting. Let it dry, then cut through it.
- Solution: After cutting, immediately proceed with binding or sealing the edges. Do not leave the raw edge exposed for long. If fraying is severe, you might need to use a very strong fabric glue along the entire cut edge before applying binding tape.
Challenge 3: Difficulty Cutting Through Thick Rugs
Thick rugs, especially those with dense backings, can be very hard to cut through with a standard utility knife.
- Prevention: Invest in a heavy-duty carpet cutter. These tools are designed for thick materials. Always use fresh, sharp blades.
- Solution: Apply more steady pressure. Make many shallow passes rather than trying to cut through in one go. If possible, score the rug from the front, then flip it over and cut from the back where the weave might be more visible and easier to penetrate. You may need to use kneeling pads for comfort.
Challenge 4: Binding Not Sticking or Looking Messy
If your binding tape does not adhere properly, or the finished edge looks lumpy, it compromises the entire project.
- Prevention: Clean the rug edge thoroughly before applying binding. Ensure no dust or debris. If using iron-on tape, confirm your iron is at the correct temperature. For adhesive tapes, press very firmly along the entire length. When hand-sewing, maintain consistent stitch tension.
- Solution: If the binding is not sticking, reapply heat (for iron-on) or use additional fabric glue underneath the tape. For messy sewing, carefully unpick stitches and redo them. Sometimes, using an extra layer of fabric glue or fray check along the cut edge before binding can provide a better surface for adhesion. You can also refer to guides like how to bind a rug yourself for more detailed tips.
Anticipating these challenges helps you approach the task with greater confidence. Remember, patience and attention to detail are your best allies in achieving a perfectly trimmed area rug.
When to Seek Professional Rug Trimming Services
While trimming an area rug yourself can be a rewarding DIY project, there are times when professional help is the smarter choice. Not every rug is suitable for home trimming, and some situations call for expert intervention. I always advise considering the value and type of your rug before attempting any cuts. Sometimes, saving money on DIY might lead to irreversible damage.
Professional rug trimmers have specialized equipment and extensive experience. They can handle materials and patterns that are challenging for a home setup. Deciding to go professional is an investment in your rug’s longevity and appearance.
Reasons to Consider Professional Trimming
- Valuable or Antique Rugs: If your rug is a family heirloom, a high-value Persian rug, or a delicate antique, do not attempt to trim it yourself. These rugs often have intricate weaves that unravel easily. Professionals know how to preserve their integrity and value.
- Hand-Knotted or Complex Weaves: Hand-knotted rugs, specific flat weaves, or rugs with complex patterns are difficult to cut cleanly without specialized tools. A professional can ensure the integrity of the weave. They can also re-weave edges if necessary.
- Very Thick or Dense Rugs: While some thick rugs can be trimmed at home, extremely dense or multi-layered rugs may require industrial cutting equipment. DIY attempts might result in uneven cuts or damage to your tools.
- Large-Scale Trimming Projects: If you need to significantly reduce the size of a very large rug, or trim multiple rugs, a professional service might be more efficient. They can handle large pieces with greater precision and speed.
- Desire for a Perfect, Factory-Like Finish: If you want a truly flawless, factory-quality edge, a professional service is your best bet. They have machines that apply professional binding or surging that is nearly impossible to replicate at home.
- Lack of Confidence or Tools: If you are uncomfortable with precision cutting, or if you do not have the necessary heavy-duty tools, hiring a professional removes the stress and risk of damaging your rug. It is better to admit when a job is beyond your current skill set.
- Specialized Binding Needs: Some rugs require specific types of binding, like serging or custom fringes, that cannot be done with simple DIY methods. Professionals offer a wide range of binding options.
What to Expect from a Professional Service
When you take your rug to a professional, they will:
- Assess the Rug: They will examine your rug’s material, construction, and condition.
- Discuss Your Needs: They will confirm the exact dimensions you need and recommend the best cutting and finishing methods.
- Use Specialized Equipment: They use precision cutters and industrial sewing machines for clean, straight cuts and durable binding.
- Offer Various Finishing Options: They can provide machine binding, surging, fringing, or custom edge treatments.
- Provide a Quote: You will receive a clear cost estimate before they begin work.
Investing in professional trimming ensures your valuable rug is handled with care. It guarantees a lasting, beautiful result. It often outweighs the risk and potential cost of trying to fix a damaged DIY job.
Maintaining Your Trimmed Area Rug
Once you have successfully trimmed and finished your area rug, ongoing maintenance is essential. Proper care ensures its longevity and keeps it looking fresh. A well-maintained rug enhances your living space for years to come. I believe that after putting in the effort to customize a rug, protecting that investment is key.
Regular cleaning and attention to its edges will help your trimmed rug withstand daily wear and tear. Different rug materials have specific cleaning needs, but some general principles apply. Being proactive with maintenance can prevent minor issues from becoming major problems.
Regular Cleaning Routine
- Vacuum Regularly: Vacuum your trimmed area rug regularly to remove dirt and debris. This prevents grit from embedding in the fibers, which can cause premature wear. For different rug types, vacuuming techniques vary. For instance, you might use specific methods for how to clean a shag area rug or how do you vacuum a shag rug if you have high-pile remnants.
- Spot Clean Spills Immediately: Accidents happen. Blot spills immediately with a clean cloth. Do not rub, as this can spread the stain. Use appropriate cleaning solutions for the type of stain and rug material. You can find guides on how to clean dog pee out of rug or how to get stain out of jute rug.
- Deep Clean Periodically: Depending on traffic and material, deep clean your rug every 12-18 months. This can involve steam cleaning, shampooing, or professional cleaning. Resources like how to deep clean a rug or how to clean area rug DIY can guide you. If you have hardwood floors underneath, consider how to clean area rug on hardwood floor carefully.
Protecting the New Edges
The newly finished edges are the most vulnerable part of your trimmed rug. Pay special attention to them during cleaning and everyday use.
- Avoid Harsh Brushing: When vacuuming, be gentle around the edges. Avoid using rotating brush heads directly on the bound edges, as this can loosen binding.
- Check for Fraying: Periodically inspect the binding or sealed edges for any signs of fraying or loosening. Address these issues promptly. A small dab of fabric glue or a few hand stitches can prevent further unraveling.
- Rotate Your Rug: If your rug is in a high-traffic area or receives uneven sunlight, rotate it every few months. This helps distribute wear evenly and prevents one edge from deteriorating faster than others.
Protecting the Rug’s Placement
A properly placed rug also contributes to its lifespan, especially after being trimmed to fit a specific area.
- Use a Rug Pad: Always use a high-quality rug pad underneath your trimmed rug. A rug pad provides cushioning, prevents slipping, and protects both the rug and your flooring. It also helps with the rug’s stability. Learn how to keep area rugs from slipping on hardwood floors if your rug is on a hard surface. The pad also helps prevent bumps. You can check how to get bumps out of area rugs if issues arise.
- Anchor if Needed: If the rug is over carpeting and tends to bunch, consider anchoring it. Tips on how to anchor an area rug over carpet can be very helpful. This prevents stress on the rug’s edges from movement.
By following these maintenance tips, your custom-sized area rug will remain a beautiful and functional addition to your home for many years. A trimmed rug, cared for correctly, is a testament to your DIY skills and attention to detail.
Creative Ways to Use a Trimmed Area Rug
Trimming an area rug opens up a world of possibilities for customizing your home decor. It is not just about making a rug fit a space. It is also about repurposing, layering, and creating unique design elements. I love finding new applications for items that might otherwise be discarded. A trimmed rug can become a focal point or a functional accessory.
Beyond simply resizing for a room, a trimmed rug can solve specific design challenges or add warmth and texture to unexpected places. Think outside the traditional rug placement. These ideas can spark your creativity and help you see your “leftovers” differently.
Repurposing Remnants
When you trim a large rug, you often end up with smaller pieces. Do not throw these away! They can be incredibly useful.
- Door Mats or Entryway Rugs: Smaller, durable pieces can be trimmed further to create custom door mats. They are perfect for catching dirt right at the entrance.
- Pet Mats: Create cozy and washable mats for your pets’ food bowls or sleeping areas. These are easy to clean and protect your floors.
- Bath Mats: If your rug material is water-resistant, a smaller piece can be an excellent alternative to a standard bath mat. Ensure it has a non-slip backing.
- Chair Cushions or Bench Pads: For thicker remnants, you can cut them into shapes to create unique seat cushions for dining chairs or benches. You would need to add a non-slip backing or ties.
- Layering Under Smaller Rugs: Use a larger remnant as a base layer under a smaller, decorative rug. This adds texture and helps anchor the top rug.
Customizing for Specific Areas
Trimming allows you to perfectly fit a rug into nooks, hallways, or around furniture.
- Hallway Runners: A large rug can be cut lengthwise to create two custom runners for long hallways. This ensures a consistent look.
- Odd-Shaped Rooms: If you have a room with an unusual shape, a trimmed rug can follow its contours, providing coverage where a standard rug would not fit.
- Under a Sectional Sofa: Trimming allows you to precisely fit a rug under a sectional, ensuring it extends just enough to define the seating area. You might explore how to place an area rug under a sectional sofa for more ideas.
- area rug
- trim rug
- DIY rug
- rug customization
- home decor
- rug care

Todd Martin
Senior Writer
With over 15 years of experience in home renovation and design, I started HEG to share what I’ve learned with homeowners who want to create spaces that are both beautiful and functional. I’ve always believed in a hands-on approach, and over the years, I’ve picked up practical solutions that actually work. Through HEG, I aim to make home improvement more approachable, sharing real tips that help you create a home you truly love.