· Todd Martin · Home Essentials · 12 min read
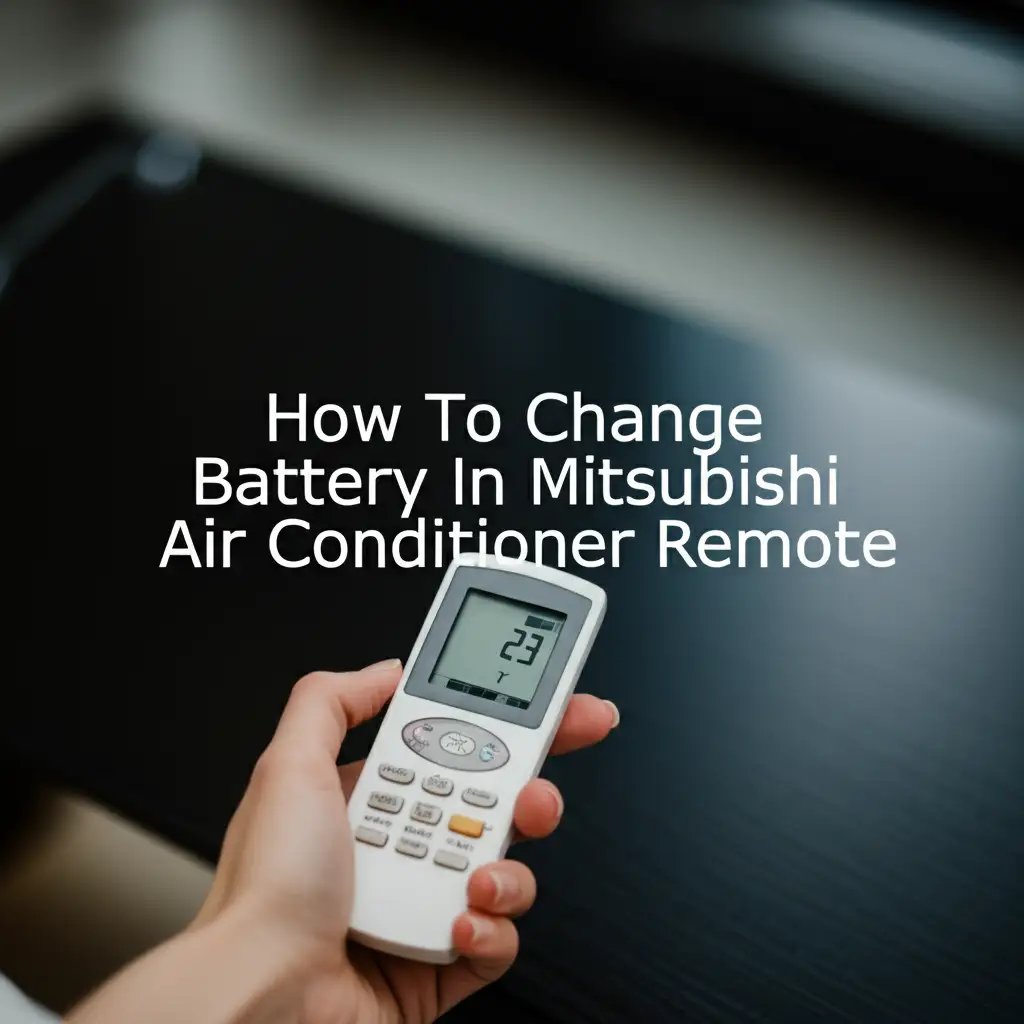
How To Change Battery In Mitsubishi Air Conditioner Remote
How To Change Battery In Mitsubishi AC Remote Easily
There is nothing quite as frustrating as reaching for your Mitsubishi air conditioner remote, ready to adjust the temperature, only to find it completely unresponsive. A blank screen, no beeps, or sluggish operation usually points to one common culprit: dead batteries. Luckily, knowing how to change the battery in your Mitsubishi air conditioner remote is a simple fix. This quick task brings your comfort control back to life.
This guide will show you how to change the battery in your Mitsubishi air conditioner remote, step by step. We will cover recognizing when batteries are low, finding the right replacements, and even troubleshooting if issues persist. You can easily restore full control over your home’s climate. Let’s get your remote working again.
Takeaway
- Identify the correct battery type for your Mitsubishi AC remote.
- Carefully open the battery compartment using appropriate tools.
- Remove old batteries and inspect for any corrosion.
- Insert new batteries with correct polarity.
- Test the remote immediately after replacement.
Changing the battery in your Mitsubishi air conditioner remote is a straightforward process. You simply locate the battery compartment, often on the back. Then, open it with a small screwdriver or by sliding a cover. Remove the old batteries, insert the new ones, ensuring correct polarity. Finally, close the compartment and test the remote.
Recognizing When Your Mitsubishi AC Remote Needs New Batteries
You rely on your Mitsubishi air conditioner remote for daily comfort. When it starts acting up, you notice it right away. Knowing the signs of low or dead batteries helps you address the problem quickly. I have experienced this firsthand when my AC stopped responding.
One common sign is a blank or dim display screen. The numbers and symbols might not show up clearly, or they may disappear entirely. This lack of power makes it impossible to see settings. It also means you cannot tell what commands the remote sends.
Another clear indicator is an unresponsive remote. You press buttons, but the AC unit does not react. There is no change in temperature, fan speed, or mode. Sometimes, the remote might work intermittently. It responds only after several presses, or it fails completely at other times.
Sometimes, the remote might emit a weak or no infrared signal. This signal is what tells your AC unit what to do. If the signal is too weak, the unit simply will not receive the commands. You can often test this with your phone camera. Point the remote at the camera and press a button. If you see a light flash from the remote’s emitter, it is sending a signal. If not, the batteries are probably dead. Fresh batteries restore full signal strength and reliable operation. This avoids frustration and helps your AC unit function properly. Consider if your Mitsubishi air conditioner continuously turns itself off; a failing remote battery could sometimes be a contributing factor.
Essential Tools and Battery Types for Your Mitsubishi Remote
Before you start, gather the right tools and batteries. This step ensures a smooth battery replacement process. Having everything ready saves time and prevents frustration. Most Mitsubishi AC remotes use common battery sizes.
Most Mitsubishi air conditioner remotes require either AAA or AA batteries. Some smaller, sleeker models might use coin-cell batteries, like CR2025 or CR2032. You can find the exact battery type by checking the remote’s existing batteries. Look for markings inside the battery compartment. The battery type is usually printed there.
You will typically need a small Phillips head screwdriver. Some remotes have a tiny screw holding the battery compartment cover. Other remotes might have a sliding cover or a clip. For these, a flathead screwdriver or even a sturdy fingernail might help pry it open. Always use a tool that fits the screw head properly. This prevents stripping the screw.
Using the correct battery type and voltage is important. Standard alkaline batteries are usually the best choice. They provide consistent power and are widely available. Avoid mixing old and new batteries. Do not mix different battery brands. This can reduce overall performance and lead to leakage. Replacing all batteries at once ensures peak remote function.
Step-by-Step Guide: Opening the Battery Compartment
Opening the battery compartment of your Mitsubishi AC remote is usually straightforward. However, the exact method varies by remote model. Pay close attention to how your specific remote is designed. This prevents damage.
First, turn your Mitsubishi AC remote over. The battery compartment is almost always located on the back. It is usually a distinct section that appears to be removable. You will see either a small screw, a sliding cover, or a simple clip. Identify which type your remote has.
If your remote has a screw, use your small Phillips head screwdriver. Turn the screw counter-clockwise until it is loose enough to allow the cover to slide or lift off. Do not force the screw. Keep the screw in a safe place so you do not lose it. This small part is easy to misplace.
For remotes with a sliding cover, look for an arrow or a textured grip. Push firmly in the direction of the arrow. The cover should slide off smoothly. Sometimes, a slight prying motion with a flathead screwdriver at the seam helps if it is stuck. Be gentle with this action. You do not want to break the plastic.
Some remotes use a simple clip mechanism. You might need to press down on a tab or squeeze two points on the cover. The cover will then release. Always handle the remote gently during this step. Applying too much force can crack the plastic. Once you open the compartment, you can proceed to the next step.
Removing Old Batteries and Checking for Corrosion
Once you have successfully opened the battery compartment, the next step is to remove the old batteries. This is also a good time to inspect the compartment for any signs of corrosion. Corrosion can cause remote malfunction even with new batteries.
Carefully take out the old batteries. Note their orientation, paying attention to the positive (+) and negative (-) ends. This will help you insert the new batteries correctly. Sometimes, batteries get stuck. You can gently push them from one end to release them.
After removing the batteries, look closely at the metal contacts inside the compartment. These are the small springs and flat metal plates that touch the battery ends. If you see any white, green, or powdery residue, that is battery corrosion. Corrosion occurs when batteries leak, and it can block the electrical connection.
Cleaning battery corrosion is important for your remote to work. You can use a cotton swab lightly dampened with white vinegar or lemon juice. Gently rub the corroded areas. The acid in vinegar or lemon juice helps dissolve the corrosion. For more stubborn buildup, a small amount of baking soda paste mixed with water can also work. Apply it, let it sit for a moment, then wipe it clean. Remember to dry the contacts completely before inserting new batteries. Ignoring corrosion can lead to your new batteries draining quickly or the remote not working at all. Learn more about how to clean battery acid off a remote for detailed steps. You may also find it useful to know how to clean remote control in general. For severe issues, understanding how to clean battery corrosion in other devices can provide extra tips.
Inserting New Batteries and Closing the Remote
With the old batteries removed and the compartment cleaned, you are ready to insert the new ones. This step is critical for your Mitsubishi AC remote to function properly. Incorrect insertion will prevent the remote from working.
Take your new batteries. Match the positive (+) and negative (-) terminals on the batteries with the corresponding markings inside the battery compartment. The positive end usually has a raised knob, while the negative end is flat. Most compartments show symbols indicating the correct direction.
Slide each battery into its slot. Ensure it fits snugly. The springs or contacts should hold the battery firmly in place. Do not force the batteries. If they do not go in easily, check their orientation again. Incorrect polarity is a common mistake and will stop the remote from powering on.
Once all new batteries are in place, reattach the battery compartment cover. If your remote has a sliding cover, align it with the grooves and push it back until it clicks or sits flush. For remotes with a screw, replace the cover and tighten the screw gently. Do not overtighten, as this can strip the plastic threads.
Give the remote a little shake. The batteries should not rattle around inside. A secure fit ensures consistent power delivery. Now, your remote is almost ready for action. You have completed the physical battery change.
Testing Your Remote and Basic Troubleshooting
After changing the batteries, the next logical step is to test your Mitsubishi AC remote. This confirms whether the battery replacement fixed the problem. Immediate testing helps you know if further troubleshooting is needed.
Point your remote directly at your Mitsubishi air conditioner unit. Press a common button, like “On/Off” or “Temperature Up.” Listen for the familiar beep from the AC unit. Look for a change in the unit’s display or behavior. If the display on your remote lights up and the AC unit responds, you have successfully replaced the batteries.
If the remote still does not work, do not worry. Start with some basic troubleshooting. First, open the battery compartment again. Double-check that you inserted the batteries with the correct polarity. Sometimes, a tiny misalignment can prevent contact. Remove and re-insert them carefully.
Try using a different set of new batteries. Even new batteries can sometimes be faulty. Use batteries from a fresh pack to rule out a defective battery. You should also check the battery contacts again for any missed corrosion. Make sure they are clean and shiny.
If your remote uses an infrared (IR) signal, you can perform a quick check with your smartphone camera. Open your phone’s camera app. Point the remote’s emitter (usually a small LED at the front top) at the camera lens. Press any button on the remote. If the remote is sending a signal, you should see a small light flash on your phone’s screen. If you see no light, the remote itself might be damaged, not just the batteries. If your remote still isn’t working, consider if you can control your Mitsubishi heat pump with your phone as an alternative.
Maintaining Your Mitsubishi AC Remote for Longevity
Changing batteries is important, but proper care helps extend your Mitsubishi AC remote’s life. A well-maintained remote works better and lasts longer. Simple habits protect your device. This keeps your comfort settings within easy reach.
Store your remote in a safe place. Avoid direct sunlight or extreme temperatures. High heat can shorten battery life and damage electronic components. Cold temperatures also affect battery performance. Keep the remote away from vents or radiators.
Clean your remote regularly. Dust and grime can build up between buttons and on the surface. Use a soft, dry cloth to wipe down the remote. For deeper cleaning, dampen a cloth with a small amount of rubbing alcohol. Gently wipe the surface and around the buttons. This keeps buttons from sticking. It also ensures clear signal transmission. Regular cleaning prevents performance issues.
If you plan not to use your air conditioner for an extended period, remove the batteries from the remote. This is especially true for seasonal use. Batteries can leak over time, even good quality ones. Removing them prevents potential corrosion inside the compartment. This protects the remote’s internal circuits from damage.
Using quality batteries also contributes to longevity. Cheap batteries might leak more often or drain quickly. Investing in reputable battery brands can save you trouble in the long run. Good batteries offer stable power. They also reduce the risk of corrosive damage. These small actions help ensure your Mitsubishi AC remote remains reliable. It will be ready whenever you need to adjust your climate.
FAQ Section
Q1: How often should I change Mitsubishi AC remote batteries?
The frequency depends on usage and battery quality. For average use, alkaline batteries typically last 6-12 months. If your remote’s display dims or it becomes unresponsive, it is time for a change. Replace them proactively if you notice any lag in performance.
Q2: Can I use rechargeable batteries in my Mitsubishi AC remote?
Yes, you can use rechargeable batteries. However, check their voltage. Some rechargeable batteries, like NiMH, have a slightly lower voltage (1.2V) compared to alkaline (1.5V). This can sometimes affect remote performance. Ensure they provide enough power for consistent operation.
Q3: My remote’s screen is blank after changing batteries. What now?
First, recheck battery polarity. Ensure the positive (+) and negative (-) ends match the compartment markings. If still blank, try a different set of new batteries to rule out a faulty pack. Also, inspect for any corrosion on the metal contacts inside the compartment. Clean any visible residue.
Q4: What if my remote requires a specific button cell battery?
Some sleek Mitsubishi remotes use button cell batteries (e.g., CR2025, CR2032). The remote manual or the battery compartment itself will state the exact model number. Purchase that specific type. These batteries are readily available at electronic stores and supermarkets.
Q5: Does changing batteries reset my AC settings?
Usually, no. Most Mitsubishi AC remotes have internal memory. This memory stores your last settings, like temperature, mode, and fan speed. Changing batteries will not erase these. The remote should power on with your previous settings intact.
Q6: How do I know the correct battery type for my Mitsubishi remote?
The easiest way is to look at the existing batteries in the remote. They will have their type printed on them (e.g., “AAA,” “AA,” “CR2032”). If no batteries are present, check the inside of the battery compartment for a label. Your remote’s user manual also lists the required battery type.
Conclusion
A malfunctioning remote can quickly turn a comfortable home into a frustrating one. Knowing how to change the battery in your Mitsubishi air conditioner remote is a valuable skill. This simple maintenance task often solves most remote control issues. We walked through identifying dead batteries, gathering the right tools, and carefully replacing the power source.
Remember to choose the correct battery type and inspect for corrosion. A clean battery compartment ensures good electrical contact. Regular maintenance, such as proper storage and cleaning, extends your remote’s life. You now have the knowledge to quickly restore your control. This ensures your Mitsubishi AC unit operates precisely how you want it. Enjoy precise temperature control and comfort again in your home. Take these steps and keep your climate control seamless.
- Mitsubishi AC remote
- AC remote battery
- air conditioner maintenance
- DIY home repair
- remote control fix

Todd Martin
Senior Writer
With over 15 years of experience in home renovation and design, I started HEG to share what I’ve learned with homeowners who want to create spaces that are both beautiful and functional. I’ve always believed in a hands-on approach, and over the years, I’ve picked up practical solutions that actually work. Through HEG, I aim to make home improvement more approachable, sharing real tips that help you create a home you truly love.