· Todd Martin · Appliance Care · 13 min read
How To Clean A Deep Freezer
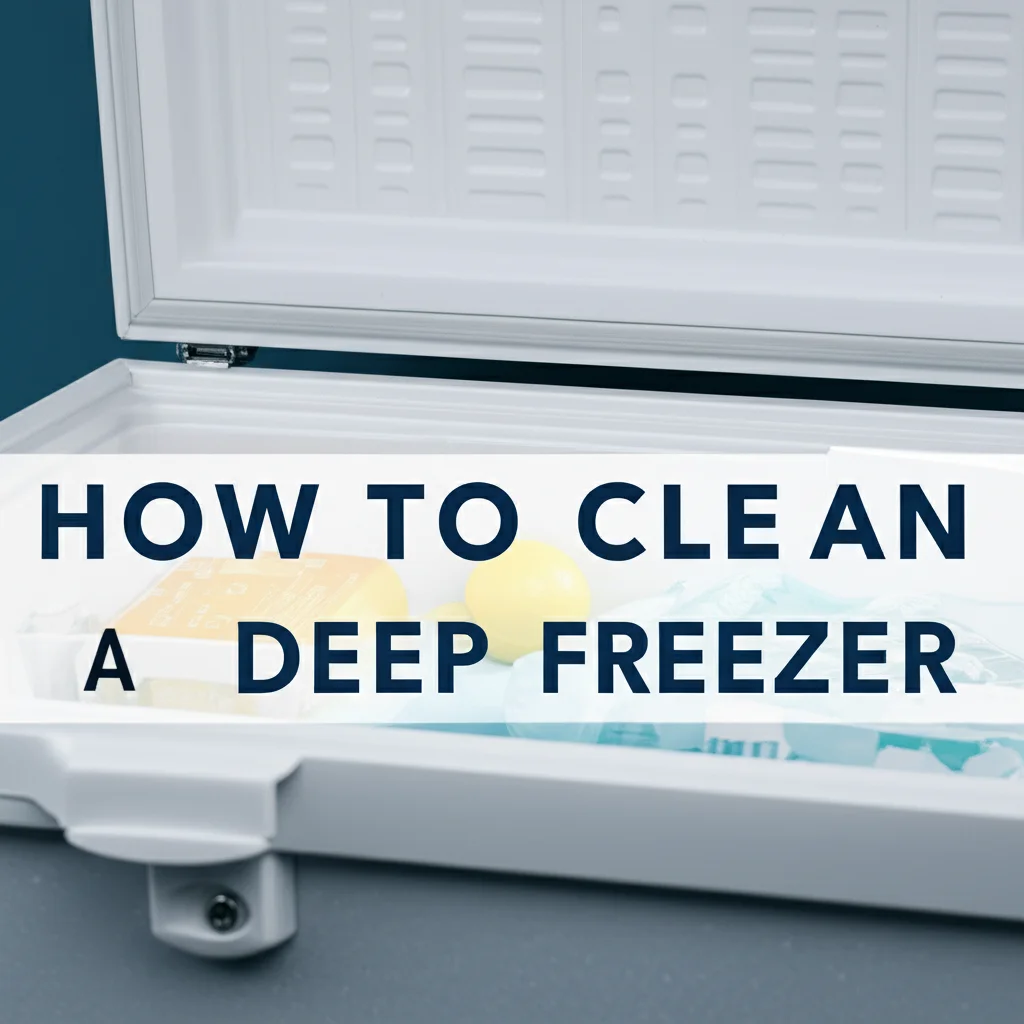
Revitalize Your Freezer: How to Clean a Deep Freezer Efficiently
A deep freezer works hard for you. It keeps your frozen foods safe and ready for meals. However, even these hardworking appliances need care. Knowing how to clean a deep freezer properly is important. A clean freezer runs better. It also keeps your food safer.
Cleaning your deep freezer helps prevent ice buildup. It also removes old food smells. This guide will walk you through each step. We cover preparation, cleaning, and maintenance tips. Soon, your deep freezer will look and work like new.
Takeaway:
- Always unplug the freezer first.
- Empty all food and store it safely.
- Allow ice to melt completely for easy cleaning.
- Use mild soap and warm water for the interior.
- Clean coils and gaskets for better function.
To clean a deep freezer, first unplug it and remove all food. Allow the freezer to defrost completely. Then, use a solution of warm water and mild soap to wipe down all interior surfaces. Dry thoroughly before restocking food and plugging it back in.
Why Cleaning Your Deep Freezer Matters
Keeping your deep freezer clean is more than just about appearances. A clean deep freezer works better. It saves you money on electricity. Dirty freezers use more energy to keep things cold. This means higher utility bills for you.
Food safety is another big reason. Old spills and crumbs can harbor bacteria. Even in cold temperatures, some germs can survive. A clean freezer means a healthier home. You protect your family from possible food contamination.
Regular cleaning also extends the life of your appliance. Dust and debris can build up on coils. This makes the motor work harder. Harder work means more wear and tear. Cleaning helps your freezer last longer. It is an investment in your appliance.
Think about the air quality inside. A deep freezer can develop stale smells. These odors transfer to your food items. Cleaning removes these smells. Your frozen foods will taste fresh. A simple cleaning routine makes a big difference.
Gathering Your Deep Freezer Cleaning Tools
Before you start cleaning your deep freezer, collect all your supplies. Having everything ready makes the job easier. You do not want to stop midway to find a rag. Being prepared helps you clean efficiently. This list helps you get started.
You will need a few basic items. First, grab a cooler or insulated bags. You need these to store your frozen food. This keeps your food cold and safe. Next, get some old towels or absorbent cloths. These help catch melted ice.
Prepare your cleaning solution. A simple mix of warm water and mild dish soap works well. You can also use a solution of baking soda and water. This is good for odors. A spray bottle can make application easy. It helps reach corners.
Do not forget a scraper. A plastic one is best. Metal scrapers can damage the freezer lining. Use it to remove stubborn ice. A soft brush or sponge helps clean surfaces. Finally, have a vacuum cleaner ready for exterior coils.
- Cooler or insulated bags
- Old towels and rags
- Bucket or large bowl
- Mild dish soap
- Baking soda
- Plastic scraper
- Soft brush or sponge
- Vacuum cleaner with a brush attachment
- Spray bottle (optional)
Always ensure your cleaning products are safe for food contact areas. Avoid harsh chemicals. Strong cleaners can leave residues. These residues might affect your food. Stick to gentle, effective cleaners for inside the freezer.
The Step-by-Step Deep Freezer Defrosting Process
Defrosting is the first real step in cleaning your deep freezer. This process takes time. Do not rush it. Complete defrosting makes cleaning much simpler. Follow these steps carefully to ensure a smooth process.
First, unplug your deep freezer. Safety is important. Never work on an appliance that is plugged in. This prevents electric shock. Place your cooler or insulated bags nearby. You will need them for food storage.
Next, remove all food items from the freezer. Place them quickly into the cooler. Pack ice or frozen gel packs around them. This keeps the food from thawing. Sort through your food as you remove it. Throw away old or expired items.
Now, prepare for the melt. Place towels inside the freezer. Also, put them around the base of the freezer. This catches melting ice and water. Some deep freezers have a drain plug. Open it to let water flow out. You can direct the water into a shallow pan.
You can speed up defrosting. Place bowls of hot water inside the freezer. Close the lid to trap the heat. Replace the water as it cools. You can also use a fan. Direct cool air into the freezer to circulate and melt ice faster. Avoid using heat guns or hair dryers. They can damage the freezer.
Let the ice melt completely. This might take several hours. For heavily iced freezers, it could take a full day. Be patient. Once all ice has melted, use a plastic scraper to remove any remaining ice. Wipe up all water with towels. Your freezer is now ready for cleaning. For specific details on overall freezer care, you can refer to how to clean a freezer.
Effective Cleaning Solutions for Your Deep Freezer’s Interior
Once your deep freezer is defrosted, it is time to clean the inside. This part removes grime and odors. Choose safe and effective cleaning solutions. Harsh chemicals are not necessary here. I prefer simple, natural options for my own home.
My go-to solution is warm water and mild dish soap. Mix a few drops of soap into a bucket of warm water. Dip a soft cloth or sponge into the solution. Wipe down all interior surfaces. Clean the walls, floor, and lid interior. Pay attention to corners and crevices. These areas can hide dirt.
For stubborn stains or lingering odors, baking soda is excellent. Make a paste with baking soda and a small amount of water. Apply the paste to the stain. Let it sit for 10-15 minutes. Then, scrub gently with a soft brush. Rinse with a damp cloth. Baking soda is a natural deodorizer.
Another good option is white vinegar. Mix equal parts white vinegar and water in a spray bottle. Spray the interior surfaces. Let it sit for a few minutes. Then wipe clean. Vinegar helps kill mold and mildew. It also helps with odors. However, some people do not like the smell of vinegar. The smell goes away when it dries.
After cleaning with any solution, rinse the surfaces. Use a clean cloth dampened with plain water. This removes any soap or cleaner residue. Next, dry the interior completely. Use dry towels or cloths. Any leftover moisture can freeze and create ice quickly. A dry freezer stays cleaner longer. For more on cleaning similar appliances, consider resources like how to deep clean fridge. This ensures thorough care for all your cooling units.
Tackling Tough Stains and Odors in Your Deep Freezer
Sometimes, your deep freezer has more than just general dirt. It might have tough stains or persistent odors. These need special attention. Do not worry, you can remove them. I have faced these challenges myself and found good ways to fix them.
For tough stains, like spilled food or juice, act fast. If you notice a spill, try to clean it right away. If it has dried, re-wet the stain with warm water. Let it soak for a few minutes. Then, apply a baking soda paste. As I mentioned before, baking soda is very helpful. Rub the paste into the stain with a soft sponge. Let it sit, then wipe it away. Repeat if needed.
Discoloration can also happen. This is often from prolonged contact with certain foods. Lemon juice can help with some discoloration. Squeeze fresh lemon juice onto a discolored area. Let it sit for a bit. Then, scrub and rinse. The acid in lemon juice helps lift stains. It also leaves a fresh smell.
Odors are common in freezers. Old food, freezer burn, or power outages can cause them. After cleaning with soap and water, you still might have a smell. This is where baking soda shines again. Place an open box of baking soda inside the empty, clean freezer. Close the lid. Let it sit for a few days. The baking soda absorbs bad smells. You can also use activated charcoal for stronger odors.
Another trick for odors is crumpled newspaper. Place crumpled newspaper inside the freezer. It also absorbs smells. Replace it daily until the odor is gone. After deep cleaning, maintaining your overall kitchen hygiene helps. You can find more tips on keeping your kitchen spotless in guides like how to deep clean your kitchen.
Cleaning the Exterior and Maintaining Your Deep Freezer
Cleaning the inside of your deep freezer is important. But do not forget the outside. The exterior and its parts also need attention. This helps your freezer work better and look good. I always include this in my cleaning routine.
Start with the outside surfaces. Use a soft cloth dampened with mild soap and water. Wipe down the sides, front, and top of the freezer. Remove any dust, fingerprints, or spills. For stainless steel freezers, use a cleaner made for stainless steel. Always wipe with the grain of the steel.
The door gasket is a key area. This rubber seal keeps cold air in and warm air out. It can collect crumbs and grime. Wipe the gasket with a damp cloth and mild soap. Check for cracks or tears. A damaged gasket makes your freezer work harder. If the gasket is damaged, replace it. This is a simple fix that saves energy.
The condenser coils are vital for efficiency. These coils are usually at the back or underneath the freezer. They release heat. When coils are dirty, heat gets trapped. This makes the compressor work overtime. Unplug the freezer before cleaning coils. Use a vacuum cleaner with a brush attachment. Carefully vacuum away dust and lint from the coils. This improves airflow and efficiency. For more about specific coil cleaning, check out resources like how to clean freezer coils.
Finally, clean the area around your deep freezer. Dust and debris on the floor can affect airflow. Keep the space clear. A clean exterior and maintained parts help your deep freezer run smoothly. This extends its life and saves energy.
Preventative Measures for a Cleaner Deep Freezer
Cleaning your deep freezer regularly is good. But you can do things to keep it clean longer. Simple habits prevent big messes. I always try to incorporate these small steps. They save me time and effort in the long run.
Organize your freezer contents. Use bins or baskets to group similar items. Label everything clearly. This helps you find what you need quickly. Less time with the door open means less warm air enters. This prevents ice buildup. Organizing also means you know what you have. You avoid buying duplicates.
Regularly check expiration dates. Before placing new items in the freezer, check old ones. Use a “first-in, first-out” system. Put older items at the front. This ensures you use food before it goes bad. Old food can cause odors. It also takes up valuable space.
Wipe up spills immediately. Accidents happen. A quick wipe prevents spills from freezing into tough stains. Keep a roll of paper towels near the freezer for this purpose. This simple action saves you deep cleaning time later.
Do not overfill your freezer. A full freezer works efficiently. But an overstuffed one blocks airflow. Air needs to circulate to keep everything cold. Leave some space between items. This helps the freezer maintain a constant temperature.
Consider a small thermometer inside. This helps you monitor the temperature. The ideal temperature for a deep freezer is 0°F (-18°C) or colder. If it gets warmer, check for issues. Catching problems early prevents spoilage. These small steps make a big difference in deep freezer cleanliness and performance. For those with chest freezers, many of these tips are also relevant for how to clean a chest freezer effectively. You can learn more at how to clean chest freezer.
FAQ Section
Q1: How often should I clean my deep freezer? A1: You should deep clean your deep freezer at least once a year. If you notice heavy ice buildup, spills, or odors, clean it sooner. Regular spot cleaning and organization can extend the time between full deep cleans. Consistent upkeep prevents major issues.
Q2: What is the fastest way to defrost a deep freezer? A2: The fastest safe way is to place bowls of hot water inside the unplugged freezer and close the lid. You can also use a fan to blow air into it. Avoid using harsh tools or high heat sources like hair dryers, which can damage the lining. Patience is key for proper defrosting.
Q3: Can I use bleach to clean the inside of my deep freezer? A3: No, avoid using bleach or other harsh chemical cleaners inside your deep freezer. These can leave harmful residues that could contaminate food. Stick to mild soap and water, baking soda, or white vinegar solutions for safe and effective cleaning.
Q4: What should I do with food during defrosting? A4: Transfer all frozen food to a cooler or insulated bags. Add ice packs or frozen gel packs to keep the temperature low. This helps prevent thawing and spoilage. Discard any food that has already thawed completely or shows signs of spoilage.
Q5: How do I prevent ice buildup in my deep freezer? A5: Prevent ice buildup by ensuring the door seal (gasket) is clean and airtight. Do not open the freezer door more than necessary. Also, avoid putting hot food directly into the freezer. Make sure food containers are sealed properly before storage.
Q6: What if my deep freezer still smells after cleaning? A6: If odors remain after a thorough cleaning, place an open box of baking soda or activated charcoal inside the empty, unplugged freezer. Let it sit for a few days. Crumpled newspapers can also help absorb lingering smells. Ensure the freezer is completely dry before replugging.
Conclusion
Cleaning your deep freezer does not have to be a big chore. It is a simple process when you follow clear steps. You start by unplugging and emptying it. Then, you let the ice melt. After that, you clean the inside with safe solutions. You also wipe down the outside and clean the coils.
This effort pays off. A clean deep freezer works more efficiently. It saves you money on energy bills. It keeps your food fresher and safer. Plus, a well-maintained appliance lasts longer. You protect your investment in your home.
Making deep freezer cleaning a part of your regular home care schedule is a smart move. Remember, a clean freezer is a happy freezer. Now you know how to clean a deep freezer effectively. So, go ahead and give your appliance the care it needs. You will enjoy the benefits of a fresh, efficient freezer for years to come. Start your cleaning project today!
- deep freezer cleaning
- freezer maintenance
- home cleaning
- appliance care
- kitchen hygiene

Todd Martin
Senior Writer
With over 15 years of experience in home renovation and design, I started HEG to share what I’ve learned with homeowners who want to create spaces that are both beautiful and functional. I’ve always believed in a hands-on approach, and over the years, I’ve picked up practical solutions that actually work. Through HEG, I aim to make home improvement more approachable, sharing real tips that help you create a home you truly love.