· Todd Martin · Beauty · 18 min read
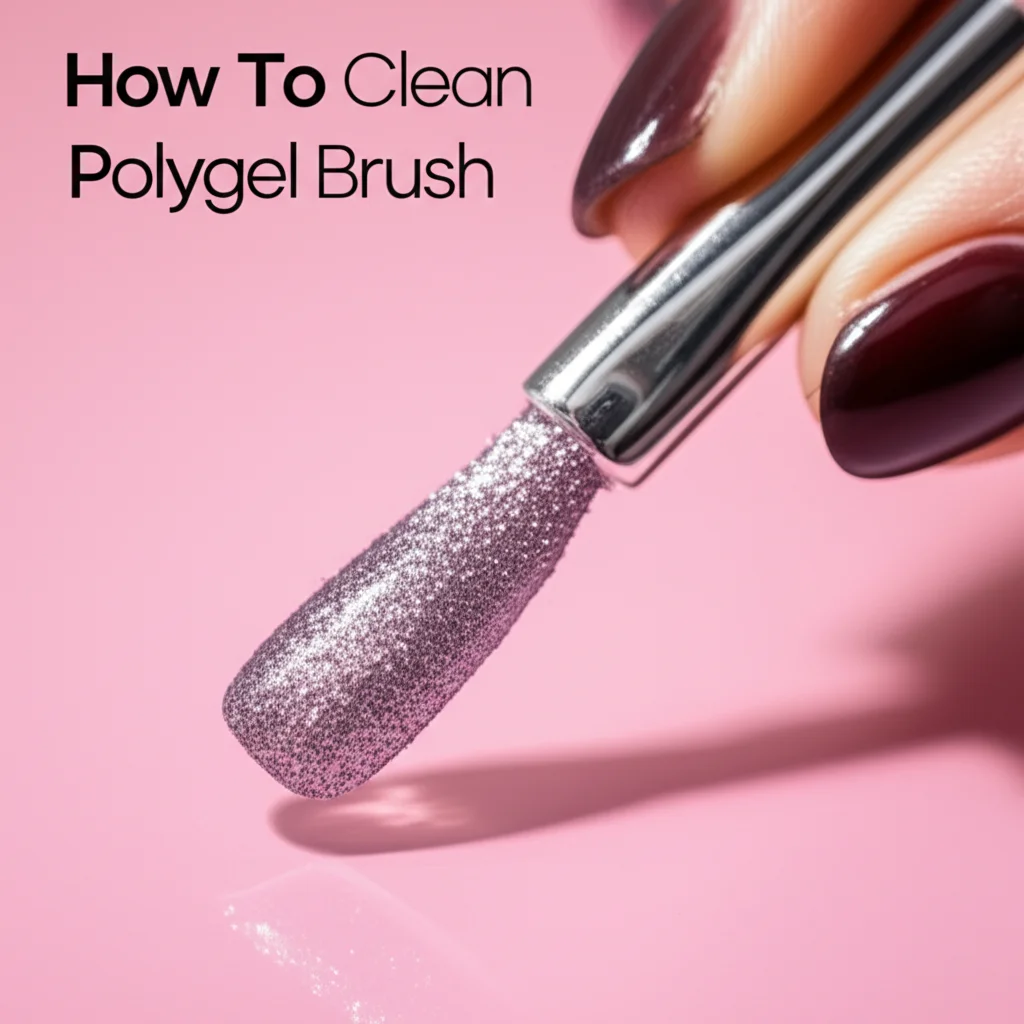
How To Clean Acrylic Nail Brushes

Master Acrylic Nail Brush Care: A Comprehensive Cleaning Guide
Have you ever wondered if you’re cleaning your acrylic nail brushes correctly? It’s a common question for nail enthusiasts and professionals alike. Proper brush care is not just about keeping tools tidy; it directly impacts the quality of your acrylic applications and the lifespan of your valuable brushes. Neglecting this crucial step can lead to stiff, splayed bristles, poor product pickup, and even unhygienic nail services.
This guide will walk you through everything you need to know about how to clean acrylic nail brushes effectively. We will cover daily cleaning routines, essential tools, and advanced deep-cleaning methods for stubborn residue. You will also learn about common mistakes to avoid and valuable tips for maintaining your brushes for years to come. Let’s make sure your brushes stay in top condition, ready for flawless nail artistry.
Takeaway:
- Clean acrylic nail brushes daily with monomer to prevent product hardening.
- Deep clean brushes with specialized cleaner or non-acetone if monomer is insufficient.
- Avoid harsh chemicals like pure acetone unless specifically for deep cleaning and with caution.
- Reshape bristles and dry brushes flat or brush-down to maintain shape.
- Proper storage protects brushes from dust and damage.
Cleaning acrylic nail brushes involves using monomer immediately after each use to dissolve product, followed by reshaping and proper drying. For stubborn buildup, specialized brush cleaner or a brief dip in non-acetone can help, but avoid harsh solvents for daily cleaning. This ensures brush longevity and hygienic application.
Why Proper Brush Cleaning Matters for Acrylic Nail Longevity
You might think a quick wipe is enough for your acrylic nail brushes, but it’s not. These specialized brushes are investments. They pick up and sculpt acrylic products with precision. Unseen product residue can harden the bristles, ruining their shape and flexibility. This directly affects your ability to create smooth, even nail enhancements. I learned this the hard way with a favorite brush.
Maintaining clean brushes is also about hygiene. Bacteria can thrive on dirty tools, leading to potential infections. Clean brushes ensure every application is safe for your clients and yourself. This attention to detail reflects professionalism and care. It keeps your nail station sanitary and your work pristine.
Protecting Your Investment
Acrylic nail brushes are not cheap. Quality brushes are often made from natural hair like kolinsky sable. These delicate bristles need careful handling to maintain their structure. Product buildup can make them stiff and brittle. This stiffness causes bristles to splay outwards.
A splayed brush cannot create clean lines or smooth surfaces. It wastes product and makes application frustrating. Cleaning your brushes properly preserves their original shape and softness. This extends their usable life significantly. You save money by not having to replace them often.
Ensuring Hygienic Applications
Nail services require a high level of cleanliness. Dirty brushes can transfer contaminants between clients. Even for personal use, uncleaned brushes harbor bacteria. This increases the risk of fungal or bacterial infections on the nails. No one wants an infection from a dirty brush.
Regular cleaning removes product and prevents microbial growth. This keeps your brushes sanitary for every use. It protects both you and your clients from harm. A clean brush is a safe brush. It builds trust and ensures beautiful, healthy nails.
Essential Supplies for Cleaning Acrylic Nail Brushes
To clean your acrylic nail brushes effectively, you need the right tools. Using improper cleaners or methods can damage the bristles. The primary cleaning agent for daily brush care is liquid monomer. This is the same liquid you use to create acrylic nails. It is designed to interact with acrylic powder. Beyond monomer, you might need a specialized brush cleaner. This is for more stubborn, hardened residue.
You will also need a dappen dish or a small glass container. This holds the monomer or cleaner during the cleaning process. Lint-free wipes or paper towels are crucial for drying and shaping the brush. Regular tissues can leave fibers behind, which is undesirable. Having these supplies ready makes the cleaning process simple and efficient. It ensures your brushes remain in prime condition.
Understanding Cleaning Solvents
Liquid monomer is your first line of defense. It dissolves uncured acrylic powder from the bristles. Always use a fresh monomer for cleaning, not contaminated monomer from your working dish. Using contaminated monomer introduces impurities. This can affect brush performance over time. Specialized acrylic brush cleaners are also available. These cleaners are formulated to break down hardened acrylic. They are typically stronger than monomer.
Some professional brush cleaners contain mild solvents. These are safer for natural hair bristles than pure acetone. Pure acetone can dry out and damage natural brush hairs. It should be used sparingly and with extreme caution. Always check the ingredients of any brush cleaner you buy. Make sure it is suitable for acrylic brushes. You might also want to learn how to clean other tools like makeup brushes with alcohol or paint brushes with mineral spirits for different brush types.
Tools for a Spotless Clean
A dappen dish is a small, heavy glass or ceramic dish. It is ideal for holding cleaning monomer or brush cleaner. Its weight prevents it from tipping over easily. Using a separate dish for cleaning keeps your working monomer clean. Never dip your dirty brush directly into your monomer pot for nail application. That contaminates your product.
Lint-free wipes are essential for drying. They absorb liquid without leaving fibers. Paper towels work, but choose a high-quality brand. You don’t want paper bits stuck in your bristles. These small pieces can interfere with your next acrylic application. Make sure your workspace is clean and organized. This prevents accidental spills or contamination. It also makes the cleaning routine a smooth process.
Step-by-Step Guide to Daily Acrylic Nail Brush Cleaning
Daily cleaning is vital for maintaining your acrylic nail brushes. This simple routine prevents acrylic from hardening in the bristles. A clean brush performs better and lasts longer. Neglecting daily cleaning is the quickest way to ruin a good brush. I always clean my brushes right after finishing a nail set. This prevents the acrylic from setting.
The process involves dipping the brush into clean monomer. Then, gently wiping it clean on a lint-free wipe. This removes any leftover product from the bristles. Consistency is key here. Make this a habit after every use. It takes only a few moments but saves your brushes from irreparable damage.
The “Monomer Dip” Method
Start by pouring a small amount of clean liquid monomer into a dappen dish. Dip your brush into the monomer. Gently swish the brush back and forth. This helps the monomer penetrate the bristles. It loosens any uncured acrylic product. Watch as the residue washes out into the monomer.
Next, remove the brush from the monomer. Gently wipe the bristles on a lint-free wipe or paper towel. Press the brush lightly against the wipe. This removes excess monomer and product. Repeat this dip and wipe process several times. Continue until no more color or product transfers to the wipe. The bristles should feel soft and clean. This method is effective for daily upkeep. It keeps your brush flexible.
Gentle Reshaping and Drying
After cleaning, it is important to reshape your brush. Gently mold the bristles into their original pointed or flat shape. Use your fingers to coax them back into place. Pay attention to the tip, as this is crucial for precision work. Proper reshaping prevents splaying.
Lay the brush flat on a clean, lint-free towel. Or, you can hang it upside down using a brush holder. This allows air to circulate evenly. Never stand an acrylic brush upright to dry. Water or monomer can seep into the ferrule. This can loosen the glue holding the bristles. This can cause the bristles to fall out. Allow the brush to air dry completely before storing it. Proper drying maintains the brush’s integrity. It ensures it’s ready for its next use.
Deep Cleaning Techniques for Stubborn Acrylic Residue
Sometimes, daily cleaning isn’t enough. Acrylic can harden deep within the bristles, making them stiff. This often happens if you accidentally let product dry on the brush. Or, if you’ve been working with very thick consistencies. Deep cleaning is necessary to restore the brush’s flexibility. This process uses stronger cleaning agents. It aims to break down the cured acrylic.
You must be careful during deep cleaning. Harsh chemicals can damage natural hair bristles. Always follow specific instructions for deep cleaning. Use these methods sparingly, not daily. A deep clean can revive a brush that seems beyond repair. It saves you from buying new brushes too often.
The Acetone (or Brush Cleaner) Soak
If your brush has hardened acrylic, you might need a stronger solvent. Professional acrylic brush cleaners are designed for this purpose. They are safer for brush bristles than pure acetone. Pour a small amount of brush cleaner into a dappen dish. Dip only the bristles of your brush into the cleaner. Do not submerge the entire brush, especially the ferrule or handle. The ferrule is the metal part connecting the bristles to the handle.
Let the brush soak for a few minutes. The exact time depends on the cleaner and the amount of hardened acrylic. Avoid leaving it in too long. Prolonged soaking can dry out the bristles. After soaking, gently work the brush on a paper towel. This helps release the softened acrylic. You can also carefully use a cuticle pusher or an orange wood stick. Gently scrape off any softened residue. Repeat dipping and wiping until the brush feels flexible again. Always rinse the brush thoroughly with clean monomer after this process. This removes any remaining harsh cleaner. It conditions the bristles.
Specialized Brush Cleaners
Many brands offer specific acrylic brush cleaners. These are formulated to be strong enough to dissolve cured acrylic but gentle on natural hair. They often contain conditioners. These conditioners help prevent the bristles from drying out. Read the product label for specific instructions. Some require a shorter soak time. Others might recommend rinsing with water after, then re-conditioning.
Using a specialized cleaner is generally safer than pure acetone. Acetone strips natural oils from brush hairs. This makes them brittle and prone to breakage. If you must use acetone, do so quickly. Use it for a very short soak. Then, immediately rinse and condition the brush with monomer or a conditioning oil. Think of it like taking care of your own hair; you wouldn’t use harsh chemicals without conditioning. You might want to consider how you clean other tools like how to clean an acrylic paint palette or even how to clean makeup sponges and brushes as some of these principles of gentle cleaning apply.
Common Mistakes to Avoid When Cleaning Acrylic Brushes
Cleaning acrylic nail brushes seems straightforward, but mistakes are common. These errors can significantly shorten your brush’s lifespan. They can also degrade the quality of your nail work. One major mistake is letting acrylic product dry on the bristles. This is the primary cause of stiff, unusable brushes. I’ve been there, and it’s frustrating. Remember to clean immediately after each use.
Another common error involves using the wrong cleaning agents. Not all solvents are safe for your brushes. Harsh chemicals can strip natural oils from the bristles. This makes them brittle and prone to shedding. Understanding these pitfalls will help you maintain your brushes better. It ensures they stay in top working condition.
Avoiding Brush Damage
Never use hot water to clean acrylic nail brushes. Hot water can melt the glue that holds the bristles in the ferrule. This causes the bristles to splay out or fall out entirely. Always use room temperature monomer or brush cleaner. Avoid scrubbing your brush too vigorously. Aggressive scrubbing can damage the delicate bristles. It can also cause them to splay. Use gentle, wiping motions instead.
Another mistake is bending the bristles backwards. This can permanently damage the brush shape. Always stroke the bristles in their natural direction. Be mindful of the ferrule. Do not submerge the metal ferrule in cleaning solutions for extended periods. This can corrode the metal or weaken the glue. Treat your brushes with care. They are precision tools.
Preserving Bristle Integrity
Pure acetone is a strong solvent. While it can dissolve cured acrylic, it’s very harsh on natural hair brushes. It strips away natural oils, making the bristles dry and brittle. This leads to shedding and a splayed shape. If you must use acetone for a deep clean, use it sparingly. Dip the brush for only a few seconds. Immediately follow with a rinse in clean monomer. Then, condition the brush.
Never store your brushes standing upright while wet. Water or monomer can seep into the ferrule. This compromises the glue. It leads to bristle loss. Always dry brushes flat or hanging downwards. Also, avoid leaving brushes exposed to air for long periods after use. Product will dry. This forms a hard, irreversible block within the bristles. Proper cleaning and storage are key to preserving bristle integrity. These steps will keep your brushes performing like new.
Maintaining Brush Longevity and Optimal Performance
Beyond cleaning, proper maintenance ensures your acrylic nail brushes last a long time. It’s about more than just removing product. It involves conditioning the bristles and storing them correctly. Just like you might clean and store your glass nail file carefully, brushes need attention. A well-maintained brush remains flexible and precise. It allows for smooth, effortless acrylic application. This consistency is crucial for professional results.
Neglecting these steps can lead to premature wear and tear. Your brushes might lose their shape. They might become difficult to work with. Investing time in proper maintenance extends your brush’s life. It also ensures consistent quality in your nail artistry. These small habits make a big difference.
Proper Storage Solutions
Once your brushes are clean and completely dry, proper storage is essential. Store brushes flat in a drawer or a dedicated brush case. You can also use a brush roll or a stand that allows them to hang bristles-down. The goal is to protect the bristles from dust and damage. Dust can settle on bristles and contaminate your product. An open container leaves brushes vulnerable to accidental bending or crushing.
Avoid storing brushes upright with the bristles facing up. This puts pressure on the bristles. It can cause them to splay over time. It also allows dust to collect at the brush tip. A dedicated brush case offers protection. It keeps your brushes organized and away from airborne particles. This simple storage tip keeps your brushes in prime shape. It maintains their value.
Conditioning Your Brushes
Natural hair brushes, like those made from kolinsky sable, benefit from conditioning. Think of it like conditioning your hair. Monomer itself has some conditioning properties for acrylic brushes. However, some professional brush cleaners also contain conditioning agents. After a deep clean with a strong solvent, this is especially important. You can also use a very small amount of cuticle oil or specific brush conditioning oil.
Dip the clean brush tip into the oil. Gently work it through the bristles. Then, wipe off the excess oil. This helps restore moisture to the natural hairs. It keeps them supple and prevents brittleness. This step is not necessary after every daily clean. But it is highly recommended after a deep clean or if bristles feel dry. This small act of conditioning helps maintain the brush’s flexibility. It prolongs its life.
Troubleshooting Common Acrylic Brush Problems
Even with the best care, acrylic nail brushes can develop issues. Bristles might become stiff, splay out, or product build-up seems impossible to remove. These problems are frustrating. They can hinder your ability to create beautiful nail enhancements. But many common brush problems have solutions. It often just takes a bit of targeted intervention.
Understanding how to address these issues saves your valuable brushes. It prevents you from needing to buy new ones too soon. I’ve brought many seemingly ruined brushes back to life. It often involves a combination of cleaning techniques and patience. Let’s look at how to tackle some common issues.
Reviving Stiff Brushes
A stiff brush usually means cured acrylic product has hardened deep within the bristles. Your daily monomer clean likely isn’t enough. For a stiff brush, you need a stronger approach. Start with a specialized acrylic brush cleaner. Pour a small amount into a dappen dish. Dip only the bristles into the cleaner. Allow it to soak for a short time, perhaps 5-10 minutes. The cleaner will soften the hardened acrylic.
After soaking, gently work the brush against a paper towel. You can also use a cuticle pusher to carefully scrape away softened residue. Be very gentle to avoid damaging the bristles. Repeat the soak and gentle scraping until the brush regains its flexibility. Finish by rinsing the brush thoroughly in clean monomer. Then, reshape and dry it properly. This process often brings a stiff brush back to life.
Addressing Splayed Bristles
Splayed bristles mean the brush has lost its original shape. This can happen from improper drying, aggressive cleaning, or even just age. If the splaying is minor, you might fix it. After cleaning and conditioning, reshape the bristles carefully. Use your fingers to press them back into a tight, pointed or flat form. You can use a brush guard or a plastic cap. This helps hold the shape while the brush dries.
If the splaying is severe, especially near the ferrule, the brush might be beyond repair. This often indicates the glue inside the ferrule has weakened. This damage is usually permanent. To prevent splaying, always dry brushes flat or bristles-down. Avoid exposing the ferrule to prolonged moisture. Proper gentle handling is key to maintaining a perfect brush shape.
Removing Persistent Product Build-up
Sometimes, product build-up is stubborn. It clings to the base of the bristles near the ferrule. This build-up makes the brush stiff and difficult to use. A deep soak in a strong acrylic brush cleaner is the best approach. Ensure the cleaner reaches the very base of the bristles. You can gently work the brush on a silicone cleaning mat or a textured surface. This helps dislodge the hardened product.
For very tough spots, a soft-bristled toothbrush can help. Dip the toothbrush in cleaner and gently brush the affected areas. Always be careful not to splay the main bristles. After removing the build-up, rinse the brush thoroughly in clean monomer. Then, reshape and dry it. Consistent daily cleaning is the best prevention for persistent build-up. It saves you the hassle of intensive cleaning. You might find similar challenges with how to clean paint off concrete or even how to clean mold off walls, where persistent residue needs a specific, careful approach.
Frequently Asked Questions
Can I use alcohol to clean acrylic nail brushes?
No, avoid using alcohol to clean acrylic nail brushes. Alcohol is very drying. It can strip the natural oils from sable bristles. This makes the brush brittle and prone to breaking or shedding. Stick to liquid monomer for daily cleaning or specialized acrylic brush cleaners for deep cleaning.
How often should I deep clean my acrylic brushes?
Deep clean your acrylic brushes only when necessary, not daily. If your brush feels stiff or has noticeable hardened product, it’s time for a deep clean. For brushes used regularly, this might be once a week or every few uses. Over-cleaning with harsh solutions can damage the bristles.
What if my brush is already hard and stiff?
If your brush is already hard, you can try to revive it. Soak only the bristles in a specialized acrylic brush cleaner. Let it sit for a few minutes to soften the hardened acrylic. Gently work the brush on a paper towel or scrape with a cuticle pusher. Rinse thoroughly with clean monomer afterwards.
Can I use dish soap to clean acrylic brushes?
No, dish soap is not suitable for cleaning acrylic nail brushes. Dish soap is designed to cut through grease. It can dry out the delicate natural hairs of your acrylic brush. This leads to damage and frizz. Always use monomer or a specific acrylic brush cleaner.
How do I store my acrylic brushes?
Store your acrylic brushes flat in a drawer or a dedicated brush case. You can also hang them bristles-down in a brush holder. This protects them from dust and prevents the bristles from splaying. Never store them upright with bristles facing up.
What is the best brush cleaner for acrylic?
The best daily cleaner for acrylic nail brushes is fresh liquid monomer. For occasional deep cleaning of hardened acrylic, a specialized professional acrylic brush cleaner is best. These products are formulated to dissolve cured acrylic while being gentler on natural hair bristles than pure acetone.
Conclusion
Mastering how to clean acrylic nail brushes is an essential skill for anyone working with acrylic nails. We’ve explored the critical reasons for proper care, from protecting your valuable investment to ensuring hygienic applications for every nail service. You now understand the essential tools and solvents needed, from daily monomer dips to specialized deep cleaners.
Remember, consistency is key. Daily cleaning with monomer after each use prevents acrylic from hardening and preserves your brush’s flexibility. When faced with stubborn residue, specialized cleaners can revive even stiff brushes. Avoid common mistakes like using harsh acetone excessively or drying brushes improperly. By implementing these practices, your acrylic nail brushes will maintain their optimal performance and last for years. Keep your brushes clean, sharp, and ready for flawless artistry. Your beautiful nails depend on it!
- Nail Care
- Brush Cleaning
- Acrylic Nails

Todd Martin
Senior Writer
With over 15 years of experience in home renovation and design, I started HEG to share what I’ve learned with homeowners who want to create spaces that are both beautiful and functional. I’ve always believed in a hands-on approach, and over the years, I’ve picked up practical solutions that actually work. Through HEG, I aim to make home improvement more approachable, sharing real tips that help you create a home you truly love.