· Todd Martin · Home Maintenance · 19 min read
How To Clean Air Conditioner Coils
Unlock Peak Performance: How to Clean Air Conditioner Coils
Imagine your home staying perfectly cool without high energy bills. This dream is possible, but it requires regular maintenance. Your air conditioner works hard, and its performance depends on clean coils. Dirt, dust, and debris collect on these vital parts, making your AC unit struggle. Learning how to clean air conditioner coils is a straightforward task. It can save you money, improve your indoor air quality, and extend the life of your unit.
This guide will walk you through the entire process. We will cover why coil cleaning matters. You will learn about the different types of coils in your AC. We will list the tools you need for the job. Then, we provide clear, step-by-step instructions for cleaning both indoor and outdoor coils. Finally, we will discuss common issues and when to seek professional help. Let us ensure your AC runs its best, giving you comfort and peace of mind.
Takeaway
- Regularly cleaning AC coils improves efficiency and lowers energy bills.
- You clean evaporator (indoor) and condenser (outdoor) coils differently.
- Gather proper tools and prioritize safety before you start.
- Follow specific steps for each coil type to ensure thorough cleaning.
- Know when to call a professional for complex issues or deep cleaning.
To clean air conditioner coils effectively, turn off the power first. Then, access the evaporator coils indoors and condenser coils outdoors. Use a soft brush or coil cleaner to remove dirt and debris. Rinse the coils carefully, ensuring the drain line is clear. This process restores efficiency and improves air quality.
Why Clean Your AC Coils? The Benefits of Regular Maintenance
Your air conditioner works by moving heat. Coils are essential parts of this heat transfer process. They contain refrigerant, which absorbs heat from your home’s air and releases it outside. Over time, dirt, dust, and grime build up on these coils. This acts like an insulating layer, blocking the heat transfer. When coils get dirty, your AC cannot cool your home efficiently. It has to work much harder to achieve the desired temperature.
A dirty AC unit uses more electricity. This means higher energy bills for you. Clean coils allow your system to operate as designed, using less power. This directly translates to savings on your monthly utility statements. Furthermore, dirty coils can lead to poor indoor air quality. They can harbor mold, mildew, and allergens. When air passes over these dirty coils, it picks up these particles and circulates them throughout your home.
Regularly cleaning your AC coils also extends the lifespan of your unit. When the system struggles due to dirty coils, its components experience more stress. This extra strain can cause parts to wear out faster. Compressors, for example, might fail prematurely. By keeping your coils clean, you reduce this strain. This helps your air conditioner last longer, delaying the need for expensive repairs or replacement. It protects your investment and ensures comfort for years to come.
Proper coil maintenance is just one part of keeping your entire AC system healthy. Just as you maintain your coils, you also need to ensure other components are clean. For example, a clogged air filter severely impacts airflow and system efficiency. Learning how to clean an air conditioner filter is another simple step you can take. Your air ducts also collect dust and debris, affecting air quality and airflow. Understanding how to clean air conditioner ducts complements coil cleaning. Together, these practices help your entire HVAC system run smoothly.
Identifying Your AC Coils: Evaporator vs. Condenser
Your air conditioning system has two main sets of coils. Each set plays a unique role in the cooling process. They are located in different parts of your home. Knowing where each coil is helps you clean them correctly. You will also understand why cleaning both is important.
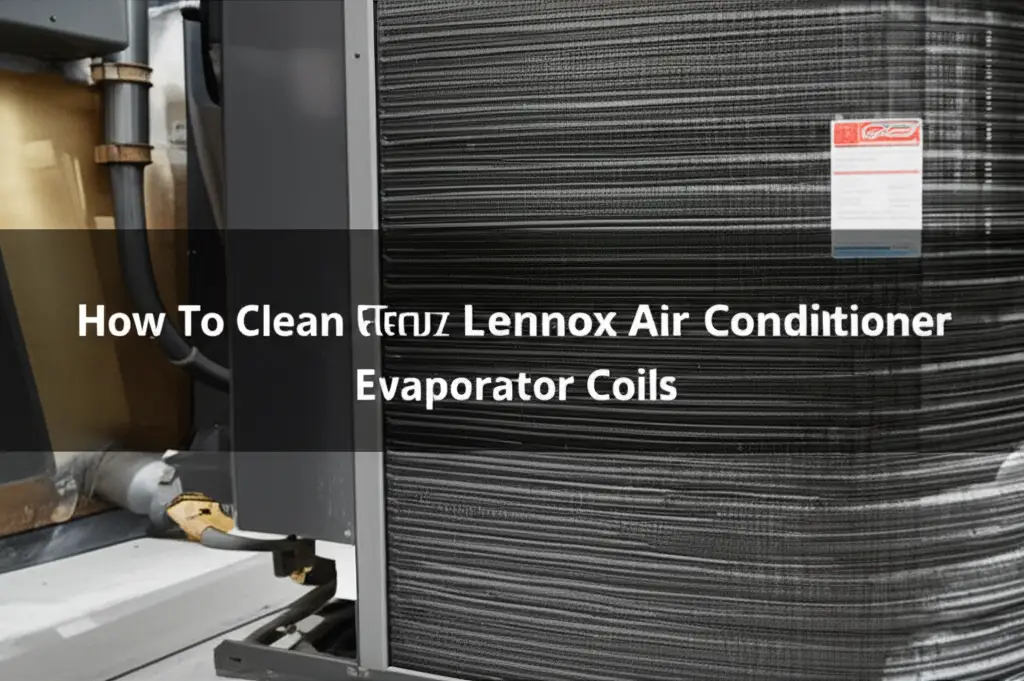
The evaporator coil is inside your home. It usually sits within your indoor air handler or furnace. This coil is cold and absorbs heat from the warm air circulating through your home. As warm air passes over the evaporator coil, the refrigerant inside absorbs the heat. This process cools the air that then gets distributed back into your rooms. Because it is cold and removes humidity, the evaporator coil can accumulate moisture. This moisture, combined with airborne dust, creates a sticky film that traps dirt. This makes it a prime spot for mold and mildew growth if not regularly cleaned.
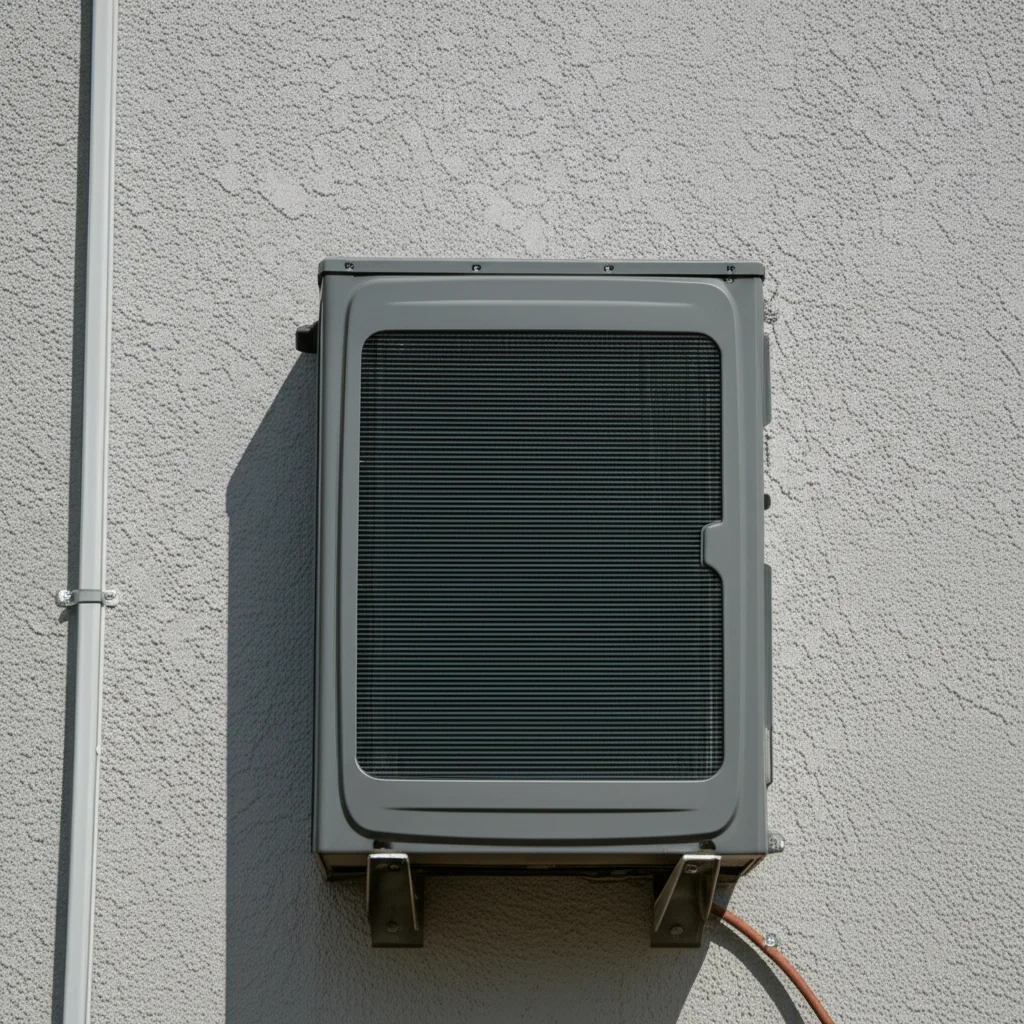
The condenser coil is outside your home. It is part of the large outdoor unit, often called the condenser unit. After the refrigerant absorbs heat from inside, it travels to the condenser coil. Here, the heat is released into the outdoor air. A large fan in the outdoor unit blows air over these hot coils to help dissipate the heat. Because this coil is outside, it is exposed to many elements. Leaves, grass clippings, dirt, pollen, and even animal fur can accumulate on its fins. This external debris can easily block airflow. This blockage reduces the coil’s ability to release heat, making the entire system less efficient.
Different types of AC units will have these coils arranged in various ways. For instance, a window AC unit contains both evaporator and condenser coils within its single compact frame. The front part has the evaporator, and the back part has the condenser. Cleaning how to clean coils on a window AC unit requires specific attention to both sections. Similarly, heat pumps also have coils that perform both heating and cooling functions. Keeping how to clean heat pump coils clean is vital for their dual operation. Understanding the location and function of each coil is your first step to effective cleaning.
Gathering Your Tools and Safety Gear
Before you begin any cleaning project, preparation is key. Having all your tools ready saves time and effort. More importantly, gathering the right safety gear protects you from harm. Working with an AC unit involves electricity and sharp components. Taking precautions ensures a safe and effective cleaning experience.
Here is a list of tools you will likely need for cleaning your AC coils:
- Screwdriver set: You will need Phillips and flathead screwdrivers. These help remove access panels on your AC unit.
- Fin comb: This tool straightens bent aluminum fins on the coils. Bent fins restrict airflow.
- Soft brush or stiff brush (for condenser): A soft brush works well for delicate evaporator coils. A stiffer brush handles tougher dirt on outdoor condenser coils.
- Vacuum cleaner with brush attachment: This removes loose dust and debris. A shop vacuum is excellent for outdoor units.
- Coil cleaner spray: Choose a specialized no-rinse or self-rinsing coil cleaner. These cleaners foam up, loosen dirt, and evaporate or drain away.
- Hose with spray nozzle (for condenser): Essential for rinsing outdoor condenser coils.
- Bucket and rags: For wiping down surfaces and catching drips.
- Plastic sheeting or tarp: To protect floors or surrounding areas from drips.
Your safety is paramount during this cleaning process. Always prioritize it. Here is the essential safety gear you should have:
- Work gloves: Protect your hands from sharp coil fins and cleaning chemicals.
- Safety glasses or goggles: Protect your eyes from dirt, debris, and cleaning solution splashes.
- Dust mask or respirator: Prevents you from inhaling dust, mold spores, or chemical fumes.
- Long sleeves and pants: Offer additional skin protection.
Before touching any part of your AC unit, always turn off the power. Locate the disconnect switch near your outdoor unit and the circuit breaker for your indoor unit. Flip both to the “OFF” position. This prevents accidental startup and reduces the risk of electric shock. Double-check that the power is off before proceeding. A small mistake can lead to serious injury. Once you have all your tools and safety gear, you are ready to begin the actual cleaning process.
Step-by-Step Guide: Cleaning Evaporator Coils
Cleaning your indoor evaporator coils is a crucial step for maintaining your AC unit. These coils are inside your air handler or furnace. They are responsible for absorbing heat from your home’s air. Dirt and grime on them reduce your system’s efficiency. Follow these steps carefully to ensure a thorough cleaning.
1. Power Down Your AC Unit
Your safety comes first. Go to your thermostat and set your AC system to “OFF.” Then, go to your home’s main electrical panel. Find the circuit breaker labeled for your indoor air handler or furnace. Flip it to the “OFF” position. This cuts all power to the indoor unit. Double-check that no power is flowing before you proceed.
2. Locate and Access the Evaporator Coils
The evaporator coils are usually inside your air handler or furnace cabinet. They sit above the furnace in many central AC systems. You may need a screwdriver to remove an access panel. The panel is typically secured with screws or clips. Carefully remove the screws and set the panel aside. You will see the A-shaped or N-shaped coils inside.
3. Clear Loose Debris
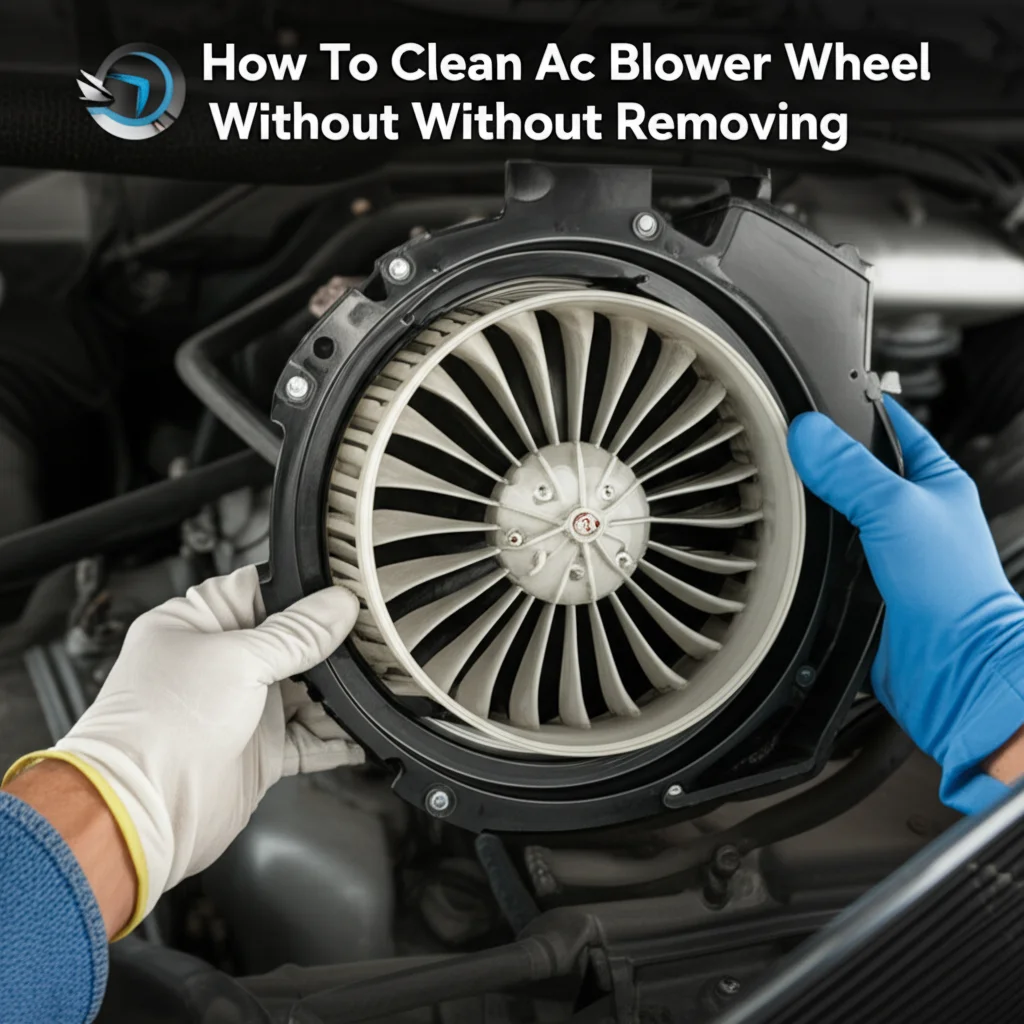
Use a soft brush or a vacuum cleaner with a brush attachment. Gently remove any loose dust, dirt, or lint from the coil fins. Work slowly and carefully. The fins are delicate and bend easily. Avoid pressing too hard. Vacuuming this debris first helps the coil cleaner work better.
4. Apply Coil Cleaner
Purchase a specialized “no-rinse” or “self-rinsing” evaporator coil cleaner. These cleaners are designed to foam up, loosen dirt, and then condense and drain away. Follow the product instructions precisely. Usually, you spray it evenly over the entire coil surface. Allow the cleaner to sit for the recommended time. It will foam and start to break down the grime.
5. Clean the Drain Pan and Drain Line
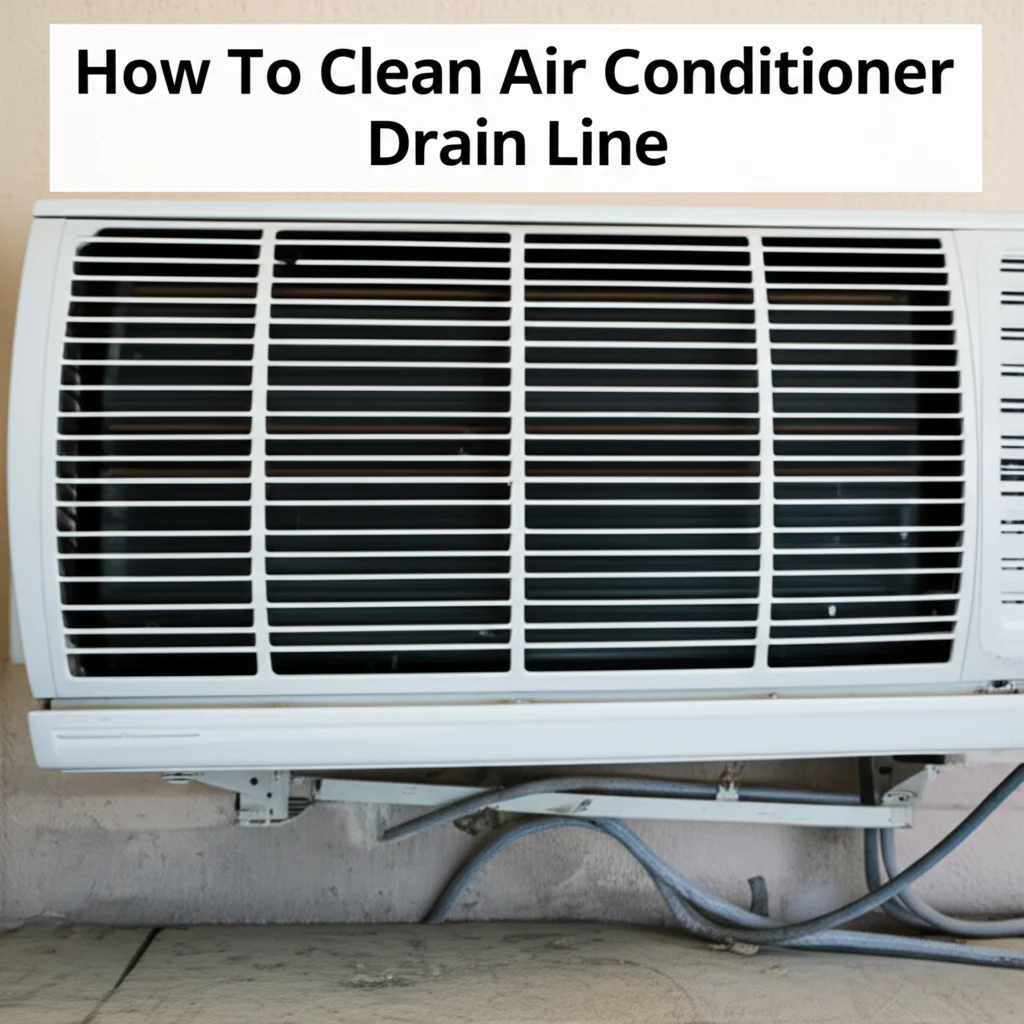
As the coil cleaner works, the loosened dirt and condensation will drip into the drain pan below the evaporator coil. This pan collects the water. Check the drain pan for standing water, slime, or mold. Clean it thoroughly with a damp cloth or a small brush. A clogged drain line can cause water to back up and overflow. This can lead to water damage. Pour a cup of distilled vinegar into the drain pan. This helps clear minor clogs and prevents future mold growth in the drain line. This relates directly to keeping your AC efficient and preventing water damage, much like learning how to clean an air conditioner drain line for your system.
6. Replace Access Panel and Restore Power
Once the coils appear clean and the cleaner has had time to work, replace the access panel. Make sure it fits securely. Return to your electrical panel and flip the circuit breaker back to the “ON” position. Turn your thermostat back to “COOL” or “AUTO.” Your AC system is now ready to run with cleaner, more efficient evaporator coils.
Step-by-Step Guide: Cleaning Condenser Coils
The outdoor condenser coils are constantly exposed to the elements. They collect leaves, dirt, grass clippings, and pet fur. This buildup significantly reduces your AC’s ability to release heat. Cleaning these coils is vital for your system’s performance and longevity. Follow these steps for effective cleaning.
1. Disconnect All Power
This is the most critical safety step. Go to the outdoor unit. Look for a disconnect switch mounted on the wall near the unit. It is usually a small box with a lever or pull-out block. Flip the lever to “OFF” or pull out the block. Also, return to your main electrical panel inside your home. Find the circuit breaker for your outdoor AC unit. Flip this breaker to the “OFF” position. This ensures absolutely no power reaches the unit while you work.
2. Remove Outer Casing or Grille
The condenser coils are protected by a metal casing or grille. You will need a screwdriver to remove it. Look for screws around the top and sides of the unit. Carefully lift off the top fan assembly. Be mindful of the wires connected to the fan. You may need to prop the fan assembly aside carefully without disconnecting the wires. This gives you full access to the coil fins surrounding the unit.
3. Clear Large Debris
Before using water or cleaner, manually remove large debris. Pick out leaves, twigs, grass, and any other visible foreign objects caught between the coil fins. You can also use a shop vacuum with a brush attachment to vacuum away loose dirt and dust from the outside of the coils. Getting rid of large debris first makes the next steps more effective.
4. Rinse Coils from the Inside Out
Connect a garden hose to a water source. Use a spray nozzle. Now, aim the water from the inside of the unit. Spray outwards through the coil fins. This method pushes dirt and debris out from where it collected. It is more effective than spraying from the outside in. Be careful not to use excessive water pressure. Too much pressure can bend the delicate fins. Rinse thoroughly until the water coming through the coils runs clear.
5. Apply Condenser Coil Cleaner
Once rinsed, apply a specialized condenser coil cleaner. These cleaners are stronger than evaporator coil cleaners. They are designed to dissolve stubborn grease, grime, and environmental buildup. Read the product instructions carefully. Most cleaners require you to spray them evenly onto the wet coils. Let the cleaner sit for the recommended time, usually 10-15 minutes. It will foam up as it works to lift the remaining dirt.
6. Rinse Again Thoroughly
After the cleaner has done its job, rinse the coils thoroughly with your garden hose. Again, spray from the inside out to push the dissolved grime away. Ensure all cleaner residue is washed off. Any remaining cleaner can attract more dirt. Rinse until you see no more foam or dirt coming off the coils.
7. Straighten Bent Fins (Optional)
After cleaning, inspect the coil fins. They are very thin and can easily bend. Bent fins block airflow, reducing efficiency. Use a fin comb to gently straighten any bent fins. A fin comb has different tooth sizes to match various coil fin spacings. Insert the correct size into the bent section and slowly pull it through. This helps restore proper airflow.
8. Reassemble and Restore Power
Once the coils are clean and dry, carefully reattach the fan assembly and the outer casing or grille. Make sure all screws are tightened. Return to your outdoor disconnect switch and flip it to “ON.” Go inside and flip the circuit breaker back “ON” for the outdoor unit. Your outdoor AC unit is now ready for improved performance.
Just like with a central AC system, portable air conditioners also have condenser coils that require cleaning. While the location and access might be different, the principle of cleaning them for better performance remains the same. Understanding how to clean a portable air conditioner can help you tackle condenser coil cleaning on these smaller units as well.
Troubleshooting Common Coil Cleaning Issues
Even with careful planning, you might encounter some common issues during AC coil cleaning. Knowing how to address them can save you time and prevent further problems. Most challenges relate to stubborn dirt, physical damage, or unseen growth. Let’s look at how to handle these situations.
One common issue is extremely stubborn dirt and grime. Sometimes, coils have years of built-up gunk. A single application of coil cleaner might not be enough. If the coils still look dirty after the first cleaning attempt, you can reapply the cleaner. Follow the product instructions for repeated applications. For outdoor condenser coils, you might need to use a slightly stiffer brush. Gently brush the coils in the direction of the fins. Always brush lightly to avoid bending the fins. For indoor evaporator coils, avoid abrasive brushes. More frequent regular cleaning prevents such heavy buildup in the future.
Another frequent problem is bent coil fins. These thin metal slats are easily damaged. You might accidentally bend them while cleaning or they might get damaged by debris or pets. Bent fins restrict airflow over the coils. This reduces the AC unit’s efficiency. A fin comb is the proper tool for this issue. This specialized comb slides into the fins. It gently pulls them back into alignment. Always use the fin comb when the coils are dry. Pushing too hard can worsen the bend or even break the fin. Take your time and work carefully section by section.
Mold and mildew can be a persistent problem, especially on evaporator coils. These fungi thrive in damp, dark environments. If you notice black or green spots on your coils, it indicates mold growth. Most coil cleaners contain agents that kill mold and mildew. However, for severe cases, you might need a dedicated mold remover. Look for products specifically safe for AC coils. After cleaning, ensure proper drainage. A clogged drain line often contributes to mold growth. Addressing issues like how to clean mold from a window air conditioner also involves thoroughly cleaning the coils and drain pan. Similarly, if you notice mold spreading to other areas, understanding how to clean mold around air vents can help you tackle the broader issue of indoor air quality.
If you encounter persistent issues, such as a clogged drain line that won’t clear, or if the coils remain extremely dirty despite your efforts, it might be time to consider professional help. Sometimes, specialized tools or stronger cleaning solutions are necessary for deep cleaning. Do not force anything if you are unsure. Forcing components can cause costly damage to your AC system.
When to Call a Professional for AC Coil Cleaning
While cleaning your AC coils yourself saves money, there are times when a professional should handle the job. Knowing your limits prevents costly mistakes and ensures your system receives the care it needs. Sometimes, the problem is bigger than a simple dirt buildup.
You should consider calling an HVAC technician if you notice severe mold growth on your coils. While a surface layer of mold can be cleaned, extensive mold might indicate a deeper issue, like persistent moisture problems or poor air circulation. Professionals have stronger, industrial-grade mold treatment solutions and equipment. They can also identify the source of excessive moisture. This helps prevent mold recurrence.
Another reason to call a pro is if your coils are inaccessible. Some AC units have coils that are difficult to reach without disassembling major components. If you cannot easily access the evaporator or condenser coils, attempting to force entry can damage your unit. HVAC technicians have the training and specialized tools to safely open units, clean hard-to-reach areas, and reassemble everything correctly. They prevent damage to delicate wiring or refrigerant lines.
If you have bent fins on a large portion of your coils, or if the damage appears severe, a professional is best. While a fin comb helps with minor bends, extensive damage might require more advanced techniques or even coil replacement. A technician can assess the damage. They determine if repair is possible or if replacement is necessary. They can also ensure proper airflow is restored to the unit.
Finally, if your AC unit is old or has not been serviced in many years, a professional cleaning is a good idea. Years of accumulated grime can become very difficult to remove with DIY methods. Professionals use high-pressure cleaning tools and strong chemical solutions designed for deep cleaning. They can also perform a comprehensive system check. This check identifies other potential issues. They look at refrigerant levels, electrical connections, and fan motors. This full service ensures your entire AC system operates at peak efficiency. It also helps prevent future breakdowns. They provide a level of expertise and thoroughness that goes beyond a simple DIY coil cleaning.
Frequently Asked Questions
How often should I clean AC coils?
You should clean your AC coils at least once a year. The best time is before the cooling season begins, in spring. If you live in a dusty area, have pets, or use your AC heavily, consider cleaning them twice a year. Regular cleaning prevents significant dirt buildup. This keeps your system running efficiently.
Can I use water to clean AC coils?
Yes, you can use water to clean outdoor condenser coils. Use a garden hose with a moderate spray setting. Spray from the inside out to push dirt through the fins. Avoid high-pressure washers, as they can damage delicate fins. For indoor evaporator coils, use specialized coil cleaner. Water alone might not be enough and can create electrical hazards if not carefully managed.
What happens if I don’t clean my AC coils?
If you do not clean your AC coils, they will accumulate dirt and debris. This causes the AC unit to work harder to cool your home. Your energy bills will increase. The system’s lifespan shortens due to extra strain on components. You may also experience reduced cooling capacity and poorer indoor air quality.
Is coil cleaner necessary?
Coil cleaner is highly recommended. It contains chemicals that break down stubborn dirt, grease, and grime that water alone cannot remove. For evaporator coils, it helps dissolve mold and slime. For condenser coils, it tackles sticky outdoor pollutants. Using a specific coil cleaner ensures a more thorough and effective cleaning.
What is the difference between cleaning and servicing AC coils?
Cleaning AC coils involves removing dirt and debris using brushes, vacuums, and coil cleaners. It is a DIY task focused on surface cleanliness. Servicing AC coils, part of a professional HVAC tune-up, involves a deeper clean with specialized tools. It also includes checking refrigerant levels, electrical connections, and overall system performance.
Can dirty coils cause my AC to freeze?
Yes, dirty evaporator coils can cause your AC unit to freeze. When coils are covered in dirt, airflow over them is restricted. This causes the refrigerant inside the coils to get too cold. The moisture in the air then freezes on the coil surface. A frozen coil cannot absorb heat effectively. This leads to poor cooling and potential system damage.
Conclusion
Keeping your air conditioner coils clean is a vital part of home maintenance. It is not just about having a cool house. It is about smart energy use, better air quality, and extending the life of your valuable appliance. We covered why cleaning your AC coils matters. We helped you identify the different types of coils. We listed the tools you need and emphasized safety. Then, we walked you through detailed steps for cleaning both evaporator and condenser coils. You also learned how to troubleshoot common issues and when to seek professional help.
Taking the time to clean air conditioner coils truly pays off. You will notice lower energy bills. You will breathe cleaner air. Your home will feel more comfortable. This simple maintenance task protects your investment and ensures your AC unit runs smoothly for years to come.
Do not wait for your system to struggle. Make coil cleaning a regular part of your home care routine. Take action today and enjoy a more efficient and reliable air conditioning system! Your comfortable home will thank you.
- AC maintenance
- HVAC cleaning
- Air conditioning efficiency
- Evaporator coils
- Condenser coils

Todd Martin
Senior Writer
With over 15 years of experience in home renovation and design, I started HEG to share what I’ve learned with homeowners who want to create spaces that are both beautiful and functional. I’ve always believed in a hands-on approach, and over the years, I’ve picked up practical solutions that actually work. Through HEG, I aim to make home improvement more approachable, sharing real tips that help you create a home you truly love.