· Todd Martin · Home Appliance Care · 16 min read
How To Clean Aqua Oasis Humidifier
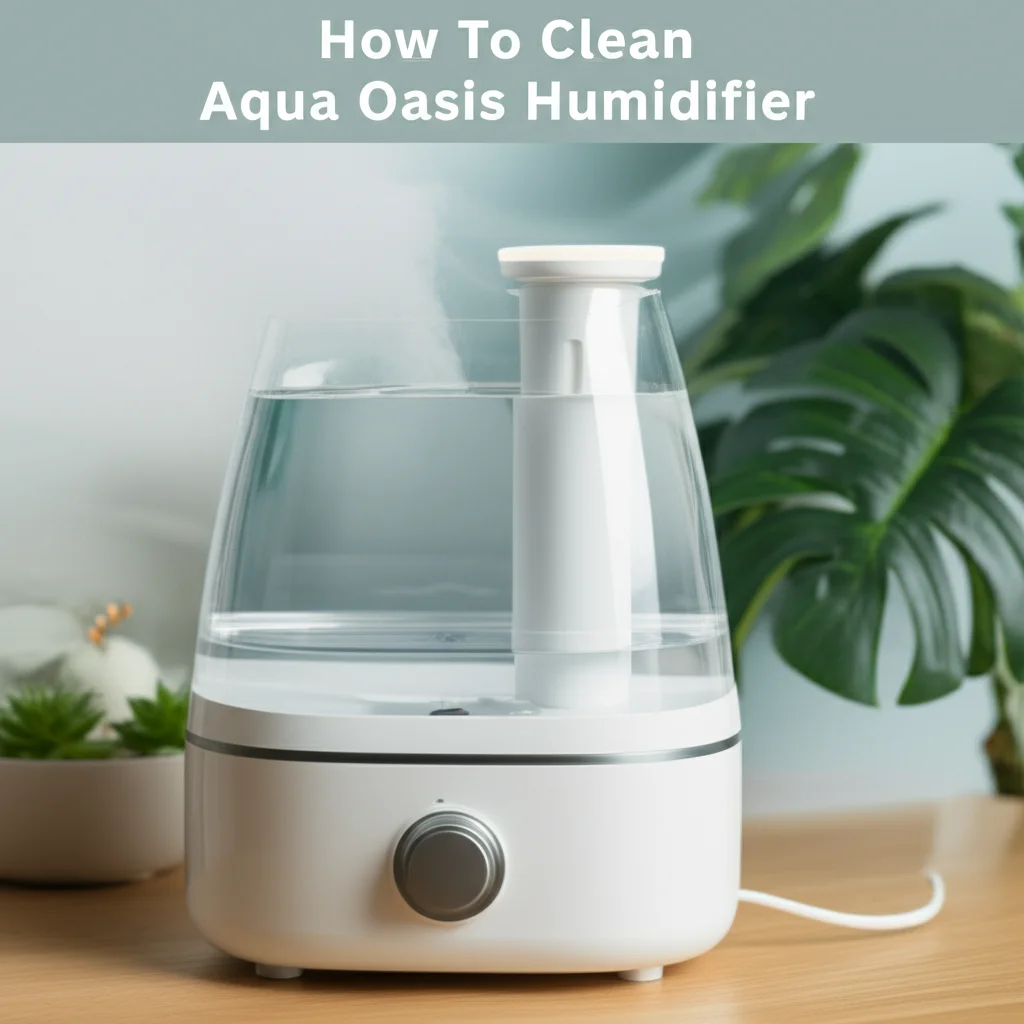
Keep Your Air Fresh: How to Clean Aqua Oasis Humidifier
A humidifier adds vital moisture to dry air. It can soothe dry skin, ease cold symptoms, and protect wooden furniture. Your Aqua Oasis humidifier works hard for you. However, standing water and warm conditions create a breeding ground for mold and bacteria. A dirty humidifier can release these contaminants into the air. This harms your health and makes your humidifier less effective. Regular cleaning is not just a suggestion; it is a necessity for clean, healthy air. I will show you how to clean Aqua Oasis humidifier models properly. This guide helps you maintain a pristine environment and extend your device’s lifespan.
Takeaway
To clean your Aqua Oasis humidifier effectively:
- Disassemble the unit and empty all water.
- Use white vinegar to dissolve mineral buildup and kill mold.
- Scrub all reachable surfaces thoroughly.
- Rinse all parts completely with clean water.
- Dry all components fully before reassembly or storage.
How do I clean my Aqua Oasis humidifier?
To clean your Aqua Oasis humidifier, first unplug it and empty all water. Then, disassemble its parts. Use a solution of white vinegar and water to soak and scrub the tank, base, and smaller components. This removes mineral deposits and prevents mold. Rinse everything well and allow it to air dry completely before reassembling.
Why Cleaning Your Aqua Oasis Humidifier Matters for Health
Humidifiers release water vapor into your home. This process works well when the humidifier is clean. A dirty humidifier, however, can become a problem. It can harbor mold, bacteria, and mineral dust. When these substances become airborne, you breathe them in. This can trigger allergies or respiratory issues. Regular cleaning protects your family’s health.
A clean Aqua Oasis humidifier also performs better. Mineral buildup on the heating element or ultrasonic disc reduces efficiency. This makes the humidifier work harder. Harder work means more energy use and a shorter lifespan for the device. Preventing this buildup keeps your humidifier running smoothly. It saves you money on energy bills and potential replacements. I ensure my humidifier is clean for these reasons. It is a simple step with big benefits.
Imagine breathing air filled with fresh, pure mist. That is what a well-maintained humidifier provides. It is not just about avoiding problems. It is about creating a healthier living space. You invest in a humidifier for better air quality. Cleaning it regularly ensures it delivers on that promise. Neglecting this task turns your helpful appliance into a potential health hazard. I always make time for this important chore.
Essential Tools and Supplies for Humidifier Cleaning
Cleaning your Aqua Oasis humidifier does not require many special tools. Most items you likely already have around your home. Having the right supplies ready makes the cleaning process simple. It ensures you can tackle any buildup effectively. I keep these items handy for quick and easy maintenance.
Here is what you will need:
- White Vinegar: This is your primary cleaning agent. Vinegar is a natural disinfectant. It breaks down mineral deposits and kills mold. It is safe for most humidifier plastics. Avoid using apple cider vinegar, as it can leave residues.
- Clean Water: You need fresh water for rinsing. It removes vinegar solution and loose debris. I use tap water for rinsing, but distilled water is best for filling the tank.
- Soft Brush or Sponge: A soft brush helps scrub away stubborn grime. A clean sponge or cloth works for general wiping. Avoid abrasive scrubbers that can scratch surfaces.
- Small Bottle Brush or Pipe Cleaners: These are useful for reaching tight spots. They help clean narrow openings and nozzles. I find them indispensable for the mist outlet.
- Dish Soap (Mild): A small amount of mild dish soap can help clean extremely dirty parts. It cuts through any greasy residue. Make sure it is a gentle, non-abrasive soap.
- Clean Towels or Drying Rack: You need these for drying all components thoroughly. Air drying is often best. However, towels speed up the initial drying process.
Using these simple tools ensures a thorough and safe cleaning process. I avoid harsh chemicals. They can damage the humidifier or leave harmful residues. Natural solutions like vinegar are often the best choice for home appliances.
Step-by-Step Guide: Disassembling Your Aqua Oasis Humidifier
Before you begin cleaning, safety is key. Always unplug your Aqua Oasis humidifier first. This prevents electric shock. Do not skip this crucial step. Once unplugged, you can start the disassembly process. This lets you reach all parts that need cleaning. I take my time with this step to ensure everything is done correctly.
Follow these steps to disassemble your unit:
- Unplug the Humidifier: Reach for the power cord. Pull the plug directly from the wall outlet. Never touch the humidifier with wet hands while it is plugged in.
- Empty the Water Tank: Carry the water tank to a sink. Remove the tank from the base. Unscrew the cap or lift the tank lid. Pour out any remaining water. Do this for the base reservoir too. Old water can contain contaminants.
- Separate Components: Your Aqua Oasis humidifier likely has several removable parts. These usually include:
- The water tank
- The base unit (which holds the water reservoir and internal components)
- The mist nozzle or cap
- Sometimes a float or smaller filter components
- Carefully lift or twist these parts apart. Refer to your humidifier’s manual if you are unsure.
- Remove Filters (If Applicable): Some Aqua Oasis models may have a water filter or demineralization cartridge. Check your manual for instructions on removing these. These filters often need special cleaning or replacement. If you have an Aprilaire humidifier filter or an Aircare humidifier filter, those have specific cleaning methods. For your Aqua Oasis filter, follow the manual.
- Place Parts Aside: Lay out all disassembled parts on a clean towel. This keeps them organized. It also prepares them for the next step of cleaning. I find this helps ensure no small pieces get lost.
Taking apart your humidifier allows for a deep and effective clean. You can reach all surfaces where mold or mineral buildup might occur. This thoroughness ensures truly fresh air.
Deep Cleaning the Water Tank and Base
The water tank and base are the main culprits for mineral buildup and mold growth. These parts hold water constantly. This makes them ideal spots for contaminants to flourish. A deep clean of these components is essential. I focus my cleaning efforts heavily on these areas.
Here is how to deep clean them:
Prepare the Cleaning Solution
- Vinegar and Water Mixture: Mix equal parts white vinegar and warm water. For example, if your tank holds a gallon, use half a gallon of vinegar and half a gallon of water. Vinegar’s acidity helps break down mineral deposits. It also kills mold and bacteria.
- Soaking: Pour the vinegar solution into the water tank. Swish it around to coat all internal surfaces. For the base, carefully pour enough solution into the water reservoir to cover the ultrasonic disc or heating element.
- Soak Time: Let the parts soak for at least 30 minutes to an hour. For heavy buildup or mold, you can soak them longer, even up to several hours. The longer soak time allows the vinegar to work its magic.
Scrubbing and Rinsing
- Scrub the Tank: After soaking, empty the vinegar solution from the tank. Use a soft brush or sponge to scrub the inside of the tank. Pay close attention to any slimy residue or white crust. These are signs of mold or mineral buildup. For other humidifier models like a Levoit 300S humidifier or a Pure Enrichment humidifier, the cleaning methods for the tank are quite similar.
- Clean the Base: For the base, use your soft brush to gently scrub the internal reservoir. Focus on the ultrasonic disc (a small metal disc) or the heating element. Mineral deposits often form here. If your humidifier is a cool mist humidifier, it will likely have an ultrasonic disc.
- Address Stubborn Stains: If you see stubborn mold spots, you can apply undiluted white vinegar directly to them. Let it sit for a few minutes, then scrub. For extreme cases, a very dilute bleach solution (1 teaspoon bleach per gallon of water) can be used. However, I prefer vinegar due to its safety and effectiveness. If you are cleaning mold with vinegar on other surfaces, the principles are similar.
- Thorough Rinsing: Rinse both the tank and the base thoroughly with clean, fresh water. Rinse until there is no vinegar smell left. Any residual cleaning solution can be released into the air when the humidifier runs. This is why thorough rinsing is important.
This deep cleaning process ensures your Aqua Oasis humidifier is free from harmful contaminants. It also restores its optimal performance. I always make sure these major parts are spotless.
Cleaning the Aqua Oasis Humidifier Filter and Smaller Components
While the tank and base get most of the attention, smaller components are just as important. These parts, like filters, mist nozzles, and caps, also come into contact with water. They can accumulate mold and mineral deposits. Cleaning them ensures no hidden pockets of grime remain. I make sure to address every small piece during my cleaning routine.
Here’s how to clean these vital parts:
Cleaning the Filter (If Applicable)
- Check Manual: Not all Aqua Oasis humidifiers have a removable filter that needs cleaning. Some use demineralization cartridges that require replacement. Others have wicking filters. Consult your humidifier’s manual for specific filter maintenance.
- Wicking Filters: If your model has a wicking filter, you usually cannot “clean” it in the traditional sense. These filters trap minerals over time. They often need replacement every few months. Rinse them briefly under cool water to remove loose debris. Do not use soap or vinegar on them. This can damage the filter material. You will know when it is time to replace them; they become stiff or discolored.
- Demineralization Cartridges: These are typically replaced, not cleaned. They help reduce white dust. Check the lifespan specified by Aqua Oasis.
- Permanent Filters: If your Aqua Oasis model has a permanent, washable filter, soak it in the vinegar and water solution. Gently scrub it with a soft brush. Rinse it thoroughly. Let it air dry completely before reinstalling. For other humidifier filters, like those in a Safety 1st humidifier or Baby Frida humidifier, the process might vary. Always check your specific model’s instructions.
Cleaning Mist Nozzles and Caps
- Soak in Vinegar Solution: Place the mist nozzle, tank cap, and any other small, removable plastic parts into a bowl. Pour some of your white vinegar and water solution over them. Let them soak for about 15-30 minutes. This helps loosen any mineral buildup or mold that might be clinging to them.
- Scrub Thoroughly: After soaking, use a small bottle brush or even an old toothbrush to scrub these parts. Pay attention to crevices and openings. Mineral scale can easily clog the mist nozzle, reducing output. Ensure all slime and crust are removed. Many humidifier models, including the Pure Enrichment humidifier and Levoit 300S humidifier, have similar small parts that benefit from this focused cleaning.
- Rinse Completely: Rinse all these small components under running clean water. Ensure no vinegar residue remains. Any residue could affect the quality of the mist or degrade the plastic over time.
Cleaning these smaller components completes your thorough cleaning process. It prevents hidden sources of contamination. It also ensures efficient mist production. I make sure every piece is clean before putting my humidifier back together.
Preventing Mold and Mineral Buildup in Your Humidifier
Cleaning your Aqua Oasis humidifier is crucial. However, prevention is just as important. Taking proactive steps can significantly reduce mold and mineral buildup. This means less frequent deep cleaning and a healthier environment. I follow these practices to keep my humidifier in top condition.
Here are key strategies for prevention:
- Daily Rinsing and Refilling:
- Empty Daily: Do not let water sit in the tank and base for extended periods. Empty any unused water every day. This prevents stagnant water, which is a breeding ground for bacteria and mold.
- Rinse Daily: Give the tank and base a quick rinse with fresh water before refilling. This washes away any surface contaminants before they can settle. I do this every morning.
- Use Distilled Water:
- Reduce Mineral Deposits: Tap water contains minerals. These minerals evaporate into the air as “white dust.” They also form hard scale buildup on internal components. Distilled water has these minerals removed. Using it greatly reduces mineral buildup.
- Protect Your Device: Less mineral buildup means your Aqua Oasis humidifier runs more efficiently. It also extends the life of the ultrasonic disc or heating element. I find this simple switch saves a lot of hassle.
- Regular Deep Cleaning Schedule:
- Weekly Cleaning: Aim for a weekly deep clean using the vinegar method. This schedule keeps mold and mineral buildup from getting out of hand. For heavily used humidifiers or those in hard water areas, you might need to clean more often.
- Monthly Sanitization: Every month or two, consider a slightly stronger sanitization. You can use a mild bleach solution (1 teaspoon per gallon of water) if vinegar is not enough. Remember to rinse thoroughly afterward. If you are cleaning mold off plastic on other items, the principles are similar.
- Thorough Drying:
- After Each Use: If you are storing your humidifier for a few days, ensure all parts are completely dry. Mold thrives in damp environments.
- Air Dry: Allow disassembled parts to air dry fully before reassembling or storing. Placing them on a clean towel in a well-ventilated area works well.
- Proper Placement:
- Airflow: Place your humidifier in an area with good airflow. Avoid putting it in enclosed spaces like closets without ventilation.
- Away from Walls: Do not place it directly against a wall. This allows moisture to circulate freely and prevents condensation on surfaces.
By adopting these preventative measures, you keep your Aqua Oasis humidifier cleaner for longer. This ensures it provides healthy, clean mist consistently. Prevention is easier than cure when it comes to humidifier maintenance.
Troubleshooting Common Cleaning Issues and Maintenance Tips
Even with regular cleaning, you might encounter some common issues. Knowing how to troubleshoot these problems helps maintain your Aqua Oasis humidifier. It also ensures it continues to function effectively. I have dealt with these issues myself.
Here are some common cleaning-related problems and solutions:
- Persistent Odor After Cleaning:
- Cause: An odor often means mold or bacteria were not completely removed. It can also indicate lingering vinegar residue.
- Solution: Disassemble the humidifier again. Re-soak all parts in a fresh, strong vinegar solution. Let them soak for several hours or overnight. Pay extra attention to tight crevices and the base. Rinse all parts meticulously multiple times. Ensure no vinegar smell remains before reassembling. Consider a very dilute bleach rinse (1 teaspoon per gallon of water) if vinegar fails. Cleaning mold with bleach is effective but requires extreme caution and thorough rinsing.
- White Dust Around the Humidifier:
- Cause: White dust is mineral residue from tap water. It becomes airborne with the mist.
- Solution: Switch to distilled water. Distilled water is purified and lacks minerals. If you cannot use distilled water, consider a demineralization cartridge if your Aqua Oasis model supports one. Regular cleaning of mineral deposits from the ultrasonic disc or heating element will also help.
- Humidifier Not Producing Mist:
- Cause: This often points to clogged components. Mineral buildup on the ultrasonic disc or heating element is a common cause. A clogged mist nozzle can also be responsible.
- Solution: Perform a deep clean focusing on the ultrasonic disc/heating element and mist nozzle. Use vinegar to dissolve the mineral scale. Gently scrub these areas with a soft brush. Ensure the mist nozzle’s opening is completely clear.
- Pink Slime or Film:
- Cause: This is often a harmless, airborne bacterium called Serratia marcescens. While not as harmful as black mold, it indicates a dirty humidifier.
- Solution: This requires aggressive cleaning. Disassemble the unit and soak all affected parts in a strong white vinegar solution. Scrub thoroughly with a brush. Rinse very well. Increase your cleaning frequency to daily rinsing and weekly deep cleans. Using distilled water can also help reduce its recurrence.
- When to Replace Parts:
- Filters: If your humidifier uses wicking filters, replace them every 1-3 months, depending on usage and water hardness. They become stiff, discolored, and less effective.
- Demineralization Cartridges: Replace these according to the manufacturer’s recommendations, typically every 1-2 months.
- General Wear: If parts are cracked, warped, or show signs of irreversible damage, replace them. A damaged tank can leak. A damaged ultrasonic disc will not produce mist efficiently.
By understanding these common issues, you can keep your Aqua Oasis humidifier running smoothly. Regular maintenance and proper troubleshooting extend its life. This ensures you enjoy clean, healthy air for a long time.
FAQ Section
How often should I clean my Aqua Oasis humidifier?
You should rinse your Aqua Oasis humidifier’s tank and base daily and refill with fresh water. Perform a deep clean with vinegar weekly to prevent mold and mineral buildup. If you use hard water or notice white dust, increase your cleaning frequency. Consistent cleaning ensures optimal performance and healthy air.
Can I use bleach to clean my humidifier?
You can use a very dilute bleach solution for deep sanitization of your Aqua Oasis humidifier. Mix 1 teaspoon of bleach per gallon of water. Use this solution for a short soak (10-15 minutes), then rinse all parts extremely thoroughly multiple times with clean water. Vinegar is generally preferred for regular cleaning due to its safety and effectiveness on mineral deposits.
What causes pink mold in humidifiers?
Pink mold in humidifiers is typically caused by a common airborne bacterium called Serratia marcescens. It thrives in moist environments like humidifier tanks. While not as harmful as black mold, it indicates your humidifier needs a thorough cleaning. Regular daily rinsing and weekly deep cleaning with vinegar can prevent its growth.
Why does my Aqua Oasis humidifier smell bad?
A bad smell from your Aqua Oasis humidifier usually means mold, bacteria, or stagnant water are present. It can also be due to mineral buildup reacting with water. A comprehensive cleaning with white vinegar should eliminate the odor. Ensure you empty and rinse the tank daily and use distilled water to prevent future smells.
Is distilled water necessary for my Aqua Oasis humidifier?
Using distilled water in your Aqua Oasis humidifier is highly recommended, though not always strictly necessary. Distilled water lacks minerals found in tap water. These minerals cause white dust and hard scale buildup inside your humidifier. Using distilled water reduces cleaning frequency and extends your humidifier’s lifespan.
How do I store my Aqua Oasis humidifier when not in use?
When storing your Aqua Oasis humidifier, first perform a complete deep clean. Disassemble all parts and allow them to air dry thoroughly. Store the fully dry components in a clean, dust-free area, preferably in its original box or a sealed container. This prevents mold growth and keeps the unit ready for its next use.
Conclusion
Keeping your Aqua Oasis humidifier clean is a simple yet vital task. It protects your health from airborne contaminants. It also ensures your device runs efficiently for years. By following my easy steps, you can maintain a pristine humidifier. This helps you enjoy fresh, comfortable air in your home. Remember the importance of regular cleaning and prevention.
Make it a habit to rinse your Aqua Oasis humidifier daily. Perform a deep clean with vinegar weekly. Use distilled water whenever possible. These actions prevent mold and mineral buildup. A clean humidifier is a happy humidifier. It gives you the best air quality. Take control of your indoor air. Embrace these cleaning habits for a healthier home environment. You will breathe easier, knowing your humidifier is truly clean.
- Aqua Oasis humidifier
- humidifier cleaning
- how to clean humidifier
- humidifier maintenance
- mold prevention
- mineral buildup

Todd Martin
Senior Writer
With over 15 years of experience in home renovation and design, I started HEG to share what I’ve learned with homeowners who want to create spaces that are both beautiful and functional. I’ve always believed in a hands-on approach, and over the years, I’ve picked up practical solutions that actually work. Through HEG, I aim to make home improvement more approachable, sharing real tips that help you create a home you truly love.