· Todd Martin · Kitchen Essentials · 15 min read
How To Clean Bean Sprouts

Mastering How To Clean Bean Sprouts for Freshness
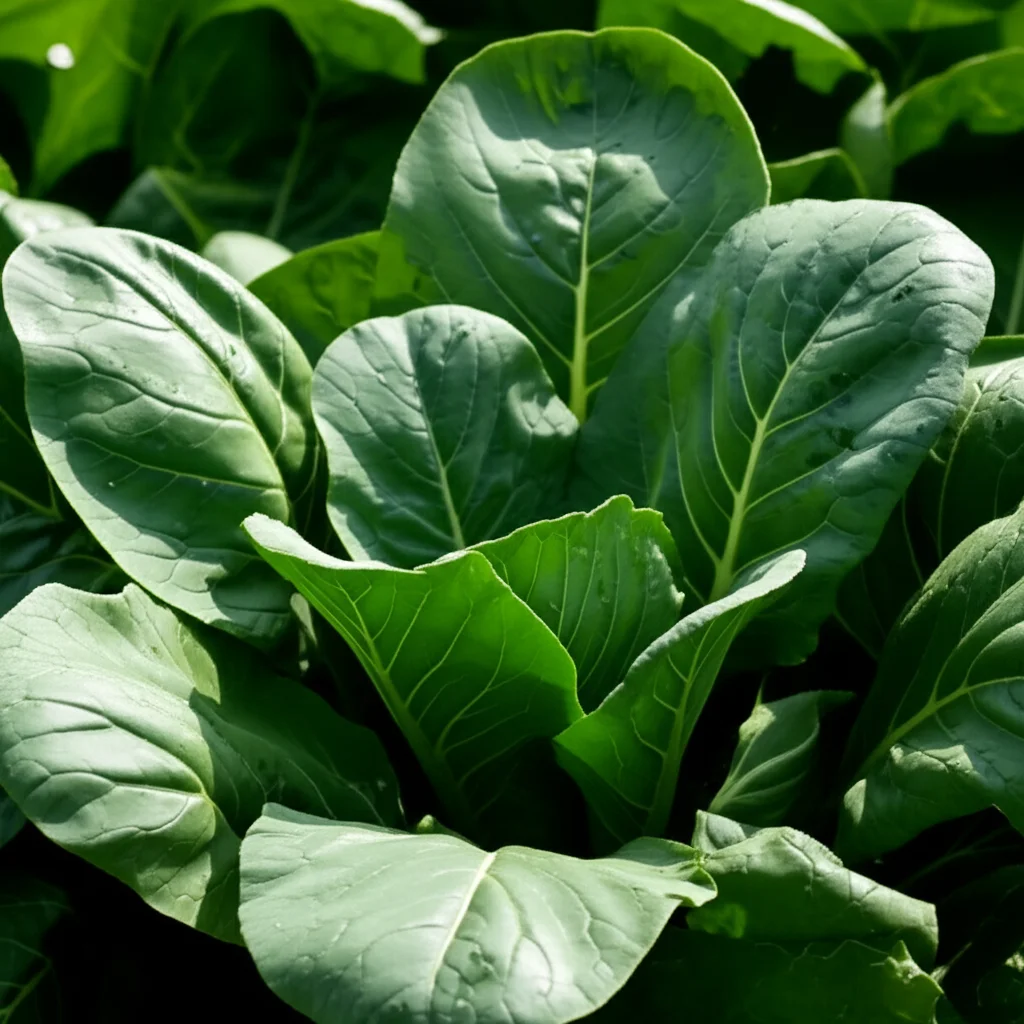
Bean sprouts are a wonderful addition to many dishes. Their crisp texture and mild flavor make them perfect for stir-fries, salads, and sandwiches. However, these delicate greens need proper care before you eat them. Learning how to clean bean sprouts correctly is very important.
Unwashed sprouts can carry soil, shell fragments, or even harmful bacteria. I always make sure my sprouts are clean to keep my family safe. This article will show you simple steps to wash your bean sprouts. We will cover tools you need, the washing process, and smart storage tips. You will also learn how to spot spoiled sprouts and avoid common cleaning errors.
Takeaway:
- Always wash bean sprouts thoroughly before eating.
- Remove roots and husks for better texture and cleanliness.
- Dry sprouts well before storing them to keep them fresh longer.
- Store cleaned sprouts in the refrigerator in an airtight container.
To clean bean sprouts, rinse them under cool running water. Place them in a large bowl of water and gently swirl to loosen debris. Pick out any brown spots, root hairs, or shell fragments. Drain them well and pat them dry before use or storage.
Why Proper Bean Sprout Cleaning Matters for Health
Eating fresh food is a key part of a healthy diet. Bean sprouts are known for their health benefits, but they also carry risks if not cleaned well. These sprouts grow in warm, moist conditions. These conditions are also perfect for bacteria to grow. This includes bacteria like Salmonella or E. coli.
You cannot see these germs with your eyes. Washing sprouts removes loose dirt and small bits of shells. It also helps wash away many harmful bacteria. I always tell people that a few minutes spent cleaning can prevent serious illness. Clean sprouts also taste much better. They have a crisp texture without any gritty feel.
Understanding the Risks of Unwashed Sprouts
Bean sprouts come from seeds that germinate in water. Sometimes, the original seeds might carry bacteria. The humid environment during sprouting helps these bacteria multiply. Eating unwashed sprouts directly increases your risk of foodborne illness.
Symptoms can range from stomach cramps and diarrhea to more severe health issues. Young children, older adults, and people with weak immune systems are especially at risk. Proper washing reduces this risk significantly. It makes your sprouts safer to enjoy.
Benefits of Clean Sprouts
Beyond safety, clean sprouts offer a better eating experience. When you clean them, you remove the tiny root hairs. You also get rid of any green or brown shell casings that might cling to the sprouts. These bits can add an unwanted texture or taste.
A well-cleaned sprout is crunchy and tastes fresh. It looks appealing in your dishes. Taking time to clean them shows you care about the quality of your food. This small effort makes a big difference in your meals.
Essential Tools and Preparations for Cleaning Bean Sprouts
Before you begin cleaning your bean sprouts, gathering the right tools makes the job easier. You do not need fancy equipment. Most items are likely already in your kitchen. Having everything ready before you start saves time. This also helps keep your cleaning process efficient.
A clean workspace is also important. I always clear my sink and countertop before I handle any fresh produce. This prevents cross-contamination. You want to make sure your sprouts touch only clean surfaces. This small step improves overall food safety in your kitchen.
Gathering Your Cleaning Arsenal
Here is what you will need for cleaning bean sprouts:
- Large Bowl: Choose a bowl big enough to hold all your sprouts with room to spare. This allows the sprouts to move freely in the water.
- Colander: A colander with small holes is best. This keeps tiny sprouts from slipping through.
- Paper Towels or Clean Kitchen Towels: These are for drying your sprouts. They absorb moisture very well.
- Access to Cool Running Water: Your kitchen faucet works perfectly for this.
- Clean Cutting Board (Optional): Useful if you plan to trim the sprouts further.
Having these items ready helps you move through the cleaning steps without interruption. It makes the entire process smooth.
Setting Up a Hygienic Workspace
A clean kitchen is a safe kitchen. Before I handle bean sprouts, I wipe down my counters. I also make sure my sink is clean. This prevents any dirt or germs from other foods from reaching the sprouts. Think of it as preparing a clean stage for your food.
Use hot, soapy water to clean your sink and counters. Rinse them well afterwards. You might even consider wiping down your faucet handle. This ensures everything you touch during the cleaning process is sanitary. Keeping your kitchen tools clean is important too, just like knowing how to clean a can opener after use. This practice sets a good foundation for safe food handling.
Step-by-Step Guide: How to Clean Bean Sprouts Effectively
Cleaning bean sprouts is a simple process. It only takes a few minutes but provides a lot of peace of mind. Following these steps helps ensure your sprouts are clean and safe to eat. I follow this routine every time I buy sprouts. It has always worked well for me.
The key is gentleness and thoroughness. Bean sprouts are delicate. You do not want to damage them during cleaning. A careful approach keeps them crisp and fresh. This guide walks you through each action clearly.
The Initial Rinse
Start by placing your bean sprouts in a large bowl. Fill the bowl with cool tap water. Do not use warm or hot water, as it can make the sprouts mushy. The cool water helps keep them crisp. Gently swish the sprouts around in the water with your hands.
This action helps loosen any dirt, tiny root hairs, or shell fragments that cling to the sprouts. You will see these particles sink to the bottom of the bowl. Repeat this step if the water looks very cloudy or dirty. I often do two or three initial rinses to be sure.
Removing Root Hairs and Green Shells
After the initial rinse, you will notice small brown root hairs and green or brown shell casings. These are harmless but can affect texture. You can easily remove them during this stage.
- Gentle Sorting: Place a handful of sprouts into a colander. Rinse them under cool, running water.
- Hand Picking: As the water runs, use your fingers to gently pick out any noticeable brown root ends. You can also pick out the green or brown shell fragments.
- Float Away: Many root hairs and shells will float away with the running water. Those that stick can be pulled off easily.
This part takes a little time, but it makes a big difference in the final product. Your sprouts will look much cleaner and more appealing. For general home hygiene, ensuring your water sources are clean is also important, much like knowing how to clean a water filter regularly to maintain water quality throughout your home.
Final Rinse and Drain
Once you have removed most of the unwanted bits, it is time for a final thorough rinse. Put all your cleaned sprouts back into the colander. Rinse them once more under cool, running water. Make sure to move them around so water reaches every sprout.
After the final rinse, let the sprouts drain completely in the colander. Shake the colander gently to remove excess water. You want them as dry as possible before the next step. This helps with storage and keeps them from getting slimy.
Advanced Tips for Super Clean Bean Sprouts
Cleaning bean sprouts goes beyond just rinsing. A few extra steps can make your sprouts even better. These tips focus on enhancing crispness and ensuring maximum hygiene. I learned these tricks over time, and they truly make a difference. They help your sprouts stay fresh and appealing for longer.
Using these advanced methods can elevate your cooking. Your dishes will benefit from truly crisp and clean sprouts. These small additions to your routine yield great results.
Achieving Maximum Crispness
For extra crisp bean sprouts, a cold-water bath is key. After you rinse and drain your sprouts, fill a clean bowl with ice water. Add your sprouts to this ice bath. Let them sit for about 10-15 minutes. The cold shock makes them incredibly crisp.
This step is especially good if your sprouts look a little limp. It revives them beautifully. After the ice bath, drain them again thoroughly. The colder the water, the better the crisping effect. This technique ensures your sprouts add the perfect crunch to any meal.
Optional Sanitizing Rinse
Some people prefer an extra layer of sanitation for their sprouts. A very diluted vinegar solution can help. Mix one part white vinegar with ten parts cool water in a bowl. Soak your cleaned sprouts in this solution for about 1-2 minutes. Do not soak them longer, as vinegar can affect their taste.
After soaking, rinse the sprouts very well under cold running water. This removes any vinegar taste. While vinegar helps sanitize, thorough rinsing is still the most important step for safety. Using vinegar is a common cleaning method for various items, and understanding its properties can be helpful for general kitchen cleanliness, similar to learning how to clean stainless steel appliances with it. Always rinse food items thoroughly after using any cleaning solution.
Drying and Storing Clean Bean Sprouts for Longevity
Drying your bean sprouts thoroughly is as important as cleaning them. Excess moisture is the enemy of fresh produce. It speeds up spoilage and can make sprouts slimy. Proper drying extends their shelf life significantly. This means less food waste and more enjoyment from your sprouts.
Once dried, knowing how to store them correctly is the next step. Good storage keeps them crisp and prevents bacterial growth. I always make sure my sprouts are dry before they go into the fridge. This simple practice keeps them fresh for days.
The Crucial Step of Drying
After rinsing and draining, spread your bean sprouts in a single layer on clean paper towels or a clean kitchen towel. You can also use a salad spinner if you have one. A salad spinner works very well for removing water.
Gently pat the sprouts dry with another layer of paper towels. You want to remove as much surface moisture as possible. Do not rub them roughly, as they are delicate. This drying step prevents them from becoming slimy in storage. It also helps them stay crisp when you cook them.
Best Practices for Fresh Storage
Once your bean sprouts are thoroughly dry, proper storage is vital. You want to protect them from air and moisture. This keeps them fresh and prevents spoilage.
Here is how I store my cleaned bean sprouts:
- Line an airtight container: Place a layer of dry paper towels at the bottom of a clean, airtight container.
- Add sprouts: Gently place the dried sprouts on top of the paper towels.
- Add more towels: Put another layer of paper towels on top of the sprouts.
- Seal and refrigerate: Close the lid tightly. Store the container in the coldest part of your refrigerator.
The paper towels absorb any remaining moisture. Change the paper towels every day or two if they become damp. This method helps bean sprouts stay fresh for 3-5 days. For continued kitchen hygiene, remember to keep all your cleaning tools in good order, like ensuring you know how to clean a filter in a dishwasher to keep your appliances running efficiently and cleanly.
Common Mistakes to Avoid When Cleaning Bean Sprouts
Even with simple tasks like cleaning bean sprouts, mistakes can happen. These errors can lead to mushy sprouts, faster spoilage, or even food safety issues. Knowing what to avoid helps you get the best results every time. I have learned these lessons through experience.
Avoiding these common pitfalls makes your cleaning process more effective. It also ensures your sprouts remain delicious and safe to eat. Pay attention to these points to master sprout cleaning.
Overlooking Damaged Sprouts
Before you begin cleaning, always inspect your batch of bean sprouts. Sometimes, you will find sprouts that are brown, slimy, or have a strong, off-putting smell. These sprouts are already spoiled. Trying to clean them will not make them safe to eat.
Remove and discard any damaged or spoiled sprouts immediately. Do not mix them with healthy ones. One bad sprout can affect the whole batch. Always prioritize freshness and quality.
Improper Drying Techniques
One of the most common mistakes is not drying the sprouts enough. As I mentioned, moisture is the enemy. If sprouts go into storage wet, they will spoil quickly. They will turn slimy and develop an unpleasant odor.
- Avoid air drying only: Simply leaving them in a colander to air dry is often not enough.
- Do not squeeze: Squeezing them hard to dry can bruise the delicate sprouts. This makes them mushy.
Always use paper towels or a salad spinner to remove as much surface water as possible. Take the extra time to pat them gently until they are truly dry. This step prevents early spoilage.
When Not to Use Bean Sprouts: Signs of Spoilage
Knowing how to clean bean sprouts is important, but knowing when to throw them away is equally vital. Bean sprouts are perishable. They do not last forever, even with proper cleaning and storage. Eating spoiled sprouts can cause illness. Always check your sprouts before you prepare them.
Learning the signs of spoilage helps you protect yourself and your family. Trust your senses. If something seems off, it is always better to be safe and discard the sprouts.
Visual Cues of Spoilage
Your eyes are your first line of defense against spoiled sprouts. Look for these signs:
- Discoloration: Fresh sprouts are white or creamy white. If they start to turn brown, gray, or dark, they are likely spoiled. Black spots are also a bad sign.
- Slimy Texture: Fresh sprouts are crisp and firm. If they feel slimy or mushy to the touch, they are spoiled. This is a very clear sign of bacterial growth.
- Wilting: While some wilting can happen with age, excessive wilting where the sprouts look completely limp and sad often means they are past their prime.
If you see any of these visual cues, do not use the sprouts.
Olfactory Warnings
Your nose is also a powerful tool. Fresh bean sprouts have a very mild, fresh scent. Sometimes, they might have a faint, earthy smell.
However, if your bean sprouts have any of these smells, they are spoiled:
- Sour Smell: This is a common sign of bacterial spoilage.
- Ammonia-like Smell: This is a strong indicator of spoilage.
- Fishy or Strong Unpleasant Odor: Any foul smell means the sprouts are no longer safe.
Do not try to wash away a bad smell. Once sprouts smell bad, they are unsafe. Throw them out and get a fresh batch. Your health is worth it.
FAQ Section
How long do bean sprouts last after cleaning?
Properly cleaned and dried bean sprouts can last for about 3-5 days in the refrigerator. Store them in an airtight container lined with paper towels. The paper towels absorb excess moisture, which helps keep them fresh. Change the paper towels if they become damp to extend their shelf life.
Can I clean bean sprouts with vinegar?
Yes, you can use a very diluted vinegar solution for an optional sanitizing rinse. Mix one part white vinegar with ten parts cool water. Soak the cleaned sprouts for 1-2 minutes, then rinse them very thoroughly under cold running water. This removes any vinegar taste and provides an extra layer of cleanliness.
Is it necessary to remove all the tiny roots?
It is not strictly necessary for safety to remove all tiny root hairs. However, removing them improves the texture of the sprouts significantly. The roots can feel a bit fibrous or stringy when eaten. Removing them, along with any green or brown shell fragments, makes the sprouts more enjoyable.
What’s the best way to store cleaned bean sprouts?
The best way to store cleaned bean sprouts is in an airtight container. Line the container with dry paper towels on the bottom and place another layer on top of the sprouts. Seal the container tightly and store it in the coldest part of your refrigerator. Change the paper towels regularly if they get wet.
Can I clean bean sprouts in advance?
Yes, you can clean bean sprouts in advance. Cleaning them ahead of time saves you prep time when you cook. Just make sure to dry them extremely well after washing. Store them properly in an airtight container with paper towels in the refrigerator. They will stay fresh for a few days.
Do I need to soak bean sprouts before cleaning?
Soaking bean sprouts in cool water is a good first step, but it is part of the cleaning process, not a separate pre-cleaning step. The soak helps to loosen dirt, debris, and shell fragments. After a brief soak and gentle swirling, you then rinse them under running water to remove impurities.
Conclusion
Cleaning bean sprouts is a simple yet crucial step for enjoying this healthy ingredient safely. We covered why proper cleaning matters and the tools you need. We also walked through the step-by-step process of how to clean bean sprouts effectively. From initial rinsing to removing root hairs and ensuring thorough drying, each action helps ensure freshness.
Remember to dry your sprouts well and store them in an airtight container with paper towels. This will keep them crisp and extend their freshness for several days. Always check for signs of spoilage like sliminess or a bad smell. Taking these simple precautions makes a big difference in the quality and safety of your meals. Make clean bean sprouts a regular part of your healthy eating habits. Your body will thank you for it!
- bean sprouts
- sprout cleaning
- food safety
- kitchen tips
- fresh produce
- washing vegetables

Todd Martin
Senior Writer
With over 15 years of experience in home renovation and design, I started HEG to share what I’ve learned with homeowners who want to create spaces that are both beautiful and functional. I’ve always believed in a hands-on approach, and over the years, I’ve picked up practical solutions that actually work. Through HEG, I aim to make home improvement more approachable, sharing real tips that help you create a home you truly love.