· Todd Martin · Home Essentials · 12 min read
How To Clean Bottle Brush
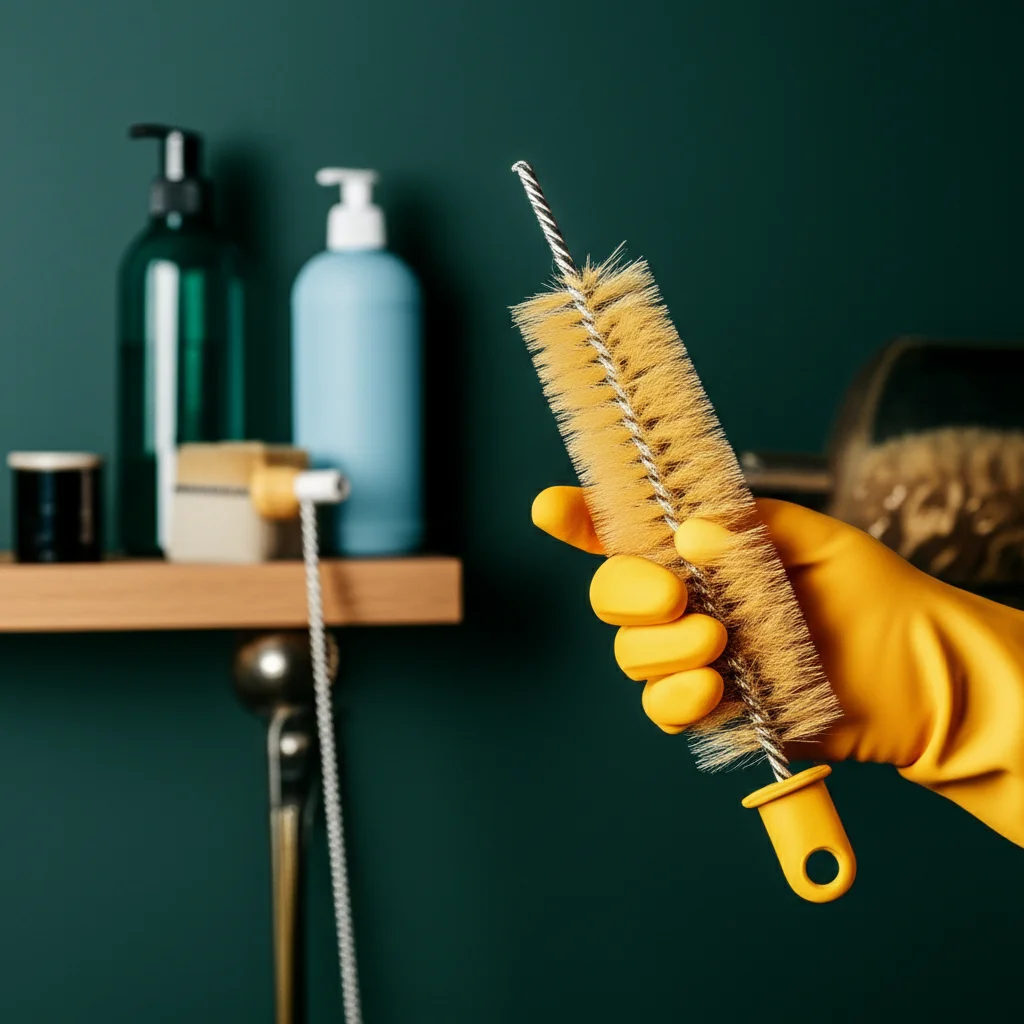
Mastering the Art of Bottle Brush Cleaning: A Comprehensive Guide
A clean home starts with clean tools. Your bottle brush works hard to keep your bottles spotless. But have you thought about how to clean bottle brush itself? Many people overlook this important step. A dirty bottle brush can spread germs, making your cleaning efforts useless.
This guide will show you how to clean bottle brush thoroughly. We will cover daily care, deep cleaning methods, and tips for removing stubborn stains. You will learn about effective drying and storage techniques. We will also discuss when to replace your brush. By the end, you will know how to keep your bottle brush hygienic and ready for action. This ensures your bottles are truly clean every time.
Takeaway
- Rinse your bottle brush thoroughly after each use to remove food debris.
- Deep clean your bottle brush weekly using dish soap, vinegar, or a dishwasher.
- Sanitize the brush to kill bacteria and prevent mold growth.
- Ensure the bottle brush dries completely to avoid mildew and odors.
- Replace your bottle brush every 1-3 months or when signs of wear appear.
To effectively clean your bottle brush, rinse it thoroughly after each use to remove food particles. Weekly, deep clean it with warm soapy water, a vinegar soak, or by running it through the dishwasher on a hot cycle. Always allow it to air dry completely.
Why Cleaning Your Bottle Brush Matters
Your bottle brush is a vital tool in the kitchen. It reaches deep inside bottles that sponges cannot. This helps remove milk residue, food particles, and other grime. Over time, these particles transfer onto the brush itself. If you do not clean your bottle brush, it becomes a breeding ground for bacteria, mold, and mildew.
Using a dirty brush to clean bottles defeats the purpose. You are simply moving germs from the brush to your “clean” bottle. This is especially critical for baby bottles or water bottles. A dirty brush poses health risks. Regular cleaning prevents bacterial buildup. It ensures your bottles are genuinely hygienic.
Cleaning your bottle brush also extends its lifespan. Trapped food and moisture can degrade bristles over time. Mold and mildew can damage the brush head. Proper cleaning and drying keep the bristles firm and effective. This saves you money in the long run. It also ensures your brush performs its job well.
Daily Care for Your Bottle Brush
Maintaining your bottle brush daily is simple. This routine prevents major grime buildup. It keeps your brush ready for its next use. Following these steps helps keep your brush hygienic. It reduces the need for frequent deep cleaning.
First, always rinse your bottle brush immediately after each use. Use hot running water. Make sure to rinse away all visible food particles or milk residue. You can gently squeeze the bristles under the water. This helps dislodge any trapped debris.
Next, apply a small amount of dish soap directly to the bristles. Work it into a lather using your fingers. Scrub the bristles against your palm or a clean surface. This helps clean the brush itself. Rinse the brush again thoroughly under hot water. Ensure all soap is removed. This daily habit prevents odors and keeps your brush fresh. For tips on keeping other items clean, learn how to clean water bottle effectively.
Deep Cleaning Your Bottle Brush: Manual Methods
Sometimes, a daily rinse is not enough. Your bottle brush needs a deeper clean. Manual methods are effective for thorough sanitization. These methods use common household products. They help kill germs and eliminate odors.
Dish Soap and Hot Water Soak
A simple dish soap and hot water soak works wonders. Fill a clean basin or sink with hot water. Add a generous squirt of dish soap. Submerge your bottle brush completely in the soapy water. Let it soak for 15-30 minutes. This helps loosen stubborn grime and kill bacteria. After soaking, scrub the brush bristles with your fingers. Rinse it under hot running water until clean. This method is gentle yet effective.
Vinegar Soak for Natural Sanitization
Vinegar is a natural disinfectant and deodorizer. It is excellent for deep cleaning your bottle brush. Mix equal parts white vinegar and warm water in a bowl. Place your bottle brush in the solution. Ensure the bristles are fully submerged. Let it soak for at least 30 minutes, or even overnight for tough cases.
The vinegar helps break down mineral deposits and kills bacteria. It also eliminates lingering odors. After soaking, rinse the brush thoroughly with clean water. The vinegar smell will dissipate as it dries. You can learn more about general cleaning with vinegar by reading how to clean shower with vinegar. This natural method is safe for all brush types.
Baking Soda Paste for Stubborn Stains
Baking soda is a mild abrasive and odor absorber. It is great for tackling stubborn stains on your bottle brush. Make a thick paste by mixing baking soda with a little water. Apply the paste directly to stained areas of the brush. Let it sit for 10-15 minutes.
Then, scrub the stained bristles gently with an old toothbrush. The baking soda will help lift the stains. Rinse the brush thoroughly under running water. This method is particularly effective for discoloration. It leaves your brush looking cleaner. For general brush stain removal, consider these tips on how to clean stain off a brush.
Deep Cleaning Your Bottle Brush: Dishwasher Method
Many modern bottle brushes are dishwasher safe. This is a convenient way to deep clean and sanitize them. Always check your brush’s manufacturer instructions first. Some materials may not withstand high dishwasher temperatures. Dishwasher cleaning offers a thorough wash.
If your bottle brush is dishwasher safe, place it on the top rack. The top rack usually has gentler water pressure and heat. Make sure the bristles are not bent or trapped. This prevents damage during the wash cycle. Use your regular dishwasher detergent. Run a hot wash cycle. The high temperatures in a dishwasher effectively sanitize the brush.
After the cycle finishes, remove the brush. Check if any water is trapped inside the handle. If so, shake it out. Allow the brush to air dry completely. The dishwasher method is ideal for busy households. It provides a hygienic clean with minimal effort. Ensure your brush is fully dry before storing it.
Removing Stubborn Stains and Odors
Sometimes, deep cleaning might not remove every stubborn stain or persistent odor. Certain residues, like those from formula or heavily pigmented drinks, can be challenging. Don’t worry, there are additional steps you can take. These methods are for occasional use. They should not replace regular cleaning.
Diluted Bleach Solution for Sanitization
For extreme stains or odors, a diluted bleach solution can be very effective. Mix one teaspoon of bleach with one gallon of water. Submerge your bottle brush in this solution for no more than 5-10 minutes. Bleach is a powerful disinfectant. It will kill almost all bacteria and mold.
After soaking, rinse the bottle brush extensively under hot running water. Rinse for several minutes to ensure all bleach residue is gone. Let the brush air dry completely in a well-ventilated area. This method should be used cautiously. Always handle bleach with care.
Lemon Juice for Freshness and Stain Removal
Lemon juice is a natural bleaching agent and deodorizer. It is a safer alternative to bleach for lighter stains and odors. Squeeze fresh lemon juice directly onto the brush bristles. You can also mix it with a little salt to create a mild scrubbing paste. Rub the lemon juice or paste onto the stained areas.
Let the lemon juice sit on the brush for 15-30 minutes. The acidity helps break down stains and neutralize odors. Rinse the brush thoroughly with warm water afterwards. The lemon juice will leave a fresh, clean scent. This method is excellent for maintaining freshness between deep cleans. For more tips on general stain removal, explore how to remove how to clean stain off brush without mineral spirits.
Drying and Storing Your Bottle Brush
Proper drying and storage are just as important as cleaning. A damp bottle brush is an invitation for mold and mildew. These can develop quickly in moist environments. Correct drying ensures your brush stays hygienic. It also prolongs the life of the bristles.
After cleaning, shake off excess water from your bottle brush. Hang it vertically if it has a hook. This allows water to drip away naturally. If there is no hook, place it upright in a clean, dry area. Ensure air circulates freely around the bristles. Avoid placing it in a closed container or drawer immediately. This traps moisture and encourages mold growth.
Store your bottle brush in a designated spot. It should be away from other dirty dishes. A utensil holder on your counter is ideal. Make sure it has good airflow. Proper storage prevents contamination from other kitchen items. It keeps your brush ready for its next use. A well-dried and stored brush smells fresh. It performs better, too.
When to Replace Your Bottle Brush
Even with the best cleaning routine, bottle brushes do not last forever. Knowing when to replace your bottle brush is crucial. An old, worn-out brush cannot clean effectively. It may even harbor more germs. Regular replacement ensures optimal hygiene.
Look for signs of wear and tear. If the bristles are splayed, matted, or falling out, it’s time for a new brush. Worn bristles lose their stiffness. They cannot properly scrub the inside of bottles. This leaves residue behind. A bottle brush should maintain its shape.
Another sign is persistent discoloration or a lingering odor. If your brush still smells or looks dirty after deep cleaning, replace it. This indicates a deep-seated bacterial or mold issue. No amount of cleaning will fix it. For example, if you notice your brush is discolored or has strange odors after cleaning, it’s a clear sign for replacement. The lifespan of a bottle brush varies, but generally, replace it every 1 to 3 months. If you use it very frequently, you might need to replace it sooner. Regularly check your how to clean water bottle mouthpiece as well.
Specialized Bottle Brushes and Their Care
Not all bottle brushes are the same. Different types of bottles often require specialized brushes. Understanding these variations helps with proper care. Tailoring your cleaning approach ensures effectiveness. It also protects your brushes.
For example, baby bottle brushes often have soft, delicate bristles. They sometimes include a nipple brush attachment. These brushes require gentle cleaning. Avoid harsh chemicals that could damage the bristles. Warm soapy water and vinegar soaks are best. Ensure thorough rinsing to remove all soap residue.
Brushes for water bottles, like those for how to clean Brita water bottle or sports bottles, might have stiffer bristles. They may also feature specialized heads for reaching narrow openings. These can often withstand more rigorous cleaning. Dishwasher cleaning might be suitable for them. Always check the material first. Some brushes, like those for reusable water bottles, face tougher grime. They need more frequent deep cleans. For metal bottles, like copper, consider specific cleaning tips related to how to clean copper bottle.
Some bottle brushes come with silicone bristles. These are often more durable and less prone to bacterial growth. Silicone brushes are generally dishwasher safe. They dry quickly. Their non-porous nature makes them easier to clean. Regardless of the type, always prioritize air drying. Proper care extends the life of any specialized brush.
Troubleshooting Common Bottle Brush Issues
Even with regular cleaning, you might encounter specific problems. Understanding how to troubleshoot these issues helps. It ensures your bottle brush remains a reliable cleaning tool. Addressing problems quickly prevents them from worsening.
One common issue is the brush developing a strange odor. This usually indicates bacterial growth. If daily rinsing and dish soap are not enough, try a vinegar soak. An overnight soak in white vinegar often eliminates persistent smells. If the odor remains after a vinegar soak, it might be time to replace the brush. A lingering bad smell suggests deep-seated microbial contamination.
Another problem is bristles becoming matted or losing their shape. This happens with prolonged use or improper storage. To temporarily revive them, try soaking the brush in very hot water. Gently reshape the bristles with your fingers. Then, let it air dry. If this does not work, the brush is likely worn out. It will not clean effectively. Replacing it is the best solution.
Sometimes, mold spots appear on the brush handle or head. This happens due to insufficient drying. A diluted bleach solution can remove mold. Apply it carefully, let it sit for a few minutes, then rinse thoroughly. Ensure the brush dries completely afterwards. If mold keeps reappearing, improve your drying method. Always store the brush in a well-ventilated area. Addressing these issues promptly maintains your brush’s hygiene and effectiveness.
Conclusion
A clean bottle brush is fundamental for kitchen hygiene. We have explored simple daily care steps. We also discussed thorough deep cleaning methods. Manual techniques like soap and water, vinegar, and baking soda are powerful. The dishwasher method offers convenience for compatible brushes. We covered how to tackle stubborn stains and odors. Remember, proper drying and storage are critical. These steps prevent mold and extend your brush’s life.
Knowing when to replace your bottle brush is also key. Look for signs of wear, discoloration, or persistent odors. Regular maintenance ensures your bottle brush remains an effective tool. It helps keep your bottles truly clean and safe. Make cleaning your bottle brush a regular part of your cleaning routine. Your health and your bottles will thank you. Start your bottle brush cleaning routine today for a healthier home.
- bottle brush cleaning
- kitchen hygiene
- cleaning tools
- sanitization
- home cleaning
- bottle cleaning

Todd Martin
Senior Writer
With over 15 years of experience in home renovation and design, I started HEG to share what I’ve learned with homeowners who want to create spaces that are both beautiful and functional. I’ve always believed in a hands-on approach, and over the years, I’ve picked up practical solutions that actually work. Through HEG, I aim to make home improvement more approachable, sharing real tips that help you create a home you truly love.