· Todd Martin · Home Cleaning · 12 min read
How To Clean Doors White

Achieve Sparkling White Doors: Your Comprehensive Cleaning Guide
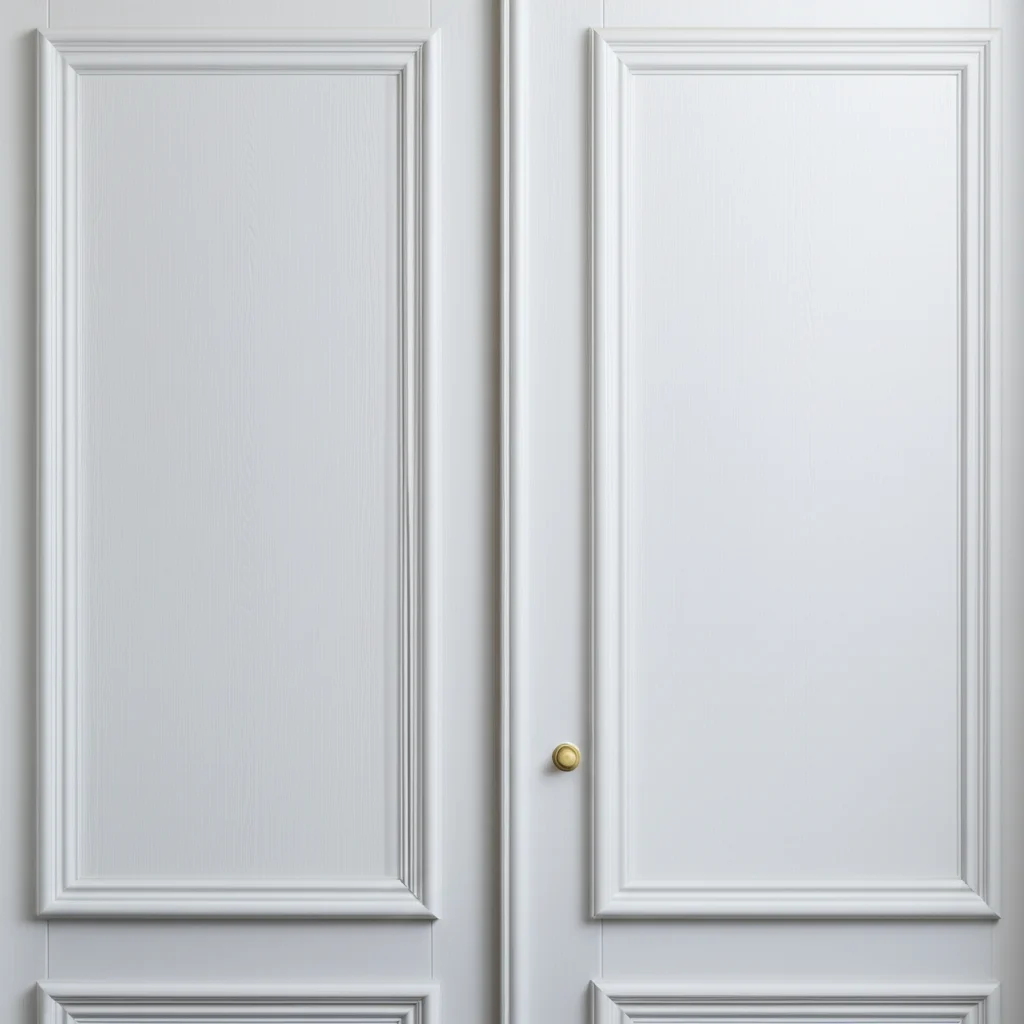
White doors bring brightness and elegance to any home. They create a clean, open feel, making rooms appear larger and more inviting. However, white surfaces show every smudge, fingerprint, and scuff mark. Keeping them pristine can feel like a constant battle against dirt and grime. I know the frustration of seeing those dark lines on a beautiful white surface.
This guide will show you exactly how to clean doors white, transforming them from dingy to dazzling. We will explore the best tools and techniques for various types of dirt and stains. You will learn specific methods for general cleaning, stubborn marks, and even yellowing. We will also discuss how to adapt your cleaning approach based on door material. My goal is to help you maintain the crisp, clean look of your white doors with confidence.
Takeaway:
- Regular, gentle cleaning prevents dirt buildup on white doors.
- Identify your door’s material before choosing cleaning products.
- Mild soap and water are often effective for general dirt.
- Target stubborn scuffs and stains with baking soda paste or magic erasers.
- Address yellowing with specific methods like vinegar or hydrogen peroxide, testing first.
- Prevent future discoloration through consistent maintenance and protective measures.
Cleaning white doors requires gentle products and a systematic approach. First, dust the door, then wipe it down with a soft cloth dampened with warm water and a few drops of mild dish soap. For stubborn marks, use a baking soda paste or a melamine foam eraser, testing on an inconspicuous area first.
Why White Doors Need Special Care to Stay Clean
White doors are beautiful. They offer a timeless aesthetic that brightens any living space. Their clean look adds a sense of spaciousness and modern elegance. I love how a fresh white door instantly makes a room feel lighter.
However, white surfaces show dirt more easily than darker colors. Every fingerprint, pet nose print, and scuff mark stands out clearly. This means white doors require more frequent and targeted cleaning. Ignoring these marks allows dirt to build up, making the cleaning job harder later. Regular care keeps them looking their best.
Over time, white doors can also suffer from yellowing. Sunlight exposure, cooking fumes, and certain cleaning products contribute to this discoloration. This yellowing diminishes the bright, clean look we all desire. Understanding these challenges helps us choose the right cleaning methods. It ensures your white doors remain a highlight of your home.
Essential Tools and Gentle Cleaning Solutions
Before you start cleaning your white doors, gathering the right supplies is important. Having everything on hand makes the process smoother and more efficient. I always make sure I have my tools ready before I begin. This preparation prevents interruptions and ensures a thorough clean.
You will need a few basic items for general cleaning. Soft microfibre cloths are essential. They are gentle on surfaces and highly absorbent. A bucket of warm water is also necessary for mixing cleaning solutions. For everyday dirt, I recommend a mild dish soap. Just a few drops in warm water create an effective, gentle cleaner.
For tougher marks, you might need stronger but still gentle options. A non-abrasive sponge or a melamine foam eraser (often called a “magic eraser”) can tackle scuffs without damaging the paint. Baking soda is another excellent, natural abrasive for stubborn spots. White vinegar is a versatile cleaner, especially useful for grease or residue. Remember, always test any new cleaner in an inconspicuous area first. This prevents potential damage or discoloration to your door’s finish. For more information on general door cleaning, you can visit our guide on how to clean doors.
A Step-by-Step Guide to Cleaning White Doors
Cleaning your white doors effectively involves a simple, methodical process. Following these steps ensures a thorough clean without damaging the finish. I find that a systematic approach always yields the best results. Let us start with the basics.
First, begin by dusting the entire door surface. Use a soft, dry microfibre cloth or a duster to remove loose dirt, cobwebs, and surface dust. Pay attention to the top edge and any decorative moldings where dust can accumulate. This initial step prevents you from turning dry dust into muddy streaks when you introduce liquid. It sets the stage for a truly clean surface.
Next, prepare your cleaning solution. In a bucket, mix warm water with a small amount of mild dish soap. I usually use about a teaspoon of dish soap per gallon of water. Dip a clean microfibre cloth into the solution and wring it out thoroughly. The cloth should be damp, not dripping wet. Wipe down the door from top to bottom, working in small sections. Pay extra attention to high-traffic areas like around doorknobs and along the edges. After cleaning a section, rinse your cloth in clean water and re-dampen it with the soapy solution as needed. Finally, use a separate clean, dry cloth to wipe the door dry. This step prevents water spots and streaks, leaving your white door sparkling clean. For more specific advice on maintaining the brightness of your white doors, explore our detailed article on how to clean white doors.
Targeting Common White Door Woes: Scuffs, Fingerprints, and Grease
White doors, while beautiful, are prone to specific types of marks that standard cleaning might not remove. Scuff marks, greasy fingerprints, and general grime are common culprits. I often see these issues, especially in busy households. Knowing how to tackle them effectively saves time and effort.
Scuff marks are usually from shoes or objects brushing against the door. For these, a melamine foam eraser, often known as a “magic eraser,” works wonders. Slightly dampen the eraser and gently rub the scuff mark in small circular motions. Be careful not to scrub too hard, as these erasers are mildly abrasive and can damage painted finishes if used too aggressively. Always test in an inconspicuous area first. The eraser lifts the mark without the need for harsh chemicals.
Greasy fingerprints and kitchen grime require a different approach. These oily residues can be tough to remove with just soap and water. For these, a solution of warm water with a splash of white vinegar is highly effective. Vinegar cuts through grease and leaves no residue. Dampen a cloth with this solution and wipe down the affected areas. Alternatively, a paste made from baking soda and water can lift grease and dirt. Apply the paste to the mark, let it sit for a few minutes, then gently scrub with a soft cloth and wipe clean. Remember to always rinse the area thoroughly with clean water afterward and dry completely to prevent streaks. If your doors are painted, you might find our guide on how to clean painted doors very helpful.
Restoring Brilliance: Tackling Yellowing on White Doors
Yellowing is a common and frustrating issue for white doors. It happens over time due to various factors like sunlight exposure, cooking fumes, and even age. This discoloration can make your once-bright doors look dull and old. I understand how disheartening it is to see that lovely white turn a dingy yellow. But there are ways to restore their original brilliance.
One effective method involves a gentle bleaching agent. For lightly yellowed doors, mixing a small amount of oxygen bleach with water can work. Follow the product instructions for dilution, then apply the solution with a soft cloth. Wipe down the entire door, letting the solution sit for a few minutes before rinsing thoroughly with clean water. Always ensure good ventilation when using bleach products. This method helps to brighten the surface without harsh scrubbing.
For more stubborn yellowing, a hydrogen peroxide solution can be beneficial. Mix equal parts of 3% hydrogen peroxide and water. Apply this mixture to the yellowed areas using a spray bottle or a damp cloth. Let it sit for 10-15 minutes, allowing the peroxide to work its magic. Hydrogen peroxide is a mild bleaching agent that can effectively whiten surfaces. After the waiting period, wipe the door clean with a damp cloth and then dry it completely. Remember to wear gloves when handling hydrogen peroxide. Always test any new cleaning solution on an inconspicuous spot first to ensure it does not damage your door’s finish. Patience and a gentle approach are key to bringing back that crisp white look.
Cleaning White Doors Based on Material: A Tailored Approach
Not all white doors are the same; their material dictates the best cleaning approach. Understanding your door’s composition prevents damage and ensures effective cleaning. I always identify the material first before choosing my cleaning supplies. This step is crucial for long-lasting results.
Most white doors are either painted wood, MDF, or made of a PVC/vinyl composite. Painted doors are the most common. For these, mild dish soap and warm water are generally safe. Avoid abrasive cleaners or harsh chemicals, as they can strip the paint or cause discoloration. If you use a melamine foam eraser for scuffs, use it sparingly and gently, as it can dull the finish over time. Always dry painted doors completely after cleaning to prevent water damage or streaking.
Laminate or PVC doors are often found in modern homes or as entry doors. These materials are generally more durable and less porous than painted wood. You can typically use a slightly stronger all-purpose cleaner diluted with water. Avoid abrasive scrubbers that can scratch the surface. For these doors, a vinegar and water solution works well for everyday cleaning and grease. Always check the manufacturer’s recommendations if available. If your white doors are part of your kitchen cabinetry, you might find specific tips in our article on how to clean cupboard doors, as many are made of similar materials. Regardless of the material, a quick wipe down after cleaning helps maintain their shine.
Maintaining Your White Doors: Prevention is Key
Cleaning white doors effectively is one thing, but keeping them clean is another. Regular maintenance and preventative measures reduce the need for deep cleaning. I believe prevention is always better than cure, especially with white surfaces. A few simple habits can make a big difference.
First, establish a routine for light cleaning. Wipe down your white doors weekly or bi-weekly with a damp microfibre cloth. This simple step removes accumulating dust and light smudges before they become ingrained dirt. Pay attention to high-touch areas like doorknobs and the surrounding frame. This consistent, light cleaning saves you from hours of scrubbing later. It keeps the white looking fresh all the time.
Consider adding protective measures. For painted doors, a clear, non-yellowing topcoat sealant can offer an extra layer of protection against dirt and scuffs. This creates a barrier, making surfaces easier to wipe clean. For areas with high traffic or where hands frequently touch the door, consider installing kick plates or door guards. These prevent direct contact and scuff marks. Additionally, promptly address any spills or marks as soon as you notice them. Fresh stains are always easier to remove than old, dried-on ones. By adopting these preventative strategies, you can significantly extend the time between deep cleaning sessions and keep your white doors looking immaculate year-round. Don’t forget the often-overlooked parts; knowing how to clean hinges on doors can also contribute to the overall clean appearance and functionality of your doors.
Frequently Asked Questions
How often should I clean my white doors?
You should lightly clean white doors weekly or bi-weekly to remove dust and smudges. A deeper clean, targeting specific stains or yellowing, may be needed every few months or as visibly required. High-traffic doors will need more frequent attention.
What is the best way to remove scuff marks from white doors?
The best way to remove scuff marks is by gently rubbing them with a damp melamine foam eraser (magic eraser). For painted doors, use caution and gentle pressure to avoid damaging the finish. Test on an inconspicuous area first.
Can I use bleach to clean yellowed white doors?
Yes, you can use a diluted oxygen bleach solution or hydrogen peroxide to tackle yellowing on white doors. Always dilute according to product instructions and test in a hidden spot first. Ensure good ventilation and wear gloves during application.
How can I prevent my white doors from yellowing?
To prevent yellowing, minimize direct sunlight exposure if possible. Regularly clean the doors to remove buildup from cooking fumes or smoke. Avoid harsh chemical cleaners that can contribute to discoloration over time. Consistent gentle cleaning is key.
Are there any cleaners I should avoid using on white doors?
Avoid using abrasive cleaners, scouring pads, or harsh chemical solvents like paint thinners or strong ammonia-based products. These can strip paint, scratch surfaces, or cause permanent discoloration, especially on painted white doors. Always choose mild, non-abrasive options.
What’s the fastest way to clean a white door?
For a quick clean, use a damp microfibre cloth with a few drops of mild dish soap and warm water. Wipe down the entire door, focusing on visible smudges. Finish by quickly drying the door with a separate clean, dry cloth to prevent streaks.
Conclusion
Keeping your white doors looking crisp and clean is entirely achievable with the right approach. We have covered everything from simple dusting to tackling stubborn scuffs and even that frustrating yellowing. Remember, the key to pristine white doors lies in regular maintenance and knowing the right tools for each job. I hope you feel more confident about making your white doors shine.
By consistently applying these gentle yet effective methods, you can prevent dirt from building up and ensure your doors remain a bright, welcoming feature in your home. Always choose mild cleaners and test new solutions in an inconspicuous area. With a little effort and the tips from this guide, your white doors will continue to enhance your home’s beauty for years to come. Start today, and enjoy the lasting brilliance of your clean white doors.
- white door cleaning
- door maintenance
- remove scuffs from doors
- cleaning painted doors


