· Todd Martin · Home Maintenance · 19 min read
How To Clean Hvac Coils

Keep Your HVAC Running: How To Clean Coils
Imagine your home’s air quality improving, your energy bills shrinking, and your HVAC system running smoother than ever before. This is not just a dream; it is a reality when you know how to clean HVAC coils effectively. Dirty coils reduce efficiency and can lead to costly breakdowns. Cleaning them is a vital part of regular home maintenance.
This guide will help you understand why clean coils matter. We will cover the different types of coils in your HVAC unit. You will learn the right time to clean them and what tools you need. Our detailed, step-by-step instructions will show you exactly how to clean HVAC coils safely and thoroughly. Get ready to breathe easier and save money.
Takeaway
Keeping your HVAC coils clean is essential for system efficiency, air quality, and longevity.
- Why Clean: Dirty coils reduce efficiency, increase energy costs, and can cause system failure.
- When to Clean: Perform annual cleaning, typically before peak seasons. Clean more often if you have pets or live in dusty areas.
- How to Clean: Follow specific steps for evaporator (indoor) and condenser (outdoor) coils using appropriate cleaning solutions and tools.
Keeping your HVAC coils clean makes your system work better. It helps you save money on energy bills. You also get cleaner air inside your home.
Main Query Answer
To clean HVAC coils, you must first turn off power to the unit. Then, you remove debris with a soft brush or vacuum. Next, you spray a specialized no-rinse coil cleaner on the coils. Finally, you allow the cleaner to work and drain away dirt.
Understanding HVAC Coils: Why Cleaning Matters
Your HVAC system relies on coils to move heat. These coils are crucial for cooling and heating your home. When coils get dirty, they cannot do their job well. Dust, dirt, and grime build up on the coil fins. This layer acts as an insulator. It prevents proper heat transfer. This makes your HVAC system work harder.
A system working harder uses more energy. This leads to higher utility bills. Dirty coils also reduce the overall lifespan of your unit. They can even cause the system to break down. Regular cleaning keeps your HVAC running efficiently. It helps maintain comfortable temperatures indoors. It also improves indoor air quality.
Evaporator Coils: The Indoor Essential
Evaporator coils sit inside your home. They are part of the indoor air handler unit. These coils absorb heat from the air passing over them. The refrigerant inside the coils changes from a liquid to a gas. This process cools the air. Then, the cooled air circulates through your home’s ducts.
Because these coils get wet from condensation, they can trap mold and mildew. This affects the air you breathe. Cleaning evaporator coils prevents these issues. It ensures the air circulated in your home is clean and healthy. Keeping these coils spotless makes a big difference.
Condenser Coils: The Outdoor Workhorse
Condenser coils are outside your home. They are part of the outdoor compressor unit. After absorbing heat indoors, the refrigerant travels to these coils. Here, the heat is released into the outdoor air. The refrigerant changes back into a liquid. This prepares it to absorb more heat indoors.
Outdoor coils are exposed to the elements. They collect dirt, leaves, grass clippings, and other debris. This debris blocks airflow. It makes it harder for the unit to release heat. This can seriously reduce your system’s efficiency. For more insights on how to clean similar components, you can also check out how to clean air conditioner coils.
When to Clean Your HVAC Coils: Signs and Schedule
Knowing when to clean your HVAC coils is key to maintaining a healthy system. Regular maintenance prevents major issues. Dirty coils give clear signs they need attention. Ignoring these signs can lead to decreased efficiency and costly repairs. Establishing a routine cleaning schedule is the best approach.
Typically, you should inspect and clean your HVAC coils at least once a year. This is often done in the spring, before the peak cooling season. You can also clean them in the fall, before the heating season. For homes with pets, allergies, or dusty environments, more frequent cleaning might be necessary. Some experts recommend cleaning every six months for optimal performance.
Annual Cleaning Schedule
A consistent annual schedule helps keep your HVAC system in top shape.
- Spring Maintenance: Before the cooling season starts, check and clean your condenser coils. This ensures they are ready to dissipate heat efficiently. It also saves energy during summer.
- Fall Maintenance: Before winter, inspect your evaporator coils. Clean them to ensure efficient heat absorption for heating. This prepares your system for colder months.
- Seasonal Check-ups: Perform a quick visual inspection monthly or quarterly. Look for noticeable dirt buildup, especially on outdoor units. This simple step can prevent small problems from becoming big ones.
Warning Signs of Dirty Coils
Your HVAC system will tell you when its coils are dirty. Pay attention to these common indicators. They signal it is time for a coil cleaning.
- Higher Energy Bills: If your energy bills suddenly increase without a change in usage, dirty coils might be the cause. The system works harder to reach desired temperatures, consuming more power.
- Reduced Airflow: Less air coming from your vents can mean your evaporator coil is blocked. Dirt on the coils restricts air passage.
- Warm Air from Vents (during cooling): If your AC is running but blowing warm air, the evaporator coil might not be absorbing heat properly. This is a common symptom of a very dirty coil.
- Increased System Cycling: Your unit turns on and off more frequently. This is called “short cycling.” Dirty coils make it harder for the system to reach the thermostat setting.
- Musty Odors: Mold and mildew can grow on a dirty, wet evaporator coil. This causes unpleasant smells to come from your vents. This indicates a need for cleaning.
- Visible Dirt and Debris: The most obvious sign is seeing dirt, dust, or grime on the outdoor condenser coils. For indoor coils, you might need to open the unit to see them.
- Water Leaks Around Indoor Unit: A heavily clogged evaporator coil can cause condensation to overflow. This leads to water leaks around the indoor unit. This can also happen if your drain line is clogged. You can learn more about how to clean your HVAC drain line if you encounter this issue. Ignoring these signs can lead to more serious problems with your entire HVAC unit.
Essential Tools and Materials for Coil Cleaning
Before you start cleaning your HVAC coils, gather all necessary tools and materials. Having everything ready saves time and ensures a smooth cleaning process. Safety is also very important. Make sure you have the right protective gear. Using the correct cleaning solutions prevents damage to your coils.
You can find most of these items at a local hardware store. Some specialized items, like coil cleaner, are available at HVAC supply stores or online. Do not use harsh chemicals not designed for HVAC coils. They can corrode the delicate fins and tubes. Prepare your workspace by ensuring good ventilation.
Safety First: Personal Protective Gear
Your safety is the top priority. HVAC systems have electrical components and sharp edges.
- Heavy-Duty Gloves: Protect your hands from sharp coil fins and cleaning chemicals.
- Safety Glasses: Prevent chemical splashes or dislodged debris from entering your eyes.
- Dust Mask or Respirator: Protect yourself from inhaling dust, mold spores, and chemical fumes. This is especially important for dusty outdoor units or moldy indoor coils.
- Long Sleeves and Pants: Protect your skin from scrapes, cuts, and chemical contact.
Cleaning Solutions and Brushes
These tools help you effectively remove dirt and grime from your coils.
- Coil Fin Brush/Coil Cleaning Brush: A soft-bristled brush specifically designed for cleaning delicate coil fins without bending them.
- Fin Comb: This tool helps straighten bent aluminum fins. Bent fins block airflow and reduce efficiency.
- Specialized No-Rinse Coil Cleaner: This is crucial. It is formulated to break down dirt, grime, and mold. Many types do not require rinsing and simply drip away with condensation. Read the product instructions carefully.
- Garden Hose with Spray Nozzle: For rinsing outdoor condenser coils. Ensure the nozzle has a gentle spray setting.
- Spray Bottle: For applying cleaner to indoor evaporator coils if the product does not come with its own sprayer.
- Wet/Dry Shop Vacuum: Useful for removing loose debris from outdoor units and for vacuuming around the indoor unit.
- Buckets and Rags: For catching drips, wiping surfaces, and general cleanup.
- Screwdriver/Nut Driver Set: You might need these to remove access panels on your HVAC unit.
- Work Light or Flashlight: For better visibility, especially in dimly lit indoor units.
Step-by-Step Guide: Cleaning Evaporator Coils
Cleaning the evaporator coils inside your home requires careful attention. These coils are delicate and vital for your system’s performance. Always prioritize safety before starting any work. The process involves accessing the coils, carefully cleaning them, and ensuring proper drainage.
Evaporator coils are often hidden within the air handler or furnace. You might need to remove a few screws to get to them. Take pictures as you disassemble parts. This helps with reassembly. Remember, thorough cleaning here improves indoor air quality significantly. It also makes your system more energy-efficient.
Safety Precautions Before You Start
Before you touch anything, always ensure power is off. This is the most important safety step.
- Turn Off Power: Locate the circuit breaker for your HVAC system. Flip it to the “OFF” position. You should also turn off the power switch directly on the indoor air handler unit. It often looks like a light switch on a metal box near the unit.
- Wear Protective Gear: Put on your heavy-duty gloves, safety glasses, and a dust mask. This protects you from sharp edges, chemicals, and airborne particles.
- Clear the Area: Make sure you have enough space to work around the indoor unit. Remove any obstructions.
Accessing the Evaporator Coils
Gaining access to the coils is the first practical step.
- Locate the Air Handler: Your evaporator coils are inside the air handler unit. This unit is usually in a closet, attic, basement, or garage.
- Remove Access Panel: Use your screwdriver or nut driver to remove the access panel covering the evaporator coils. It might be labeled or obvious. Some units have a panel specifically for coil access.
- Locate the Coils: Once the panel is off, you will see the evaporator coils. They look like a dense radiator, usually A-shaped or N-shaped. The condensate drain pan is typically below them.
Cleaning Process for Evaporator Coils
Once the coils are accessible, you can begin the cleaning.
- Brush Away Loose Debris: Use your soft coil brush to gently brush away any loose dust, lint, or debris from the coil fins. Work carefully to avoid bending the fins. You can also use a soft-bristled vacuum attachment for this step.
- Straighten Bent Fins: If you see any bent fins, use a fin comb to gently straighten them. This improves airflow.
- Apply Coil Cleaner: Following the product instructions, spray the specialized no-rinse evaporator coil cleaner generously onto the coils. Ensure even coverage. The cleaner will foam up and penetrate the dirt.
- Allow Cleaner to Work: Let the cleaner sit for the recommended time. This allows it to break down grime. Most no-rinse cleaners do not require rinsing. The condensation from the unit will wash away the cleaner and dissolved dirt into the drain pan.
- Clean the Drain Pan: While the cleaner works, inspect the condensate drain pan below the coils. It often collects sludge, algae, and mold. Clean it thoroughly with a mixture of water and a small amount of bleach or a specialized pan cleaner. This prevents future clogs. You might also want to pour some cleaner down the drain line to prevent clogs. For more details, you can refer to how to clean HVAC drain line.
- Reassemble the Unit: Once the coils are clean and the cleaner has drained, replace the access panel. Make sure all screws are secure.
- Restore Power: Turn the power back on at the circuit breaker and the unit’s power switch. Test your HVAC system to ensure it operates correctly.
Step-by-Step Guide: Cleaning Condenser Coils
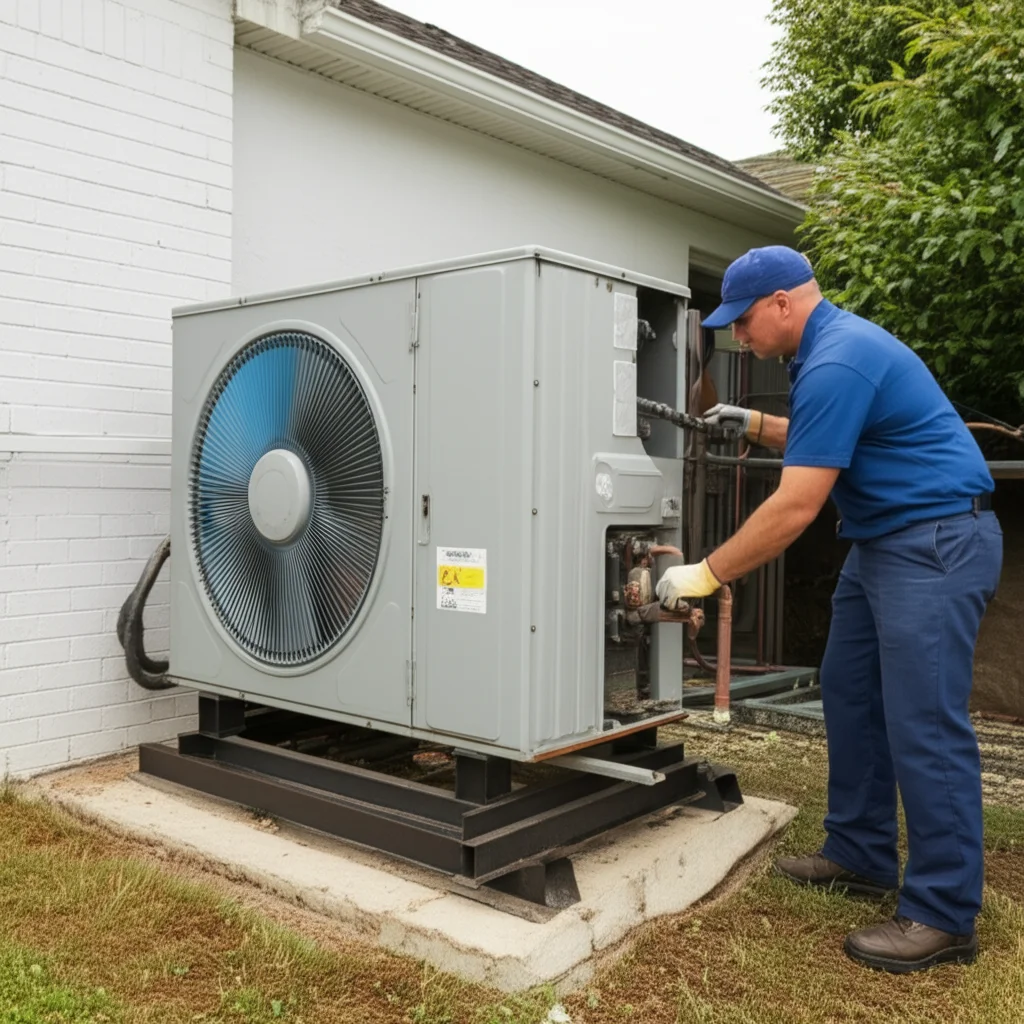
Cleaning the outdoor condenser coils is different from cleaning indoor coils. These coils are exposed to the elements and accumulate different types of debris. The process involves more external cleaning. You will need a garden hose for rinsing.
Outdoor units are robust, but their fins are still delicate. Be gentle while cleaning to avoid damage. Regular cleaning of these coils dramatically improves your HVAC’s ability to dissipate heat. This leads to cooler indoor temperatures and lower energy bills. It is a critical part of your overall HVAC maintenance.
Outdoor Unit Preparation
Prepare the outdoor unit and ensure safety before starting.
- Turn Off Power: Find the disconnect switch near your outdoor unit. It looks like a small box on the wall. Flip the switch or pull the fuse block out. This cuts all power to the unit. Double-check that it is off.
- Clear the Area: Remove any leaves, twigs, grass clippings, or other debris from around the unit. Clear at least two feet of space in all directions. This allows for better airflow and easier access.
- Wear Protective Gear: Put on your heavy-duty gloves, safety glasses, and long sleeves. This protects you from sharp edges, dirt, and chemicals.
Removing Debris and Washing Coils
Now you can start the actual cleaning process for the condenser coils.
- Remove the Top Grille: Most condenser units have a top grille that can be removed. Unscrew it to access the inside. Carefully lift it off. You might also need to remove the fan. Be gentle with wiring.
- Vacuum Loose Debris: Use a wet/dry shop vacuum to remove any large debris from inside the unit. This includes leaves, dirt, and small animals. Vacuum the outside of the coils thoroughly.
- Brush Away Surface Dirt: Use your coil fin brush to gently brush dirt and debris from the outside of the coil fins. Brush downwards, following the direction of the fins. Avoid pushing dirt deeper into the coils.
- Straighten Bent Fins: Use a fin comb to carefully straighten any bent aluminum fins. This is important for proper airflow.
- Apply Coil Cleaner: Spray a specialized outdoor coil cleaner evenly over the coil fins. Make sure you cover all sides. Let the cleaner sit for the time specified in the product instructions. The cleaner will penetrate and loosen grime.
- Rinse the Coils: Use a garden hose with a gentle spray nozzle to rinse the coils from the inside out. This pushes the dirt and cleaner outwards. Be careful not to use a high-pressure washer, as it can bend or damage the delicate fins. Rinse until the water runs clear.
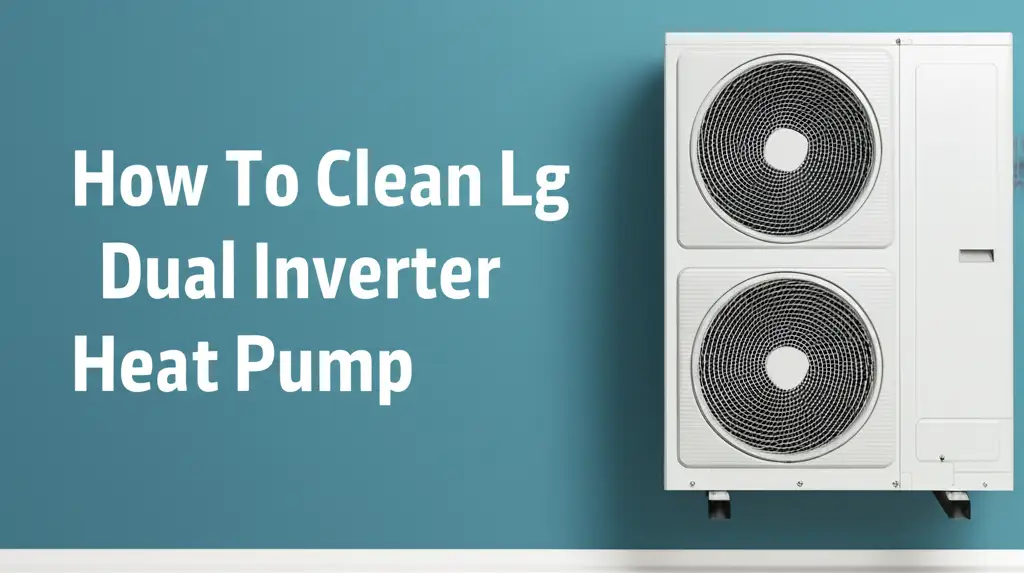
- Rinse the Fan Blades: If you removed the fan, you can gently wipe down the fan blades. Reattach the fan and top grille once the coils are clean and rinsed. Make sure all wires are connected correctly. This process is similar for heat pump coils, so knowing how to clean heat pump coils can also be helpful.
Final Steps for Condenser Coils
Finish up by reassembling and checking the unit.
- Reassemble the Unit: Put the top grille and any other removed panels back onto the unit. Secure all screws.
- Restore Power: Go back to the disconnect switch and restore power to the unit.
- Test the System: Turn on your HVAC system to make sure it functions properly. Listen for any unusual noises. Check that air is blowing efficiently from the outdoor unit.
DIY Coil Cleaning vs. Professional HVAC Service
Deciding whether to clean your HVAC coils yourself or hire a professional depends on a few factors. DIY cleaning can save money. It gives you a sense of accomplishment. However, professional service offers thoroughness and expertise. Knowing your limits is key to avoiding costly mistakes.
Sometimes, coils might have severe issues like heavy mold growth or refrigerant leaks. These problems require professional attention. Professionals have specialized tools and training. They can identify other potential issues within your HVAC system. A balanced approach might be best for some homeowners.
When DIY is Appropriate
DIY coil cleaning is a good option for regular maintenance. It is suitable when coils have light to moderate dirt buildup.
- Light Dirt: If you see only a thin layer of dust or debris, DIY cleaning is manageable.
- Regular Maintenance: If you clean your coils annually, they likely won’t get too dirty. This makes DIY cleaning easier and effective.
- Basic Tools: You only need common tools and readily available coil cleaner for simple cleaning.
- Understanding Your Unit: If you are comfortable working around your HVAC unit and understand its basic components, DIY is feasible.
Advantages of Professional Cleaning
For complex issues or deeper cleaning, professional service is invaluable.
- Thorough Cleaning: Professionals use industrial-grade cleaners and powerful equipment. This ensures a deeper clean than DIY methods. They can access hard-to-reach areas.
- Problem Identification: HVAC technicians can spot other problems. They might find refrigerant leaks, electrical issues, or worn-out parts. Early detection saves money in the long run.
- Specialized Knowledge: They understand different HVAC systems. They know how to handle specific coil types and materials.
- Warranty Protection: Some HVAC warranties require professional maintenance. DIY cleaning might void certain warranties. Always check your warranty terms.
- Safety: Professionals are trained to work safely with high voltage and hazardous materials. They reduce the risk of injury or damage.
- Ductwork Inspection: When a professional comes, they often inspect related components like your ductwork. They can advise if you need to consider how to clean HVAC ducts for better system performance.
Maintaining Clean Coils: Preventing Future Build-up
Cleaning your HVAC coils is a great step. But maintaining them is equally important. Preventing future dirt buildup reduces the frequency of major cleanings. It keeps your system efficient year-round. A few simple habits can make a big difference.
Consistent maintenance helps avoid stress on your HVAC system. It extends its lifespan. It also ensures consistent indoor comfort. Think of it as preventative care for your home’s lungs. Little efforts now save big headaches later.
The Role of Air Filters
Air filters are your first line of defense against dirty coils.
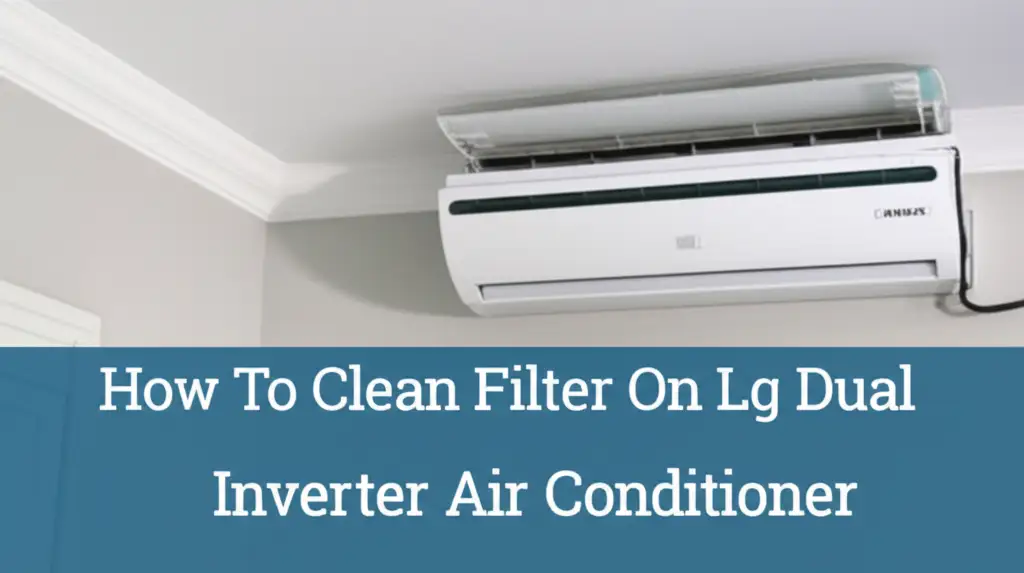
- Regular Filter Changes: Replace your HVAC air filter every 1-3 months. Homes with pets, allergies, or high dust levels need more frequent changes. A dirty filter restricts airflow and allows dust to bypass it. This dust then settles on your evaporator coils.
- High-Quality Filters: Use filters with a higher MERV rating (Minimum Efficiency Reporting Value). MERV 8-11 is usually good for most homes. These filters trap smaller particles, keeping more contaminants away from your coils.
- Proper Fit: Ensure your air filter fits snugly in its slot. Gaps allow unfiltered air to enter the system.
Keeping the Outdoor Unit Clear
The outdoor condenser unit is constantly exposed to elements.
- Clear Debris: Regularly remove leaves, grass clippings, weeds, and other debris from around the condenser unit. Maintain at least a two-foot clearance. This ensures proper airflow.
- Trim Foliage: Trim back any bushes, shrubs, or trees growing near the unit. They can block airflow and shed debris directly onto the coils.
- Level Ground: Ensure the pad your outdoor unit sits on remains level. An unlevel unit can cause issues with drainage and component wear.
- Clean Surrounding Area: Keep the ground around the unit clean. Dirt and dust can be pulled into the coils by the fan.
Regular Inspections
A quick visual check can catch issues early.
- Monthly Checks: Take a few minutes once a month to visually inspect both your indoor and outdoor units. Look for visible dirt, bent fins, or unusual noises.
- Drain Line Check: For indoor units, ensure the condensate drain line is clear and draining properly. A clogged drain line can cause water backup and mold growth on evaporator coils.
- Professional Tune-ups: Schedule annual professional HVAC tune-ups. A technician can perform a deeper inspection. They can identify issues you might miss. They also handle any complex cleaning or repairs. This comprehensive approach helps keep your entire HVAC system, including components like those found in a window AC unit, running efficiently. Consider consulting a guide on how to clean coils on a window AC unit for smaller scale insights.
FAQ Section
How often should HVAC coils be cleaned?
You should clean your HVAC coils at least once a year. This is ideal before the peak cooling or heating season. Homes with pets, allergies, or significant dust may benefit from cleaning every six months. Regular inspection helps determine if more frequent cleaning is necessary.
Can I clean HVAC coils myself?
Yes, you can clean HVAC coils yourself. For routine maintenance and light to moderate dirt, DIY cleaning is effective. Always ensure you turn off power to the unit first. Use appropriate safety gear and specialized HVAC coil cleaners.
What happens if HVAC coils are not cleaned?
Uncleaned HVAC coils lead to several problems. They reduce system efficiency, increasing energy bills. They can cause the unit to work harder, shortening its lifespan. Dirty coils also reduce airflow, lead to poor indoor air quality, and may cause system breakdowns.
What kind of cleaner should I use for HVAC coils?
Use a specialized no-rinse coil cleaner designed for HVAC systems. These cleaners are formulated to break down dirt and grime without damaging delicate coil fins. They often foam up and allow condensation to rinse away the dissolved dirt. Avoid harsh household cleaners.
How do I know if my HVAC coils are dirty?
Common signs of dirty HVAC coils include higher energy bills, reduced airflow from vents, warm air blowing during cooling, increased system cycling, musty odors from vents, and visible dirt or debris on the outdoor unit. Water leaks near the indoor unit can also indicate a very dirty evaporator coil.
Is professional coil cleaning necessary?
Professional coil cleaning is not always necessary for routine maintenance. However, it is highly recommended for heavily soiled coils, if you suspect mold growth, or if you are uncomfortable performing the task yourself. Professionals offer deeper cleaning, can identify other issues, and ensure your warranty remains valid.
Conclusion
Taking the time to understand how to clean HVAC coils is a powerful step. It maintains your home’s comfort and efficiency. You ensure your system runs smoothly. Regular cleaning is not just about spotless coils. It is about protecting your investment. It helps you enjoy consistent indoor temperatures. It also improves the air quality you breathe every day.
You now have the knowledge. You know the tools. You understand the step-by-step process for both indoor evaporator and outdoor condenser coils. Remember to prioritize safety. Always turn off power before you begin. Incorporate regular coil maintenance into your home care routine. This simple habit will save you money on energy bills. It will extend the life of your HVAC system. Make coil cleaning a priority. Your home, your wallet, and your lungs will thank you.
- HVAC maintenance
- coil cleaning
- AC cleaning
- home repair
- DIY HVAC
- energy efficiency
- air quality


