· Todd Martin · Home Maintenance · 17 min read
How To Clean Kettle
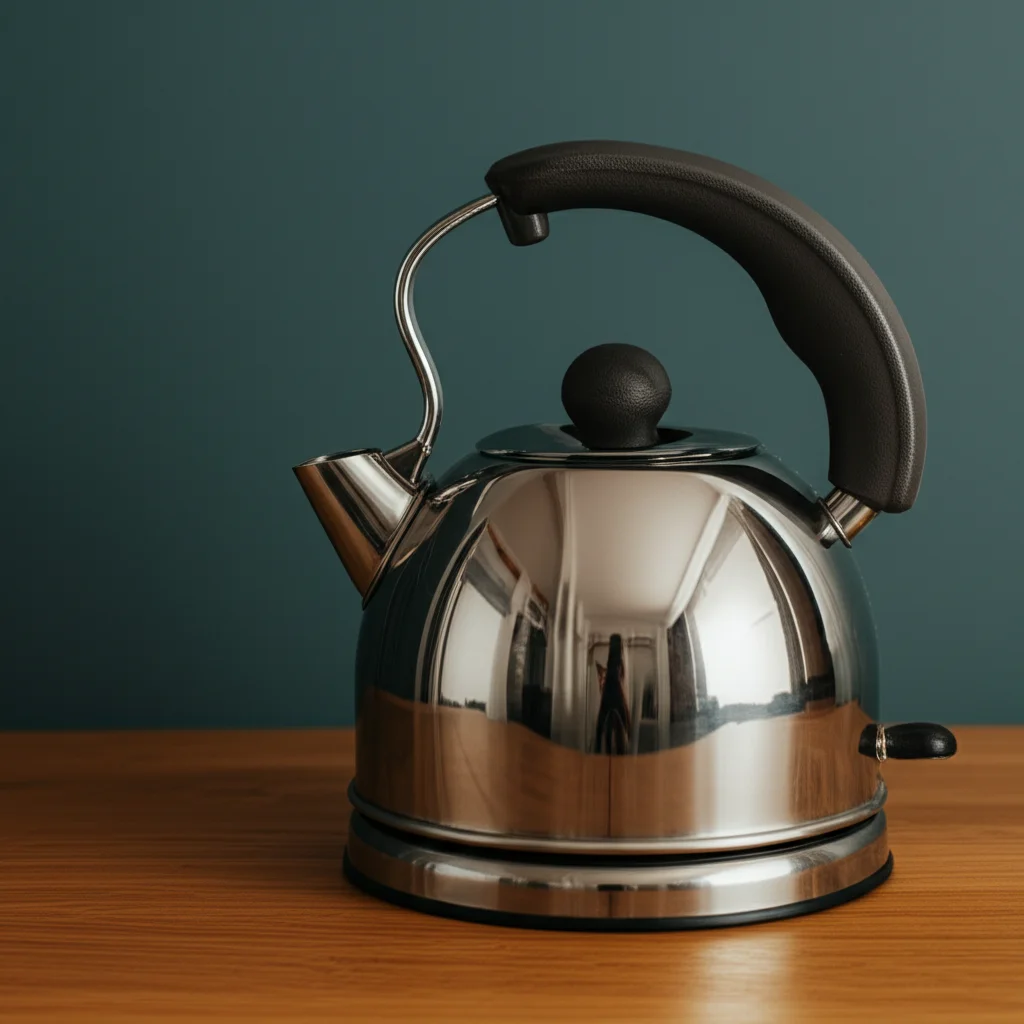
Clean Your Kettle: Essential Tips for a Sparkling Brew
Do you ever notice white flakes in your boiled water? Is your kettle looking a little dull on the inside? That is likely limescale buildup. A clean kettle is not just about looks. It ensures your hot drinks taste fresh and helps your appliance last longer. Knowing how to clean kettle effectively means healthier hydration and efficient boiling.
This guide will walk you through easy steps to clean your kettle inside and out. We will explore natural cleaning agents like vinegar and lemon. We will also look at specific care for different kettle types. You can make your kettle shine again and enjoy clean, great-tasting water every time.
Takeaway
- Regular Descaling is Key: Use natural acids like vinegar or lemon juice to remove limescale.
- Rinse Thoroughly: Always rinse your kettle multiple times after cleaning. This removes all cleaning residue.
- Clean the Exterior: Wipe down the outside with a damp cloth for a complete clean.
- Consider Kettle Type: Adapt cleaning methods for electric, stainless steel, or traditional tea kettles.
- Prevent Future Buildup: Empty your kettle after each use and use filtered water if possible.
To effectively clean a kettle, remove mineral deposits inside using acidic solutions. White vinegar or lemon juice are great choices. Fill the kettle with a mix of water and your chosen cleaner. Boil the solution, let it sit, then rinse thoroughly. This process dissolves limescale, making your kettle fresh and clean.
Why Your Kettle Needs Regular Cleaning
Your kettle works hard every day. It boils water for your tea, coffee, and cooking needs. Over time, mineral deposits build up inside the kettle. This buildup is often called limescale. Limescale comes from minerals in your tap water, especially in hard water areas. You will see it as white, chalky residue.
Ignoring this buildup can cause problems. Limescale can affect how your kettle performs. It can make your kettle take longer to boil water. This means higher energy bills. It can also reduce the lifespan of your appliance. A thick layer of limescale can even affect the taste of your drinks. No one wants chalky tea! Regular cleaning keeps your kettle working well. It ensures you get clean, great-tasting water every time you use it.
Understanding Limescale Buildup
Limescale is mostly calcium carbonate. It forms when hard water is heated. The minerals separate from the water and stick to the inner surfaces of your kettle. This happens even if your water looks clean. The warmer the water, the faster limescale can form. It starts as a thin film but can become thick and crusty.
You might notice white specks floating in your boiled water. This is a clear sign of limescale. It can also appear as a dull, white coating on the heating element or the bottom of your kettle. Different water hardness levels mean different cleaning frequencies. If you live in an area with very hard water, you may need to clean your kettle more often.
Benefits of a Clean Kettle
Cleaning your kettle offers many advantages. First, it ensures the purity of your water. You get clean, fresh-tasting water for your beverages. This improves the flavor of your tea and coffee. Second, a clean kettle operates more efficiently. Limescale acts as an insulator, making the heating element work harder. Removing it speeds up boiling time and saves energy.
Third, regular cleaning extends your kettle’s life. Mineral buildup can damage the heating element over time. Keeping it clean prevents this wear and tear. Finally, it promotes overall kitchen hygiene. A clean appliance looks better and feels better to use. It shows you care about your home and your health.
The Easiest Way to Descale Your Kettle with Vinegar
White vinegar is a common household item. It is also an excellent natural descaler. The acetic acid in vinegar breaks down limescale effectively. This method is simple, cheap, and very powerful. I often use this method for my own kettle. It leaves it sparkling clean inside.
You will need white vinegar and water for this method. Make sure you have enough ventilation. The smell of vinegar can be strong. This method works on most kettle types. It is safe for stainless steel and plastic kettles. Always check your kettle’s manual first, just in case.
Step-by-Step Vinegar Descaling
Follow these steps for a perfectly descaled kettle:
- Prepare the solution: Mix equal parts white vinegar and water. For example, use one cup of white vinegar and one cup of water. Pour this mixture into your kettle. Make sure the limescale is completely covered. Do not fill the kettle too high. You need space for boiling.
- Boil the solution: Turn on your kettle and let the mixture come to a boil. Once it boils, switch off the kettle. Let the solution sit inside for at least 30 minutes to an hour. For heavy limescale, you can let it sit overnight. The longer it sits, the more effective it will be.
- Empty and rinse: Pour out the vinegar solution. You will see pieces of limescale come out with it. Rinse the kettle thoroughly with fresh water. Fill it with fresh water and boil it again. This helps remove any lingering vinegar smell or taste. Discard this water. Repeat this step two or three times to ensure all vinegar residue is gone.
- Final wipe: After rinsing, wipe the inside with a clean cloth. You can also wipe the outside of the kettle if needed. Your kettle should now be free of limescale and ready for use.
Using vinegar is a great way to clean inside your kettle. For other glass items around your home, a similar vinegar solution can work wonders. Learn more about how to clean glass with vinegar.
Using Lemon Juice to Clean Your Kettle Naturally
Lemon juice is another fantastic natural cleaner. It contains citric acid, which also works wonders on limescale. This method is very similar to the vinegar method. However, many people prefer lemon juice. It leaves a much more pleasant smell. If you do not like the strong smell of vinegar, lemon juice is a great alternative.
You will need fresh lemons or concentrated lemon juice for this method. This method is safe and non-toxic. It is perfect for those who prefer natural cleaning solutions. I find the fresh scent of lemon much more inviting. It makes the cleaning process more enjoyable.
Lemon Juice Cleaning Process
Here is how to use lemon juice to clean your kettle:
- Prepare the lemons: If using fresh lemons, cut two or three lemons into thick slices. Place the lemon slices directly into your kettle. If using concentrated lemon juice, use about 2-3 tablespoons.
- Add water and boil: Fill the kettle with water until it covers the limescale. Add your lemon slices or lemon juice to the water. Bring the mixture to a boil. Let it boil for a few minutes. Then, turn off the kettle.
- Let it sit: Allow the lemon water to sit in the kettle for at least 30 minutes. For stubborn limescale, let it soak for a few hours or even overnight. The citric acid will work to dissolve the mineral deposits.
- Empty and rinse: Pour out the lemon water and the lemon slices. Rinse the kettle thoroughly with fresh water. Fill the kettle with fresh water and boil it. Discard this water to remove any lemon residue. Repeat this process one or two more times.
- Inspect and wipe: Check the inside of your kettle for any remaining limescale. If needed, gently scrub any stubborn spots with a soft brush or sponge. Wipe the inside dry. Your kettle will smell fresh and be clean.
This method is simple and effective. It provides a natural and pleasant way to descale your kettle.
Baking Soda: A Gentle Approach to Kettle Cleaning
Baking soda is known for its mild abrasive and deodorizing properties. While it is not as strong an acid as vinegar or lemon juice for descaling, it is excellent for general cleaning and removing light buildup. It can also help neutralize odors. If your kettle has a stale smell, baking soda is a good solution.
This method is very gentle. It is a good choice for regular light cleaning. It is safe for all types of kettles. It does not produce strong fumes. I often use baking soda for general kitchen cleaning, and it works well for the kettle too. It helps keep the interior smooth and fresh without harsh chemicals.
Baking Soda Cleaning Method
Follow these steps for using baking soda to clean your kettle:
- Prepare the solution: Add 1-2 tablespoons of baking soda to your kettle. Fill the kettle with water up to its normal boiling level. Stir the mixture to help the baking soda dissolve. Do not worry if all of it does not dissolve right away.
- Boil and soak: Bring the baking soda solution to a boil. Once it boils, switch off the kettle. Let the solution sit in the kettle for about 15-30 minutes. This allows the baking soda to work on any light deposits or odors. For more persistent issues, you can let it soak longer.
- Empty and scrub: Pour out the baking soda water. Use a soft brush or sponge to gently scrub the inside of the kettle. Pay attention to any areas with residue. The baking soda will help lift off any loose mineral deposits. It also helps to remove stains.
- Rinse thoroughly: Rinse the kettle several times with fresh water. Fill the kettle with fresh water and boil it. Discard this water to ensure no baking soda residue remains. Repeat this step if necessary. A clean rinse is important.
- Dry and use: Dry the inside of the kettle with a clean cloth. Your kettle will now be clean and fresh. This method is great for regular maintenance. It keeps limescale from becoming a major problem.
Baking soda is a versatile cleaner for many kitchen items. It is especially useful for maintaining a clean kettle.
Special Considerations for Different Kettle Types
Not all kettles are the same. Cleaning methods can vary slightly depending on the material and type of your kettle. An electric kettle has different needs than a traditional tea kettle. Knowing these differences helps you clean your kettle safely and effectively. This prevents damage and ensures a thorough clean.
I own several types of kettles, and I know how important it is to adapt cleaning. Each type has its unique features. For example, some kettles have exposed heating elements. Others have hidden ones. Always consider the specific design of your kettle before you start cleaning.
Cleaning Electric Kettles Safely
Electric kettles are common. They have an electrical base and often a hidden heating element. The main concern with electric kettles is avoiding water getting into the electrical parts. Never submerge an electric kettle in water. This can cause severe damage and is dangerous.
To clean an electric kettle, use the descaling methods (vinegar or lemon) inside. Always unplug the kettle before you start. Make sure to rinse it well after cleaning. For the exterior, wipe it with a damp cloth. Be careful not to let water drip into the electrical base. You can find more detailed instructions specific to how to clean electric kettle models.
Maintaining Stainless Steel Kettles
Stainless steel kettles are durable and popular. They are resistant to rust. However, they can still get limescale inside. The outside can show fingerprints or water spots. Cleaning the inside of a stainless steel kettle is similar to other types. Use vinegar or lemon juice for descaling. These natural acids are safe for stainless steel.
For the exterior, use a soft cloth with warm, soapy water. For stubborn spots or to restore shine, you can use a stainless steel cleaner. Wipe in the direction of the grain. Rinse and dry immediately to prevent water spots. A good guide for how to clean stainless steel kettle will give specific tips.
Caring for Tea Kettles and Gooseneck Kettles
Traditional tea kettles and gooseneck kettles are often used on stovetops. They can be made from various materials like stainless steel, copper, or ceramic. The interior cleaning for limescale is the same: vinegar or lemon solution. For tea kettles, pay attention to the spout and handle. These areas can collect residue.
Gooseneck kettles have a long, slender spout. This spout can also get mineral buildup. You might need a small brush to clean inside the spout. Ensure the spout is clear for proper pouring. For exterior cleaning, follow material-specific guidelines. For detailed care instructions, refer to guides on how to clean tea kettle and how to clean gooseneck kettle. These resources offer valuable advice for specific models.
Beyond Descaling: Exterior Kettle Cleaning and Maintenance
Cleaning your kettle is not just about the inside. The exterior of your kettle also needs attention. It can collect dust, fingerprints, and splashes. A clean exterior makes your whole kitchen look tidier. It also helps maintain the kettle’s overall appearance and hygiene.
I always make sure to clean the outside every time I descale the inside. It makes the kettle look brand new. This step is quick but very important. It completes the cleaning process.
Exterior Cleaning Techniques
The exterior of your kettle needs gentle care. Here are some simple techniques:
- Damp Cloth Wipe-Down: For general dust and light grime, a soft, damp cloth is usually enough. Use warm water. You can add a drop of mild dish soap if needed. Wipe down the entire surface.
- Stainless Steel Shine: If your kettle is stainless steel, use a microfibre cloth. Wipe in the direction of the grain. For stubborn spots or to remove streaks, a specialized stainless steel cleaner works well. Avoid abrasive scrubbers. They can scratch the surface.
- Plastic Exteriors: Plastic kettles are easy to clean. A damp cloth with a little dish soap works perfectly. Make sure to wipe away all soap residue.
- Handles and Lids: Do not forget the handle and lid. These areas get touched often. Wipe them down thoroughly. Pay attention to any crevices where dirt might hide.
Always dry the exterior completely after cleaning. This prevents water spots, especially on shiny surfaces.
Daily Habits for a Clean Kettle
Regular maintenance helps prevent major cleaning tasks. Incorporating simple habits into your routine keeps your kettle cleaner for longer.
- Empty After Use: Do not leave water standing in your kettle. Empty it after each use. This reduces the time minerals have to settle and form limescale.
- Rinse Briefly: Give the inside a quick rinse with fresh water before refilling it. This helps flush out loose minerals.
- Wipe Down Daily: A quick wipe of the exterior with a damp cloth after use keeps it free of dust and smudges. This takes only a few seconds.
- Use Filtered Water: If you live in a hard water area, consider using filtered water. This significantly reduces mineral content. It slows down limescale buildup. A good water filter can make a big difference.
These small steps make a big difference. They ensure your kettle stays clean and functions well. Just like other kitchen items, regular care for your kettle is essential. Understanding how to clean cookware can help apply general kitchen cleaning principles to your kettle.
What to Avoid When Cleaning Your Kettle
While cleaning your kettle is important, using the wrong methods or products can cause damage. Some chemicals are too harsh. Certain tools can scratch surfaces. Knowing what to avoid ensures your kettle stays in good condition and lasts longer. My own experience taught me to be careful with abrasive materials.
It is easy to think that stronger is better. However, this is not true for kettle cleaning. Harsh cleaners can strip finishes. They can leave chemical residues that are not safe to ingest. Always prioritize safety and gentle care.
Common Cleaning Mistakes
Avoid these common mistakes when cleaning your kettle:
- Using Abrasive Cleaners: Do not use scouring pads, steel wool, or abrasive cleaning powders. These can scratch the interior and exterior of your kettle. Scratches can make it easier for limescale to adhere. They also ruin the appearance.
- Harsh Chemicals: Avoid bleach, strong acid cleaners, or chemical descalers not designed for kettles. These can damage the kettle material. They can also leave toxic residues that are dangerous if ingested. Always use food-safe cleaning agents.
- Submerging Electric Kettles: Never put an electric kettle, especially its base, under water. This is a severe electrical hazard. It will also damage the appliance. Only clean the interior and exterior surfaces.
- Leaving Cleaning Solutions: Do not leave cleaning solutions, even natural ones, in your kettle for excessively long periods. Follow the recommended soaking times. Prolonged exposure to acids can sometimes affect seals or finishes.
- Not Rinsing Enough: Insufficient rinsing is a common error. Residual cleaning agents can alter the taste of your water. They can also be harmful. Always rinse your kettle multiple times with fresh water after cleaning. Boil and discard fresh water at least twice.
- Using Metal Tools: Do not use metal knives or tools to scrape off limescale. This can scratch or puncture the kettle’s interior. Stick to soft brushes or sponges. Let the descaling solution do the work.
By avoiding these pitfalls, you protect your kettle. You also ensure safety for yourself and your family. Cleaning your kettle should be a simple and safe process.
Frequently Asked Questions About Kettle Cleaning
How often should I clean my kettle?
The cleaning frequency depends on your water hardness and how often you use the kettle. In hard water areas, clean your kettle every 2-4 weeks. If you have soft water, every 1-2 months may be enough. Regular checks for limescale buildup will guide you.
Can I use dish soap to clean the inside of my kettle?
It is not recommended to use dish soap inside your kettle. Dish soap can leave a soapy residue. This residue can affect the taste of your water. It can also be hard to rinse out completely. Stick to natural descalers like vinegar or lemon juice for the interior.
What is the white stuff inside my kettle?
The white stuff inside your kettle is limescale. Limescale is a mineral deposit, primarily calcium carbonate. It forms from minerals present in hard tap water. Heating the water causes these minerals to separate and stick to the kettle’s surfaces.
Is it safe to drink water from a kettle with limescale?
Yes, generally it is safe to drink water from a kettle with limescale. Limescale is not harmful to consume. However, it can affect the taste of your water. It also reduces the kettle’s efficiency. Regular cleaning improves water quality and appliance performance.
How do I prevent limescale buildup?
You can prevent limescale buildup by emptying your kettle after each use. Do not let water sit in it. Using filtered water can also reduce mineral deposits significantly. Regularly descaling your kettle every few weeks will prevent large accumulations.
Can I use descaling tablets?
Yes, you can use descaling tablets specifically designed for kettles. These tablets often contain food-safe acids that dissolve limescale. Always follow the manufacturer’s instructions carefully when using commercial descaling products. They are a convenient option.
Conclusion
A clean kettle is a happy kettle, and it makes for happier, healthier drinks. We have explored the simple and effective ways to clean your kettle. Using natural ingredients like vinegar and lemon juice can remove stubborn limescale. You now understand why regular maintenance is important. It extends your kettle’s life and improves water taste.
Remember to adapt your cleaning approach based on your kettle type. Always prioritize safety, especially with electric models. By following these guidelines for how to clean kettle, you ensure a spotless appliance. You will enjoy fresh, pure water for years to come. Make kettle cleaning a regular part of your kitchen routine. Your taste buds, and your wallet, will thank you! Start cleaning your kettle today for a sparkling outcome.
- Kettle Cleaning
- Descaling
- Limescale Removal
- Stainless Steel Kettle
- Electric Kettle

Todd Martin
Senior Writer
With over 15 years of experience in home renovation and design, I started HEG to share what I’ve learned with homeowners who want to create spaces that are both beautiful and functional. I’ve always believed in a hands-on approach, and over the years, I’ve picked up practical solutions that actually work. Through HEG, I aim to make home improvement more approachable, sharing real tips that help you create a home you truly love.