· Davia Murnell · Home Maintenance · 18 min read
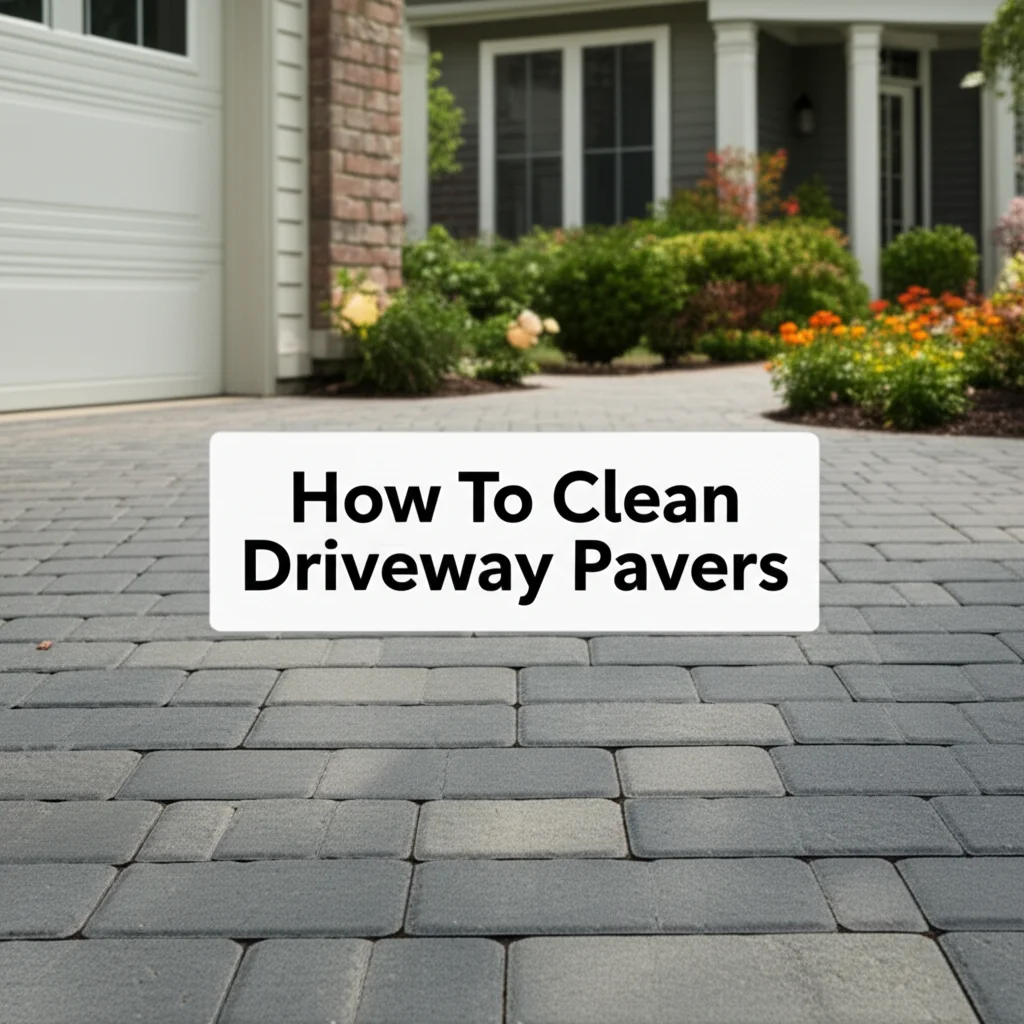
How To Clean Pavers Before Sealing
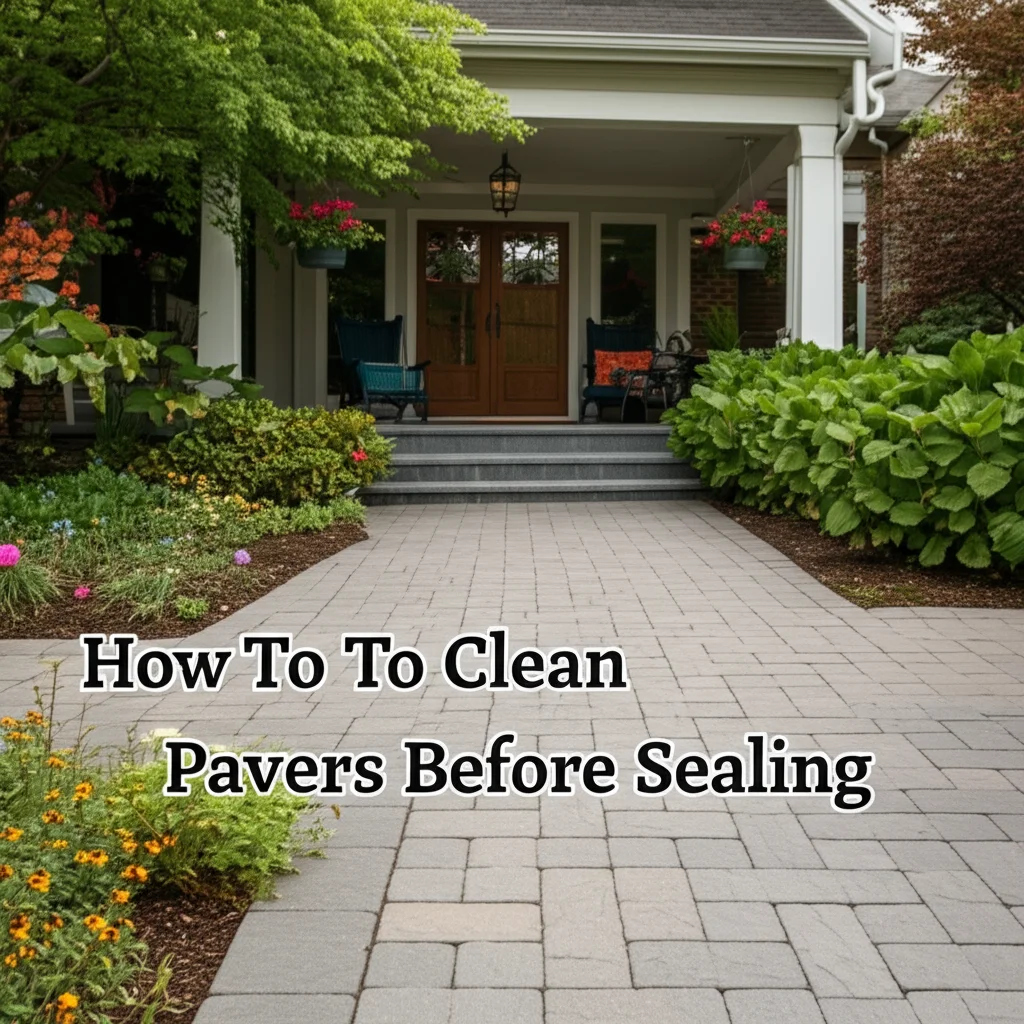
How To Clean Pavers Before Sealing: A Complete Guide
Maintaining your outdoor spaces brings great satisfaction. Pavers add beauty to your yard, but they need care. Sealing your pavers protects them from weather and wear. Before you apply any sealer, proper cleaning is essential. This step ensures the sealer sticks well and lasts a long time. Dirt, grime, and organic growth can prevent good adhesion. I am here to help you get your pavers ready.
This article provides a complete guide. We will cover why cleaning matters so much. You will learn about the right tools and materials. I will walk you through the cleaning process. We will tackle tough stains and discuss joint sand. By the end, you will know exactly how to prepare your pavers for sealing. A thorough cleaning now saves you time and effort later.
Takeaway
Cleaning pavers before sealing is crucial for sealer effectiveness and longevity.
- Remove all loose debris, weeds, and organic growth.
- Address specific stains like oil, rust, and efflorescence with targeted cleaners.
- Pressure wash carefully, ensuring even cleaning and no damage.
- Inspect and replenish joint sand if needed after cleaning.
- Allow pavers to dry completely before applying any sealer.
Cleaning pavers before sealing involves several steps. You must remove all dirt, debris, and stains. This prepares the surface for optimal sealer adhesion. Proper drying time is also essential for a successful seal. This process ensures your sealed pavers look great and last longer.
Why Cleaning Pavers Before Sealing is Absolutely Essential
Proper cleaning is not just an option; it is a necessity before you seal pavers. Imagine painting a dirty wall. The paint will not stick well. It might peel quickly. The same problem applies to your pavers. A clean surface allows the sealer to penetrate and bond properly. This creates a strong, durable layer. Skipping this step leads to poor results.
Dirt, grime, mold, mildew, and efflorescence stop the sealer from working. These substances form a barrier. The sealer then sits on top of the barrier. It does not bond with the paver material itself. This means the sealer will wear off quickly. It may even flake or peel. This wastes both your time and your money. A proper cleaning ensures the sealer performs its best. It extends the life of your paver investment.
A clean surface shows the true color of your pavers. Sealing enhances this color. It gives the pavers a fresh, vibrant look. If dirt remains, the sealer locks in that dull appearance. You want your sealed pavers to look new, not just covered. I always make sure my pavers are spotless before I seal them. This careful preparation guarantees a beautiful, long-lasting finish.
Essential Tools and Materials for Effective Paver Cleaning
You need the right tools for a successful paver cleaning project. Gathering everything beforehand saves time. It makes the job smoother. Most items are common household tools or easy to find. I always prepare my workspace before I begin. This helps me stay organized.
Here is a list of what you will likely need:
- Stiff-bristle broom or leaf blower: For removing loose debris.
- Garden hose with spray nozzle: For rinsing and initial wetting.
- Pressure washer: This is ideal for deep cleaning. Choose one appropriate for residential use.
- Paver cleaning solution: Select a cleaner specifically designed for pavers. It will tackle dirt, grime, and organic growth. Some cleaners also handle efflorescence.
- Bucket: For mixing cleaning solutions.
- Scrub brush or long-handled deck brush: For scrubbing stubborn areas.
- Gloves and safety glasses: Protect your hands and eyes from chemicals and debris.
- Respirator mask: Essential when working with strong chemicals or dusty conditions.
- Old towels or rags: For wiping spills or spot cleaning.
- Protective sheeting: To cover nearby plants, walls, or furniture.
For specific stains, you might need extra items. Oil stains require a degreaser. Rust stains need a rust remover. Always read product labels for proper use and safety. Having everything ready means you can work without interruption. This makes the cleaning process efficient and thorough.
Step-by-Step Guide to Removing Debris and Weeds
Before any wet cleaning begins, you must remove all loose materials. This dry cleaning step is crucial. It prevents mud from forming. Mud can stain your pavers during wet cleaning. Start with the simplest tasks first. This approach makes the entire process more manageable.
Clearing Loose Debris
First, use a stiff-bristle broom or a leaf blower. Sweep or blow away all loose leaves, dirt, sand, and small sticks. Ensure you clear the entire paved area. Pay attention to corners and edges. Debris trapped under the pressure washer stream can scratch pavers. This initial step creates a clean foundation. I often use my leaf blower for quick, effective debris removal.
Eliminating Weeds and Unwanted Growth
Next, address any weeds or grass growing in the paver joints. These invaders detract from your pavers’ appearance. They also trap moisture and dirt. You can pull small weeds by hand. For larger or tougher weeds, a weed puller tool works well. Some people use a weed torch for persistent growth, but use it with extreme caution. Ensure the area is completely dry if using a torch.
Moss and algae also need removal. These organisms thrive in damp, shaded areas. They make pavers slippery and look unsightly. You can often scrape moss away with a stiff brush. For persistent moss, consider specific treatments. You can learn more about effective methods in our guide on how to clean moss off pavers. After scraping, sweep away all the detached organic material. This step prepares the pavers for the next deep cleaning phase.
Tackling Stubborn Stains on Your Pavers
Pavers can accumulate various tough stains over time. These stains need special attention before sealing. Ignoring them will seal the stain into the paver. This makes it much harder to remove later. Different stains require different cleaning methods. I have faced many types of paver stains. I know the right approach for each.
Removing Oil and Grease Stains
Oil and grease stains are common, especially on driveways. These stains can penetrate deep into porous pavers. You need a powerful degreaser designed for concrete or pavers. Apply the degreaser directly to the stain. Let it sit for the recommended time, usually 15-30 minutes. Then, scrub vigorously with a stiff brush. Rinse thoroughly with water. For more detailed instructions on tough grease spots, refer to our article on how to clean oil off pavers. For general grease issues on larger areas, explore tips on how to clean grease from concrete.
Eliminating Rust Stains
Rust stains often come from metal furniture or water runoff. These stains are orange or reddish-brown. They can be tricky to remove. Use a dedicated rust remover product for concrete or pavers. Follow the product instructions carefully. These products often contain oxalic acid or similar chemicals. They dissolve the rust. Apply, let sit, then scrub and rinse. Always test in an inconspicuous area first. This prevents potential damage or discoloration. For other rust-related cleaning tasks, you might find our guide on how to clean rust off concrete helpful.
Addressing Mold, Mildew, and Algae
Green, black, or slimy growth indicates mold, mildew, or algae. These thrive in damp, shaded spots. They make surfaces slippery. A specialized outdoor cleaner or a solution of bleach and water works well. Mix one part bleach with two parts water. Apply it to the affected area. Let it sit for about 15-20 minutes. Scrub with a stiff brush. Rinse completely. Ensure all residue is gone. For areas around your pool, you can find specific advice on how to clean pavers around pool that often deals with these issues. If you prefer natural methods, our article on how to clean mold off concrete offers vinegar-based solutions.
Tackling Efflorescence
Efflorescence appears as a white, powdery residue. It is a natural salt deposit from within the pavers or sub-base. Water carries these salts to the surface. As the water evaporates, the salts remain. This phenomenon is common. An efflorescence cleaner containing mild acids is best. Apply the cleaner as directed. Scrub the area. Rinse thoroughly to remove all traces of the cleaner and salts. Multiple applications may be necessary for heavy efflorescence.
By addressing each stain type individually, you ensure a truly clean surface. This detailed preparation guarantees the best possible outcome for your sealing project.
The Power of Pressure Washing Pavers
Pressure washing is an incredibly effective way to deep clean pavers. It uses high-pressure water to blast away dirt, grime, and biological growth. This method is far superior to simple scrubbing. However, you must use it correctly. Improper pressure washing can damage your pavers or remove joint sand. I use my pressure washer carefully. I ensure it cleans without causing harm.
Setting Up Your Pressure Washer
First, connect your pressure washer to a water source. Choose the right nozzle. A 25-degree (green) or 40-degree (white) nozzle is generally best for pavers. A zero-degree (red) nozzle is too powerful. It can etch or chip your pavers. Start with a lower pressure setting if your washer has adjustable pressure. You can increase it gradually if needed. Always wear safety glasses and closed-toe shoes. Gloves are also a good idea.
Proper Pressure Washing Technique
Hold the spray wand at an angle to the paver surface. Do not point it straight down. Keep the nozzle about 6-12 inches away from the pavers. Move the wand steadily in overlapping strokes. Work in small sections. Do not linger in one spot for too long. This prevents damage. Start at one end of your paved area. Work your way to the other end. This pushes the debris away efficiently.
Be especially careful around paver joints. High pressure can blast out the sand between pavers. This creates gaps. If this happens, you will need to re-sand the joints later. For most general cleaning, just water and pressure is enough. For tough dirt, you can apply a paver cleaning solution beforehand. Follow the cleaner’s instructions for dwell time and rinsing. A thorough rinse after pressure washing is crucial. It removes all remaining dirt and cleaning solution residues. This ensures a truly clean surface.
Addressing Joint Sand and Efflorescence After Cleaning
After the initial deep cleaning and pressure washing, you need to assess your paver joints. The pressure washing process might have dislodged some joint sand. You also need to confirm that any efflorescence is gone. These steps are vital for a perfect seal. Skipping them can lead to problems later on. I always double-check these areas.
Inspecting and Replenishing Joint Sand
Joint sand provides stability to your pavers. It locks them into place. If pressure washing removed a significant amount of sand, you must replenish it. Loose pavers can shift after sealing. This can cause cracks in the sealer. Walk across your pavers. Look for any areas where the sand level is low. Check for gaps between individual pavers.
To replenish, sweep fine, dry polymeric sand into the joints. Polymeric sand contains additives that bind it together when wet. This creates a stronger, more durable joint. Sweep the sand across the surface. Use a broom to work it deeply into all joints. Ensure the joints are completely filled. Then, use a plate compactor or hand tamp to vibrate the sand into place. This settles the sand firmly. Finally, sweep away any excess sand from the surface. Be careful not to leave any sand on the paver surface. It will bond there when wet. This makes a noticeable residue.
Final Efflorescence Check
Even after initial treatment, efflorescence can sometimes reappear. This happens if salts are still migrating from deeper within the pavers or the base. After your main cleaning, look closely at the pavers once they are dry. If you see white powdery spots, treat them again. Use a dedicated efflorescence cleaner. Apply it directly to the affected areas. Let it work, then gently scrub. Rinse thoroughly. This step is important because sealer will trap efflorescence underneath it. This makes the white haze a permanent part of your sealed surface. Addressing it now ensures a clear, vibrant finish. A truly clean surface is your goal.
Final Rinsing and Crucial Drying Time Before Sealing
The final steps are perhaps the most critical before applying sealer: rinsing and drying. Any remaining cleaning solution, dirt, or moisture will compromise the sealer’s effectiveness. This could lead to a cloudy finish or poor adhesion. I always prioritize these final stages. Patience here yields the best results.
Thorough Final Rinse
After all scrubbing, pressure washing, and spot treatments, give your pavers a final, thorough rinse. Use a garden hose with a strong spray. Start at the highest point of your paved area. Work your way down. This ensures all dirty water and cleaning solution are flushed away. Rinse until the water running off the pavers is completely clear. Pay special attention to low spots or areas where water might pool. Ensure no suds or residues remain. Residue can leave streaks or affect the sealer’s bond. I often rinse an area multiple times to be sure.
The Importance of Complete Drying
This is perhaps the most crucial step. Pavers must be absolutely, completely dry before you apply any sealer. Sealer applied to damp pavers will trap moisture. This leads to a milky, hazy, or cloudy appearance. It can also cause the sealer to peel or blister. The drying time depends on several factors:
- Weather conditions: Sunny, warm, and breezy conditions speed up drying.
- Humidity: High humidity prolongs drying.
- Paver porosity: Denser pavers might hold less water.
- Amount of water used during cleaning.
Under ideal conditions, pavers may dry in 24-48 hours. In cooler or humid conditions, it can take 72 hours or even longer. I recommend waiting a minimum of 24-48 hours after the final rinse. Some professionals advise waiting up to 72 hours. Check the weather forecast carefully. You need several days of dry weather to complete the sealing process after cleaning.
Perform a simple test for dryness. Place a small piece of plastic sheeting, like a trash bag, on the pavers. Tape down the edges. Leave it for a few hours or overnight. If condensation forms under the plastic, your pavers are not yet dry enough. Wait longer. Repeat the test until no condensation appears. This patience ensures a crystal-clear, durable seal. You have worked hard to clean your pavers. Do not rush this last, vital step. It makes all the difference in the finished look and longevity of your sealed pavers.
Common Mistakes to Avoid When Cleaning Pavers
Cleaning pavers before sealing can seem straightforward. However, common mistakes can ruin your efforts. Avoiding these pitfalls saves you time, money, and frustration. I have learned these lessons through experience. I want you to benefit from my insights.
Using the Wrong Cleaning Products
Not all cleaners are suitable for pavers. Harsh acids can damage paver surfaces or alter their color. Bleach can be effective for mold, but using it undiluted or leaving it on too long can harm pavers or surrounding plants. Always use cleaners specifically formulated for concrete or pavers. Read the instructions carefully. Always test any new cleaner in an inconspicuous area first. This prevents irreversible damage. I never use cleaners I am unsure about.
Applying Excessive Pressure During Washing
Pressure washers are powerful tools. Using too much pressure or the wrong nozzle can cause significant damage. High pressure can etch the paver surface. It can blast out joint sand, creating stability issues. It can even chip or crack pavers. Stick to recommended nozzles (25-degree or 40-degree) and maintain a safe distance. Move the wand steadily. Do not concentrate the spray in one spot. My rule is: if it looks like it is damaging the paver, reduce pressure or increase distance.
Rushing the Drying Process
This is perhaps the biggest mistake. Sealer applied to damp pavers will trap moisture. This results in a cloudy, hazy, or milky appearance. This problem is very difficult, if not impossible, to fix without stripping the sealer. Ensure your pavers are completely dry. Use the plastic sheet test to confirm dryness. Patience is key here. Wait at least 24-48 hours, and up to 72 hours, depending on conditions. Do not let impatience ruin your hard work.
Not Addressing All Stains and Efflorescence
Leaving stains or efflorescence on the pavers before sealing is a mistake. The sealer will encapsulate these imperfections. They become a permanent part of your sealed surface. This detracts from the aesthetic. It also means the sealer might not adhere properly in those spots. Take the time to identify and treat all stains. Ensure all white efflorescence is gone. A truly clean surface is your canvas for sealing.
By being mindful of these common errors, you set yourself up for success. Proper cleaning and preparation lead to beautifully sealed pavers that last.
Maintaining Cleanliness After Sealing
After all your hard work cleaning and sealing your pavers, the job is not completely done. Proper maintenance helps keep your pavers looking their best. It also extends the life of the sealer. This protects your investment for many years. Regular, simple care prevents future buildup of dirt and grime. I practice these steps to ensure my sealed pavers stay pristine.
Routine Cleaning
Regular sweeping or blowing leaves and debris away is essential. This prevents organic matter from decomposing on the surface. Decomposing leaves can leave stains. A stiff broom or leaf blower works well for this. I try to do this weekly. This quick task prevents larger cleaning jobs later.
Spot Cleaning Spills
Address spills immediately. Oil, grease, food, or chemical spills should be cleaned up quickly. The sealer provides a barrier, but some substances can still stain if left for too long. Blot spills with absorbent material. Then clean the area with a mild, pH-neutral cleaner. Rinse thoroughly with water. Prompt action prevents permanent marks.
Occasional Deeper Cleaning
Even with regular care, your sealed pavers will need occasional deeper cleaning. This could be once or twice a year, depending on traffic and weather. Use a mild paver cleaner. Apply it with a soft-bristle brush. Rinse thoroughly. Avoid harsh chemicals or abrasive cleaners. These can degrade the sealer over time. Pressure washing should be done with very low pressure if needed, as high pressure can damage the sealer. I prefer a gentle scrub for my sealed pavers.
Re-sanding and Re-sealing
Monitor your joint sand over time. It can erode. If gaps appear, you might need to re-sand the joints. Use polymeric sand. The sealer itself will also wear down over time. Most sealers last 3-5 years. When water no longer beads on the surface, it is time to re-seal. You will need to clean the pavers again before re-sealing. However, this cleaning will be less intensive than the initial one. You mainly remove surface grime.
By following these maintenance tips, your sealed pavers will retain their beauty. They will protect your outdoor space for a long time.
Frequently Asked Questions About Cleaning Pavers Before Sealing
How long do pavers need to dry before sealing?
Pavers must be completely dry before sealing. This usually takes 24 to 72 hours. Factors like weather, humidity, and paver porosity affect drying time. Always perform a moisture test by taping a plastic sheet to the pavers. If condensation forms underneath, wait longer. This ensures a clear, lasting seal.
Can I use bleach to clean pavers before sealing?
You can use bleach diluted with water (1:2 bleach to water ratio) for mold or algae. However, use it cautiously. Bleach can discolor some pavers or harm surrounding plants. Always rinse thoroughly after use. Test a small, hidden area first. Avoid using concentrated bleach directly on your pavers.
What is efflorescence, and how do I remove it?
Efflorescence is a white, powdery salt deposit that appears on pavers. It comes from salts migrating within the paver material. Use a dedicated efflorescence cleaner, often acid-based. Apply it, scrub, and rinse thoroughly. Multiple treatments may be needed for heavy deposits. Ensure it is gone before sealing.
Is pressure washing necessary to clean pavers before sealing?
Pressure washing is highly recommended for deep cleaning. It removes dirt, grime, and organic growth more effectively than scrubbing alone. Use a 25 or 40-degree nozzle. Maintain proper distance to avoid damaging the pavers or blasting out joint sand. It ensures a very clean surface for sealer adhesion.
Do I need to re-sand paver joints after cleaning?
Yes, if pressure washing has dislodged significant amounts of sand. Inspect the joints for gaps or low spots. If needed, sweep in new polymeric sand. Use a compactor or tamp to settle it firmly. Replenishing joint sand provides stability and prevents paver shifting after sealing.
What happens if I seal dirty or wet pavers?
Sealing dirty pavers traps grime underneath, making it a permanent part of your sealed surface. Sealing wet pavers traps moisture, leading to a milky, cloudy, or hazy appearance. It can also cause the sealer to peel or blister prematurely. Proper cleaning and complete drying are vital for a successful, clear finish.
Conclusion
Cleaning pavers before sealing is a critical step for a beautiful and long-lasting finish. We have covered the entire process. You now understand why thorough cleaning matters. You know which tools and materials you need. We walked through removing debris, weeds, and stubborn stains like oil, rust, mold, and efflorescence. We discussed proper pressure washing techniques. We also emphasized the importance of inspecting and replenishing joint sand. Finally, the crucial steps of rinsing and ensuring complete dryness were highlighted.
Remember, patience and attention to detail during the cleaning phase directly impact your sealing success. Skipping steps or rushing the process can lead to disappointing results. By following these guidelines on how to clean pavers before sealing, you will ensure optimal sealer adhesion. This will protect your investment for years to come. Your outdoor living spaces will look stunning and remain durable. Start your paver cleaning project today. Achieve beautiful, perfectly sealed pavers that enhance your home’s curb appeal.
- paver cleaning
- sealing pavers
- outdoor maintenance
- patio cleaning
- stain removal

Davia Murnell
Room Cleaning Expert
Before joining HEG, I spent over a decade running my own window cleaning business, where I perfected streak-free techniques and learned the ins and outs of specialty glass care. Now, I bring that expertise to a broader mission—helping homeowners maintain sparkling windows and beautiful outdoor spaces. From skylights and sliding doors to patio glass and outdoor furniture, I believe every surface deserves attention and care. I share practical tips and proven methods that make even the toughest cleaning jobs feel manageable. Whether you're battling pollen on the porch or smudges on high windows, I’m here to help you see your home in a whole new light—literally.