· Todd Martin · Home Maintenance · 18 min read
How To Clean Sandstone Fireplace
Achieve a Spotless Sandstone Fireplace
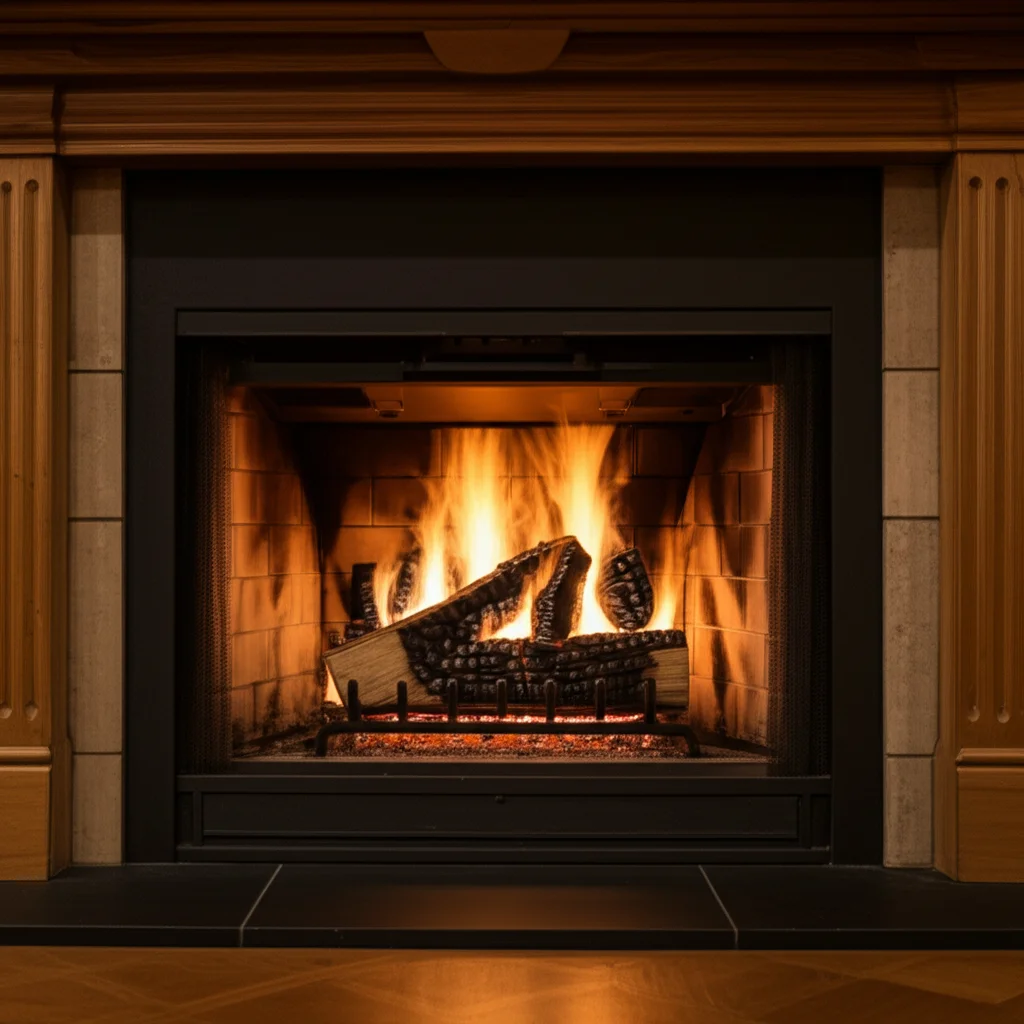
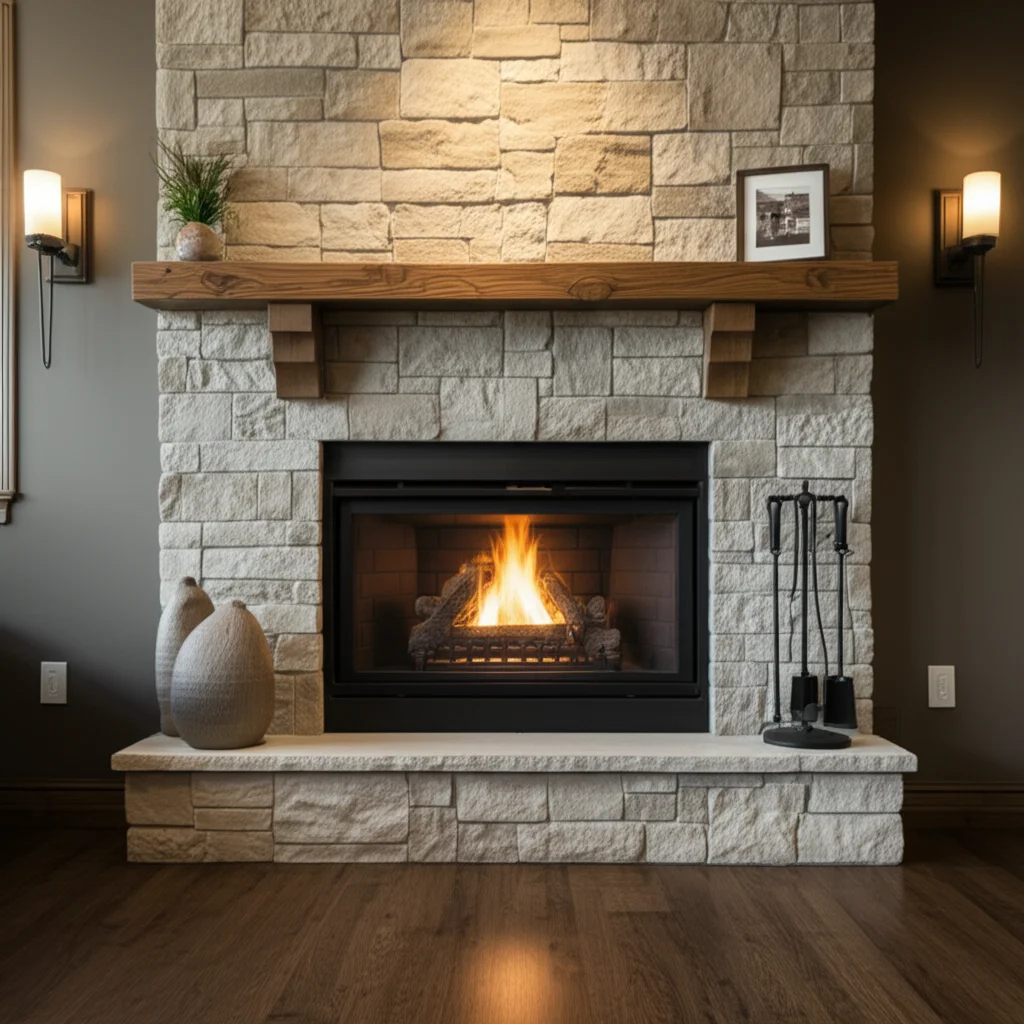
A sandstone fireplace offers warmth and character to any home. It creates a focal point, drawing eyes with its natural beauty. However, over time, soot, ash, and other deposits can dull its appearance. Knowing how to clean sandstone fireplace surfaces correctly is vital. Incorrect cleaning methods can damage this porous stone. This guide provides clear steps to restore your fireplace’s original charm. We will cover essential tools, safe cleaning solutions, and stain removal techniques. You will also learn about long-term care for your sandstone.
Takeaway
- Always test cleaning solutions on an inconspicuous area first.
- Use gentle, non-acidic cleaners to avoid damaging porous sandstone.
- Address soot and ash promptly to prevent deep staining.
- Consider sealing your sandstone fireplace for added protection.
To effectively clean your sandstone fireplace, start by dry brushing and vacuuming loose debris. Then, use a mild, pH-neutral cleaner with a soft brush or cloth for general dirt. For stubborn stains like soot, apply a baking soda paste. Always rinse thoroughly and allow the stone to dry completely before sealing.
Understanding Sandstone: Its Nature and Cleaning Challenges
Sandstone is a sedimentary rock. It forms from sand grains cemented together by minerals. This natural formation makes sandstone inherently porous. Its porosity means it can absorb liquids easily. This characteristic directly impacts how you clean it. Soot, ash, and spills penetrate the stone’s surface. They cause deep stains that are hard to remove.
Different types of sandstone exist. Colors range from white and yellow to red and brown. The mineral content affects its hardness and porosity. Some sandstone types are denser than others. Denser sandstone may resist stains better. Always identify your sandstone type before cleaning.
Understanding its porous nature guides your cleaning approach. You must avoid harsh chemicals. Acidic cleaners, for example, etch the stone. They cause permanent damage. Abrasive tools scratch the surface. Always choose gentle methods and products. This protects the stone’s integrity and appearance.
The primary challenge in cleaning sandstone is avoiding damage. Common fireplace dirt includes soot, creosote, and ash. These substances are alkaline or acidic, depending on their composition. They can bond with the stone minerals. Knowing the stone’s properties helps you select the right cleaning agents. This ensures effective cleaning without harm.
Essential Tools and Supplies for Sandstone Fireplace Cleaning
Having the right tools makes cleaning your sandstone fireplace easier. It also helps you achieve better results. Gather all items before you start the cleaning process. This prevents interruptions. Using appropriate supplies protects your sandstone from damage.
Here is a list of what you will need:
- Soft-bristle brush: A natural fiber brush is ideal. It helps remove loose dirt without scratching.
- Vacuum cleaner with hose attachment: This tool is crucial for removing ash and dust. A shop vacuum works best for large amounts of debris.
- Clean cloths or sponges: Use non-abrasive options. Microfiber cloths are excellent for wiping and rinsing.
- Bucket: You will need two buckets. One for cleaning solution and one for rinse water.
- Mild, pH-neutral stone cleaner: Specialized stone cleaners are safest. Avoid general household cleaners.
- Baking soda: This is a gentle abrasive and odor absorber. It helps with soot stains.
- Dish soap (mild, non-degreasing type): A small amount can boost cleaning power. Ensure it has no dyes or strong chemicals.
- Spray bottle: For applying solutions evenly.
- Protective gloves: To protect your hands from cleaning agents.
- Safety glasses: To protect your eyes from splashes.
- Drop cloths or old sheets: To protect surrounding flooring and furniture.
- Optional: Stone sealant: To protect your sandstone after cleaning.
Avoid wire brushes, abrasive pads, or highly acidic/alkaline cleaners. These items cause irreversible damage to sandstone. Always choose tools and products designed for natural stone. This approach ensures your fireplace remains beautiful for years.
Pre-Cleaning Preparations: Safety and Workspace Setup
Before you start cleaning, proper preparation is vital. This ensures safety for you and your home. It also makes the cleaning process more efficient. Do not rush this stage. A well-prepared area prevents accidents and simplifies cleanup.
First, ensure your fireplace is completely cold. This is critical for safety. Never clean a warm or hot fireplace. Ash and embers can remain hot for days. Clear out all ash and unburnt wood. Use a metal shovel and a metal ash bucket. Place ash outside in a safe, non-combustible area. For more detailed guidance on removing ash, you can refer to our article on how to clean ash from fireplace.
Next, protect your surroundings. Lay down drop cloths or old sheets. Place them around the entire fireplace area. This protects your floors and carpets from water and cleaning solutions. Move furniture away from the fireplace. Cover any nearby items that cannot be moved. This prevents dust and splatters from reaching them.
Ensure good ventilation. Open windows and doors in the room. This helps air circulate. It removes any dust or fumes generated during cleaning. Wearing protective gear is also important. Put on safety glasses and gloves. This protects your eyes from splashes and your hands from cleaning agents.
Finally, vacuum the fireplace thoroughly. Use a shop vacuum for best results. A regular household vacuum may get clogged or damaged. Remove all loose debris, dust, and light ash. Pay attention to cracks and crevices. This initial vacuuming prevents turning dry dust into muddy residue when you apply water. This meticulous preparation sets the stage for a successful cleaning job.
Step-by-Step Guide to Basic Sandstone Fireplace Cleaning
Once preparations are complete, you can begin the actual cleaning. This section covers the general cleaning process for light dirt and dust. It focuses on gentle methods that protect your porous sandstone. We will move through each step clearly.
Step 1: Dry Brushing and Initial Vacuuming Begin by dry brushing the entire sandstone surface. Use your soft-bristle brush. Gently brush downwards to dislodge loose dust and cobwebs. Pay attention to carved details and mortar lines. After brushing, use your vacuum cleaner with a brush attachment. Carefully vacuum all brushed areas. This removes the bulk of the dry debris. This step is crucial before introducing any moisture. It prevents smearing dirt into the stone.
Step 2: Prepare Your Cleaning Solution Fill one bucket with clean, lukewarm water. Add a few drops of mild, pH-neutral stone cleaner to this bucket. Alternatively, you can use a small amount of mild, dye-free dish soap. Mix the solution gently. Avoid creating excessive suds. For the second bucket, fill it only with clean, plain water. This will be your rinse water.
Step 3: Gentle Washing Dip a clean, soft cloth or sponge into your cleaning solution. Wring out excess liquid. The cloth should be damp, not dripping. Start from the top of the fireplace and work your way down. Gently wipe the sandstone surface. Do not scrub harshly. Allow the cleaner to sit for a minute or two on stubborn spots. For general dirt on stone surfaces, our guide on how to clean stone fireplace offers broader insights applicable here.
Step 4: Rinse Thoroughly After washing a section, immediately rinse it. Dip a separate clean cloth or sponge into the plain water bucket. Wring it out well. Wipe down the cleaned section. This removes all traces of the cleaning solution. Rinse your cloth frequently in the plain water. Repeat this rinsing process several times to ensure all cleaner residue is gone. Residual cleaner can attract dirt.
Step 5: Drying the Sandstone Once rinsed, use a dry, clean towel to blot the sandstone. This helps absorb excess moisture. Allow the fireplace to air dry completely. Sandstone can hold moisture for a while. Good air circulation helps it dry faster. Do not use heat guns or blow dryers. Rapid drying can cause cracks or discoloration. Ensure the stone is completely dry before proceeding to any stain removal or sealing steps.
Following these steps provides a foundation for maintaining your sandstone fireplace. This routine helps keep it looking fresh.
Tackling Stubborn Soot and Ash Stains on Sandstone
Soot and ash stains are common on sandstone fireplaces. These dark marks can be particularly challenging. Their porous nature allows these particles to embed deeply. However, with the right approach, you can effectively remove them. Always remember to work gently. For heavy soot buildup, you might find our article on how to clean black soot from inside fireplace helpful for insights into extreme cases.
Method 1: Baking Soda Paste Baking soda is a mild abrasive and an excellent stain remover. It is safe for most porous stones.
- Create the paste: Mix baking soda with a small amount of water. You want a thick paste, like toothpaste.
- Apply the paste: Generously apply the paste directly onto the soot-stained areas. Make sure the stain is completely covered.
- Let it sit: Allow the paste to dry on the stain. This may take several hours, even overnight. As it dries, it draws out the stain.
- Remove the paste: Once completely dry, gently scrape off the hardened paste. Use a plastic scraper or a soft brush.
- Rinse and dry: Wipe the area with a damp cloth. Then rinse with clean water. Blot dry and let air dry completely. You may need to repeat this process for very stubborn stains.
Method 2: Mild Dish Soap Solution for Fresh Soot For lighter, fresher soot marks, a stronger dish soap solution can work.
- Prepare solution: Mix a few drops of a mild, non-degreasing dish soap with warm water.
- Apply and scrub: Dip a soft-bristle brush into the solution. Gently scrub the soot-stained area. Use circular motions. Do not apply too much pressure.
- Rinse and dry: Rinse the area thoroughly with clean water. Use a clean, damp cloth. Blot dry and allow the sandstone to air dry fully.
Important Considerations for Soot Removal:
- Test first: Always test any cleaning method on an inconspicuous area. This checks for adverse reactions.
- Patience is key: Soot stains often require multiple applications or gentle scrubbing. Do not get discouraged if it does not come off immediately.
- Avoid harsh chemicals: Never use bleach, ammonia, or strong acid-based cleaners. These will cause irreversible damage to the sandstone. They can etch, discolor, or weaken the stone.
By carefully following these steps, you can significantly improve the appearance of soot-stained sandstone. Your fireplace will look much cleaner.
Removing Other Common Stains from Sandstone
Beyond soot, sandstone fireplaces can accumulate various other stains. These might include water marks, grease, or even mold. Each type of stain requires a specific approach. Using the wrong cleaner can make a stain worse. Understanding how to treat common issues preserves your fireplace’s beauty.
Water Stains and Efflorescence
Water stains on sandstone often appear as light, cloudy marks. These are mineral deposits left behind as water evaporates. Efflorescence is a similar issue, appearing as white, powdery residue. It results from salts migrating from within the stone.
- Light water stains: For fresh water marks, a simple damp cloth and gentle scrubbing might suffice.
- Stubborn water stains/Efflorescence: Mix equal parts distilled water and white vinegar. Apply the solution with a soft cloth. Gently wipe the affected area. Vinegar is mildly acidic but generally safe in diluted form for brief contact. Rinse immediately and thoroughly with plain water. You can find more information about using vinegar for cleaning various surfaces in our guide on how to clean glass with vinegar.
Grease Stains
Grease stains can be tough on porous sandstone. They penetrate deep into the stone.
- Absorb fresh grease: For fresh spills, immediately blot with a clean cloth. Sprinkle cornstarch or baking soda over the stain. Let it sit for several hours or overnight. This absorbs the grease.
- Poultice for set-in grease: Create a thick paste (poultice) using an absorbent material (like fuller’s earth, talc, or baking soda) and a solvent (like mineral spirits or acetone). Apply the poultice thickly over the stain. Cover it with plastic wrap. Tape the edges. Allow it to dry completely (24-48 hours). As it dries, it pulls the grease out. Scrape off the dried poultice. Rinse the area. For general guidance on tackling grease, our article on how to clean grease stains offers additional strategies.
Mold and Mildew
Mold and mildew can grow on sandstone in damp environments. They appear as black, green, or fuzzy patches.
- Mild solution: Mix one part household bleach with ten parts water (1:10 dilution). This is a strong solution, so use it with extreme caution and test first. Bleach can potentially lighten sandstone.
- Application: Apply the solution to the moldy area with a spray bottle or sponge. Let it sit for 10-15 minutes.
- Scrub and rinse: Gently scrub with a soft brush. Rinse thoroughly with clean water. Ensure all bleach residue is gone. For mold on other masonry, insights from how to clean mold off brick might also be useful.
Important Notes for Stain Removal
- Act quickly: Fresh stains are always easier to remove.
- Never mix cleaners: Combining different cleaning products can create dangerous fumes or ineffective solutions.
- Rinse thoroughly: Any residual cleaner can damage the stone or attract more dirt.
- Professional help: For very old, deep, or unknown stains, consult a professional stone cleaner. They have specialized tools and chemicals.
By following these targeted stain removal methods, you can keep your sandstone fireplace looking pristine.
Restoring and Protecting Your Sandstone Fireplace
Cleaning your sandstone fireplace is a significant step. However, restoration and protection are equally important. These steps help preserve its beauty and simplify future maintenance. They extend the life of your natural stone.
Addressing Minor Damage and Discoloration
Sometimes, simple cleaning is not enough. You may notice minor chips, scratches, or areas of persistent discoloration.
- Minor Chips: Small chips can often be filled. Use a color-matched stone repair epoxy or filler. Apply sparingly and smooth out the surface. Ensure the product is suitable for natural stone.
- Light Scratches: Very light surface scratches might be buffed out. Use an ultrafine grit sandpaper (like 400-grit or higher) designed for stone. Work slowly and gently. Always test in an inconspicuous area first. Follow up with a fine polishing pad if needed. This step is best left to a professional if you are unsure.
- Discoloration: If discoloration remains after deep cleaning, it might be due to ingrained minerals or old sealants. A professional stone restorer can assess this. They might use specialized poultices or gentle grinding techniques.
The Importance of Sealing Sandstone
Sandstone’s porous nature makes it highly susceptible to future stains. Sealing is the best way to prevent this. A good quality stone sealant creates a barrier. This barrier repels liquids and prevents them from soaking into the stone.
Types of Sealants:
- Impregnating sealers: These penetrate the stone. They line the pores without forming a surface film. They allow the stone to “breathe.” This is generally the preferred type for sandstone fireplaces. They offer protection against water and oil-based stains.
- Topical sealers: These form a coating on the surface. They can change the stone’s appearance (e.g., add a sheen). They can also trap moisture if not applied correctly. These are generally not recommended for fireplaces due to heat and breathability concerns.
How to Apply Sealant (Impregnating Type):
- Ensure dryness: The sandstone must be completely dry before sealing. Wait at least 24-48 hours after cleaning.
- Apply evenly: Use a clean, lint-free cloth, roller, or sprayer. Apply the sealant in a thin, even coat. Work in small sections.
- Allow absorption: Let the sealant absorb into the stone for the time recommended by the manufacturer.
- Wipe excess: Before the sealant dries on the surface, wipe off any excess. Use a clean, dry cloth. Do not let it dry on the surface, as it will leave a residue.
- Cure time: Allow the sealant to cure fully. This can take several days. Avoid using the fireplace during this time.
Sealing should be done every 1-3 years, depending on fireplace usage and sealant type. Regular reapplication ensures continuous protection.
Routine Maintenance for Lasting Beauty
Ongoing care keeps your sandstone fireplace in top condition.
- Regular Dusting: Dust your fireplace frequently with a soft, dry cloth. This prevents buildup.
- Prompt Spill Cleanup: Immediately wipe any spills. The quicker you act, the less likely a stain will set.
- Use a Fireplace Screen: A screen helps contain sparks and minimizes soot escaping.
- Professional Inspection: Consider an annual professional inspection. They can check for chimney issues and offer maintenance advice.
By combining thorough cleaning with proactive protection and regular maintenance, your sandstone fireplace will remain a beautiful and cherished feature in your home for many years.
Advanced Techniques and Professional Considerations
Sometimes, basic cleaning methods might not be enough. For very old, deeply ingrained stains or significant damage, advanced techniques or professional help become necessary. Knowing when to escalate your cleaning approach can save you time and prevent further damage.
Poultice Methods for Deep Stains
We touched upon poultices for grease, but they are also effective for other deep stains, including persistent soot or oil marks. A poultice works by drawing the stain out of the porous stone.
- Selection of absorbent material: Common materials include diatomaceous earth, kaolin clay, or even paper towels.
- Selection of chemical: The chemical agent depends on the stain type. For oil-based stains, use a solvent like acetone or mineral spirits. For organic stains (like mold or some food stains), hydrogen peroxide or a diluted bleach solution might be used (with extreme caution for bleach, due to potential lightening).
- Application: Mix the absorbent material with the chemical to form a thick paste. Apply a 1/2 inch thick layer over the stain. Cover with plastic wrap and tape the edges. Allow it to dry completely (24-72 hours). The drying process pulls the stain into the poultice.
- Removal: Once dry, gently scrape off the hardened poultice. Dispose of it properly. Rinse the area thoroughly with clean water. Repeat if necessary.
Always test poultices on an inconspicuous area first. The chemical agent can react differently with various sandstone types. Ensure good ventilation, especially when using solvents.
Using Steam Cleaners (with Caution)
Steam cleaners can be effective for sanitizing and loosening dirt from porous surfaces. However, they must be used with extreme caution on sandstone.
- Low pressure, high heat: The steam should be hot, but the pressure low. High pressure can damage the stone’s surface.
- No detergents: Use plain water steam. Do not add detergents to the steam cleaner reservoir unless it’s specifically designed for stone and the detergent is pH-neutral.
- Immediate drying: Sandstone absorbs moisture. After steaming, immediately wipe the area dry with a clean cloth. Ensure excellent ventilation to help the stone dry completely. Prolonged moisture can lead to efflorescence or mold growth.
- Test first: Always test in a hidden spot. Some sandstone types may react poorly to steam.
When to Call a Professional
There are clear instances when professional help is the best option.
- Extensive damage: If your fireplace has large cracks, significant chips, or crumbling areas.
- Deep, unidentifiable stains: Stains that do not respond to DIY methods, or stains of unknown origin. Professionals have access to specialized chemicals and equipment.
- Resealing after extensive restoration: If your sandstone needs heavy cleaning or repairs, a professional stone restorer can also re-seal it correctly.
- Historical or valuable fireplaces: For antique or highly valuable sandstone pieces, professional care ensures preservation.
- Safety concerns: If you suspect chimney issues or structural problems, a certified chimney sweep or masonry expert is necessary.
Professional stone cleaners use specialized knowledge, tools, and chemicals. They can perform deep cleaning, honing, polishing, and sealing. This ensures your sandstone fireplace receives the best possible care without risk of damage.
Frequently Asked Questions About Cleaning Sandstone Fireplaces
How often should I clean my sandstone fireplace?
You should dust your sandstone fireplace regularly, perhaps weekly, to prevent buildup. A deeper clean is recommended seasonally or annually, depending on how often you use your fireplace. Promptly clean any spills or fresh soot marks to prevent them from setting into the porous stone.
Can I use vinegar or bleach on sandstone?
Use vinegar with extreme caution and only in highly diluted forms for specific stains like water marks or mild mold, always followed by thorough rinsing. Bleach is generally not recommended as it can lighten or discolor sandstone, and cause etching. Always test any acidic or strong chemical solution on an inconspicuous area first.
What causes my sandstone fireplace to turn black?
Your sandstone fireplace primarily turns black due to soot and creosote buildup from burning wood. These byproducts of combustion are dark and oily, easily adhering to and penetrating the porous surface of sandstone. Poor ventilation or incomplete burning also contribute to this discoloration.
How do I prevent future stains on my sandstone fireplace?
To prevent future stains, regularly dust your fireplace and promptly wipe any spills. Crucially, apply a high-quality impregnating stone sealant to the sandstone. This sealant creates a protective barrier, making the stone less porous and more resistant to absorbing soot, ash, and liquid spills.
Is professional cleaning worth it for a sandstone fireplace?
Yes, professional cleaning is often worth it for significant stains, extensive damage, or if you are unsure about DIY methods. Professionals have specialized knowledge, tools, and products designed for natural stone. They can effectively address deep stains, repair damage, and properly seal the stone, preserving its beauty and integrity.
Can I paint my sandstone fireplace after cleaning?
While you can paint some fireplace materials, painting sandstone is generally not recommended. Paint can trap moisture within the stone and prevent it from breathing. This can lead to efflorescence, cracking, or peeling paint. If you want to change its appearance, consider specific stone treatments or stains designed for natural stone.
Conclusion
Cleaning your sandstone fireplace is a worthwhile endeavor. It restores the natural beauty of your home’s centerpiece. We have explored the unique challenges of cleaning sandstone due to its porous nature. We discussed essential tools, gentle cleaning methods, and targeted stain removal techniques. You now know how to tackle common issues like soot, ash, and other stubborn marks.
Remember the key steps: always prepare your workspace thoroughly, use mild, pH-neutral cleaners, and rinse the stone completely. Protecting your sandstone fireplace with a quality sealant is crucial for long-term maintenance. This simple step helps repel future stains and simplifies routine cleaning.
Maintaining your sandstone fireplace involves consistency and the right approach. By following these guidelines, you ensure your fireplace remains a warm, inviting, and clean feature for years to come. Do not hesitate to seek professional help for severe issues. Take pride in your beautiful, clean sandstone fireplace.
- sandstone cleaning
- fireplace cleaning
- soot removal
- stone care
- DIY cleaning
- home maintenance
- stain removal

Todd Martin
Senior Writer
With over 15 years of experience in home renovation and design, I started HEG to share what I’ve learned with homeowners who want to create spaces that are both beautiful and functional. I’ve always believed in a hands-on approach, and over the years, I’ve picked up practical solutions that actually work. Through HEG, I aim to make home improvement more approachable, sharing real tips that help you create a home you truly love.