· Todd Martin · Kitchen Essentials · 12 min read
How To Clean Sea Urchin
Mastering Sea Urchin Cleaning for Culinary Delights
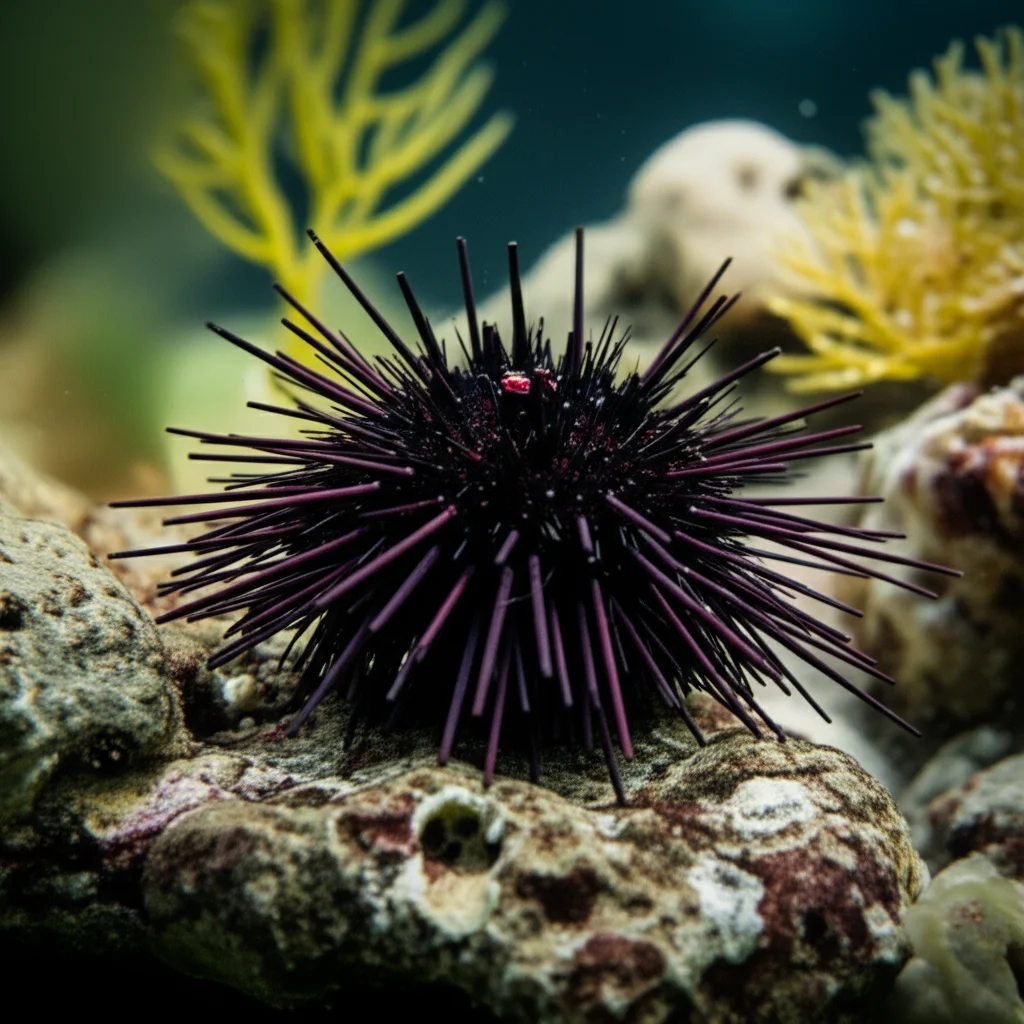
The sea holds many treasures, and among them is the unique sea urchin. This spiky creature offers a hidden gem: its creamy, golden roe, known as uni. Many people enjoy uni in fine dining, but learning how to clean sea urchin at home opens up new possibilities. You can savor its fresh, briny taste right in your own kitchen.
Preparing sea urchin may seem difficult due to its sharp spines. However, with the right tools and simple steps, it becomes a straightforward process. This guide provides clear instructions to help you clean sea urchin safely and effectively. We will cover necessary equipment, safety measures, detailed cleaning steps, and proper storage. You will gain the confidence to enjoy this delicacy at home.
Takeaway:
- Wear thick gloves and use sharp kitchen scissors.
- Cut around the mouth of the sea urchin.
- Drain all internal liquids into a discard bowl.
- Gently scoop out the bright orange gonads, or uni.
- Rinse the uni carefully in cold saltwater.
- Store cleaned uni on damp paper towels in an airtight container.
Cleaning sea urchin involves cutting the underside near the mouth, draining unwanted liquid, carefully scooping out the bright orange gonads (uni), and gently rinsing them in cold, clean water or saltwater. This removes any internal debris and prepares the edible roe for consumption, ensuring a clean and delicious experience.
Why Clean Sea Urchin? Unlocking Culinary Potential
Sea urchin, particularly its edible gonads called uni, offers a truly unique taste experience. It has a rich, creamy texture and a distinct briny, sweet flavor. Many people enjoy uni in high-end restaurants. Learning to clean it yourself allows you to enjoy this delicacy more often.
Cleaning sea urchin at home provides several benefits. First, it ensures peak freshness. You know exactly when the urchin was prepared. Second, it can be more cost-effective than buying pre-cleaned uni. Finally, there is a deep satisfaction in preparing such an exquisite ingredient yourself. It enhances your cooking skills and connects you more directly with your food.
Gathering Your Tools: Essential Supplies for Urchin Cleaning
Proper tools make the sea urchin cleaning process much easier and safer. You do not need many items. Having them ready before you start helps the job flow smoothly. Each tool plays an important role in getting clean, delicious uni.
First, you will need a sturdy pair of gloves. Thick rubber or even cut-resistant gloves are best. These protect your hands from the urchin’s sharp spines. Next, get a pair of sharp kitchen scissors. These work well for cutting through the urchin’s shell. I find that poultry shears are especially effective for this task.
You also need a small spoon or a specialized uni scoop. This helps you gently remove the delicate gonads without damaging them. Prepare two clean bowls: one for discarding the internal waste and another for holding the cleaned uni. Finally, have a source of cold, clean water or a bowl of prepared saltwater for rinsing. Ensuring your work area and tools are clean is also important. Just like keeping your stainless steel surfaces clean in the kitchen, hygiene is key when handling food.
Safety First: Handling Spiky Sea Urchins with Care
Sea urchins are known for their sharp, brittle spines. These spines can easily break off and cause irritation or puncture wounds. Prioritizing safety when handling them is very important. Taking precautions prevents painful injuries and ensures a smooth cleaning process.
Always wear thick, sturdy gloves. I use heavy-duty dishwashing gloves or specialized cut-resistant gloves. These provide a good barrier against the spines. Hold the sea urchin firmly but gently during the entire process. A good grip prevents it from slipping and causing an accident.
Work on a stable, flat surface. This gives you better control over the urchin. Avoid putting pressure directly on the spines. If a spine does prick your skin, remove it carefully with tweezers. Then, wash the area thoroughly with soap and water. Monitor the area for any signs of infection. Some people also choose to wear eye protection, which is a good idea.
Step-by-Step Guide: How to Clean a Sea Urchin Properly
Cleaning a sea urchin involves a few precise steps. Following these steps carefully helps you get the best yield of uni. It also ensures the uni is clean and ready to eat. The process becomes simple once you understand the technique.
Preparing the Urchin
Begin by gently rinsing the outside of the sea urchin under cold tap water. This removes any sand, algae, or loose debris from its exterior. I make sure to do this before cutting to prevent anything from contaminating the inside. Look for the mouth, which is a small, round opening usually located on the flatter, underside of the urchin.
Making the Incision
Hold the sea urchin firmly in your gloved hand. Use your sharp kitchen scissors to make a circular cut around the mouth. This cut creates an opening that is wide enough to access the interior. Be careful not to cut too deep, as you want to avoid damaging the delicate uni inside. A clean, even cut helps simplify the next steps.
Draining the Liquid
Once you have made the circular cut, carefully separate the top part of the shell from the bottom. Invert the sea urchin over your discard bowl. Allow all the dark, briny liquid and any unwanted internal organs to drain out completely. This liquid is not edible and can make the uni taste bad if it is not removed. Draining thoroughly is a critical step for a good result.
Extracting the Golden Roe: Unearthing Edible Uni
After the sea urchin has been cut open and drained, you will see its internal structure. The edible part, known as uni or roe, appears as bright orange or yellow segments. These are the gonads of the sea urchin. They are typically arranged in five distinct pieces inside the shell.
Use a small spoon or a specialized uni scoop to carefully detach each segment of uni from the shell. Work gently to avoid breaking the delicate pieces. I always try to keep them as intact as possible. Place the scooped uni into your clean holding bowl. Take care to avoid picking up any dark, non-edible bits or membrane that might still cling to the shell.
Sometimes, you might see small, dark stringy bits mixed with the uni. These are not edible and should be carefully removed. You can do this with the tip of your spoon or even your gloved fingers. The goal is to isolate only the clean, vibrant uni. This step requires a bit of patience and a steady hand.
Rinsing and Purifying: Achieving Pristine Uni
Rinsing the sea urchin uni is a crucial step to ensure its purity and best flavor. It removes any remaining debris, stray dark bits, or excess liquid. A proper rinse helps the uni taste clean and sweet, without any bitterness. It is important to do this step gently, as uni is very delicate.
You have two main options for rinsing. The first is to gently rinse the uni under a very slow stream of cold tap water. Place the uni in a fine mesh sieve. Pass the water over it very briefly, then allow it to drain. The second, and often preferred, method is to rinse the uni in a bowl of cold saltwater. This mimics the sea environment and helps preserve the uni’s natural flavor.
To prepare saltwater, mix about one tablespoon of sea salt with four cups of cold water. Gently submerge the uni in this solution for a few seconds. Use a slotted spoon or your fingers to carefully lift the uni out. Place the rinsed uni onto a few layers of clean paper towels. Gently pat them dry to remove excess moisture. Using clean water is essential, just like ensuring your water filter is clean for drinking. This helps maintain the purity of your delicate uni.
Storing Your Delicacy: Keeping Cleaned Uni Fresh
Once cleaned, sea urchin uni is highly perishable. It is best to eat it immediately for the freshest taste. However, if you need to store it, proper methods can extend its shelf life by a day or two. Understanding how to store uni ensures you enjoy its quality.
Do not freeze sea urchin uni. Freezing significantly damages its delicate texture, making it mushy and less appealing. It loses its creamy consistency when thawed. Instead, focus on cold refrigeration.
To store cleaned uni, place a few layers of damp paper towels at the bottom of an airtight container. Arrange the uni segments in a single layer on the paper towels. Then, cover the uni with another damp paper towel. Secure the lid tightly. Store the container in the coldest part of your refrigerator, typically the back of the bottom shelf. I usually aim to eat it within 24-48 hours. Keeping your kitchen clean generally helps with food safety. After working with seafood, I always make sure to clean my kitchen thoroughly, including areas like the bottom of the pan that might have caught drips.
Common Pitfalls: Mistakes to Avoid When Cleaning Sea Urchin
Cleaning sea urchin can be simple, but certain mistakes can ruin the uni or cause injury. Being aware of these common pitfalls helps you avoid them. This ensures a successful and enjoyable experience. My goal is always to make the process smooth.
One major mistake is not wearing proper gloves. The spines are sharp and can easily break off in your skin, causing pain and infection. Always prioritize your safety. Another common error is rushing the process. Uni is extremely delicate; hurried movements can crush the gonads or introduce debris. Take your time with each step.
Failing to drain all the internal liquid is another pitfall. This dark, bitter liquid can taint the taste of your fresh uni. Make sure it is fully drained before you begin scooping. Also, be careful not to over-rinse the uni or use fresh tap water without salt. Too much rinsing, or fresh water, can wash away some of its natural flavor and texture. Using hot water is also a mistake, as it can cook the delicate uni. Finally, improper storage leads to quick spoilage, so always follow the refrigeration guidelines closely.
Beyond Cleaning: Enjoying Your Fresh Sea Urchin Uni
Cleaning your own sea urchin is a rewarding experience, but the true joy comes from enjoying the freshly prepared uni. Uni is incredibly versatile and can be savored in many ways. Its unique flavor adds a touch of elegance to any dish. I love experimenting with new ways to serve it.
Many people prefer to eat uni raw, on its own, to fully appreciate its pure taste. Simply place a few pieces on a small plate. You can also serve it as sushi or sashimi, where its rich flavor pairs perfectly with rice and a hint of soy sauce. Uni makes a fantastic topping for toast points, sometimes with a drizzle of olive oil or a sprinkle of sea salt.
For a cooked application, uni melts beautifully into warm pasta sauces, adding a luxurious, creamy texture and a subtle oceanic depth. It can also be gently folded into scrambled eggs for a decadent breakfast. Do not be afraid to experiment. The effort you put into cleaning sea urchin will be worth it once you taste the fresh, exquisite uni. It truly elevates your culinary adventures.
FAQ Section
Q1: Is all sea urchin edible?
Not all parts of a sea urchin are edible. Only the bright orange or yellow gonads, commonly known as uni or roe, are consumed. The rest of the internal organs and the dark liquid should be discarded. Always focus on extracting only these five distinct segments of uni.
Q2: How do you know if sea urchin is fresh?
Fresh sea urchin should have a mild, oceanic smell, similar to fresh sea air. Avoid any with a strong, fishy, or ammonia-like odor. The spines should be somewhat active and not limp or brittle. The uni inside should be firm, bright in color, and plump.
Q3: Can you freeze sea urchin uni?
It is not recommended to freeze sea urchin uni. Freezing drastically changes its delicate texture, making it watery and mushy upon thawing. The rich, creamy consistency that makes uni so prized will be lost. Always consume fresh uni within 1-2 days of cleaning.
Q4: What tools do I need for cleaning sea urchin?
You need a few basic tools to clean sea urchin safely and effectively. These include thick, sturdy gloves for protection, a sharp pair of kitchen scissors (like poultry shears), and a small spoon or specialized uni scoop. You also need bowls for discarding waste and holding the cleaned uni, plus cold water for rinsing.
Q5: What is the best way to rinse uni?
The best way to rinse uni is gently, using either a very light stream of cold tap water or, preferably, a bowl of cold saltwater. Saltwater helps maintain the uni’s natural flavor. Use a fine mesh sieve or slotted spoon to handle the delicate uni during rinsing. Afterward, gently pat it dry.
Q6: How long does cleaned uni last?
Cleaned sea urchin uni has a very short shelf life. It is best consumed on the same day it is cleaned for optimal freshness and flavor. If stored properly in an airtight container with damp paper towels in the coldest part of the refrigerator, it can last for up to 1-2 days.
Conclusion
Cleaning sea urchin at home is a skill that empowers you to enjoy one of the ocean’s most exquisite delicacies. We have covered the importance of safety, the right tools, and a clear step-by-step process. From carefully cutting the shell to gently extracting and rinsing the golden uni, each action brings you closer to a unique culinary experience. You now understand how to clean sea urchin with confidence.
Remember to prioritize safety with proper gloves and take your time with each delicate step. The reward is a fresh, flavorful ingredient that tastes vastly superior to pre-packaged options. This guide aims to demystify the process, making it accessible for any home cook. I encourage you to try cleaning sea urchin yourself. Share your culinary creations or discover new ways to incorporate this incredible ingredient into your meals. Enjoy the journey of preparing your own fresh uni!
- sea urchin cleaning
- uni preparation
- seafood cleaning
- how to clean uni
- urchin roe

Todd Martin
Senior Writer
With over 15 years of experience in home renovation and design, I started HEG to share what I’ve learned with homeowners who want to create spaces that are both beautiful and functional. I’ve always believed in a hands-on approach, and over the years, I’ve picked up practical solutions that actually work. Through HEG, I aim to make home improvement more approachable, sharing real tips that help you create a home you truly love.