· Todd Martin · Beauty Tools Care · 23 min read
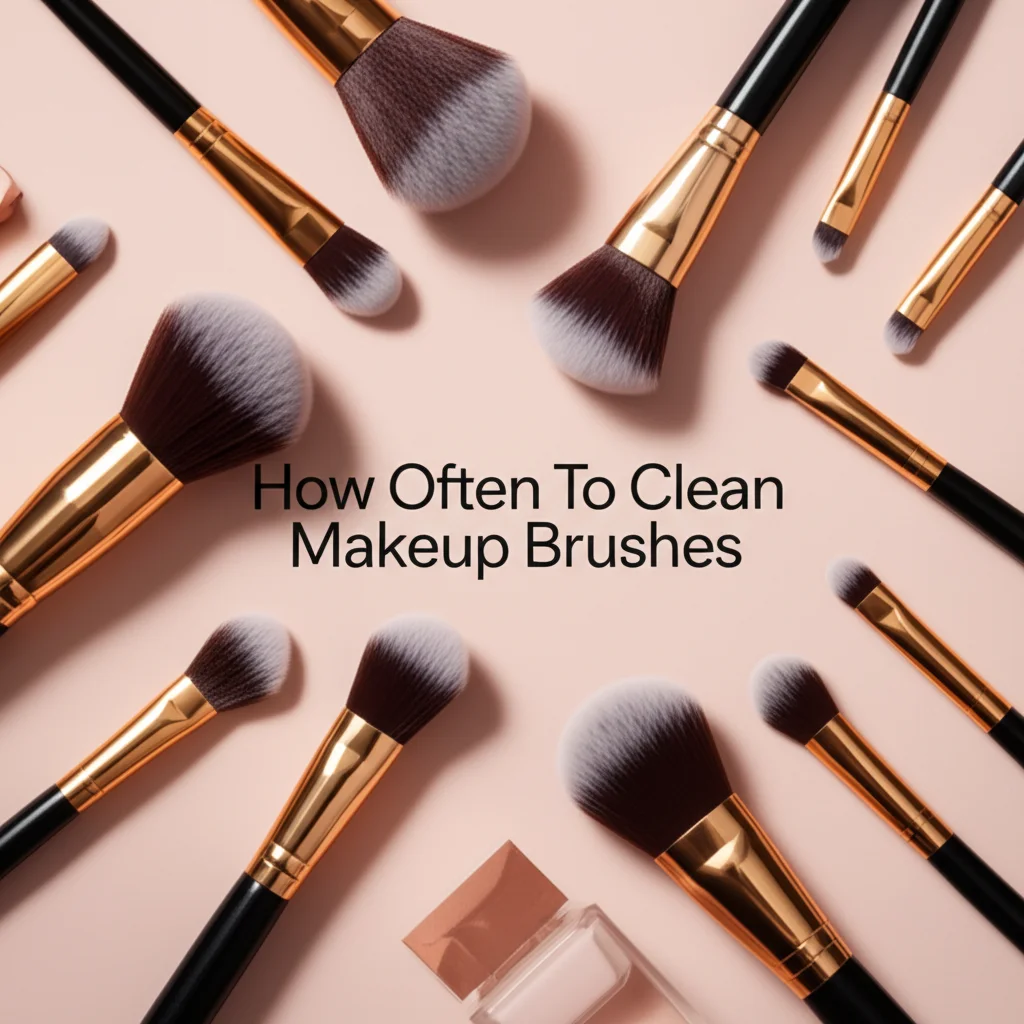
How To Clean Ur Makeup Brushes
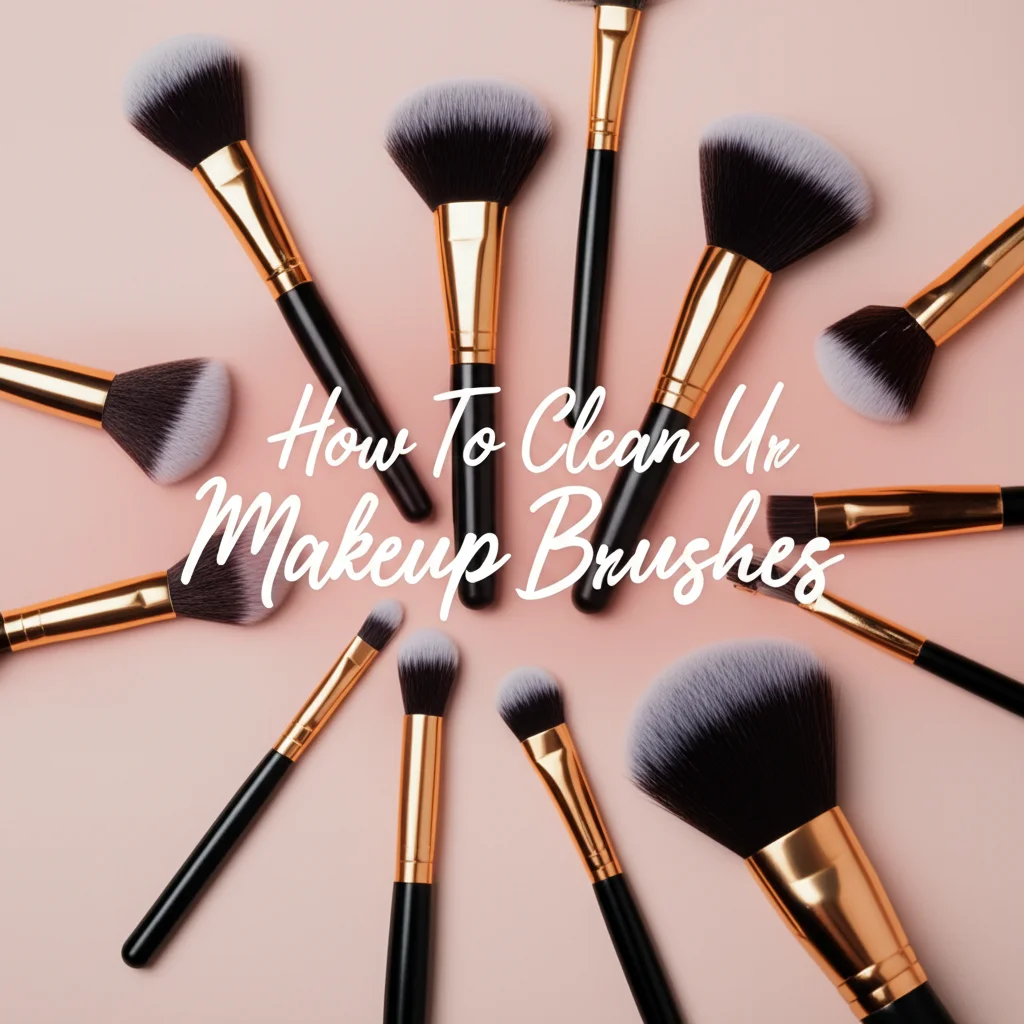
Clean Ur Makeup Brushes: A Simple Guide to Brush Hygiene
Do you use makeup brushes every day? I know I do. Makeup brushes are essential tools in our daily beauty routines. They help us achieve flawless looks. However, these tools accumulate makeup residue, oil, and dead skin cells over time. This makes them a breeding ground for bacteria. Cleaning your makeup brushes regularly is not just about keeping them in good shape. It is about protecting your skin health and ensuring your makeup applies beautifully every time.
Neglecting brush hygiene can lead to skin issues like breakouts or irritation. It can also shorten the life of your brushes. This comprehensive guide will show you exactly how to clean your makeup brushes. We will explore different cleaning methods. We will discuss essential supplies, and offer tips for proper drying. Let us ensure your beauty tools are always clean and ready for use.
Takeaway
- Regular Cleaning: Clean your brushes often to prevent bacteria buildup.
- Choose the Right Method: Use gentle soaps or specific brush cleansers.
- Proper Drying: Always dry brushes flat or upside down to protect the bristles and glue.
- Protect Your Skin: Clean brushes help prevent breakouts and skin irritation.
- Extend Brush Life: Proper cleaning and care make your brushes last longer.
Cleaning your makeup brushes involves gently washing bristles with mild soap or a brush cleanser. Rinse them until the water runs clear. Then, reshape the bristles and lay brushes flat or hang them upside down to air dry completely. This process removes makeup residue, oils, and bacteria, ensuring hygienic application and extending brush life.
Why Cleaning Your Makeup Brushes Matters for Skin Health
Cleaning your makeup brushes is more than just a chore. It is a vital part of skincare. Unclean brushes can cause various skin problems. They also affect how your makeup performs. Understanding these reasons helps emphasize the importance of regular brush hygiene.
Dirty brushes collect bacteria, dead skin cells, and old makeup. Each time you use a dirty brush, you transfer these contaminants directly onto your skin. This can lead to clogged pores. Clogged pores often result in breakouts, blackheads, and whiteheads. Bacteria like Staphylococcus aureus can thrive on uncleaned brushes. This can cause skin infections, especially if you have sensitive or acne-prone skin. Regular cleaning removes these harmful elements. It keeps your skin clear and healthy.
Clean brushes also ensure your makeup applies smoothly and evenly. When bristles are caked with old product, they cannot pick up new makeup effectively. This results in streaky application or uneven color payoff. A clean brush allows for precise application. It gives you a more professional finish. You will notice your foundation blends better. Your eyeshadow colors appear truer. Your overall makeup look improves significantly with clean tools. Think of it like painting with a clean brush versus a dirty one. The results are vastly different.
Moreover, routine cleaning extends the life of your expensive makeup brushes. Makeup residue can build up at the base of the bristles, near the ferrule. This causes the bristles to fray or shed prematurely. The glue holding the bristles can weaken over time if not properly cared for. Cleaning removes this buildup. It keeps the bristles soft and intact. This means your brushes will perform well for a much longer time. It saves you money in the long run. Good brush care is an investment in both your skin and your tools.
Health Benefits: Preventing Breakouts and Infections
Dirty makeup brushes are a breeding ground for bacteria. These include common types like E. coli and staph. When you use an uncleaned brush, you spread these germs onto your face. This directly leads to skin issues. Acne breakouts are a very common problem linked to dirty brushes. The bacteria, combined with old makeup and skin oils, clogs pores easily.
Beyond acne, more serious skin infections can occur. Impetigo or fungal infections are possible. Your eyes are particularly vulnerable to infections from dirty eyeshadow or eyeliner brushes. Pink eye or styes can result from using contaminated eye makeup tools. Regular washing removes these harmful pathogens. It keeps your skin clear and your eyes healthy.
Performance Benefits: Better Makeup Application and Product Longevity
Clean brushes perform better. They pick up and distribute makeup more efficiently. Old product buildup creates streaks and patchiness. It makes blending difficult. Freshly cleaned bristles are soft and flexible. They apply product smoothly and evenly. This leads to a more polished and professional makeup look.
Clean brushes also mean your makeup products last longer. Dirty brushes can transfer bacteria back into your makeup compacts and palettes. This contaminates the product itself. The texture or color of your makeup might change over time. By using clean brushes, you protect the integrity of your cosmetics. This ensures they perform as intended until they expire.
Extending Brush Life: Preserve Your Investment
High-quality makeup brushes are an investment. Proper cleaning protects this investment. Accumulated makeup and oils can degrade brush bristles over time. This causes them to become stiff, brittle, or shed. The glue holding the bristles in place, known as the ferrule, can also weaken. This leads to bristles falling out.
Regular, gentle cleaning prevents this damage. It keeps the bristles soft and flexible. It maintains the brush’s original shape. This extends the functional life of your brushes. You will not need to replace them as often. This saves you money and reduces waste.
How Often Should You Clean Makeup Brushes for Optimal Hygiene
Determining how often to clean your makeup brushes depends on their use. Different brush types need different cleaning schedules. Regular cleaning prevents bacteria growth and ensures the best makeup application. It also protects your skin from potential issues.
Face brushes, like those for foundation, concealer, and contour, come into direct contact with oils and liquid products. These brushes should be cleaned more frequently. Eye brushes, used for eyeshadow and eyeliner, also need regular attention. Even if you only use brushes for powder products, they still collect skin cells and oils. Establishing a routine helps maintain hygiene. I find setting a reminder helpful. This way, I do not forget to clean my tools.
There are two main types of cleaning: daily spot cleaning and weekly deep cleaning. Spot cleaning is a quick way to sanitize brushes between uses. Deep cleaning is a thorough wash with soap and water. It removes all accumulated product and bacteria. Both methods play a crucial role in brush maintenance. Combining these two cleaning habits ensures your brushes are always hygienic. It also keeps them performing their best.
Consider how often you use specific brushes. A brush used daily for liquid foundation will need more frequent deep cleaning than a brush used once a week for blush. Adjust your cleaning schedule to match your routine. This approach makes brush maintenance manageable. It ensures your skin stays healthy.
Daily Spot Cleaning Techniques
Daily spot cleaning is a quick way to remove surface makeup. It prepares your brushes for the next use. This method is perfect for brushes you use every day. It prevents product buildup between deep washes. Spot cleaning also helps maintain the color integrity of your makeup. For instance, you avoid mixing a dark eyeshadow with a light one.
You can use a quick-drying spray cleanser. Simply spray the bristles. Then gently wipe the brush on a clean paper towel or cloth. The makeup will transfer off. This method dries fast. It allows you to use the brush almost immediately. Some people prefer using a dry cleaning sponge. You just swirl your brush over the sponge. It effectively removes powder makeup from bristles. This allows you to switch colors quickly. Spot cleaning extends the time between deep cleans. It keeps your brushes performing well daily.
Weekly Deep Cleaning Schedule
Deep cleaning is essential for thoroughly sanitizing your brushes. This process removes all accumulated makeup, oils, and bacteria. You should aim to deep clean your face brushes at least once a week. This includes foundation, concealer, and powder brushes. Eye brushes can often be deep cleaned every one to two weeks, depending on use.
To deep clean, you use water and a gentle cleanser. This could be baby shampoo, a mild soap, or a specialized brush cleanser. Lather the bristles gently. Rinse them thoroughly under running water until the water is clear. This ensures all product is removed. Deep cleaning is crucial for skin health. It prevents the transfer of harmful bacteria to your face. It also keeps your brushes soft and effective.
Special Circumstances for Cleaning
Some situations require immediate brush cleaning. If you share makeup brushes, clean them before and after each use. This prevents cross-contamination. If you have been sick, especially with an eye infection, thoroughly clean all affected brushes. This stops the spread of germs.
New brushes can sometimes have residual chemicals from manufacturing. It is wise to wash them before their first use. If a brush falls on the floor, clean it right away. This prevents dirt and germs from transferring to your face. These special cleaning moments ensure maximum hygiene.
Essential Supplies for Cleaning Makeup Brushes Effectively
Cleaning your makeup brushes does not require a lot of fancy equipment. You likely have most of the necessary items at home already. Having the right tools makes the cleaning process easier and more effective. It also helps protect your brushes from damage.
The most important element is a good cleansing agent. This will lift away makeup, oil, and dirt from the bristles. Beyond the cleanser, you need a surface for washing. Many people use their hands or a simple bowl. However, specialized tools can make the job much faster and more thorough. Finally, proper drying accessories are crucial. They ensure your brushes maintain their shape and dry completely. This prevents mildew growth.
Investing in a few key supplies will make your brush cleaning routine more efficient. It will also help preserve the quality of your brushes. This means they will last longer and perform better.
Choosing the Right Cleansing Agents
Selecting the correct cleaning solution is key to effective brush care. Different options suit various needs and preferences.
- Gentle Soap or Baby Shampoo: This is a popular and affordable choice. Mild bar soap or baby shampoo works well for deep cleaning. They are gentle on bristles and effective at breaking down makeup. I often use baby shampoo for my brushes. It leaves them feeling soft.
- Specialized Brush Cleansers: Many beauty brands offer specific brush cleansers. These are often formulated to be quick-drying and conditioning. They are great for both spot cleaning and deep cleaning. These cleansers usually rinse easily.
- DIY Solutions: For those who prefer natural options, diluted white vinegar or rubbing alcohol can be used. Vinegar is a natural disinfectant. Alcohol is a strong sanitizer. However, use these sparingly and dilute them properly. Overuse can dry out natural bristles. For specific instructions on using vinegar, you can refer to our guide on how to clean makeup brushes with vinegar. Similarly, if you want to sanitize with alcohol, check out how to clean makeup brushes with alcohol.
Always test a new cleanser on a small, inconspicuous part of the brush first. This ensures it does not damage the bristles.
Useful Cleaning Tools
While you can clean brushes with just your hands, certain tools simplify the process.
- Silicone Cleaning Mats or Gloves: These tools have textured surfaces. The textures help gently agitate the bristles. This dislodges makeup and dirt more effectively. They are great for creating a rich lather. They also ensure a deep clean without damaging the brush.
- Bowls or Sinks: A clean bowl or your sink basin works perfectly for holding water and cleanser. Ensure it is clean before you start.
- Clean Towels: You will need soft, clean towels for blotting excess water from your brushes. They are also useful for reshaping bristles.
These tools help make the cleaning process more efficient. They also protect your brushes during the wash.
Proper Drying Accessories
Drying brushes correctly is as important as washing them. Incorrect drying can damage brushes. It can also lead to mildew.
- Brush Drying Racks or Trees: These racks hold brushes upside down. This allows water to drain away from the ferrule. It prevents water from loosening the glue. This helps maintain the brush’s shape.
- Clean, Absorbent Towels: Laying brushes flat on a towel is a common drying method. Ensure the towel is clean and can absorb moisture.
- Air Circulation: Always dry brushes in a well-ventilated area. Avoid direct sunlight or excessive heat. Heat can damage bristles and glue. Proper airflow helps brushes dry completely and quickly.
Using these accessories ensures your brushes dry safely and completely. They will be ready for your next makeup application.
Step-by-Step Guide to Deep Cleaning Your Makeup Brushes
Deep cleaning your makeup brushes is a crucial step for maintaining hygiene and prolonging their life. This method thoroughly removes all makeup, oils, and bacteria. It ensures your brushes remain soft, effective, and safe to use on your skin. I find it therapeutic to give my brushes a good wash.
The process involves several key steps. Each step plays an important role in achieving a truly clean brush. Starting with wetting the bristles, moving to lathering with a cleanser, then rinsing, and finally, drying properly. Following these steps carefully will protect your brushes. It will also keep your skin happy. It is important to avoid getting water into the ferrule. This is the metal part that connects the bristles to the handle. Water can loosen the glue inside, causing bristles to shed.
Dedicate some time to this task. A weekly deep clean for face brushes and a bi-weekly clean for eye brushes is a good target. This routine will make a noticeable difference in your makeup application. It will also improve the health of your skin. Let us walk through the process together.
Wetting the Bristles Gently
Start by wetting the brush bristles. Hold the brush with the bristles pointing downwards. Place them under lukewarm, running water. Ensure the water only touches the bristles. Avoid getting water on the ferrule, the metal part where the bristles connect to the handle. This is crucial. Water in the ferrule can dissolve the glue. This causes bristles to shed.
Gently work the water through the bristles. Make sure they are fully saturated. This prepares the brush for cleaning. It helps the cleanser penetrate effectively. Do not use hot water. Hot water can damage the bristles and weaken the glue. Lukewarm water is best.
Applying Cleanser and Lathering
Once the bristles are wet, it is time to apply the cleanser. Squeeze a small amount of brush cleanser, baby shampoo, or mild soap into the palm of your hand. Alternatively, you can use a silicone cleaning mat. Gently swirl the wet brush bristles into the cleanser in your palm or on the mat.
Work up a lather. You will see the makeup residue coming out of the brush. Continue swirling and massaging the bristles. Make sure to clean all sides of the brush. Be gentle. Do not press too hard or pull on the bristles. This can cause damage. Keep swirling until the lather looks clean. If the brush is very dirty, you may need to repeat this step.
Rinsing Thoroughly Under Running Water
After lathering, rinse the brush thoroughly. Hold the brush under lukewarm, running water again. Keep the bristles pointing downwards. Gently squeeze the bristles from the ferrule towards the tip. This helps push out the dirty water and cleanser. Continue rinsing until the water running off the brush is completely clear.
No soap suds or makeup residue should remain. Residual soap can irritate your skin. It can also stiffen the bristles when dry. Take your time with this step. Thorough rinsing is essential for clean brushes.
Reshaping and Drying Your Brushes Properly
Proper drying is critical to maintain brush shape and prevent damage. After rinsing, gently squeeze out excess water with your fingers. Then, blot the brush on a clean, absorbent towel. This removes more moisture. Reshape the bristles back to their original form. This is important for preserving the brush’s integrity.
Next, lay the brushes flat on a clean towel. Or, use a brush drying rack that allows them to hang upside down. Hanging them upside down prevents water from seeping into the ferrule. This protects the glue. Allow brushes to air dry completely. This can take several hours or overnight. Drying them in a well-ventilated area speeds up the process. Avoid direct sunlight or heat, as this can damage the bristles. Ensure brushes are totally dry before using them or storing them. For more details on cleaning both brushes and sponges, you can check out our guide on how to clean makeup sponges and brushes.
Quick Spot Cleaning Techniques for Daily Use
Sometimes you need a quick way to clean your brushes between applications or deep cleans. Spot cleaning is perfect for this. It helps remove surface makeup. This keeps your brushes ready for immediate use. It also helps prevent color transfer when using the same brush for different shades. I use spot cleaning almost every day for my eyeshadow brushes.
Spot cleaning is not a substitute for deep cleaning. However, it is an excellent maintenance step. It extends the time between thorough washes. It is also very convenient for travel or quick touch-ups. There are a couple of popular methods for spot cleaning. Both are fast and effective.
These techniques are designed for convenience. They help keep your brushes fresh on a daily basis. They also reduce the accumulation of product. This means less work when it is time for a deep clean. Let us look at these simple methods.
Using a Spray Cleanser for Quick Sanitation
Spray cleansers are ideal for fast, effective spot cleaning. These cleansers usually contain alcohol or other quick-drying agents. This allows brushes to dry almost instantly. They are perfect for daily sanitization. They are also great for quickly switching colors.
To use, spray the cleanser directly onto the brush bristles. Do not oversaturate the brush. Then, gently wipe the brush back and forth on a clean paper towel or cloth. You will see the makeup residue transfer onto the towel. Continue wiping until no more color comes off. The brush should feel almost dry to the touch. This method kills surface bacteria. It removes makeup residue. This leaves your brush clean and ready to use again.
Dry Cleaning Sponges for Powder Brushes
Dry cleaning sponges are a simple, effective tool for powder brushes. These sponges have a textured surface. They physically remove powder makeup from bristles without using any liquid. They are perfect for quickly changing eyeshadow or blush shades.
To use, gently swirl your powder brush across the dry cleaning sponge. The sponge’s texture will dislodge the powder from the bristles. You will see the color come off the brush. This method is incredibly fast. It leaves the brush completely dry. This allows you to immediately pick up a new color. It is not suitable for liquid or cream products. However, it is a game-changer for powder-based makeup brushes.
Natural and DIY Solutions for Cleaning Your Brushes
You do not always need commercial brush cleansers. Many effective and natural cleaning solutions exist. These DIY options are often budget-friendly. They use ingredients you might already have at home. Using natural solutions can be a gentle way to clean your brushes. This is especially true if you prefer to avoid harsh chemicals.
These methods are effective for dissolving makeup and sanitizing bristles. They are a great alternative to store-bought products. However, remember to use them correctly. Proper dilution and rinsing are key. This prevents any damage to your brushes or irritation to your skin. I often turn to these methods when I run out of my usual cleanser.
Let us explore some popular natural and DIY options. We will cover how to use them safely and effectively. These methods can give your brushes a deep clean. They will leave them fresh and soft.
Using Gentle Soap and Water
Gentle soap and water is one of the simplest and most effective cleaning methods. It is also very safe for most brush types.
- Materials: You will need a mild hand soap, baby shampoo, or even a gentle dish soap (like Dawn). A bowl of lukewarm water or running water from a tap is also necessary.
- Process:
- Wet the bristles of your brush under lukewarm, running water. Remember to keep the ferrule dry.
- Apply a small amount of gentle soap or baby shampoo to your palm.
- Gently swirl the wet brush bristles in your palm. This creates a lather. You will see makeup residue come out.
- Continue swirling and massaging until the lather appears clean.
- Rinse the brush thoroughly under lukewarm running water. Squeeze out the dirty water. Continue until the water runs clear.
- Gently squeeze out excess water. Reshape the bristles. Lay the brush flat on a clean towel to dry completely.
This method effectively removes makeup and oils. It leaves brushes feeling soft and clean.
Vinegar Solutions for Disinfection
Vinegar is a powerful natural disinfectant. It can be used to deep clean and sanitize makeup brushes. However, it has a strong smell. So, it requires thorough rinsing.
- Materials: White distilled vinegar, water, a bowl.
- Process:
- Mix a solution of 1 part white distilled vinegar to 2 parts lukewarm water in a bowl.
- Dip the bristles of your brush into the solution. Swirl gently for a few seconds. Do not soak the ferrule.
- You can also gently massage the bristles with your fingers while in the solution.
- Remove the brush from the vinegar solution. Rinse it thoroughly under running lukewarm water. The vinegar smell will dissipate as you rinse.
- Follow with a gentle soap or baby shampoo wash (as described above). This ensures all vinegar residue and makeup are gone.
- Rinse again until water runs clear.
- Squeeze out excess water. Reshape bristles. Lay flat to dry.
Vinegar is excellent for deep cleaning and deodorizing brushes. For a more detailed guide on this method, refer to how to clean makeup brushes with vinegar.
Alcohol Solutions for Sanitizing
Rubbing alcohol (isopropyl alcohol) is a strong disinfectant. It is great for quick sanitizing, especially for synthetic brushes. Use it sparingly, as it can dry out natural bristles over time.
- Materials: 70% isopropyl rubbing alcohol, a shallow dish, paper towels.
- Process:
- Pour a small amount of 70% isopropyl rubbing alcohol into a shallow dish.
- Dip only the very tips of the brush bristles into the alcohol.
- Gently swirl the brush on a clean paper towel. You will see makeup and dirt transfer to the towel.
- Repeat until no more makeup comes off.
- Allow the brush to air dry completely. Alcohol evaporates quickly.
This method is excellent for quick sanitization between uses. It is not a substitute for a full deep clean with soap and water. For more information on this method, see how to clean makeup brushes with alcohol.
Common Mistakes to Avoid When Cleaning Brushes
Cleaning makeup brushes seems straightforward. Yet, common mistakes can damage your brushes or reduce their effectiveness. Knowing what to avoid is as important as knowing what to do. I have made some of these mistakes myself in the past. Learning from them has improved my brush care routine significantly.
Incorrect cleaning methods can lead to shedding bristles. They can also cause stiff brushes or even mold growth. These issues reduce the lifespan of your brushes. They also affect your makeup application. Avoiding these pitfalls ensures your brushes stay in top condition. This means they remain soft, effective, and hygienic for longer.
Let us look at some common errors to watch out for. Preventing these mistakes will help you maintain your brush collection properly. It ensures you get the best performance from your tools.
Submerging the Ferrule in Water
One of the most common and damaging mistakes is getting water into the ferrule. The ferrule is the metal band that crimps the bristles to the handle. Inside the ferrule, bristles are glued in place. When water seeps into this area, it can dissolve the glue. This leads to bristles shedding or falling out entirely.
Always hold your brushes with the bristles facing downwards. Only allow water to flow over the bristles. Avoid submerging the entire brush head or allowing water to pool at the base of the bristles. If water does get into the ferrule, dry the brush upside down. This helps any trapped water drain away. Preventing ferrule saturation is key to brush longevity.
Drying Brushes Incorrectly
How you dry your brushes significantly impacts their shape and longevity. Incorrect drying can cause bristles to splay. It can also lead to mildew or odors.
- Avoid Drying Upright: Never stand brushes upright in a cup or holder to dry. Water will drip down into the ferrule. This causes the glue to loosen.
- Avoid Direct Heat: Do not use a hairdryer or place brushes in direct sunlight or on a radiator. High heat can melt synthetic bristles. It can also weaken the glue in the ferrule. Natural bristles can become brittle.
- Proper Method: Always lay brushes flat on a clean, absorbent towel. Or, use a brush drying rack that holds them upside down. This allows water to drain away from the ferrule. Ensure good air circulation. Allow them to dry completely before storing. This can take several hours or overnight.
Not Rinsing Brushes Enough
Residual soap or cleanser left in the bristles can cause several problems. It can irritate your skin when you use the brush. It can also make the bristles stiff and crunchy. This affects makeup application.
After lathering, rinse your brushes thoroughly under running lukewarm water. Continue rinsing until the water running off the brush is completely clear. Squeeze the bristles gently to check for any remaining suds. If you see any, rinse again. Take your time to ensure all cleaning agents are removed. This ensures your brushes are truly clean and soft.
Using Harsh Cleaners or Chemicals
While some DIY solutions are effective, using overly harsh chemicals can damage brush bristles. Strong detergents, undiluted rubbing alcohol (especially for natural hair brushes), or abrasive cleaners can strip natural oils from bristles. This makes them dry, brittle, and prone to shedding.
Always opt for mild, gentle soaps or specialized brush cleansers. If using vinegar or alcohol, dilute them as recommended. Test a small section of a brush first if you are unsure. Treating your brushes gently with appropriate cleaners preserves their softness and integrity. This ensures they last longer. For general advice on how to clean a single makeup brush, you can also consult our comprehensive article on how to clean makeup brush.
Frequently Asked Questions About Cleaning Makeup Brushes
Here are answers to some common questions about cleaning makeup brushes.
How often should I clean my makeup brushes?
You should spot clean makeup brushes used for liquid or cream products daily. Deep clean face brushes, such as foundation and concealer brushes, at least once a week. Eye makeup brushes can be deep cleaned every 1-2 weeks. Brushes used for powder products might need less frequent deep cleaning. However, still aim for at least every two weeks.
Can I use dish soap to clean my makeup brushes?
Yes, you can use a gentle dish soap like Dawn to clean your makeup brushes. It is effective at cutting through oil and makeup residue. Ensure it is a mild formula. Always dilute it slightly with water. Rinse your brushes very thoroughly afterward to remove all soap residue. This prevents irritation and keeps bristles soft.
How long do makeup brushes take to dry?
Drying time depends on brush density, bristle type, and humidity. Thin brushes might dry in a few hours. Denser brushes, like foundation brushes, can take 12-24 hours. Always ensure brushes are completely dry before storing them. This prevents mold and mildew growth. Drying them flat or upside down helps speed the process.
What happens if I don’t clean my makeup brushes?
Not cleaning your makeup brushes can lead to several problems. Dirty
- makeup brushes
- brush cleaning
- beauty hygiene
- skincare
- beauty tips

Todd Martin
Senior Writer
With over 15 years of experience in home renovation and design, I started HEG to share what I’ve learned with homeowners who want to create spaces that are both beautiful and functional. I’ve always believed in a hands-on approach, and over the years, I’ve picked up practical solutions that actually work. Through HEG, I aim to make home improvement more approachable, sharing real tips that help you create a home you truly love.