· Todd Martin · Home Improvement · 18 min read
How To Install Rheem Heat Pump Water Heater
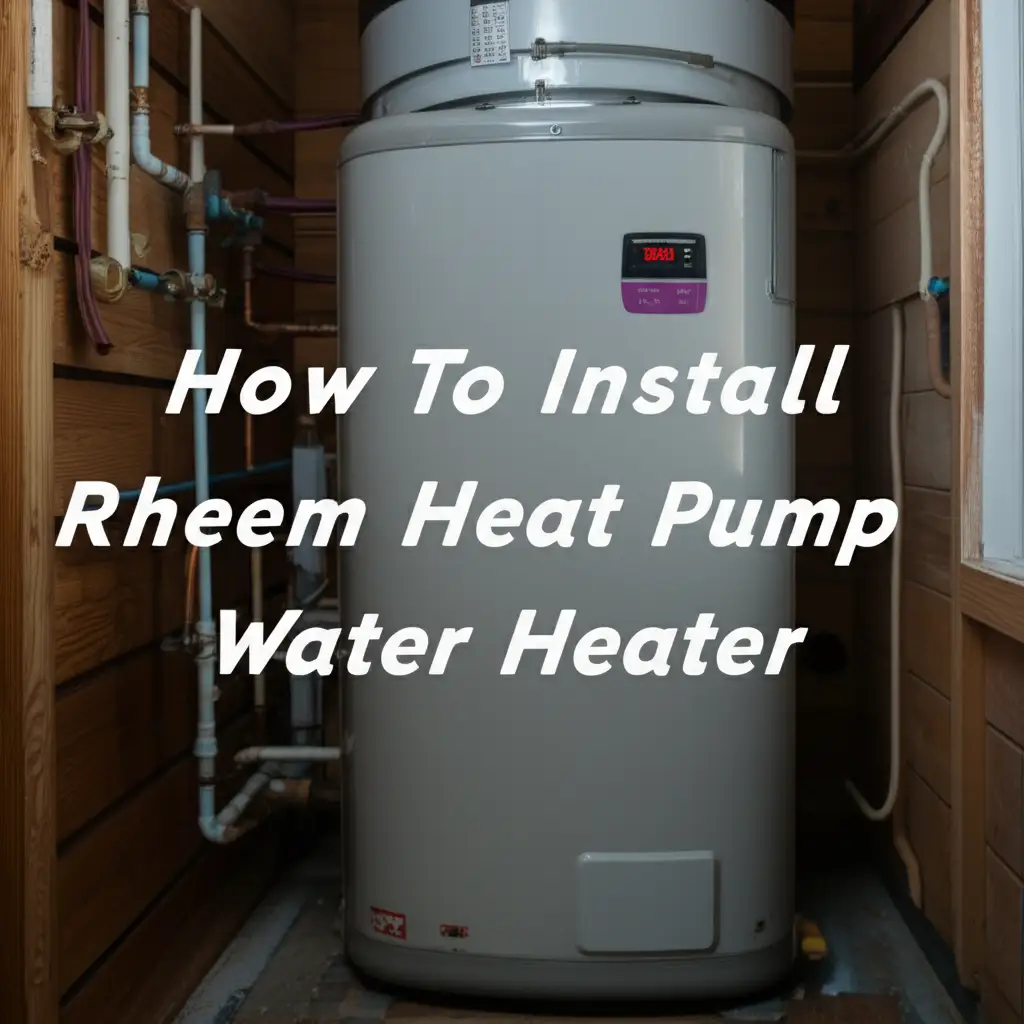
Installing Your Rheem Heat Pump Water Heater: A Step-by-Step Guide
You want reliable hot water without a huge energy bill. A Rheem heat pump water heater offers an excellent solution. These units use electricity to move heat from the air, heating your water efficiently. This guide will show you how to install a Rheem heat pump water heater correctly. We cover everything from preparation to startup, helping you achieve hot water savings. Get ready to upgrade your home’s hot water system.
Takeaway
- Properly prepare your installation site, ensuring adequate space and drainage.
- Gather all necessary tools and materials before starting the process.
- Always prioritize safety by turning off power and water, and following local codes.
- Connect plumbing and electrical systems correctly, checking for leaks and proper grounding.
- Perform initial startup procedures carefully, monitoring for correct operation.
- Follow ongoing maintenance for efficient, long-lasting performance.
Installing a Rheem heat pump water heater involves several steps: site preparation, gathering materials, proper plumbing and electrical connections, and initial startup. You must follow all manufacturer instructions and local codes for a safe and efficient setup. Many homeowners can complete this project with careful planning and basic DIY skills.
Understanding Your Rheem Heat Pump Water Heater
Thinking about a new water heater? A Rheem heat pump water heater is a smart choice for many homes. These units use a different method than standard electric or gas models. Instead of directly generating heat, they move heat from the surrounding air into the water tank. This process makes them much more energy-efficient.
Heat pump water heaters contain a small air source heat pump on top of a water tank. Air flows over evaporator coils, which absorb heat from the air. A refrigerant then carries this heat to the water, transferring it through a condenser coil. This method uses less electricity than simply heating elements, leading to significant energy savings. You will notice a difference in your utility bills. In fact, many people wonder, is a heat pump water heater cheaper to operate than gas? The answer is often yes, especially with rising gas prices and efficiency incentives.
Choosing the right location for your new unit is crucial. Heat pump water heaters need ample clearance around them for proper airflow. The manufacturer typically specifies a minimum of 7 inches of clearance on all sides, with some models requiring more. They also perform best in spaces that remain above 40°F (4.4°C) year-round. An unfinished basement, garage, or utility room works well. These spaces usually have enough ambient heat for the unit to draw from. Avoid small, enclosed closets without ventilation, as the unit will quickly cool the air and reduce efficiency. Proper ventilation ensures consistent performance and hot water supply.
Consider the noise level. While not extremely loud, the fan on a heat pump water heater does produce some sound. Installing it away from bedrooms or living areas helps keep your home quiet. You also need a drain nearby for the temperature and pressure relief (T&P) valve and for condensate drainage. This ensures water can safely escape if needed. Planning your site carefully saves time and prevents future problems.
Gathering Tools and Materials for Installation
Before you begin the installation of your Rheem heat pump water heater, gather all necessary tools and materials. Having everything ready saves time and ensures a smooth process. You do not want to stop mid-project to search for a missing item. Make a checklist and collect everything beforehand. This preparation step makes the actual installation much simpler.
First, you need standard plumbing tools. Two large pipe wrenches are essential for connecting water lines. A pipe cutter is useful for cutting copper or PEX tubing if you are running new lines. You will also need a tape measure to ensure proper spacing and alignment. A level helps make sure your water heater sits perfectly upright. A bucket and towels will be useful for containing any water spills during the disconnection of your old unit.
Next, consider the specific materials required for the water heater itself. You will need new flexible water supply lines. These connect your home’s plumbing to the water heater’s inlet and outlet. Make sure they are rated for hot water and the correct size. A new temperature and pressure (T&P) relief valve is vital for safety; the unit often comes with one, but ensure you have a proper discharge pipe for it. You will also need a drain pan, which catches any leaks and directs water to a floor drain. This protects your flooring and prevents water damage.
For the electrical connection, you will need appropriate gauge electrical wire and conduit. A Rheem heat pump water heater typically requires a 240-volt dedicated circuit. Consult the manufacturer’s manual for exact specifications. You might need a new circuit breaker if your existing electrical panel cannot support the new load. Electrician’s pliers, a wire stripper, and a voltage tester are important safety tools for handling electrical work. Always prioritize safety when working with electricity. Ensure the power is off before touching any wires.
Additional items include thread sealant tape (Teflon tape) or pipe dope for leak-free plumbing connections. If you are replacing an older unit, you might need adapter fittings to match new pipes to existing ones. Finally, safety gear is a must. Wear safety glasses to protect your eyes from debris or splashes. Work gloves protect your hands. This comprehensive list prepares you for a successful installation.
Permits and Safety First: Essential Considerations
Before you even touch your old water heater, consider permits and safety. These steps are critical for a successful and legal installation. Ignoring them can lead to fines, safety hazards, or even voiding your homeowner’s insurance. Always prioritize safety for yourself and your home. My own experience has taught me that cutting corners here simply isn’t worth it.
Check with your local building department for required permits. Many municipalities require a plumbing and electrical permit for water heater replacement. They want to ensure installations meet current building codes. Code compliance ensures your water heater operates safely and efficiently. Permit requirements vary widely by location, so a quick call or visit to your city’s planning office is a smart first step. They can explain exactly what documentation you need. Failing to obtain permits can result in issues during resale or even force you to redo work.
Safety begins with shutting off utilities. First, turn off the water supply to your existing water heater. Locate the cold water shut-off valve near the top of the unit. Turn it clockwise until it’s completely closed. Next, shut off the power. For electric water heaters, go to your main electrical panel and switch off the circuit breaker labeled for the water heater. If it’s a gas unit, turn the gas valve to the “OFF” position. This prevents any accidental electrical shocks or gas leaks during removal.
Draining the old water heater is the next big step. Connect a garden hose to the drain valve located at the bottom of the tank. Run the hose to a floor drain or outside. Open a hot water faucet inside your home to break the vacuum in the tank, speeding up drainage. Open the drain valve on the water heater. It can take an hour or more for a full tank to drain. Once empty, disconnect the water lines and electrical or gas lines. Be ready for residual water, even after draining. Moving the old unit out requires care. They are heavy, especially if they still contain water. Consider getting help to lift and remove it safely. Use proper lifting techniques to avoid injury.
Plumbing Connections: Water Lines and Drainage
Connecting the plumbing is a precise step in installing your Rheem heat pump water heater. This part ensures your unit receives fresh cold water and delivers hot water throughout your home. A proper setup prevents leaks and ensures efficient operation. Pay close attention to each connection. I always double-check these steps, as leaks are a headache nobody wants.
First, position your new Rheem heat pump water heater in its designated spot. Ensure it is level and stable. The drain pan should be underneath the unit. If your pan has a drain line connection, attach it now and run the line to a suitable floor drain. This diverts any potential leaks away from your living space, protecting your property from water damage. A properly installed drain pan is a simple yet effective safeguard.
Next, connect the water lines. Identify the cold water inlet (usually on the right or marked with blue) and the hot water outlet (usually on the left or marked with red) on top of the water heater. Apply thread sealant tape or pipe dope to the threads of the new flexible water supply lines. Connect the cold water supply from your home to the cold water inlet on the heater. Then, connect the hot water outlet from the heater to your home’s hot water distribution line. Tighten all connections firmly with pipe wrenches, but do not overtighten, as this can strip threads or crack fittings. Make sure the flexible lines are not kinked. Kinks restrict water flow and can reduce the unit’s efficiency.
Install the temperature and pressure (T&P) relief valve. This critical safety device typically screws into a port near the top of the water heater. It releases water if the tank pressure or temperature becomes too high. Attach a discharge pipe to the T&P valve. This pipe must run downwards to an open drain or outside, without any valves or obstructions. The end of the pipe should be no more than 6 inches above the drain. This ensures that if the valve opens, water safely exits the system without causing damage or injury. Do not cap or restrict the T&P discharge pipe.
After all plumbing connections are complete, slowly turn on the main water supply to your home. Then, open the cold water shut-off valve to the water heater. As the tank fills, open a hot water faucet in your home to allow air to escape from the system. Listen for the sound of water filling the tank. Once water flows steadily from the hot water faucet, the tank is full, and most of the air has bled out. Carefully inspect all plumbing connections for any signs of leaks. Tighten any weeping connections.
Electrical Wiring for Your Rheem Heat Pump
The electrical wiring for your Rheem heat pump water heater is a critical step. It demands careful attention to safety and adherence to electrical codes. Most Rheem heat pump water heaters require a dedicated 240-volt circuit. This is different from standard 120-volt outlets used for small appliances. If you are not comfortable with electrical work, consider hiring a licensed electrician. Safety is paramount here; I always double-check every connection.
First, ensure the power to the circuit you will be using is completely off at your main electrical panel. Use a voltage tester to confirm that no power is present at the wires you will be working with. This step is non-negotiable for your safety. Always assume wires are live until proven otherwise.
Run the appropriate gauge electrical wire from your electrical panel to the water heater’s location. The specific wire gauge depends on the amperage rating of your water heater, which you can find in the Rheem manual. For a 240V unit, you typically need a two-pole circuit breaker of the correct amperage. For example, a 30-amp water heater needs a 30-amp two-pole breaker. You may need to install new conduit to protect the wires, depending on your local codes and the installation environment. This conduit prevents damage to the wiring and provides an extra layer of safety.
Inside the electrical access panel on your Rheem heat pump water heater, you will find a wiring diagram. Connect the incoming electrical wires (usually black and red for 240V, plus a bare copper or green ground wire) to the corresponding terminals on the water heater. Follow the diagram precisely. Connect the bare copper or green wire to the grounding screw or terminal. This ground connection is vital for safety, protecting against electrical shock if there is a fault. Ensure all connections are tight and secure. Loose connections can lead to overheating or electrical arcing.
After making all connections inside the water heater’s electrical panel, replace the cover plate. Do not restore power to the circuit yet. Before turning power back on, perform one final visual inspection. Check that all wire connections are secure, no bare wires are exposed outside of terminals, and the grounding wire is firmly attached. This final check helps catch any overlooked mistakes. Confirming everything is correctly installed before applying power significantly reduces the risk of electrical hazards.
Startup and Initial Operation: Getting Your Unit Running
Once your Rheem heat pump water heater is fully plumbed and wired, it is time for startup. This phase is exciting, as you are close to enjoying hot water. Take your time with these steps to ensure smooth and efficient operation from day one. I like to imagine the first rush of hot water flowing from the faucet—it makes the effort worthwhile.
First, ensure the water tank is completely full before restoring power. If you skipped this earlier, open a hot water faucet in your home and allow water to run until it flows steadily and without air bubbles. This confirms the tank is full and prevents damage to the heating elements or heat pump compressor, which can be ruined if they run dry. Turning on an empty unit is a common mistake that causes costly repairs.
Next, go to your main electrical panel and flip the circuit breaker back to the “ON” position for the water heater. The unit will power up. You might hear a fan start and a hum from the compressor, which is normal for a heat pump. Most Rheem heat pump water heaters have a digital display or control panel. Use this panel to set your desired water temperature and select the operating mode. For initial startup, “Energy Saver” or “Heat Pump Only” mode is often recommended to maximize efficiency. Avoid “High Demand” or “Electric Only” modes initially, as they use the backup electric elements more frequently, consuming more power.
Allow the unit to run for several hours. Heat pump water heaters take longer to heat an entire tank of cold water compared to traditional electric models. This is normal due to their efficient heat transfer method. Do not expect instant hot water, especially with a brand new installation. Monitor the unit during its first heating cycle. Listen for any unusual noises beyond the normal fan and compressor hum. Check for any leaks at the plumbing connections that might have appeared under pressure. Sometimes, small drips only become visible once the system is fully pressurized and heating.
If you notice any unusual behavior, such as error codes on the display or strange noises, consult the Rheem owner’s manual for troubleshooting. Understanding specific functions, like how to test the defrost on your Rheem heat pump, can be helpful if you encounter operational issues in colder environments. For example, knowing how to test defrost on Rheem heat pump might help if the unit struggles in a chilly basement. If your heat pump seems to turn on and off too frequently, knowing why does heat pump keep turning on and off can guide your troubleshooting efforts. This initial monitoring ensures your unit is running correctly and efficiently from the start.
Maintenance Tips for Your New Heat Pump Water Heater
Installing your Rheem heat pump water heater is a big step. Maintaining it properly ensures it runs efficiently for many years. Regular maintenance prevents costly breakdowns and keeps your energy bills low. Think of it as caring for a new car; small efforts yield big results. I always remind homeowners that prevention is better than repair.
One of the most important maintenance tasks is draining and flushing your water heater annually. Sediment can build up at the bottom of the tank, reducing efficiency and potentially damaging the heating elements. To do this, turn off the cold water supply and power to the unit. Connect a garden hose to the drain valve and empty the tank. Once empty, open the cold water supply briefly to flush out any remaining sediment. You can learn more about how to clean sediment from water heater for detailed instructions. Some people even use specialized cleaners; for example, knowing how to clean hot water heater with vinegar can offer an eco-friendly solution for scale buildup. Generally, understanding how to clean water heater is a vital skill for any homeowner.
The air filter on the heat pump section needs regular cleaning. This filter prevents dust and debris from entering the heat pump coils, which would hinder airflow and efficiency. Check the filter every few months, especially in dusty environments. Most filters are washable; simply rinse them under running water and let them dry completely before reinstalling. A clogged filter makes your heat pump work harder, consuming more electricity. Maintaining clean coils is essential for any heat pump, so knowing how to clean heat pump coils can be a useful skill to apply to your water heater.
Inspect the anode rod every three to five years. The anode rod protects the tank from corrosion by sacrificing itself. Over time, it corrodes away, leaving your tank vulnerable. Replacing a worn-out anode rod extends the life of your water heater significantly. This task involves draining the tank, removing the old rod, and installing a new one. While it might seem complex, it is a crucial part of long-term maintenance. If you live in an area with hard water, consider checking the anode rod more frequently.
Finally, periodically check the temperature and pressure (T&P) relief valve. Once a year, lift and release the test lever on the T&P valve a few times. This ensures it is not stuck and can properly relieve pressure if needed. Be careful, as hot water might discharge. If no water comes out, or if it leaks after testing, the valve might need replacement. Following these maintenance tips keeps your Rheem heat pump water heater running smoothly and efficiently for many years, providing you with reliable hot water and energy savings.
FAQ Section
How much clearance does a Rheem heat pump water heater need? Rheem heat pump water heaters need proper clearance for efficient operation. Typically, they require at least 7 inches of clearance on all sides and above the unit. This space allows for adequate airflow through the heat pump, which draws heat from the ambient air. Insufficient clearance reduces efficiency and increases energy consumption, making the unit work harder. Always consult your specific model’s manual for exact requirements.
Can I install a Rheem heat pump water heater in a small closet? Installing a Rheem heat pump water heater in a small, unvented closet is not recommended. These units require a large volume of surrounding air to operate efficiently. A small closet will quickly become too cold, causing the unit to rely on less efficient electric resistance heating. If a closet is the only option, ensure it has proper ventilation to a larger, unheated space, or direct ducting to bring in ambient air.
What electrical requirements does a Rheem heat pump water heater have? Most Rheem heat pump water heaters require a dedicated 240-volt electrical circuit. This is a higher voltage than standard household outlets. The specific amperage requirement varies by model but is often 30 amps. Ensure your electrical panel can support this additional load. If your home does not have a suitable 240V circuit available, you may need to hire a licensed electrician to install one.
How long does it take for a Rheem heat pump water heater to heat water? A Rheem heat pump water heater typically takes longer to heat a full tank of cold water compared to a traditional electric water heater. This is because it uses a more energy-efficient process of heat transfer. The initial heating cycle can take several hours, depending on the tank size and ambient air temperature. Once heated, subsequent recovery times are generally faster.
Do Rheem heat pump water heaters need a drain for condensate? Yes, Rheem heat pump water heaters produce condensate as they draw heat from the air. This moisture must drain away safely. A condensate drain line is typically connected to the unit and routed to a nearby floor drain, utility sink, or condensate pump. Proper drainage prevents water damage and ensures the unit operates correctly. Ensure the drain line has a slight downward slope.
What maintenance is required for a Rheem heat pump water heater? Regular maintenance for a Rheem heat pump water heater includes annual draining and flushing of the tank to remove sediment. You should also regularly clean or replace the air filter on the heat pump section, typically every few months. Inspecting the anode rod every 3-5 years and periodically testing the T&P relief valve are also important for extending the unit’s lifespan and ensuring safe operation.
Conclusion
Installing a Rheem heat pump water heater is a rewarding project for any homeowner. You gain significant energy savings and reliable hot water. We covered essential steps from site preparation and gathering tools to plumbing, electrical connections, and initial startup. Each step requires care and attention to detail. Proper installation ensures your unit runs efficiently for years to come.
Remember to prioritize safety by turning off power and water before starting work. Always check local building codes and secure necessary permits. Regular maintenance, such as draining the tank and cleaning the air filter, will maximize your Rheem heat pump water heater’s lifespan and efficiency. By following this guide, you can confidently install your new energy-efficient water heater. Get ready to enjoy lower energy bills and a consistent supply of hot water. Start your installation project today!
- Rheem Heat Pump Water Heater
- Water Heater Installation
- DIY Home Improvement
- Energy Efficiency
- Home Plumbing

Todd Martin
Senior Writer
With over 15 years of experience in home renovation and design, I started HEG to share what I’ve learned with homeowners who want to create spaces that are both beautiful and functional. I’ve always believed in a hands-on approach, and over the years, I’ve picked up practical solutions that actually work. Through HEG, I aim to make home improvement more approachable, sharing real tips that help you create a home you truly love.