· Todd Martin · Home Improvement · 19 min read
How To Make Bifold Cabinet Doors

Mastering Bifold Cabinet Doors: Your DIY Guide
Have you ever considered upgrading your home storage with doors that save space and look great? Bifold cabinet doors offer a smart solution, collapsing neatly to open up your cabinet space without needing wide swinging room. This type of door is perfect for areas where traditional swinging doors might hit furniture or other obstructions. Building your own bifold doors gives you full control over the design, materials, and finish. You can create doors that perfectly match your existing décor or establish a brand-new style.
In this comprehensive guide, I will walk you through every step on how to make bifold cabinet doors. We will cover initial planning, selecting the right materials and tools, precise cutting and assembly techniques, and the final finishing and installation processes. By the end, you will have all the knowledge needed to create functional and attractive bifold doors for any cabinet in your home. Get ready to transform your cabinets and enhance your living space!
Takeaway
- Plan your bifold doors carefully, measuring cabinet openings and choosing a style that fits your home.
- Gather all necessary woodworking tools, materials, and specialized bifold hardware before starting.
- Cut door panels precisely and assemble them with strong joints for durability.
- Apply your chosen finish, like stain or paint, to protect and beautify the doors.
- Install hardware and mount the doors correctly to ensure smooth, effortless operation.
You can make bifold cabinet doors by carefully measuring, cutting and assembling wood panels, then attaching specialized bifold hardware. This DIY project allows you to create custom doors that fold open, saving space and providing full access to your cabinet interior.
Planning Your Bifold Cabinet Doors: Essential First Steps
Starting any woodworking project requires good planning. When you plan to make bifold cabinet doors, proper preparation makes the entire process smoother. You need to consider the dimensions of your cabinet opening, the style of the doors, and the type of wood you will use. These early decisions prevent mistakes later on. A well-thought-out plan saves time and materials.
Measuring for Perfect Fit
Accurate measurements are the most critical step. Measure the width and height of your cabinet opening precisely. Bifold doors usually consist of two panels that fold together, so each panel will be half the total width of the opening. Remember to account for clearance around the edges and between the panels. I usually take measurements three times to ensure they are correct.
For instance, if your opening is 30 inches wide, each bifold door pair (which covers the 30 inches) will consist of two panels, roughly 15 inches wide. However, each panel will be slightly less than half to allow for the thickness of the pivot hardware and hinges. A common practice is to subtract 1/8 inch to 1/4 inch from the total width for clearance. My recommendation is to calculate the total panel width needed for the opening, then divide that by two for each individual panel. You must allow for hinge gaps and track hardware. For height, measure from the top of where the track will sit to the bottom pivot point.
Choosing Your Door Style
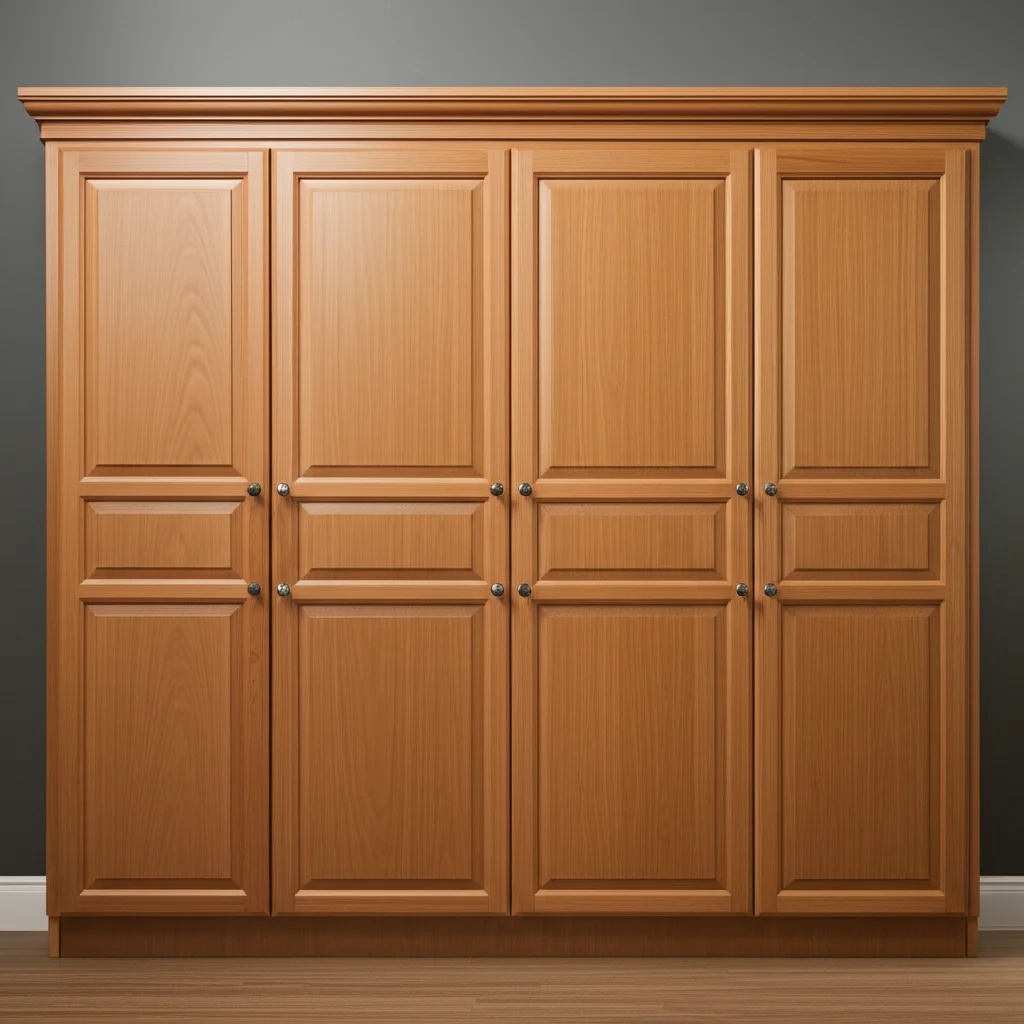
Bifold doors come in many styles. You can choose from simple flat panels, traditional shaker style, or even louvered designs. Your choice impacts the project’s complexity and the overall look. Consider your home’s existing décor. A shaker door offers a classic, clean appearance, while a flat panel is more modern. Learn how to make shaker cabinet doors from old flat-fronts if you like that style.
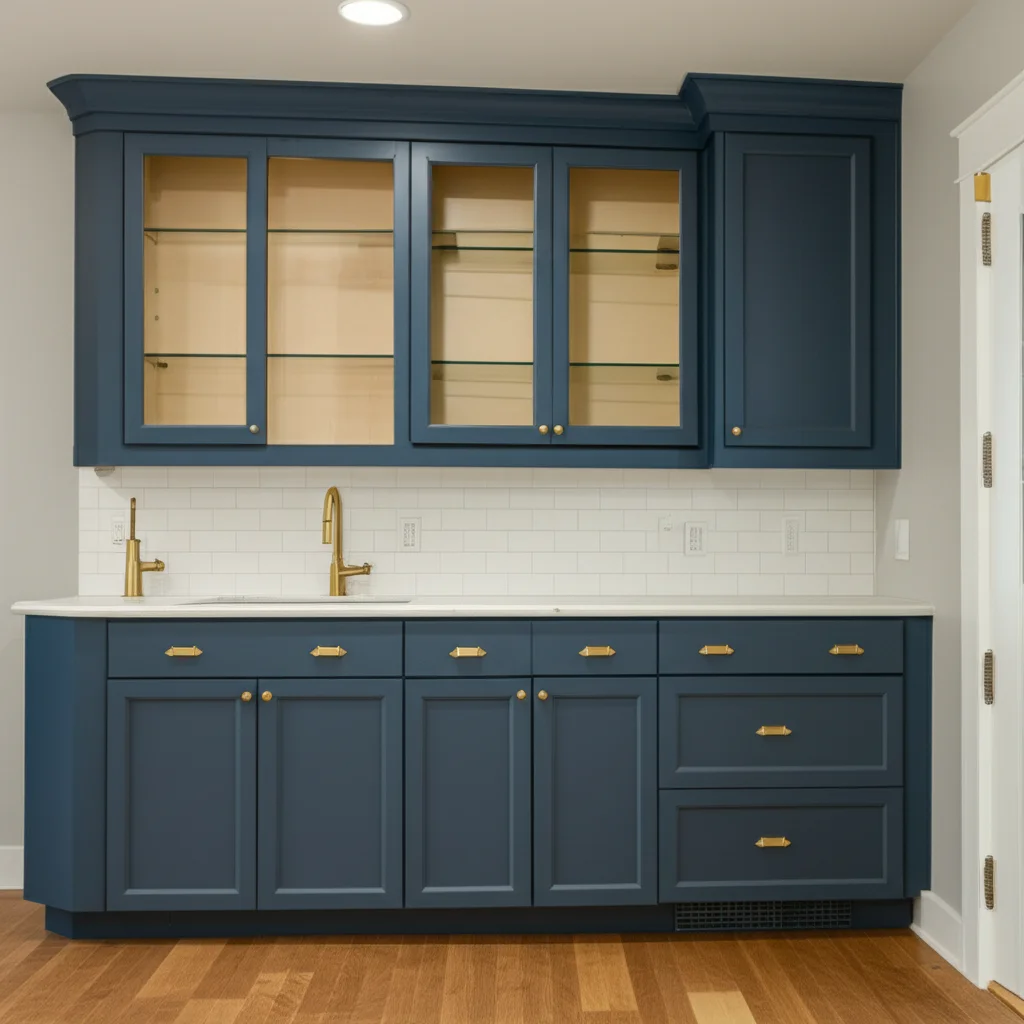
You might also consider incorporating glass panels into your design. This can add visual interest and help display items inside. If you like this idea, you can refer to resources on how to make glass cabinet doors. Each style requires different construction techniques. For example, a shaker style door has a frame and a recessed panel, while a flat panel is a single piece of wood.
Selecting Wood and Materials
The type of wood you choose affects the doors’ durability, weight, and appearance. Common choices include pine, maple, oak, and plywood. Pine is affordable and easy to work with, but softer. Maple and oak are harder, more durable, and often used for higher-end cabinetry. Plywood can be a good choice for flat panels, especially if you plan to paint the doors.
Consider the finish you want before selecting the wood. If you plan to stain the doors, choose a wood with an attractive grain, like oak or maple. If painting, less expensive woods or paint-grade plywood can work well. You also need good quality wood for stability. Straight, knot-free boards ensure your doors hang correctly and last for many years.
Tools and Materials for Bifold Door Construction
Having the right tools and materials is crucial for a successful project. Gathering everything beforehand prevents interruptions and ensures safety. You will need a mix of power tools for cutting, hand tools for assembly, and specific hardware for bifold functionality. Prepare your workspace and ensure good lighting. This step is about setting yourself up for success.
Power Tools You’ll Need
Power tools speed up the process and improve accuracy. A table saw is essential for making straight, precise cuts on large panels. A miter saw helps with accurate crosscuts, especially for door frames if you choose a shaker or similar style. A router is useful for creating decorative edges or rabbets for panels. I find my router indispensable for clean, consistent dados and grooves.
A drill and impact driver will be needed for pilot holes and fastening screws. Consider using clamps, both F-style and bar clamps, to hold pieces securely during assembly. These tools ensure your cuts are true and your joints are tight. Always use safety glasses and hearing protection when operating power tools.
Hand Tools and Safety Gear
Even with power tools, hand tools are necessary for detailed work. A good measuring tape, a carpenter’s square, and a marking knife ensure accuracy. Chisels are useful for fine-tuning joints. Sanding blocks or an orbital sander prepare the wood for finishing. I always keep a utility knife handy for small tasks.
Safety gear is non-negotiable. Always wear safety glasses to protect your eyes from sawdust and flying debris. Hearing protection is vital when using loud power tools. Work gloves protect your hands. A dust mask or respirator helps prevent inhaling fine sawdust, which can be harmful. Proper ventilation in your workspace is also important.
Hardware Essentials for Bifold Function
Bifold doors require specific hardware to function correctly. You will need bifold hinge sets that connect the individual door panels. A top track with pivot hardware allows the doors to slide and fold smoothly. A bottom pivot bracket provides stability and keeps the doors aligned. Door pulls or knobs are also necessary for operation.
Look for a complete bifold door hardware kit that includes all necessary components. This ensures compatibility and proper function. The quality of your hardware directly affects how well your doors open and close. Choose sturdy, durable components that can handle the weight of your doors. You might also consider magnets or catches to hold the doors closed securely.
Cutting and Assembling Your Bifold Door Panels
With your plan and materials ready, it is time to start cutting and assembling. This stage brings your bifold cabinet doors to life. Precision in cutting and strength in assembly are key to creating functional and beautiful doors. Take your time with each cut and joint. Errors here will be visible in the final product.
Precision Cutting Techniques
Start by breaking down your larger wood sheets or boards into manageable pieces. Use your table saw for ripping long, straight cuts. A sharp blade is essential for clean edges and preventing tear-out. For crosscuts, especially for stiles and rails if making a shaker door, use your miter saw. Double-check all measurements before each cut. I always cut a little bit long, then trim to the final dimension for perfect accuracy.
If you are making a panel-style door, you will cut separate stiles (vertical pieces), rails (horizontal pieces), and a central panel. For flat panel doors, you simply cut the full size of each door panel. Remember to account for the blade kerf (the thickness of the cut) when laying out your cuts. Small deviations in cutting can lead to doors that do not fit properly or hang unevenly.
Joining Panels for Strength
Bifold doors require strong joints to withstand repeated opening and closing. For flat panels, you might simply join two halves with a strong wood glue and biscuits or dowels if the opening is wider than a single sheet of wood allows. For shaker doors, common joinery includes mortise and tenon, cope and stick, or pocket holes. Pocket holes are a fast and strong option for DIY builders. Apply wood glue to all mating surfaces before clamping.
Use plenty of clamps to hold the assembled frame tightly while the glue dries. Ensure the frame is square before clamping. Check with a carpenter’s square across the diagonals. Let the glue cure completely, following the manufacturer’s instructions. A strong glue joint is often stronger than the wood itself. Once dry, scrape off any excess glue with a chisel or sand it flush.
Preparing for Finishing
After assembly, prepare the doors for finishing. This involves sanding all surfaces smooth. Start with a coarser grit sandpaper (e.g., 80 or 100 grit) to remove any imperfections or glue squeeze-out. Gradually move to finer grits (e.g., 150, 180, and finally 220 grit) for a silky smooth finish. Sanding in the direction of the wood grain minimizes scratches.
Dust off the doors thoroughly after sanding. You can use a shop vacuum or a tack cloth to remove all dust particles. Any remaining dust can compromise the finish. This preparation stage is crucial for a professional-looking result. Properly sanded doors absorb stain more evenly and show fewer imperfections under paint.
Finishing Your Bifold Cabinet Doors: Staining or Painting
Finishing your bifold cabinet doors protects the wood and enhances their appearance. The choice between staining and painting depends on your desired look and the wood type you chose. Both processes require careful application for a durable and beautiful result. I find this stage very satisfying as the doors truly begin to shine.
Preparing the Surface
Proper surface preparation is key, no matter your chosen finish. After sanding, use a tack cloth or a damp rag to remove all dust. Ensure the surface is completely clean and dry before applying any product. For staining, you might consider a pre-stain conditioner, especially on woods like pine or maple. This helps the stain absorb more evenly, preventing blotchiness.
If painting, a good quality primer is essential. Primer helps the paint adhere better, provides a uniform base color, and seals the wood. Apply an even coat of primer and let it dry completely. Lightly sand with a fine-grit sandpaper (e.g., 220 or 320 grit) after the primer dries, then wipe clean. This creates a smooth surface for your topcoat.
Applying Stain or Paint Evenly
When staining, apply the stain with a brush or rag, wiping off excess according to the product’s instructions. Work in sections, applying and wiping fairly quickly to avoid lap marks. Always apply stain in the direction of the wood grain. For paint, use a good quality brush, roller, or sprayer. Rollers work well for flat panels, while a brush helps with detailed areas or shaker door frames.
Apply thin, even coats of paint. This prevents drips and allows for better adhesion. Most paints require two or more coats for full coverage and durability. Allow ample drying time between coats as specified by the product. Rushing this step can lead to a less durable finish. You can often lightly sand between paint coats for a smoother final result.
Adding Protective Coats
After your stain or paint has dried completely, apply a protective topcoat. This step adds durability and protects the finish from moisture, scratches, and wear. Common topcoats include polyurethane, lacquer, or clear coats. Polyurethane is a popular choice for its durability and ease of application. Apply thin, even coats with a brush or sprayer.
Follow the manufacturer’s recommendations for the number of coats and drying times. Often, two to three coats are sufficient for good protection. Lightly sand between coats with very fine grit sandpaper (e.g., 320 or 400 grit) to ensure good adhesion and a smooth finish. Remove all sanding dust before applying the next coat. This final protective layer ensures your bifold cabinet doors last for many years.
Installing Bifold Cabinet Door Hardware
Hardware installation is a critical step that brings your bifold cabinet doors to life. Correctly installing the hinges, pivots, and tracks ensures smooth and reliable operation. This part requires careful alignment and precision. Take your time to get each piece right. My experience tells me that rushing hardware installation leads to annoying operational issues later on.
Attaching Bifold Hinges
Bifold doors use special hinges that allow the panels to fold against each other. Each bifold door unit will consist of two panels joined by these hinges. Lay your two door panels flat on a workbench, front side down. Position the hinges equally spaced along the meeting edge of the two panels. Typically, three hinges are sufficient for standard height cabinet doors. Mark the hinge locations carefully.
Pre-drill pilot holes for all hinge screws to prevent splitting the wood. Attach the hinges securely using the screws provided. Ensure the hinges are flush with the surface of the wood. Test the folding action of the two panels before proceeding. They should fold smoothly without binding.
Mounting Pivots and Tracks
The top track guides the bifold doors and holds the top pivot. Install the track inside the top of your cabinet opening, ensuring it is level and centered. Mark the screw holes for the track, pre-drill, and secure it firmly. The track usually includes a sliding pivot bracket. Install this bracket onto the track according to your hardware kit’s instructions.
Next, install the top pivot pin into the top edge of the panel that will pivot within the track. Also, install the bottom pivot into the bottom edge of the other door panel. The bottom pivot will sit in a floor or frame mounted bracket. For the bottom pivot bracket, ensure it is aligned perfectly with the top track. Mark and install this bracket securely to the bottom of the cabinet frame. The correct alignment of these pivots is crucial for the doors to hang straight and operate smoothly.
Installing Door Pulls and Catches
Once the bifold doors are hung, attach your chosen door pulls or knobs. Decide on the desired height and location for the pulls. Typically, they are placed on the leading edge of the outermost door panel. Making a template for cabinet handles can ensure consistent placement if you are making multiple doors. Mark the screw holes carefully.
Pre-drill pilot holes to prevent splitting. Attach the pulls securely. Finally, install any necessary catches to keep the doors closed. These might be magnetic catches or roller catches installed inside the cabinet frame. Position them so they align with the doors when closed. Test the doors to ensure they close firmly and open smoothly.
Mounting Your New Bifold Cabinet Doors
Mounting your completed bifold cabinet doors is the final step in the installation process. This stage involves carefully positioning the doors within the cabinet opening and making fine adjustments for perfect operation. Patience here ensures your doors perform as expected. You are almost finished with your DIY project!
Securing the Top Track
The top track is crucial for guiding the bifold doors. Slide the movable pivot carrier into the top track if it is not already installed. Place the track into the cabinet opening at the top. Use a level to ensure the track is perfectly horizontal. Mark the screw holes through the pre-drilled holes in the track. Pre-drill pilot holes into the cabinet frame.
Secure the track firmly to the top of the cabinet opening using appropriate screws. Make sure the screws are long enough to hold the track securely but not so long they penetrate through the top of your cabinet. A stable track prevents sagging and ensures smooth door movement. This foundation piece sets the stage for the rest of the installation.
Placing the Bottom Pivot
The bottom pivot supports the door’s weight and allows it to swing open. Insert the bottom pivot pin into the hole you drilled in the bottom edge of the inner door panel. Next, position the adjustable bottom pivot bracket on the cabinet floor or frame. This bracket must align directly below the top pivot point on the track. Use a plumb bob or a level to ensure perfect vertical alignment.
Mark the screw holes for the bottom pivot bracket. Pre-drill and secure the bracket to the cabinet frame. The adjustable nature of this bracket allows for later fine-tuning of the door’s alignment. Getting this alignment correct now saves a lot of hassle during the final adjustments.
Adjusting for Smooth Operation
Once the doors are in place, the final step is adjustment. This ensures the bifold doors open and close smoothly, without binding or rubbing. Most bifold hardware kits include adjustment screws on both the top and bottom pivots. Adjust the top pivot to raise or lower the door, ensuring it clears the floor or cabinet bottom. Adjust the bottom pivot to move the door left or right, ensuring even spacing.
Check the plumb and level of the doors. They should hang straight. Make small adjustments at a time, testing the doors after each change. You want the doors to open fully and fold neatly without friction. Sometimes, a slight tweak can make a big difference. Test the door multiple times to confirm the adjustments hold.
Maintenance and Troubleshooting Bifold Doors
Even well-made bifold cabinet doors benefit from regular maintenance. This helps extend their lifespan and keeps them operating smoothly. Knowing how to address common issues can also save you time and effort. I find a little proactive care goes a long way in preserving my woodworking projects.
Regular Cleaning and Care
Keeping your bifold cabinet doors clean is simple but important. For painted or stained doors, use a soft, damp cloth to wipe down the surfaces regularly. Avoid harsh chemical cleaners, as they can damage the finish. For everyday dust and grime, warm water with a mild dish soap often works best. Always dry the doors thoroughly after cleaning.
Periodically, inspect the hardware. Check that screws are tight and that hinges are free of dust or debris. You can also learn how to clean cabinet interiors and surrounding areas to keep your entire storage system fresh. A clean environment helps the doors perform their best. Remember, consistent care prevents larger issues from developing.
Addressing Alignment Issues
Over time, bifold doors might become misaligned. This can happen due to house settling, heavy use, or loose hardware. If your doors are rubbing, sticking, or not closing properly, check the pivot adjustments first. The top and bottom pivots usually have screws that allow you to raise, lower, or shift the door left or right. Make small adjustments and test the door after each change.
If adjustments do not fix the issue, check the screws on the hinges and track. Tighten any loose screws. Sometimes, if a door has warped slightly, you might need to add shims behind a hinge or pivot bracket to bring it back into alignment. This is often an easy fix for how to fix gap between cabinet doors. Patience is key when troubleshooting alignment issues.
Lubricating Hardware for Smoothness
Bifold door hardware can start to squeak or become stiff over time. This is often due to dust buildup or lack of lubrication. Apply a silicone-based lubricant or a dry lubricant to the track and pivot points. Avoid oil-based lubricants, as they can attract dust and grime. Spray or wipe a thin coat directly onto the moving parts of the track and pivots.
Operate the doors several times after applying lubricant to distribute it evenly. This simple step can dramatically improve the smoothness of the door’s operation. I make it a point to lubricate my bifold doors every six to twelve months. This helps them glide effortlessly and reduces wear and tear on the hardware components.
FAQ Section
How do I determine the correct size for my bifold cabinet doors? Measure the width and height of your cabinet opening precisely. For the width, divide the total opening width by two to get the width of each bifold panel pair, then subtract 1/8 to 1/4 inch for clearance and hardware. For height, measure from the track location to the bottom pivot. Accurate measurements ensure a proper fit.
What types of wood are best for making bifold cabinet doors? Good wood choices include pine, maple, oak, and cabinet-grade plywood. Pine is budget-friendly and easy to work with for painting. Maple and oak offer greater durability and an attractive grain for staining. Choose a wood that matches your desired finish and budget.
What kind of hinges do bifold cabinet doors use? Bifold cabinet doors use specialized bifold hinges to connect the two panels that make up each folding unit. These hinges allow the panels to fold flat against each other. Standard cabinet hinges are not suitable for this folding action. Ensure you purchase a bifold hardware kit that includes the correct hinges.
Can I convert existing cabinet doors into bifold doors? Converting existing doors is possible if their dimensions are suitable. You would need to cut the existing door in half, install bifold hinges between the two new panels, and then install the necessary bifold track and pivot hardware in your cabinet opening. The existing door material must be solid enough to support the cuts and new hardware.
How do I prevent my bifold doors from sagging or sticking? Prevent sagging by ensuring your top track is perfectly level and securely installed. Tighten all hardware screws, including those on hinges and pivots. If doors stick, check for proper alignment using the adjustable pivot hardware. Lubricate the track and pivots regularly with a dry or silicone-based lubricant to maintain smooth operation.
What finishing options are available for bifold cabinet doors? You can stain, paint, or apply a clear protective coat to your bifold cabinet doors. Staining highlights the natural wood grain. Painting allows for a wide range of colors and a uniform look. A clear coat protects the wood while maintaining its natural appearance. Always prepare the surface thoroughly for the best finish.
Conclusion
Making your own bifold cabinet doors is a rewarding DIY project that enhances your home’s functionality and style. We have walked through every step, from careful planning and material selection to precise construction, beautiful finishing, and seamless installation. You now understand the importance of accurate measurements, strong joints, and proper hardware placement. By following these guidelines, you can create custom bifold cabinet doors that maximize space and look fantastic in your home.
Taking on a project like making bifold cabinet doors gives you practical skills and a sense of accomplishment. You get to enjoy custom solutions that perfectly fit your needs and aesthetic. Ready to transform your cabinets and add a touch of handcrafted elegance? Gather your tools, start planning, and enjoy the process of building your own beautiful and functional bifold doors. Your home will thank you for it!
- bifold cabinet doors
- DIY woodworking
- cabinet making
- home improvement projects
- space-saving doors
- custom cabinetry


