· Todd Martin · Kids' Bedrooms · 18 min read
How To Make Montessori Floor Bed
Creating a Montessori Floor Bed: Your Guide
When I first heard about a Montessori floor bed, I was curious. It seemed so different from traditional cribs. This setup lets children have more freedom and independence from a very young age. It supports their natural development, allowing them to move in and out of bed as they choose.
This article guides you through the process of how to make a Montessori floor bed. We will explore the many benefits of this choice for your child’s growth. We will also discuss key safety considerations to ensure a secure sleeping area. You will find practical advice on selecting the right mattress and setting up the entire bedroom environment. We will also cover easy DIY steps to create your own floor bed. Finally, we will share tips for transitioning your child and maintaining their new sleep space.
Takeaway
- A Montessori floor bed promotes child independence and freedom of movement.
- Prioritize safety by child-proofing the room and ensuring a firm mattress.
- Simple DIY options exist, from placing a mattress directly on the floor to building a low frame.
- Prepare the entire bedroom to support a child-led learning environment.
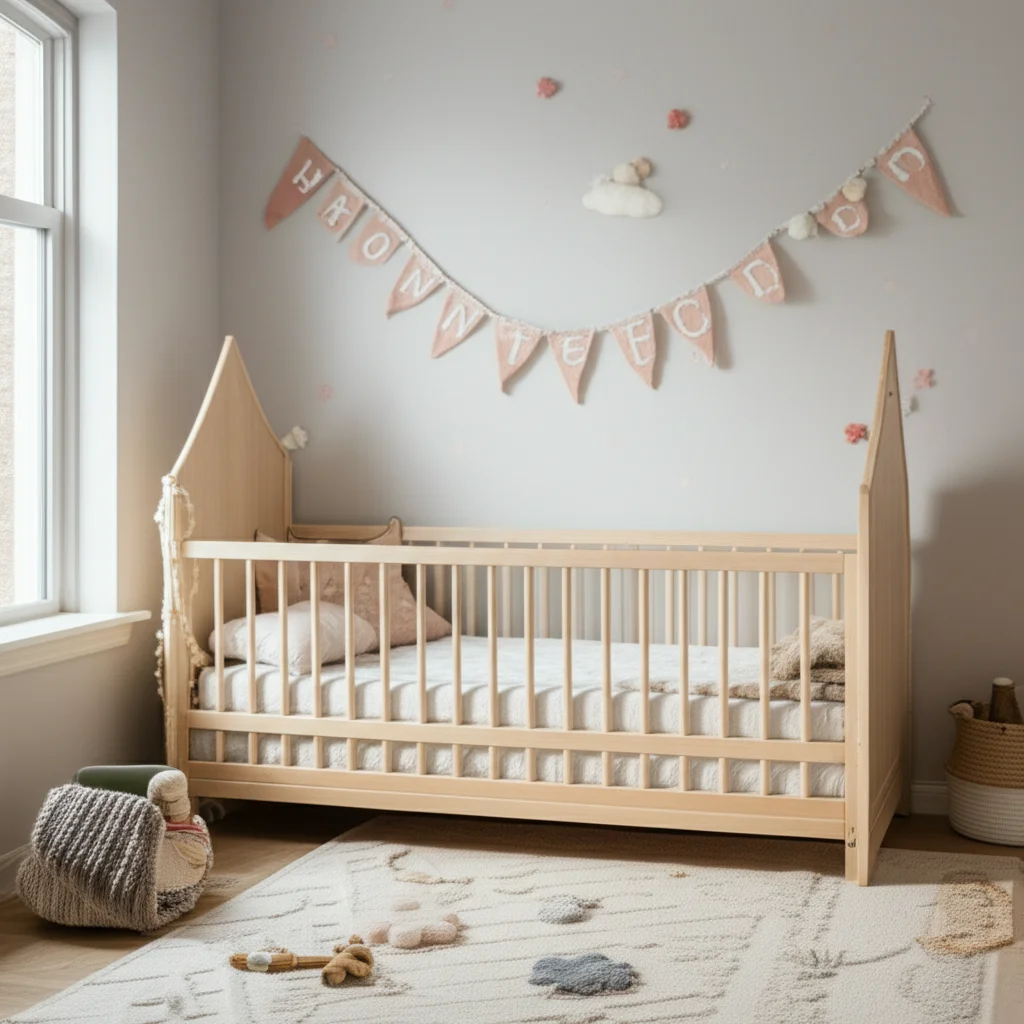
A Montessori floor bed is a mattress placed directly on the floor or a very low frame. It allows a child to move in and out of bed freely. This setup supports a child’s natural development and independence. It gives them autonomy over their sleep and waking hours, fostering a sense of control and self-reliance.
Understanding the Montessori Floor Bed Philosophy
A Montessori floor bed is more than just a place to sleep. It is a tool for child development. Maria Montessori, the creator of the Montessori method, believed in creating environments that support a child’s natural desire to learn. This means giving them freedom within safe limits. A floor bed embodies this principle perfectly.
Traditional cribs can restrict a child’s movement. They create a barrier between the child and their environment. A floor bed removes this barrier. It allows babies and toddlers to explore their room when they wake up. This freedom helps build self-confidence and independence. They learn to trust their own bodies and decisions. This early exposure to choice and freedom is a cornerstone of Montessori education.
The floor bed promotes gross motor skill development. A child can crawl, roll, and eventually walk on and off the bed. This is much better than being confined to a crib until lifted out. It also supports cognitive development. Children can interact with their environment independently. They might look at books or play quietly if they wake early. This fosters a respectful approach to the child’s autonomy. It shows that we trust their ability to manage themselves.
Parents often feel nervous about this change. We worry about safety or sleep patterns. However, many parents find their children adapt well to a floor bed. It creates a calm and inviting sleep space. It truly aligns with the idea of a child-centered home.
Benefits of a Montessori Floor Bed for Child Development
Choosing a Montessori floor bed offers many advantages for your child. These benefits extend beyond just sleep. They touch upon critical areas of development. I have seen firsthand how this setup encourages self-reliance. It helps children learn to navigate their world.
First, it greatly enhances freedom of movement. From the moment they can roll, a baby on a floor bed can move around. They are not trapped by crib bars. This movement is vital for physical growth and exploration. They can practice crawling off the bed or getting back on independently. This builds muscle strength and coordination.
Second, a floor bed promotes independence. A child learns they can choose when to sleep and when to get up. If they wake up and are not tired, they can play quietly in their room. This reduces bedtime struggles and empowers the child. They feel respected as individuals. This sense of personal agency is a huge gain.
Third, it helps with self-regulation. Children learn to listen to their own bodies. They decide if they are tired enough to go to bed or if they want to get up. This teaches them about their own needs. It lays a foundation for strong self-awareness. This skill is valuable throughout their life.
Finally, safety is an unexpected benefit. A child cannot fall far from a floor bed. This reduces the risk of injury from falls compared to a raised crib. It creates a secure sleep environment. This peace of mind is important for parents. Many parents find this transition much smoother than moving to a traditional toddler bed. It also makes the transition from crib to floor bed easier.
Key Considerations Before Making Your Floor Bed
Before you embark on creating your Montessori floor bed, you must think about several important factors. These steps ensure your child’s safety and comfort. They also help the setup work well for your family. I always advise prioritizing safety above all else.
Your child’s room must be completely child-proofed. This is the most crucial step. Since your child can move freely, their room becomes an extension of their sleep space. Cover all electrical outlets. Secure heavy furniture, like dressers and bookshelves, to the wall. Remove any small objects that could be choking hazards. Make sure cords from blinds or curtains are out of reach. Check for any sharp corners or edges. You need to view the room from a child’s eye level. Get down on your hands and knees. Look for potential dangers they might encounter. This thorough check creates a safe zone for their independent exploration.
Next, consider the temperature and air circulation in the room. A mattress directly on the floor can sometimes trap moisture. This can lead to mold or mildew growth underneath. Ensure the room is well-ventilated. You may need to lift the mattress weekly to allow air circulation. A simple slatted base or thin mat can help with airflow. This also prevents the mattress from getting too cold or damp.
Think about the floor type. Carpets offer a soft landing but can trap dust and allergens. Hardwood floors are easier to clean but might feel colder. You might add a soft rug next to the bed if you have hard floors. This creates a comfortable area for getting in and out of bed. The rug also defines the sleep space.
Finally, decide on the size of the bed. A twin or full-size mattress often works well. This allows plenty of space for your child to grow. It also lets a parent lie down with them if needed. Choosing the right size makes the bed last longer. It means you will not need to change beds too soon.
Choosing the Right Mattress and Foundation
The mattress is the heart of your Montessori floor bed. Selecting the right one is essential for comfort, safety, and health. You want a mattress that supports your child’s growing body. It should also be firm and breathable. I find that a firm mattress is always the best choice for young children.
First, consider the firmness. A firm mattress is important for infant and toddler safety. It reduces the risk of suffocation. It also provides proper spinal support. Avoid overly soft mattresses. These can conform too much around a child’s face. Look for mattresses labeled as “firm” or “extra firm” when shopping. You can use a standard crib mattress, twin mattress, or even a full-size mattress. The size depends on your space and future plans. For a toddler bed, a crib mattress might work. However, a larger mattress offers more space for movement.
Next, think about breathability. Air circulation around and through the mattress is key. This prevents heat buildup and moisture issues. Many modern mattresses are designed with breathable materials. Look for organic cotton or wool options. These materials naturally regulate temperature. They also often have fewer chemicals. A breathable mattress helps prevent mold growth.
You also need to decide on a foundation. You can place the mattress directly on the floor. This is the simplest and most authentic Montessori approach. However, to address potential moisture issues, a very low foundation helps. Options include:
- Slatted Bed Base: This is a simple wooden frame with slats. It lifts the mattress just a few inches off the floor. The slats allow excellent airflow. You can buy these or make one yourself. This prevents moisture buildup and keeps the mattress fresh.
- Tatami Mats: These traditional Japanese mats can be placed under the mattress. They offer a firm, breathable barrier. They are also natural and durable. Tatami mats are a great choice if you want a natural, low-profile base.
- Large Pallets: Clean, unused wooden pallets can serve as a very low base. They provide good ventilation. Make sure they are smooth and free of splinters. They should also be chemical-free.
No matter your choice, ensure the foundation is sturdy and safe. It should not shift or wobble. The goal is to provide a stable, breathable surface for the mattress. This ensures your child’s sleep environment is both safe and healthy.
DIY Steps to Create Your Montessori Floor Bed
Making a Montessori floor bed can be simple. You do not need complex tools or expensive materials. The core idea is accessibility for your child. My favorite part is how customizable these beds are. You can tailor it to your budget and skill level.
Here are a few ways to make a Montessori floor bed, from easiest to a bit more involved:
The Simplest Approach: Mattress on the Floor
This is the easiest way. You simply place a firm mattress directly onto the floor. This method requires no building. It is the most direct application of the Montessori principle.
- Choose Your Mattress: Select a firm mattress. A twin or full size works well for growing children. Ensure it is clean and in good condition.
- Prepare the Floor: Clean the area thoroughly. Make sure the floor is dry and free of debris. Consider placing a breathable mat or thin rug underneath if your floor is very cold or damp. This helps with air circulation.
- Place the Mattress: Lay the mattress flat on the prepared floor. Ensure there is enough space around it for your child to move freely.
- Add Bedding: Use fitted sheets that fit snugly. Add a light blanket or sleeping bag appropriate for the room temperature. Keep bedding minimal and safe for young children.
This method is quick, affordable, and fully functional. It is a great starting point for any family.
Adding a Low Platform or Slats
This option provides better airflow and can look more finished. It still keeps the bed very low to the ground.
- Gather Materials: You will need wooden planks or 2x4s for the frame and thinner slats for the base. Measure your mattress to determine the frame dimensions. You will also need screws, a drill, and possibly wood glue.
- Build a Simple Frame: Construct a rectangular frame that matches the mattress dimensions. Keep the height very low, just enough to lift the mattress a few inches. A simple box frame works well.
- Add Slats: Attach wooden slats across the frame. Leave small gaps between slats for airflow. Secure each slat with screws. This provides sturdy support and ventilation.
- Place Mattress: Lay your chosen mattress on top of the slatted frame. The mattress should fit snugly within or on top of the frame.
- Finish: Sand any rough edges on the wood. You can also paint or seal the wood if you wish. Ensure any finishes are child-safe.
This DIY platform can prevent mold and moisture issues. It also creates a more defined bed space. You can also place the bed against the wall for stability, but ensure the open side is still safe for your child to exit.
Making a Simple Frame with Sides
For a slightly more enclosed feel, you can build a very low frame with short sides. This can help keep the mattress in place.
- Design the Frame: Plan a low frame with sides that are only a few inches high. This offers a cozy feel without restricting movement. You can make the frame with one side open for easy entry/exit.
- Cut and Assemble Wood: Cut wooden boards to create the base and short sides. Use wood screws and glue to assemble them securely. Ensure all connections are strong.
- Integrate Slats: Build a slatted base into the frame for mattress support and ventilation. This is crucial for air circulation.
- Sand and Finish: Smooth all surfaces to prevent splinters. Apply child-safe paint or sealant if desired.
- Add Mattress: Place your mattress inside the low frame. Ensure it fits well and is secure.
Whichever method you choose, remember the goal is simplicity and accessibility. The bed should be easy for your child to use independently.
Setting Up the Montessori Bedroom Environment
Creating a Montessori floor bed is just one part of setting up a Montessori bedroom. The entire room should support your child’s independence. It should also promote exploration. I believe a well-designed room empowers children. It fosters their natural curiosity.
First, focus on safety. As discussed earlier, child-proofing is critical. All electrical outlets need covers. Furniture must be anchored to walls. Remove any small items that could be choking hazards. Ensure cords from blinds or curtains are out of reach. This creates a safe space for your child to explore freely. You want to feel confident they are safe even if you are not in the room.
Second, think about accessibility. Everything in the room should be at your child’s level. This includes shelves for books and toys. Open shelves work well, allowing children to see and choose their activities. Hang art at their eye level. Provide a small, sturdy stool if they need to reach something slightly higher. This promotes self-sufficiency. They can choose their activities without constant adult help.
Third, organize toys and books minimally. Montessori environments favor fewer, high-quality items. Rotate toys regularly to keep them fresh and engaging. Each item should have a designated place. This helps children learn to put things away. It also teaches them about order and responsibility. Avoid clutter, as it can overwhelm a child.
Fourth, include natural elements. Plants, natural wood, and soft, natural fabrics create a calming atmosphere. These elements connect children to nature. They also provide varied textures for sensory exploration. A comfortable rug near the floor bed can define the play area. It also adds warmth and a soft landing.
Finally, consider lighting. Use natural light as much as possible during the day. Install dimmable lights for evening transitions. A small night light can help your child feel secure. The overall feel of the room should be calm, organized, and inviting. It should feel like their own special space. This nurturing environment helps them thrive.
Transitioning Your Child to a Floor Bed
The idea of moving your child from a crib to a floor bed can feel like a big step. However, it can be a smooth process with the right approach. I remember feeling nervous about this with my own child. But, focusing on their readiness and making it gradual made all the difference.
First, consider when to make the switch. There is no fixed age. Some parents introduce a floor bed as early as infancy, once a baby can roll. Others wait until their toddler tries to climb out of the crib. If your child is showing signs of independence or resisting the crib, it might be the right time. Look for readiness cues like increased mobility and a desire for more autonomy. The transition from crib to floor bed is a common Montessori practice.
Next, prepare the room before the transition. Ensure the room is completely child-proofed. This means covering outlets, anchoring furniture, and removing hazards. You want your child to be safe if they wake up and explore. This preparation is key to a successful move. It provides peace of mind for you as well.
Introduce the floor bed gradually. You can start by having your child nap on the floor bed for a few days. This helps them get used to the new sleep space. Talk about the new bed in a positive and exciting way. Explain that it is their special big-kid bed. Make it an inviting place.
During the first few nights, be prepared for adjustments. Your child might get out of bed more often. They are exploring their new freedom. Gently guide them back to bed each time. Be calm and consistent. Avoid making it a game. Some parents put up a baby gate at the bedroom door. This ensures the child stays safely within their room.
Remember, consistency is vital. Stick to your usual bedtime routine. This provides comfort and predictability. The floor bed itself might be new, but the routine should remain familiar. Be patient. Every child adapts at their own pace. Soon, your child will learn to love their new independent sleep space. It is a big step towards their growing independence.
Maintaining Your Montessori Floor Bed and Room
A Montessori floor bed and its surrounding environment require regular maintenance. This ensures a clean, safe, and healthy space for your child. Proper care also extends the life of your mattress and furniture. I find that a simple routine keeps everything in good order.
First, address the mattress itself. Because it is low to the ground, a floor bed mattress needs special attention to prevent moisture and mold. Once a week, lift the mattress. Prop it up against a wall or turn it over. This allows air to circulate underneath and on both sides. This simple step helps prevent dampness and mold growth. You can also use a fan to dry the area thoroughly if needed. If you used a slatted base, this task becomes even easier.
Next, keep the entire room clean. With a floor bed, your child has free access to their room. This means the floor around the bed will see more activity. Regularly vacuum or sweep the floor. Wipe down surfaces. This reduces dust and allergens. Pay special attention to cleaning under the bed. Dust bunnies and crumbs can gather there. Cleaning under the bed ensures a hygienic sleep area. Use child-safe cleaning products.
Check furniture and safety features periodically. Re-tighten screws on anchored furniture. Check outlet covers to make sure they are secure. Inspect the bed frame or mattress base for any wear and tear. Address any loose parts or rough edges right away. This ongoing safety check is crucial.
Rotate toys and books regularly. This keeps the environment fresh and engaging. It also encourages your child to use different items. When you rotate toys, it gives you a chance to clean them. Wipe down plastic toys. Wash fabric toys as needed. This prevents dust and germs from accumulating.
Finally, adjust the room as your child grows. Their interests and needs will change. What worked at one year old might not work at three. Keep shelves accessible for their height. Update books and toys to match their developmental stage. The Montessori environment should always be responsive to the child’s evolving capabilities. This continuous adaptation ensures the room remains a supportive space for learning and independence.
FAQ Section
How low should a Montessori floor bed be?
A Montessori floor bed should be as low as possible. Ideally, the mattress sits directly on the floor. If using a frame or slatted base, it should only lift the mattress a few inches. The goal is easy access for your child. They should be able to get in and out of bed completely on their own, even as a very young toddler.
What age is best for a Montessori floor bed?
You can introduce a Montessori floor bed from birth or when a baby starts to roll. Many parents transition their child from a crib when they show signs of wanting more independence, typically between 6 months and 2 years old. There is no specific “best” age; it depends on your child’s readiness and your family’s preference.
Do Montessori beds get mold?
Montessori floor beds can develop mold if air circulation is poor underneath the mattress. To prevent this, lift and air out the mattress weekly. Using a slatted bed base, a tatami mat, or even wooden pallets can significantly improve airflow. Ensure the room is well-ventilated and manage humidity levels to keep the mattress dry and mold-free.
Can a Montessori floor bed improve sleep?
Yes, for many children, a Montessori floor bed can improve sleep. It gives children autonomy over their sleep and waking, reducing power struggles. They learn to listen to their bodies and get in and out of bed as needed. This control can lead to more peaceful nights and a child who feels more secure and independent in their sleep environment.
What should be near a Montessori floor bed?
Near a Montessori floor bed, place only child-safe and accessible items. This includes low shelves with a few chosen books or simple toys. You might have a small, soft rug for comfort. Keep the area clutter-free. Ensure anything within reach is safe and encourages independent exploration, such as a water bottle or a dim night light.
Conclusion
Creating a Montessori floor bed is a thoughtful decision for your child’s independence. It moves beyond just providing a place to sleep. It empowers your child to explore their world safely. This setup supports their natural development, fostering self-reliance from a young age.
I encourage you to consider this liberating sleep solution. You have learned the core philosophy behind a Montessori floor bed. You also know its many developmental benefits. Remember to prioritize safety above all else. Prepare your child’s room thoroughly. Choose the right mattress for comfort and hygiene. Whether you opt for a simple mattress on the floor or a DIY low frame, you are making a positive choice. Set up the entire room as a child-led space. Be patient and consistent during the transition. With these steps, you can successfully make a Montessori floor bed that serves your child well. This bed is a foundation for their growing independence.
- Montessori Floor Bed
- Toddler Sleep
- DIY Bed
- Child Development
- Safe Sleep

Todd Martin
Senior Writer
With over 15 years of experience in home renovation and design, I started HEG to share what I’ve learned with homeowners who want to create spaces that are both beautiful and functional. I’ve always believed in a hands-on approach, and over the years, I’ve picked up practical solutions that actually work. Through HEG, I aim to make home improvement more approachable, sharing real tips that help you create a home you truly love.