· Todd Martin · Home Appliance Repair · 15 min read
How To Open Whirlpool Washing Machine Control Panel
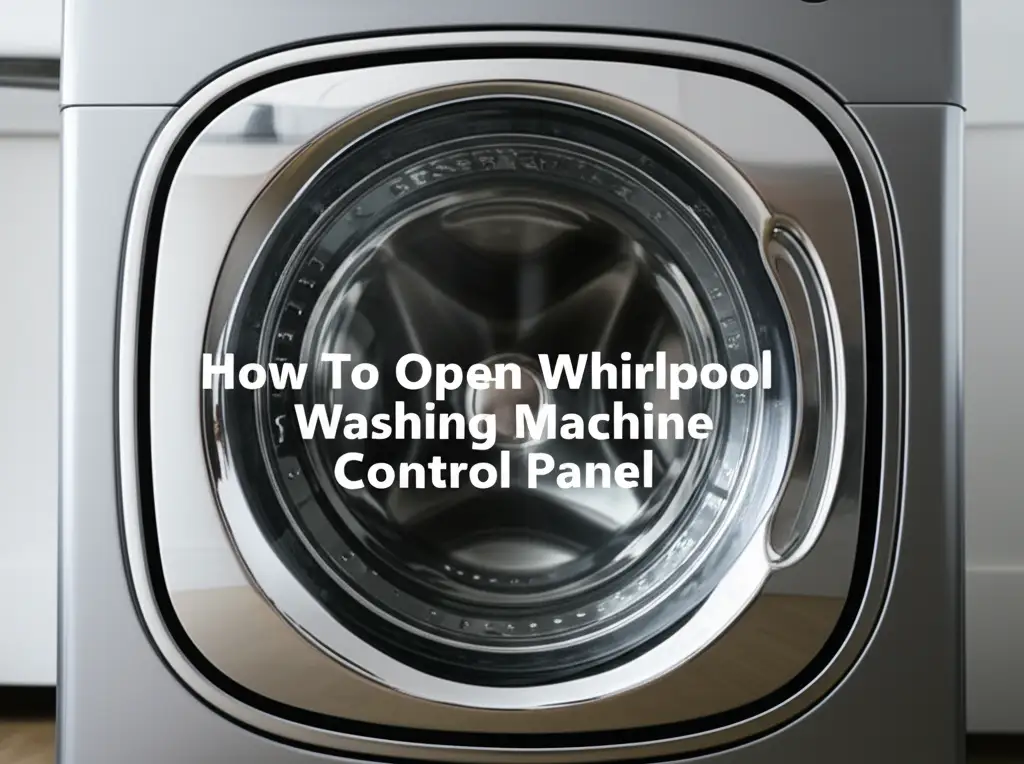
How To Open Whirlpool Washing Machine Control Panel
Have you ever faced a washing machine issue and wondered how to look inside? Opening your Whirlpool washing machine control panel can seem like a daunting task. However, it is a necessary step for many common diagnostic and repair jobs. Whether you are dealing with a button that sticks, a blinking light issue, or a complete power failure, accessing the control board is often the first move.
This comprehensive guide helps you understand the process. We will walk you through essential safety precautions and the specific tools you need. You will learn the step-by-step methods for both top-load and front-load Whirlpool models. My goal is to make this process clear and simple for you. By the end, you will feel confident to open your Whirlpool washing machine control panel yourself.
Takeaway
To safely open your Whirlpool washing machine control panel:
- Always disconnect power and water supply first.
- Identify your washer model type (top-load or front-load).
- Gather basic tools like screwdrivers and a putty knife.
- Locate and remove screws or clips holding the panel in place.
- Gently lift and detach the panel, being mindful of wiring.
Opening a Whirlpool washing machine control panel generally involves disconnecting power and water, then using a screwdriver or putty knife to release screws or clips located on the console’s rear or sides. The exact method varies slightly between top-load and front-load models, but the principle of careful detachment remains the same for safe access to the internal components.
Prioritizing Safety: Essential Steps Before You Begin
Before you even think about touching a screwdriver, safety must be your top priority. Working with electrical appliances carries risks. Your washing machine uses both electricity and water, which creates a hazardous combination if not handled correctly. I always recommend taking a moment to ensure everything is safe before starting any repair work. This simple step protects you from potential injury.
First, locate the washing machine’s power cord. Unplug it completely from the wall outlet. Do not just turn off the machine; physically remove the plug. This ensures no electrical current can reach the machine while you are working on it. Next, turn off the water supply to the washer. There are usually two shut-off valves behind the machine, one for hot water and one for cold. Turn both handles clockwise until they are fully closed. This prevents any water from unexpectedly flowing out during the process. If you also need to drain water from the machine, you might find it helpful to learn how to drain water in Whirlpool washing machine before proceeding with panel removal.
Remember, a sudden surge of water or electricity can cause serious harm. Taking these precautions is not an option; it is a requirement. Always double-check that power is off and water is shut off before moving to the next steps. Ignoring these safety measures could lead to electric shock or water damage. Your safety is worth the extra minute it takes to prepare properly.
Understanding Your Whirlpool Washer’s Control Panel Design
Whirlpool offers many washing machine models. Each model can have slight variations in its control panel design. Knowing your specific washer type is important before you start. The two main types are top-load and front-load machines. Each type has a different way the control panel attaches and opens. Understanding these differences helps you avoid damage and access the panel efficiently.
Top-load Whirlpool washing machines usually have the control panel located at the back of the top lid. This panel often sits on top of the main body or attaches to a metal frame. For these models, you will typically find screws hidden at the rear of the console or clips that hold it in place. Sometimes, the entire top lid needs to be lifted slightly before the panel can be accessed. Accessing the control panel on a top-load washer is often more straightforward, focusing on releasing the back fasteners.
Front-load Whirlpool washing machines are different. Their control panels are usually integrated directly into the front of the machine. The panel might be part of a larger top section that lifts or it might be a separate component. For these models, you often need to remove the top panel of the washing machine first to access the control panel screws or clips. This is because the screws are often hidden underneath the top lid. The methods for opening various washing machine panels can differ, so understanding your model is key, much like how how to remove Maytag washing machine control panel might involve similar principles but specific fasteners.
Essential Tools for Opening the Control Panel
Having the right tools makes a big difference when you open your Whirlpool washing machine control panel. You do not need a large collection of specialized tools. Basic household tools are often enough to get the job done. Using the correct tools prevents stripping screws or damaging delicate parts. I always ensure I have these items ready before I begin.
First, you will likely need a few screwdrivers. A Phillips head screwdriver is almost always necessary. Many Whirlpool models use these screws. Sometimes, a flathead screwdriver is also useful for prying or for certain types of clips. Make sure your screwdrivers have comfortable handles for a good grip. You might also encounter Torx screws on some newer models, so having a set of Torx bits could be beneficial if you are unsure.
Second, a putty knife or a thin, flat pry tool is very helpful. This tool is useful for gently releasing spring clips or prying up the control panel console. Do not use anything too sharp or thick, as this can scratch or break plastic parts. A small bucket or towel is also good to have nearby. This helps catch any residual water if you are also dealing with a leak, which can sometimes be a reason to open the panel, such as when troubleshooting why is my Whirlpool washing machine leaking water. Finally, a flashlight can illuminate dark areas, helping you spot hidden screws or clips. These simple tools will equip you well for the task.
Step-by-Step: Opening a Top-Load Whirlpool Control Panel
Opening the control panel on a top-load Whirlpool washing machine is often straightforward. I find these models generally easier to access than front-loaders. The process usually involves removing a few screws and then disengaging some clips. Following these steps carefully will help you gain access without causing damage. Always ensure the power and water are off before you start.
Begin by looking at the back of your washing machine’s console. You will likely see two or three Phillips head screws located on the very back edge, usually where the console meets the washer’s main body. Use your Phillips head screwdriver to remove these screws. Keep them in a safe place, such as a small bowl, so they do not get lost. These screws secure the console to the washer’s frame. Some older models might have different types of fasteners, but screws are most common.
Once the screws are out, the console is usually held in place by spring clips or plastic tabs at the front. Gently lift the console from the back, where you removed the screws. Lift it just enough to disengage the rear lip. Then, push the entire console forward about half an inch to release the front clips. You should hear or feel the clips release. With the clips free, the console can then be gently lifted and rotated back, resting on hinges or a prop. Be careful not to pull it too far, as it will still have wires connected to it. This method provides access to the wiring and the main control board underneath the console.
Step-by-Step: Opening a Front-Load Whirlpool Control Panel
Opening a front-load Whirlpool washing machine control panel can be a bit more involved than a top-loader. The control panel on these models is often integrated differently. You typically need to remove the top panel of the washer first to get to the control panel’s fasteners. This design means the top part acts as a lid protecting the sensitive electronics. Always double-check that your machine is unplugged and the water supply is off.
Start by accessing the top of your front-load washer. You will usually find two or three screws at the very back edge of the top panel. These screws secure the top panel to the main body of the washing machine. Use a Phillips head screwdriver to remove these screws completely. Keep them safe. Once the screws are removed, slide the top panel backward a few inches, then lift it straight up and away from the machine. This action disengages any front clips or tabs holding it in place. Set the top panel aside in a safe spot.
With the top panel removed, you now have access to the control panel’s mounting points. For front-load models, the control panel is usually secured from the top or front, often with additional screws or sometimes simple clip mechanisms. Look for screws around the edges of the control panel itself or underneath the area where the top panel rested. Remove any screws you find. If there are no visible screws, gently use a putty knife to probe for and release plastic clips along the edges. Once all fasteners are released, you can carefully pull the control panel forward or lift it slightly to access the components behind it. Remember, wires will still connect the panel to the machine’s internal parts, so do not yank it off completely.
Handling Wiring and Components Safely
Once you successfully open your Whirlpool washing machine control panel, you will see a network of wires and electronic components. This is the brain of your washing machine. It controls all its functions. It is important to handle these parts with care. Any wrong move could damage the delicate circuitry or cause further problems.
Before touching anything, take a moment to observe the layout. I often take a picture with my phone. This helps me remember where all the wires connect if I need to disconnect them. Wiring harnesses usually connect to the control board with plastic clips or connectors. These connectors are designed to be pulled straight off or to have a small tab pressed before removal. Never pull directly on the wires themselves, as this can break the connection or damage the wire. Always grasp the plastic connector firmly.
When working with the control board or any other electronic component, avoid touching the bare metal contacts if possible. Static electricity from your body can damage sensitive electronics. If you are replacing a component, make sure the new part is identical to the old one. Match part numbers precisely. When reassembling, ensure all connectors are pushed firmly back into place until they click. Loose connections can lead to intermittent issues or the machine not working at all. You might be opening the panel because your Whirlpool washing machine is not turning on, and proper handling of these wires is key to successful repair.
What to Do After Opening the Control Panel
Accessing your Whirlpool washing machine control panel is often just the first step. Once the panel is open, you can begin the diagnostic or repair work. What you do next depends on why you opened the panel in the first place. My goal here is to guide you on common next steps. Remember, if you are unsure about any repair, it is best to call a professional.
Common reasons for opening the control panel include checking wire connections, inspecting the main control board for visible damage (like burn marks or blown capacitors), or replacing specific components like the user interface board or a faulty switch. If you are troubleshooting a specific error code, your washer’s service manual can often guide you to the exact component or connection to check. For those interested in general appliance repair, resources on do-it-yourself washing machine maintenance can be very helpful.
Once your task is complete, it is time for reassembly. This process is essentially the reverse of opening the panel. Carefully position the control panel back into its place. Ensure all clips align and click into position. Replace all screws you removed. Do not overtighten screws, especially on plastic parts, as this can strip the threads or crack the plastic. After the control panel is secure, reattach the top panel for front-load machines, sliding it forward and replacing its screws. Finally, plug the washing machine back into the outlet and turn the water supply back on. Test the machine with a small load or a diagnostic cycle to ensure everything works correctly.
Troubleshooting Common Challenges During Panel Removal
Even with clear instructions, you might encounter small challenges when trying to open your Whirlpool washing machine control panel. These issues are often minor. Knowing what to do can save you frustration and prevent accidental damage. I have faced these myself, and a few simple tricks usually solve the problem.
One common issue is finding hidden screws or stubborn clips. Sometimes, screws are covered by small plastic caps or are in less obvious locations. Use a flashlight to thoroughly inspect all edges and seams of the console. For clips that won’t release, apply gentle, even pressure with your putty knife. Do not force anything. If it feels stuck, re-examine the area for an overlooked fastener. Remember, some models require you to push the panel forward before lifting, or lift slightly before pulling.
Another challenge can be stiff wiring or connectors. Wires can sometimes be tightly bundled, making it hard to move the panel away from the machine. Try to gently manipulate the wires to give yourself more slack. If a connector is difficult to remove, it might have a locking tab that needs to be pressed or squeezed. Look closely at the connector itself for any visible tabs or release buttons. Patience is key here. For complex issues or if you are completely stuck, referring to your specific washer’s service manual or a professional technician can be a wise choice.
FAQ Section
Q1: Why do I need to open the Whirlpool washing machine control panel?
You often need to open the control panel to diagnose or repair common issues. These include problems with buttons, indicator lights, or the machine not starting. It provides access to the electronic control board and its wiring. Many error codes or operational failures point to components behind this panel. It is a necessary step for most DIY electrical repairs.
Q2: What if I can’t find screws on my Whirlpool washing machine panel?
Some Whirlpool models use hidden clips instead of screws to secure the control panel. For top-loaders, try lifting the back of the console slightly and pushing it forward. For front-loaders, you often need to remove the top panel first to reveal hidden screws or clips underneath. Gently use a putty knife to feel for and release these clips.
Q3: Are there different ways to open top-load vs. front-load panels?
Yes, the methods differ. Top-load Whirlpool washers typically have screws at the back of the console, which you remove to lift and tilt the panel back. Front-load washers often require removing the entire top panel of the machine first, which then exposes the fasteners for the control panel underneath. Always identify your model type first.
Q4: Can opening the control panel void my washer’s warranty?
Opening the control panel yourself can potentially void your warranty, especially if you cause damage during the process. Most manufacturers recommend professional service for repairs while under warranty. If your machine is still covered, it is best to check your warranty terms or contact Whirlpool customer service before proceeding with DIY repairs.
Q5: What tools are essential for opening the control panel?
The most essential tools include a Phillips head screwdriver, which is used for most screws. A flathead screwdriver can also be useful for prying. A putty knife or a thin, blunt pry tool is vital for releasing stubborn clips without causing damage. A flashlight can help illuminate hidden areas.
Q6: How do I put the control panel back on my Whirlpool washing machine?
Reassembling the control panel is the reverse of disassembling. First, ensure all wires are properly reconnected. For top-loaders, align the front clips, push the panel back, and then replace the rear screws. For front-loaders, secure the control panel first, then carefully reattach the main top panel, sliding it forward and replacing its screws at the back. Ensure everything is secure.
Conclusion
Opening your Whirlpool washing machine control panel does not have to be a mystery. By following the clear, step-by-step instructions provided in this guide, you can confidently access the internal components of your appliance. We covered critical safety precautions, the specific tools you will need, and detailed methods for both top-load and front-load models. You now understand how to handle the wiring and components safely, and what steps to take after the panel is open.
Remember, patience and careful attention to detail are your best allies in any DIY appliance repair. Whether you are troubleshooting a minor issue or performing a component replacement, knowing how to open your Whirlpool washing machine control panel is a valuable skill. If you encounter any problems or feel unsure, please consider consulting a certified appliance technician. Taking on this task yourself can save you time and money, giving you a greater understanding of your home appliances. Now you are ready to tackle your Whirlpool washer control panel with confidence.
- Whirlpool washing machine
- control panel repair
- washing machine maintenance
- DIY appliance repair
- washer troubleshooting


