· Todd Martin · Furniture Restoration · 12 min read
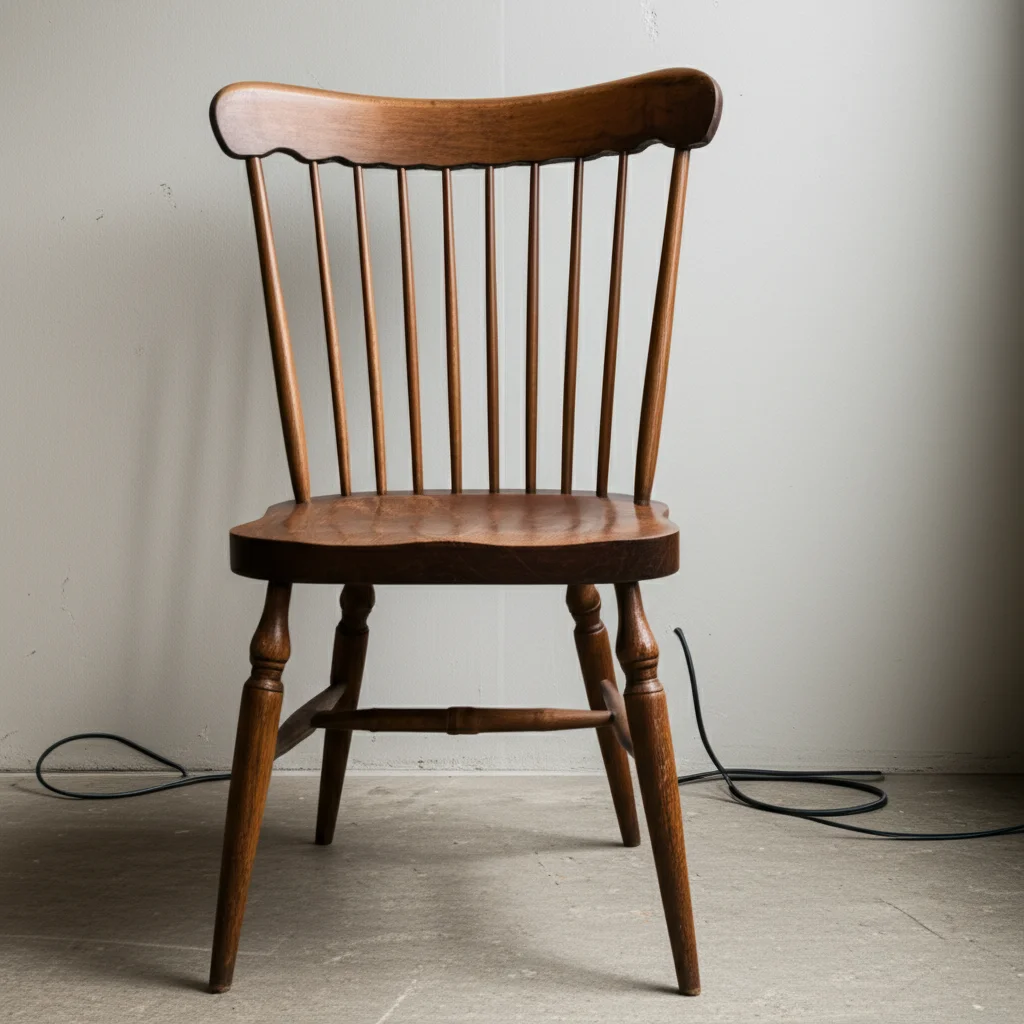
How To Sand Round Table Legs
Transform Your Table: How to Sand Round Table Legs Smoothly
Has your favorite table seen better days? Old finishes can look dull and worn. Sanding round table legs can make a big difference. This project helps restore beauty to your furniture. It also prepares surfaces for new paint or stain.
Learning how to sand round table legs presents unique challenges. The curves and contours need special attention. Standard sanding methods often fall short. This guide walks you through each step. You will learn about the right tools and techniques. We cover safety measures. By the end, you will achieve a professional-looking finish.
Takeaway
- Gather all necessary tools and safety gear before you begin.
- Choose the correct sandpaper grits for each stage of sanding.
- Use a mix of hand sanding and specialized power tools for curves.
- Always sand with the wood grain to prevent scratches.
- Clean dust thoroughly between sanding stages for best results.
How do you sand a round table leg?
You sand a round table leg by hand using flexible sanding sponges or sandpaper wrapped around a foam block. For larger areas or less intricate curves, a detail sander or orbital sander with a soft interface pad can help. Always move with the wood grain, starting with a coarser grit and progressing to finer grits for a smooth finish.
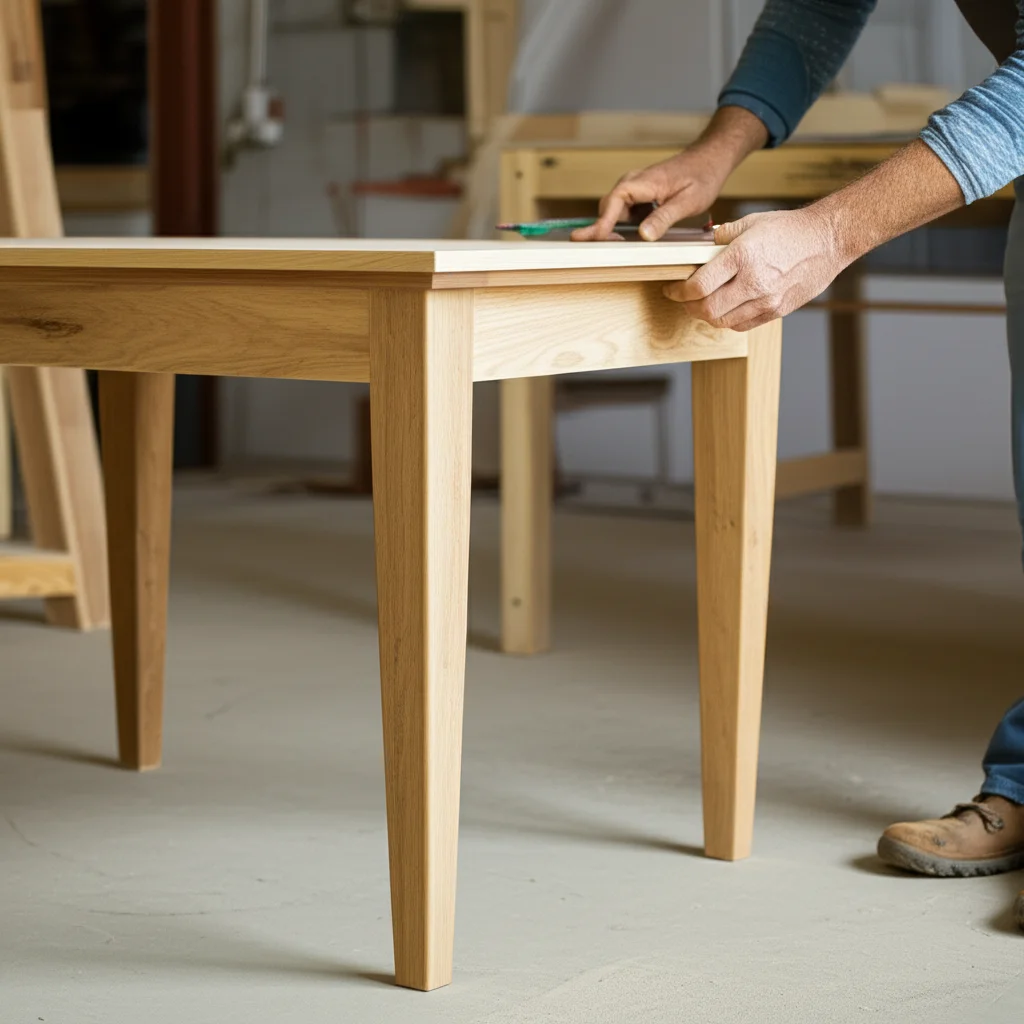
Preparing for Success: Essential Steps Before You Sand
Proper preparation makes any project easier. Sanding round table legs requires good setup. This helps ensure a smooth process. It also protects your workspace.
First, clear your work area. You need enough space to move around the table. Remove any items from the tabletop. If possible, detach the table legs. This makes sanding much simpler. Removing the legs allows you to work on each piece individually.
Next, clean the table legs. Use a damp cloth to wipe away dirt and grime. For old, sticky finishes, a mild cleaner helps. Allow the wood to dry completely. Any lingering moisture can cause problems during sanding. A clean surface helps sandpaper work better.
Gather all your tools. This includes different grits of sandpaper. You will need sanding blocks or sponges for curves. Power sanders like an orbital sander or detail sander might be useful. Do not forget safety gear. This means safety glasses, a dust mask, and gloves. Good preparation saves time later. It helps you focus on the sanding itself. Learn how to clean a wood table thoroughly before starting your project.
Choosing the Right Tools for Round Leg Sanding
Selecting the correct tools is important for sanding round table legs. The curves make standard flat sanding difficult. You need tools that adapt to the shape. The right tools save time and effort. They also give you a better result.
For general sanding, an orbital sander works well on flat surfaces. However, round legs need more flexibility. A detail sander has a smaller pad. It can reach some curved areas. For complex curves or intricate designs, a spindle sander is ideal. It uses rotating drums that match different radii. This tool helps achieve a uniform curve.
Hand sanding is often necessary for round legs. You can wrap sandpaper around a foam block. Special flexible sanding sponges also work great. These sponges conform to the leg’s shape. They ensure even pressure across the curve. Choose different shapes of sanding blocks for varied contours. Always consider the leg’s specific design. Match your tools to the curves. Find out how to sand a table with an electric sander for general table surfaces.
Using hand tools gives you more control. Power tools can remove material quickly. They also create a lot of dust. Balance power and precision. For tough old finishes, start with a power tool. Finish the work by hand. This combination offers the best of both worlds.
Understanding Sandpaper Grits: A Step-by-Step Guide
Understanding sandpaper grits is fundamental to sanding. Grits refer to the size of the abrasive particles on the sandpaper. A lower number means coarser grit. A higher number means finer grit. You must use the correct grit sequence. This achieves a smooth finish on round table legs.
Start with a coarse grit if the legs have an old finish. Use 60 or 80-grit sandpaper for this initial step. This grit removes old paint, varnish, or deep scratches. Do not press too hard. Let the sandpaper do the work. Focus on removing the old layer evenly.
After the coarse grit, move to a medium grit. Use 100 or 120-grit sandpaper next. This grit removes the scratches left by the coarser paper. It begins to smooth the wood surface. Work in small sections. Ensure you cover all areas of the round leg.
Progress to finer grits step by step. Use 150-grit, then 180 or 220-grit. Each step refines the surface more. It removes the previous grit’s scratches. For a very smooth finish, use 320 or even 400-grit sandpaper last. This creates a silky surface ready for finishing. Do not skip grits. Skipping steps leaves noticeable scratches. For more on grit progression, see how to sand cabinets by hand. Always clean dust between each grit change. This prevents coarser particles from scratching your newly smoothed surface.
Effective Hand Sanding Techniques for Round Table Legs
Hand sanding is essential for sanding round table legs. Power sanders often struggle with the curves. Hand sanding gives you control. It helps achieve a truly smooth surface.
Start by wrapping sandpaper around a sanding sponge or foam block. Choose a block that matches the curve of the leg. This ensures even pressure. You can also use flexible sanding sheets. These sheets conform to the contours naturally.
Always sand with the wood grain. Sanding against the grain creates visible scratches. Move your hand in long, smooth strokes. Apply consistent, gentle pressure. Avoid pressing too hard in one spot. This can create flat spots or divots on the round surface.
For intricate details or carved areas, use smaller pieces of sandpaper. You can fold them or wrap them around a dowel rod. Even your fingers can serve as a sanding block in tight spaces. Discover how to sand grooves in furniture for challenging contours. Pay close attention to these areas. They often collect old finish or dirt.
Work systematically around the leg. Complete one section before moving to the next. Feel the surface often with your hand. Your fingers can detect imperfections the eye might miss. This tactile feedback guides your sanding. Once the leg feels smooth, you are ready for the next grit.
Mastering Power Sanders on Curves and Contours
Using power sanders on round table legs requires care. While hand sanding is critical, power tools speed up the process. They remove material quickly. You must adapt your technique to the curves.
An orbital sander can work on gentler curves. Use a soft interface pad between the sander and the sandpaper. This pad adds flexibility. It helps the sandpaper conform to the slight roundness. Move the sander constantly. Keep it in motion across the surface. Do not let it sit in one spot. This prevents creating flat areas.
For tighter curves or spindle-style legs, consider a detail sander with a finger attachment. Some oscillating tools also have sanding attachments. These tools reach smaller, more complex areas. They are useful for shaping. However, they can also remove too much material if not handled correctly. Use light pressure. Let the tool’s speed do the work.
A dedicated spindle sander is excellent for cylindrical or tapered legs. It uses a rotating drum. The drums come in different diameters. Match the drum size to the leg’s curve. This tool makes sanding consistent curves much easier. It reduces the risk of uneven spots.
Always practice on scrap wood first. This helps you get a feel for the tool. Power sanders generate a lot of dust. Attach a shop vacuum to your sander if possible. This keeps your workspace cleaner. It also improves visibility. Combine power sanding with hand sanding. Power tools remove the bulk of the old finish. Hand sanding refines the curves.
Achieving a Flawless Finish: The Final Sanding Stages
The final sanding stages are crucial for a truly flawless finish. After working through the coarser grits, you need to refine the surface. This prepares the wood for stain, paint, or clear coat. Skipping these steps results in an uneven or dull appearance.
First, thoroughly clean all dust from the table legs. Use a shop vacuum with a brush attachment. Then, wipe the legs with a tack cloth or a microfiber cloth dampened with mineral spirits. This removes any remaining fine dust. Dust left on the surface can embed in the finish.
Next, lightly dampen the wood surface with a clean, wet cloth. This step is called “raising the grain.” Water causes the wood fibers to swell and stand up. Let the wood dry completely. Once dry, you will feel tiny, raised fibers. These are the ones that would feel rough under your final finish.
Use your finest grit sandpaper, like 320 or 400-grit, to lightly sand these raised fibers. Do not apply much pressure. You are just knocking down the standing grain. This final pass ensures the surface stays smooth after the finish is applied. Repeat the dampening and light sanding if necessary. The goal is a perfectly smooth surface that feels like glass.
After the final fine sanding, clean the legs one last time. Use a tack cloth to pick up all dust particles. Inspect the legs from all angles. Run your hand over every part. Look for any remaining imperfections or rough spots. Now your round table legs are ready for their protective coat. Learn how to protect your wood table top for long-lasting beauty.
Safety First: Protecting Yourself While Sanding
Sanding generates dust and noise. It also involves power tools. Prioritizing safety protects your health. Always take precautions when sanding round table legs. Safety is not an option; it is a necessity.
Wear appropriate personal protective equipment (PPE). Safety glasses protect your eyes from flying debris. Wood particles can cause serious eye injuries. A dust mask or respirator is also critical. Fine wood dust can enter your lungs. Prolonged exposure can lead to respiratory problems. Choose a mask rated for fine dust particles.
Protect your hearing when using power sanders. Orbital sanders and detail sanders can be noisy. Earplugs or earmuffs reduce noise exposure. This prevents hearing damage over time. Always read the safety instructions for your specific tools. Understand how to operate them correctly.
Work in a well-ventilated area. Open windows and doors. Use fans to direct dust away from your face. Better yet, work outdoors if possible. Good ventilation dissipates airborne dust. If using a shop vacuum with your sander, ensure its filter is clean. This improves dust collection.
Keep your workspace tidy. Remove tripping hazards. Ensure power cords are out of the way. Unplug power tools before changing sandpaper or making adjustments. Never wear loose clothing or jewelry. These items can get caught in moving parts. Following these safety tips makes your sanding project safer. It ensures you complete the task without incident.
Frequently Asked Questions About Sanding Round Table Legs
Can I use a regular orbital sander on round table legs?
You can use an orbital sander on round table legs for larger, gentler curves. Add a soft interface pad between the sander and the sandpaper. This pad helps the sandpaper conform better to the curve. For tighter or more intricate curves, you will need to switch to hand sanding or a detail sander.
What grit sandpaper should I start with for table legs?
Start with a coarse grit sandpaper, typically 60 or 80-grit. This is if the table legs have an old finish, deep scratches, or significant imperfections. If the legs are bare wood and mostly smooth, you can begin with 100 or 120-grit sandpaper to refine the surface.
How do I avoid flat spots when sanding round legs?
To avoid flat spots, apply consistent, light pressure. Keep your sanding tool or hand moving constantly across the curve. For hand sanding, wrap sandpaper around a flexible sanding sponge that matches the leg’s contour. With power tools, use a soft interface pad and do not linger in one area.
Do I need to remove the old finish before sanding?
You generally need to remove the old finish before sanding. Coarse sandpaper can strip away paint or varnish. For thick layers, a chemical stripper or heat gun might be faster. Removing the old finish allows the new finish to bond directly with the wood. It also ensures an even appearance.
How long does it take to sand table legs?
The time it takes to sand table legs varies. It depends on the leg’s size, condition, and the tools you use. Hand sanding takes longer than power sanding. For a set of four average-sized legs, expect to spend several hours. This includes all grit stages and proper cleaning.
What is the best way to clean dust after sanding?
The best way to clean dust after sanding is by using a shop vacuum. Use a brush attachment to remove loose particles. Then, wipe the surface with a tack cloth. A tack cloth picks up fine dust that vacuums might miss. For deep cleaning, wipe with a cloth dampened with mineral spirits.
Concluding Your Sanding Project: A Smooth Path Forward
Sanding round table legs may seem challenging. However, with the right approach, it becomes a rewarding project. You have learned about preparation, tool selection, and proper sanding techniques. You also know how to achieve a flawless finish. Your table legs are now ready for a new look.
Patience is key during this process. Do not rush through the grits. Every step contributes to the final smooth surface. By following these guidelines, you transform your furniture. You give your table a fresh, inviting appearance. Remember to prioritize safety throughout your work.
Your dedication to sanding round table legs will pay off. The smooth wood surface is now a blank canvas. It is ready for your chosen stain, paint, or clear coat. Enjoy the renewed beauty of your furniture. Are you ready to see your table shine? Start sanding today!
- wood sanding
- DIY furniture
- table refinishing

Todd Martin
Senior Writer
With over 15 years of experience in home renovation and design, I started HEG to share what I’ve learned with homeowners who want to create spaces that are both beautiful and functional. I’ve always believed in a hands-on approach, and over the years, I’ve picked up practical solutions that actually work. Through HEG, I aim to make home improvement more approachable, sharing real tips that help you create a home you truly love.