· Todd Martin · Baking Tips · 20 min read
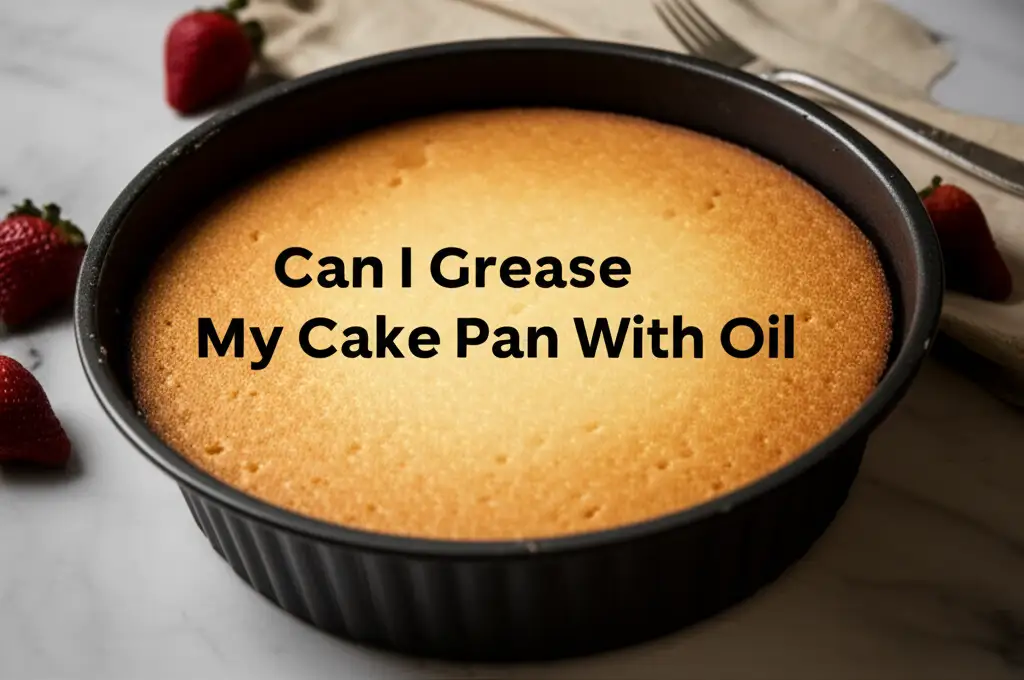
Can I Grease My Cake Pan With Oil
Grease Your Cake Pan with Oil for Perfect Bakes
There is nothing worse than a beautiful cake ruined by sticking to the pan. You spend time mixing ingredients, waiting for the bake, and then facing disappointment. A key step in achieving baking success is proper pan preparation. Many home bakers wonder: “Can I grease my cake pan with oil?” This simple question holds the key to countless perfect cakes.
Proper greasing ensures your cake slides out cleanly every time. It prevents frustrating tears and crumbles. This guide explains how to effectively use oil for cake pan preparation. We will discuss the best types of oil, step-by-step application, and common pitfalls. You will learn to prepare your pan like a professional. Get ready for stress-free cake removal and impressive results.
Takeaway
- Yes, you can grease your cake pan with oil. Vegetable oil, canola oil, and melted coconut oil are excellent choices.
- Apply a thin, even layer of oil. Use a paper towel or pastry brush for full coverage.
- Combine oil with flour or cocoa powder for extra non-stick power. This is especially helpful for intricate pans or delicate cakes.
- Avoid using too much oil. Excess oil can lead to a greasy crust or a fried texture.
- Always ensure your pan is clean and dry before greasing. This helps the oil adhere properly.
Can I grease my cake pan with oil? Yes, you can effectively grease your cake pan with oil to prevent sticking. Using a neutral-flavored oil like vegetable or canola oil creates a slippery barrier. This barrier helps your baked goods release cleanly. It ensures a smooth and intact cake surface after baking.
The Science Behind Greasing: Why Cake Pans Need Oil
Greasing a cake pan is not just a suggestion; it is a critical step in baking. When you pour batter into a pan, the cake mixture touches the metal surface. As the cake bakes, its proteins cook and firm up. Without a barrier, these proteins can bond with the metal. This bonding causes the cake to stick. Imagine trying to peel glue off a surface without protection. That is what happens with a sticky cake.
Oil acts as a lubricant. It creates a non-stick layer between the cake and the pan. This layer prevents the cake from adhering to the pan. When the cake finishes baking, it cools and slightly contracts. This contraction, combined with the oil layer, allows the cake to release easily. The goal is to achieve a clean separation. This method leaves your cake intact and ready for decoration.
Understanding this process helps you appreciate the importance of greasing. It is more than just slathering on some oil. It is about creating an effective release mechanism. This mechanism ensures your baking efforts end in success, not frustration. Different oils offer varying properties, affecting how well they perform this task. Choosing the right oil makes a real difference in the outcome.
Choosing the Best Oil for Greasing Your Cake Pan
Selecting the correct oil is important for successful cake release. Not all oils are equal when it comes to greasing a cake pan. The ideal oil should have a neutral flavor. This prevents it from altering the taste of your cake. It should also have a relatively high smoke point. A high smoke point means the oil can withstand baking temperatures without burning. Burning oil can leave an unpleasant taste and residue.
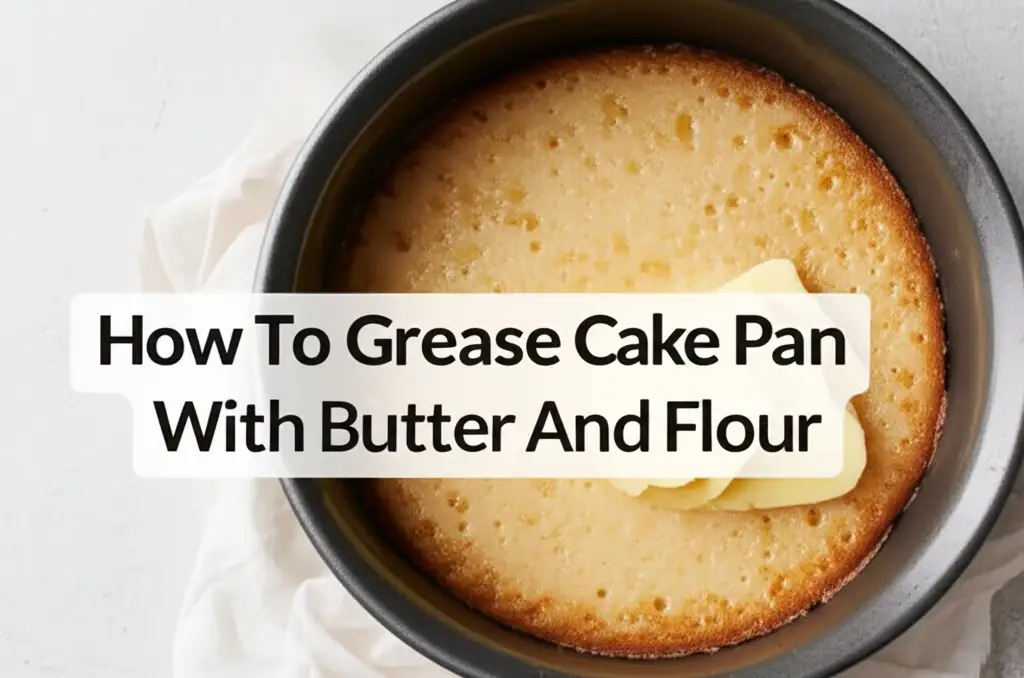
Commonly used oils for greasing include vegetable oil, canola oil, and refined coconut oil. Vegetable oil is a blend of plant oils. It has a neutral taste and a good smoke point. Canola oil is also very mild in flavor. It works well for most baking recipes. Refined coconut oil is solid at room temperature. However, it melts easily when warmed. It has a neutral flavor and performs well. Avoid extra virgin olive oil for greasing cakes. Its strong flavor can transfer to the cake. Butter is also an option, but it requires different handling for optimal results, often combined with flour, as discussed in how to grease a cake pan with butter and flour.
I always recommend keeping a bottle of neutral oil specifically for baking. This ensures you have the right tool ready when you need it. A good choice ensures your cake releases cleanly. It also protects the delicate flavor of your baked goods. The right oil makes your baking experience easier and more rewarding.
Types of Oil to Consider:
- Vegetable Oil: A popular choice for its neutral flavor and good smoke point. It is widely available and affordable.
- Canola Oil: Similar to vegetable oil, it is light and tasteless. It works well for all types of cakes.
- Refined Coconut Oil: This oil has no coconut flavor. It is solid at room temperature but melts when applied. It provides an excellent non-stick surface.
- Sunflower Oil: Another neutral option, often used in baking.
- Grapeseed Oil: Light, neutral, and has a high smoke point. It is a good premium option.
Oils to Avoid or Use with Caution:
- Extra Virgin Olive Oil: Has a distinct flavor that can transfer to your cake. Its lower smoke point also makes it less suitable for high-temperature baking.
- Unrefined Coconut Oil: While delicious in some contexts, its strong coconut flavor can alter your cake’s taste.
- Nut Oils (e.g., Walnut, Almond): Can impart strong flavors. Only use if the flavor complements your cake. These also have lower smoke points.
Step-by-Step Guide: How to Grease a Cake Pan with Oil
Properly greasing your cake pan with oil is a simple process. However, it requires attention to detail for the best results. A thin, even layer is the goal. Too much oil can lead to a greasy crust. Too little oil means the cake will still stick. Follow these steps to ensure your cake slides out perfectly every time. This method also helps to make your cake not stick to an aluminum pan.
First, ensure your cake pan is completely clean and dry. Any lingering food particles or moisture can prevent the oil from adhering properly. Use warm, soapy water to clean it. Then, dry it thoroughly with a paper towel or let it air dry. I usually grab a fresh paper towel to ensure no lint remains.
Next, pour a small amount of your chosen oil into the pan. Start with about a teaspoon for an 8-inch round pan. You can always add more if needed. Use a clean paper towel, a silicone pastry brush, or your clean fingers to spread the oil. Make sure to cover every internal surface of the pan. This includes the bottom, sides, and corners. Pay special attention to any intricate designs if using a Bundt pan. Ensure the oil layer is uniform. There should be no visible puddles of oil.
Once the pan is thoroughly oiled, you can add a dusting of flour or cocoa powder. This extra step provides an additional non-stick barrier. It is particularly helpful for delicate cakes or pans with complex shapes. For a standard cake, a light dusting is enough. For chocolate cakes, use cocoa powder to avoid white flour residue on the cake’s dark surface. Tap the pan gently to distribute the flour. Then, invert the pan and tap out any excess. This leaves a thin, even coating. Now your pan is ready for the cake batter.
Detailed Application Steps:
- Clean and Dry: Ensure your cake pan is perfectly clean and dry. Water or food residue will prevent the oil from sticking properly.
- Apply Oil: Pour a small amount of neutral oil (e.g., vegetable, canola) into the pan.
- Spread Evenly: Use a paper towel, pastry brush, or your fingers to spread the oil. Cover the entire inside surface: bottom, sides, and into any corners or crevices. The layer should be thin and consistent.
- Dust with Flour (Optional but Recommended):
- For light-colored cakes: Add a tablespoon of all-purpose flour to the oiled pan.
- For chocolate cakes: Use cocoa powder instead of flour to avoid white residue.
- Rotate the pan and tap it gently to coat all oiled surfaces with flour/cocoa.
- Invert the pan and tap out any excess flour. This prevents a gummy layer on your cake.
- Add Batter: Your pan is now perfectly prepared for the cake batter.
Beyond Oil: Combining Methods for Superior Non-Stick Results
While oil alone is effective, combining it with other methods creates an even more reliable non-stick surface. This is especially true for cakes that are prone to sticking. It is also beneficial for pans with intricate designs or for delicate cakes. Adding a dry coating like flour or cocoa powder after oiling is a time-tested technique. This combination forms a robust barrier against sticking. My personal experience confirms this method provides consistent, clean cake releases.
When you dust a pan with flour after oiling, the flour particles adhere to the oil. This creates a slightly rougher surface than just oil. This texture gives the cake something to grip onto slightly as it bakes. Yet, it still allows for easy release. The flour absorbs any minimal excess oil, preventing a greasy crust. For chocolate cakes, using cocoa powder instead of flour maintains the cake’s dark color. It also adds a subtle chocolate flavor to the crust. This avoids the unsightly white dusting often left by flour on a dark cake. For an alternative non-stick approach, consider how to grease a cake pan with butter and flour, which uses a solid fat as the base.
Another excellent combination is oil and parchment paper. Parchment paper creates a complete non-stick barrier on the bottom of the pan. To use this method, first grease the bottom of your pan lightly with oil. Then, place a cut-out circle of parchment paper directly onto the oiled bottom. The oil helps the parchment paper stick in place. You can then grease the sides of the pan with oil or butter and flour. This method guarantees the cake’s bottom will not stick. This technique is particularly useful for delicate sponges or tiered cakes where a perfect bottom is essential. This combination is a fantastic way to prevent your cake from sticking, especially for more complex recipes or valuable cakes.
Enhanced Non-Stick Techniques:
- Oil and Flour/Cocoa Powder:
- After lightly oiling the pan, add a tablespoon of flour (for light cakes) or cocoa powder (for chocolate cakes).
- Tilt and rotate the pan to coat all oiled surfaces.
- Invert the pan and tap out any loose excess. This dual layer offers excellent release.
- Oil and Parchment Paper:
- Lightly oil the bottom of the cake pan.
- Cut a circle of parchment paper to fit the pan’s bottom. Press it onto the oiled surface. The oil helps the paper adhere.
- Grease the sides of the pan with oil, or oil and flour. This guarantees a non-stick bottom, perfect for delicate cakes. This is also a good strategy for how to keep cake from sticking to an aluminum pan.
- Homemade Cake Release (Baker’s Goop):
- This is a mixture of equal parts flour, vegetable shortening, and vegetable oil.
- Whisk until smooth. Store in an airtight container at room temperature.
- Brush a thin layer onto the pan with a pastry brush. This all-in-one solution works wonders, especially for Bundt pans.
Common Mistakes to Avoid When Greasing with Oil
Even with the right oil, improper technique can lead to a sticky cake. Avoiding common mistakes ensures your greasing efforts are effective. I have learned these lessons over many years of baking. Over-oiling is a frequent error. Too much oil creates a thick, greasy layer. This layer can seep into the cake’s crust during baking. It results in an unpleasantly oily or even fried texture on the outside. The goal is a thin, even film.
Another mistake is neglecting to cover all surfaces. Many bakers focus only on the bottom of the pan. However, the sides are just as important. If the sides are not fully coated, the cake can stick there. This causes tearing when you try to remove it. Use a paper towel or brush to reach every corner and crevice. For pans with intricate designs, such as Bundt pans, extra care is needed. Every curve and detail must be oiled thoroughly.
Using the wrong type of oil is also a common error. As discussed, certain oils can impart unwanted flavors or burn at baking temperatures. Stick to neutral, high smoke point oils. Finally, not preparing the pan just before adding the batter can cause issues. If you oil the pan too far in advance, the oil might pool. Or, dust particles can settle on the surface. Prepare your pan right before you pour in the batter. This ensures the freshest, most effective non-stick layer. Following these tips helps you achieve perfect cake releases every time.
Mistakes to Avoid:
- Using Too Much Oil: A common error. Excess oil can cause the cake to have a greasy crust or even “fry” the edges. It can also pool in the bottom, making that part of the cake soggy. Use a light hand.
- Incomplete Coverage: Forgetting to oil the sides, corners, or intricate designs of the pan. The cake will stick where there is no oil. Ensure every part of the pan that will touch batter is coated.
- Using Flavored Oils: Oils like extra virgin olive oil or unrefined coconut oil can impart their strong flavors to your delicate cake. Stick to neutral-flavored oils.
- Not Dusting Properly (if using flour/cocoa): If you combine oil with flour or cocoa, not tapping out the excess can leave a thick, gummy layer on your cake’s surface. A thin, even dusting is key.
- Oiling Too Far in Advance: While not a critical error, oiling a pan too long before use can lead to dust or debris settling on the surface. It is best to prepare the pan just before adding the batter.
- Using a Wet Pan: Any moisture in the pan will prevent the oil from adhering properly. Always ensure the pan is completely dry before beginning the greasing process.
When Not to Use Oil: Alternative Greasing Methods
While oil is a versatile tool for greasing, it is not always the only or best option. There are situations and recipes where alternative methods might be more suitable. Understanding these alternatives broadens your baking skills. It also helps you achieve optimal results for various types of cakes and pans. Sometimes, a different approach is simply better.
One common alternative is baking spray, often labeled “non-stick cooking spray” or “baking spray with flour.” These sprays offer convenience. They deliver a fine, even mist of oil. Many baking sprays also contain flour. This combines the oil and flour method in one quick step. They are very easy to use for quick pan preparation. However, some bakers report that over time, these sprays can leave a sticky residue on pans. This residue can be difficult to remove. This residue builds up, and it can reduce the non-stick effectiveness.
Another popular method is butter and flour. This classic technique is excellent for many cakes. You start by coating the pan with softened butter, then dust it with flour. The butter provides a rich fat layer. The flour adheres to the butter. This creates a strong non-stick barrier. This method is particularly effective for cakes that require a crisp, golden crust. It also adds a subtle buttery flavor. However, it can be more time-consuming than oiling. Also, if the butter is too soft or too hard, it can be difficult to spread evenly. This can impact the non-stick effect. Learning how to grease a cake pan with butter and flour is a valuable skill.
For some recipes, especially those with high fat content like cheesecakes, parchment paper alone might be sufficient for the bottom of the pan. You cut a circle of parchment paper to fit the bottom. The cake’s weight and fat content prevent sticking. However, the sides usually still need greasing. Silicone pans often require no greasing at all. Their natural non-stick properties prevent adhesion. Always check the manufacturer’s instructions for silicone bakeware. Each method has its pros and cons. Choosing the right one depends on your recipe, pan type, and personal preference.
Other Effective Greasing Techniques:
- Baking Spray (with or without flour):
- Pros: Quick, convenient, and provides an even coating. Many sprays include flour for added non-stick power.
- Cons: Can leave a sticky residue over time, which may require extra cleaning. May not cover intricate pan designs as thoroughly as manual application.
- Butter and Flour/Cocoa Powder:
- Pros: A traditional and highly effective method. Provides a slight buttery flavor to the crust. Excellent for achieving a crisp, golden exterior.
- Cons: Can be more time-consuming than oil. Requires softened butter for even spreading.
- Shortening and Flour/Cocoa Powder:
- Pros: Vegetable shortening has a high melting point and creates a very robust non-stick layer. It is flavorless, making it ideal for delicate cakes.
- Cons: Like butter, it requires manual application and dusting.
- Parchment Paper Only:
- Pros: Guarantees a perfectly non-stick bottom for cakes. Useful for delicate layers or specific cake types (e.g., cheesecakes, high-fat cakes).
- Cons: Only covers the bottom; sides still need greasing. Not suitable for all pan shapes.
- Silicone Pans:
- Pros: Naturally non-stick. Often requires no greasing at all, making cleanup simple.
- Cons: Can be floppy and require support on a baking sheet. Different heat distribution than metal pans.
Troubleshooting: What to Do If Your Cake Still Sticks
Even with the best intentions and methods, sometimes a cake still sticks. This can be incredibly frustrating. It often means a beautiful cake is now damaged. But don’t despair! There are reasons why your cake might stick. There are also solutions to help release it or prevent future issues. Understanding these can save your next bake. One common issue is not letting the cake cool properly.
A primary reason for sticking is attempting to remove the cake too soon. Cakes are very fragile when hot. As they cool, they firm up and shrink slightly. This natural contraction helps them pull away from the pan sides. Trying to invert a hot cake often results in it breaking apart. Allow your cake to cool in the pan on a wire rack for 10-20 minutes. This period is crucial. Then, invert it onto the rack to cool completely. If it is still stuck, gently run a thin knife or offset spatula around the edges of the cake. This helps loosen any stubbornly adhered spots. Be gentle to avoid damaging the cake or the pan.
If your cake consistently sticks despite proper greasing, review your pan preparation. Did you miss any spots? Was the oil layer too thin or uneven? Is your pan old or damaged? Scratched non-stick pans lose their effectiveness over time. Consider replacing well-used pans. For general tips on how to get cake out of cake pan without breaking, ensure you’re using the right tools and techniques. For cakes that are still stuck, sometimes a short trip to the freezer can help. The cake firms up and the fat hardens, making release easier. Always ensure thorough greasing, especially for how to make cake not stick to an aluminum pan, as these pans can be prone to sticking if not prepped well.
Solutions for a Stuck Cake:
- Allow Proper Cooling: This is the most common reason for sticking. Let the cake cool in the pan on a wire rack for 10-20 minutes after baking. The cake will firm up and naturally pull away from the sides.
- Loosen Edges Gently: If the cake still seems stuck, run a thin, flexible knife or an offset spatula carefully around the perimeter of the cake. Keep the knife as close to the pan edge as possible.
- Warm Compress (for stubborn cases): For extremely stuck cakes, wrap the bottom and sides of the pan with a warm, damp towel for 5-10 minutes. The gentle heat can help loosen the cake.
- Quick Freeze (for very sticky cakes): Place the pan in the freezer for 15-30 minutes. This can sometimes make the cake contract further and firm up, aiding release.
- Parchment Paper: For future bakes, always use parchment paper on the bottom of the pan, in addition to greasing the sides. This virtually guarantees a non-stick bottom. For more strategies on how to get cake out of cake pan, explore different pan release techniques.
Preventing Future Sticking:
- Ensure Full Coverage: Always double-check that every part of the pan that touches batter is coated with oil (or your chosen fat).
- Use the Right Amount: A thin, even layer is key. Too much oil can pool; too little leaves gaps.
- Combine Methods: Use the oil and flour/cocoa method, or oil and parchment paper, for extra security.
- Pan Condition: Old, scratched, or heavily used non-stick pans lose their effectiveness. Consider replacing them if sticking becomes a persistent issue.
- Cleanliness: Always start with a perfectly clean and dry pan. Residue from previous bakes can make new cakes stick.
Frequently Asked Questions (FAQ)
Q1: Is it better to grease with oil or butter?
Both oil and butter are good for greasing cake pans. Oil is often simpler for a thin, even coat. It is flavorless, so it will not change your cake’s taste. Butter adds a slight richness and can create a crispier crust. For light-colored cakes, butter combined with flour can leave white residue if not done well. My choice often depends on the cake recipe and desired finish.
Q2: What kind of oil do you use to grease a cake pan?
I recommend using neutral-flavored oils with a high smoke point. Good choices include vegetable oil, canola oil, or refined coconut oil. These oils will not impart any unwanted taste to your cake. They can also withstand baking temperatures without burning. Avoid strong-flavored oils like extra virgin olive oil.
Q3: How do you grease a non-stick cake pan?
Even non-stick cake pans benefit from a light greasing. While they reduce sticking, a thin layer of oil or baking spray provides extra insurance. It helps ensure your cake releases perfectly every time. This is especially true for intricate pans or delicate cakes. It also extends the life of your non-stick coating.
Q4: Can I use cooking spray instead of oil?
Yes, you can use cooking spray instead of liquid oil. Many cooking sprays are oil-based and designed for non-stick purposes. Some even contain flour. They offer convenience and even coverage. However, cooking sprays can leave a sticky residue on pans over time. This residue can build up and become difficult to clean.
Q5: Do I need to flour the pan after oiling?
Flouring the pan after oiling is an optional but highly recommended step. The flour creates an additional barrier. This barrier helps the cake release more easily, especially from pans with intricate designs. For chocolate cakes, use cocoa powder instead of flour to avoid white residue on the finished cake.
Q6: How do I know if my cake pan is properly greased?
A properly greased cake pan will have a thin, even layer of oil covering all internal surfaces. There should be no dry spots or visible puddles of oil. If you are also flouring, the flour should coat the oiled surface uniformly. You should not see thick clumps of flour. The pan should look lightly frosted.
Conclusion
Successfully baking a cake often hinges on one simple yet critical step: properly greasing the pan. You now know the answer to “Can I grease my cake pan with oil?” is a resounding yes. Using neutral-flavored oils like vegetable or canola oil is an effective way to prevent your delicious creations from sticking. This ensures they slide out perfectly intact. We discussed the science behind why greasing is essential, explored the best types of oil to use, and walked through a detailed, step-by-step application process.
Remember to aim for a thin, even layer of oil, covering every part of the pan. Combining oil with a dusting of flour or cocoa powder provides an extra layer of non-stick protection, especially beneficial for delicate cakes or intricate designs. By avoiding common mistakes like over-oiling or incomplete coverage, you set yourself up for baking success. While oil is a powerful tool, understanding alternative methods like butter and flour or baking spray broadens your versatility in the kitchen. With these techniques, you will confidently release every cake from its pan.
Now that you have mastered the art of greasing with oil, you are ready to tackle any cake recipe with confidence. Go ahead, bake that dream cake, knowing it will come out of the pan beautifully. Happy baking!
- cake pan
- greasing cake pan
- baking oil
- non-stick baking
- cake release

Todd Martin
Senior Writer
With over 15 years of experience in home renovation and design, I started HEG to share what I’ve learned with homeowners who want to create spaces that are both beautiful and functional. I’ve always believed in a hands-on approach, and over the years, I’ve picked up practical solutions that actually work. Through HEG, I aim to make home improvement more approachable, sharing real tips that help you create a home you truly love.