· Todd Martin · DIY · 15 min read
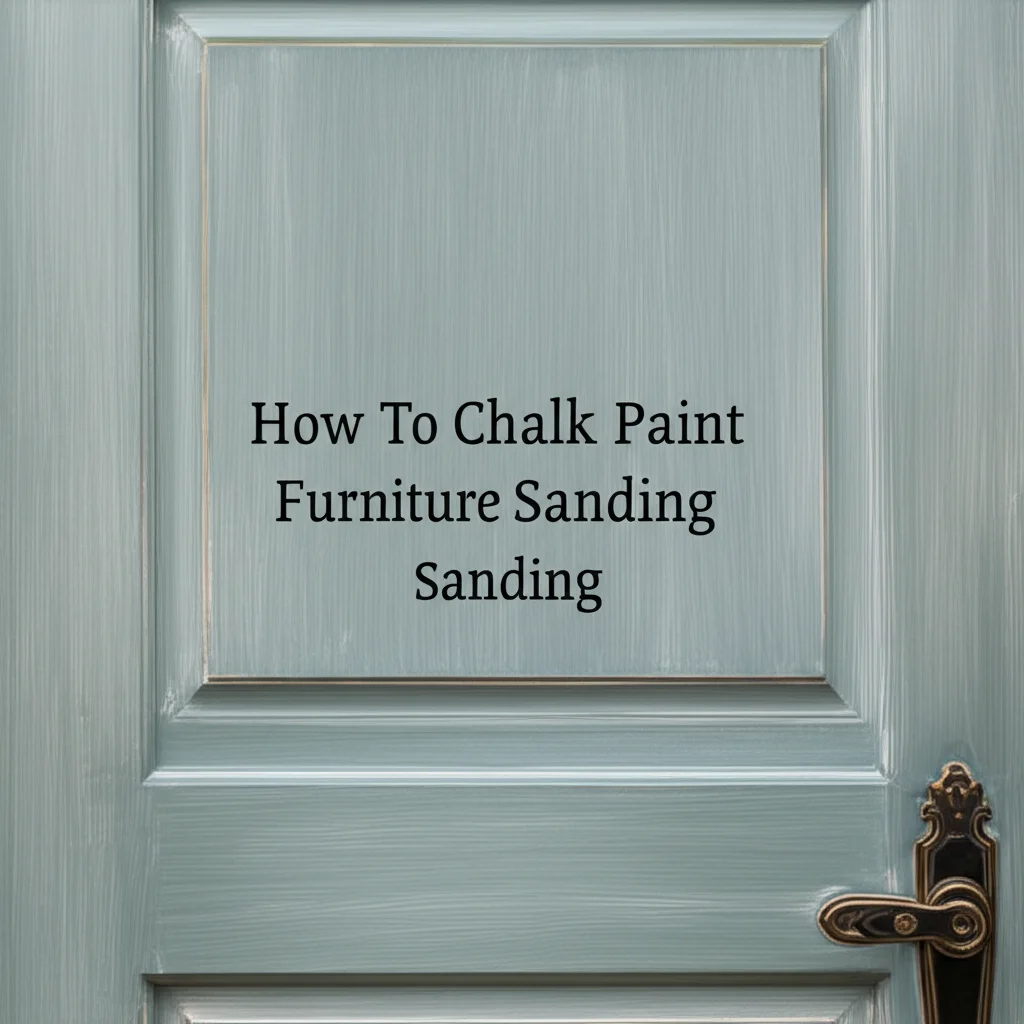
How To Chalk Paint Furniture Without Sanding

Unlock the Magic: How To Chalk Paint Furniture Without Sanding
Have you ever looked at a piece of old furniture and dreamed of giving it a fresh look? Traditional furniture painting often involves a messy and time-consuming step: sanding. I know many people dread this part. It creates dust and requires a lot of effort. This often stops people from starting their DIY projects.
Thankfully, there is a better way. You can chalk paint furniture without sanding. Chalk paint is special because it sticks to almost any surface. This means you can skip the dust and the hard work of sanding. This guide will show you how to transform your furniture easily. I will walk you through preparation, painting, and sealing steps. Get ready to give your furniture a new life with less hassle.
Takeaway:
- Chalk paint lets you skip sanding.
- Proper cleaning and prep are crucial for good adhesion.
- Apply thin, even coats for best results.
- Always seal chalk paint for durability.
- Transforming furniture is easier than you think.
You can chalk paint furniture without sanding by first thoroughly cleaning the piece, allowing it to dry completely, and then applying thin, even coats of chalk paint. Finish by sealing the painted surface with wax or a topcoat to ensure durability and protection.
Why Choose Chalk Paint for a No-Sanding Approach?
Chalk paint has become a favorite for furniture makeovers. Its unique properties make it ideal for painting furniture without sanding. This saves you a lot of time and effort. It also means less mess in your home. I find this especially helpful when working indoors.
The primary reason chalk paint works so well is its excellent adhesion. It sticks to many surfaces, including wood, laminate, metal, and even fabric. You do not need to strip or prime most pieces. This property makes chalk paint a true game-changer for DIY enthusiasts. I love how it simplifies the entire process.
Another benefit is its quick drying time. Chalk paint dries much faster than traditional paints. You can often apply a second coat within an hour. This speeds up your project significantly. It helps you complete your furniture transformation in a single day.
Chalk paint also offers a beautiful matte finish. This finish is perfect for creating distressed or vintage looks. However, it also works well for a smooth, modern style. The paint is thick, which helps cover imperfections on the furniture. This forgiving nature makes it great for beginners. I have seen many people achieve professional-looking results on their first try.
Essential Preparation Steps for Sanding-Free Chalk Painting
Even without sanding, proper preparation remains vital. A clean surface helps the chalk paint stick better. This ensures your project lasts longer. Skipping this step can lead to paint peeling or chipping later on. I always tell people that good prep makes a good paint job.
First, remove all hardware from your furniture. This includes knobs, pulls, and hinges. Place them in a bag so you do not lose them. This makes painting much easier and gives a cleaner finish. I sometimes label the bags if I have multiple pieces.
Next, clean the entire surface of the furniture thoroughly. Use a degreaser or a mild soap solution. I prefer using a mixture of warm water and dish soap. Wipe down the piece to remove all dirt, grease, grime, and dust. Pay close attention to areas that get a lot of handling. For tough grime or greasy spots, consider using a specialized cleaner to ensure the surface is perfectly clean. You can learn more about how to clean furniture before painting for detailed advice.
After cleaning, rinse the furniture with clean water. Use a damp cloth to remove any soap residue. Then, let the furniture dry completely. This step is crucial. Any moisture left on the surface can affect paint adhesion. I often let my pieces dry overnight to be sure. You can find more comprehensive guidance on how to prep furniture for chalk paint to ensure every base is covered before painting begins.
If your furniture has a very shiny finish, you might consider using a liquid deglosser. This product helps to dull the surface slightly. It creates a better grip for the paint. It is not sanding, but it helps with adhesion on slick surfaces. Always follow the product instructions carefully.
Gathering Your Toolkit: Supplies for a Smooth Chalk Paint Project
Having the right tools makes any painting project simpler and more enjoyable. For chalk painting without sanding, you do not need many specialized items. Most of these supplies are easy to find. I gather everything before I start painting. This saves time and frustration.
Here is a list of essential items you will need:
- Chalk Paint: Choose a good quality chalk paint brand. Many brands offer a wide range of colors. I usually pick a color that complements my existing decor.
- Paint Brushes: Good quality brushes make a difference. I recommend a synthetic brush for a smoother finish. A natural bristle brush works well for a more textured or distressed look. You might want different sizes for details and larger areas.
- Rollers (Optional): For very large, flat surfaces, a small foam roller can provide a very smooth finish. I use them on tabletops.
- Clean Rags or Microfiber Cloths: These are for cleaning, wiping, and applying wax. Have several on hand.
- Painter’s Tape: Use this to protect areas you do not want to paint. This includes hardware, glass, or edges.
- Drop Cloths or Plastic Sheeting: Protect your floors and surrounding areas from paint spills. I always lay these down.
- Water: For thinning paint if needed and for cleaning brushes.
- Sealing Product: This is essential for protecting your chalk paint. Options include clear wax or a water-based polycrylic topcoat. I discuss these more in the sealing section.
- Screwdriver: For removing hardware before painting.
- Light Sandpaper (Optional, fine grit): Only if you plan to distress or smooth out specific areas. This is not for overall sanding.
Having all your supplies ready ensures a seamless painting process. You will not have to stop halfway to look for something. This makes the project more enjoyable. My personal preference is to invest in good brushes; they last longer and provide better results.
The Art of Application: Painting Techniques for Chalk Paint
Applying chalk paint is different from applying regular latex paint. Chalk paint is thicker and dries quickly. Understanding how to apply it ensures a smooth and beautiful finish. I have learned a few tricks over the years that I want to share with you.
Start by stirring your chalk paint well. Chalk paint can settle, so mix it thoroughly. If the paint feels too thick, you can add a tiny bit of water. Mix just a tablespoon at a time until it reaches a consistency you like. I prefer it slightly thinner for a smoother application.
Apply your first coat of paint. Use long, even strokes. Do not overload your brush. Thin coats are always better than thick ones. Thick coats can lead to drips or an uneven finish. Chalk paint is very forgiving. If you see brush marks, do not worry too much on the first coat. We will address that later. If you want to achieve a super smooth finish without visible brush marks, practice your technique. You can find useful tips on how to paint furniture without brush marks.
Allow the first coat to dry completely. This usually takes about 30 minutes to an hour. Drying times can vary depending on humidity and paint thickness. Once dry, assess if a second coat is needed. Most furniture pieces benefit from two coats. Sometimes, three coats are necessary for full coverage, especially with lighter colors over dark wood.
When applying the second coat, use the same technique. Pay attention to even coverage. If you plan to distress your furniture, apply paint sparingly in areas where you want the original finish to show through. For a smooth finish, focus on making your strokes consistent. Between coats, I often lightly sand with a very fine-grit sanding sponge if I want a super smooth, modern look. This is minimal sanding and only to smooth the paint itself.
Sealing the Deal: Protecting Your Chalk Painted Masterpiece
After your chalk paint is dry, the next critical step is sealing it. Chalk paint is porous. It needs protection from everyday wear and tear. Sealing helps your beautiful new finish last for years. This step makes your furniture durable. I never skip sealing my chalk-painted pieces.
There are two main types of sealants for chalk paint: wax and a topcoat (like polycrylic). Each offers different benefits.
Wax Finish
Clear wax is a traditional choice for chalk paint. It gives a soft, buttery feel and a subtle sheen. It also deepens the color of the paint. To apply wax, use a wax brush or a lint-free cloth. Apply a thin, even layer. Work in small sections. Wipe off any excess wax immediately with a clean cloth. You do not want thick, gummy spots. I apply wax in circular motions, then wipe in straight lines.
Let the wax cure for at least 24 hours. For best durability, multiple thin coats of wax are often recommended. Each coat should cure before applying the next. Wax provides good protection for light to medium-use furniture. It may require reapplication every few years depending on use. For maintenance, you can learn how to clean chalk paint furniture. If you ever need to change your finish, knowing how to remove wax from chalk painted furniture is also helpful.
Polycrylic Topcoat
A water-based polycrylic topcoat offers a more durable finish. It is ideal for high-traffic pieces like dining tables or kitchen cabinets. Polycrylic comes in various sheens, from matte to high gloss. It does not alter the paint color as much as wax. Apply polycrylic with a good quality synthetic brush or a foam roller. Apply thin coats. Avoid overworking the product. Bubbles can form if you brush too much.
Allow each coat to dry completely before applying the next. This typically takes 2-4 hours. Lightly sand with a fine-grit sanding sponge (220-grit or higher) between coats for a super smooth finish. Wipe away dust. Apply at least two to three coats for adequate protection. Polycrylic cures fully over several weeks. Handle the piece gently during this time.
Choosing between wax and polycrylic depends on the furniture’s use. For decorative pieces, wax is fine. For practical, daily-use items, I always choose polycrylic for its superior protection.
Troubleshooting Common Chalk Painting Challenges
Even with careful planning, sometimes issues arise during a chalk painting project. Knowing how to fix these common problems saves time and stress. I have encountered these issues myself. Here are some solutions to help you.
Bleed-Through
Bleed-through happens when tannins or stains from the original wood seep through the chalk paint. This creates yellow or reddish spots. It is more common on older, darker wood or wood with water damage. To fix this, apply a shellac-based primer or a stain-blocking primer over the affected areas. Let it dry completely. Then, repaint those spots with chalk paint. I often apply two coats of primer for stubborn bleed-through.
Brush Marks
Chalk paint can sometimes leave brush marks, especially if it is too thick or you apply too much pressure. To minimize this, thin your paint slightly with water. Use a good quality synthetic brush. Apply light, even coats. If you already have brush marks, wait for the paint to dry. Then, gently sand the area with a very fine-grit sanding sponge (around 220-grit or higher). Wipe off the dust and apply another thin coat of paint. This usually smooths out the surface nicely.
Uneven Finish
An uneven finish can result from inconsistent application or not enough coats. If you see patchy areas, simply apply another thin coat of chalk paint. Make sure your strokes overlap slightly. This ensures full coverage. Sometimes, uneven drying due to humidity can cause this. Try to paint in a climate-controlled environment if possible.
Chipping or Peeling Paint
This usually points back to improper surface preparation. If the furniture was not clean enough, or if there was residue, the paint might not adhere well. To fix this, you need to scrape off the loose paint. Clean the area thoroughly again. Then, apply a spot of primer if needed, and repaint. Ensuring the surface is free of dirt and grease is key for chalk paint adhesion. Remember to properly clean your surfaces. For instance, knowing how to clean wood after sanding before painting or simply how to clean furniture before painting is crucial for a lasting finish.
Patience is your best tool when troubleshooting. Do not rush the drying times. Addressing issues promptly ensures a beautiful, lasting finish.
Creative Finishes and Styling Your Chalk Painted Furniture
Chalk paint is not just for solid color transformations. Its unique properties allow for many creative finishes. You can personalize your furniture to match any style. I love experimenting with different looks. This is where your creativity truly shines.
Distressing for a Vintage Look
Distressing is a popular technique with chalk paint. It creates a worn, aged appearance. After your paint has dried, use a fine-grit sandpaper or a damp cloth. Gently rub the edges, corners, and areas that would naturally show wear. This reveals the original finish or a base coat underneath. I focus on areas that would naturally get bumped or touched over time. Wipe away the dust after distressing. Then, seal your piece.
Layering Colors
You can achieve a multi-dimensional look by layering different chalk paint colors. Apply a base color and let it dry. Then, apply a second color over it. When distressing, the top color will rub away, revealing glimpses of the base color. This adds depth and character. I often use a darker color as the base and a lighter one on top.
Stenciling and Embellishments
Chalk paint works wonderfully with stencils. Choose a stencil pattern that complements your furniture and style. Secure the stencil with painter’s tape. Use a small brush or a foam dabber to apply paint over the stencil. Use minimal paint to prevent bleeding under the stencil. Remove the stencil carefully while the paint is still wet. This can add intricate designs or personalized touches. You can also add decorative hardware. Learning how to clean furniture hardware can help you restore original pieces.
Glazing for Depth
Glazing adds an antique or subtle color wash effect. You can buy pre-made glazes or mix a small amount of acrylic paint with a clear glazing medium. Apply the glaze over your sealed chalk paint. Wipe off the excess until you achieve the desired effect. This technique adds an aged patina.
Modern Finishes
If a distressed or vintage look is not for you, chalk paint can still create a sleek, modern finish. Apply thin, even coats for smooth coverage. Lightly sand between coats with fine-grit sandpaper to eliminate brush marks. Then, use a clear polycrylic topcoat for a durable, contemporary look. This offers a clean, solid color. You can also explore options like how to paint white furniture to look like wood for different aesthetics.
The beauty of chalk paint is its versatility. You can endlessly customize your furniture. Do not be afraid to experiment. Each project is a chance to create something unique.
FAQ Section
Is sanding ever recommended for chalk paint?
While chalk paint typically requires no sanding for adhesion, light sanding may be recommended in specific situations. You might lightly sand between coats of paint to achieve an extra smooth finish. This helps remove any small bumps or brush marks. Also, if you plan to distress your furniture, a fine-grit sandpaper helps remove paint to reveal the layer underneath. This type of sanding is for aesthetic purposes, not for prep.
How long does chalk paint take to dry between coats?
Chalk paint dries very quickly, usually within 20 to 60 minutes between coats. The exact drying time depends on factors like humidity, temperature, and how thickly you applied the paint. Always check the paint can for specific recommendations. It is crucial to allow each coat to dry completely before applying the next one or before sealing the piece.
Can chalk paint be used on any type of furniture?
Chalk paint is known for its excellent adhesion to most surfaces without sanding. This includes wood, laminate, metal, brick, and even fabric. It works well on previously painted or varnished furniture. However, always ensure the surface is clean and free of grease or wax for optimal adhesion. Sometimes, very glossy or slick surfaces may benefit from a liquid deglosser.
Do I have to seal chalk paint?
Yes, sealing chalk paint is essential. Chalk paint is porous and absorbent. Without a sealant, it can easily stain, scratch, or chip. Sealing protects your painted finish from daily wear and tear. You can use clear wax for a soft, matte finish or a water-based polycrylic for a more durable, protective topcoat, especially on high-traffic pieces.
What causes chalk paint to chip or peel?
Chipping or peeling often occurs due to improper surface preparation. If the furniture was not thoroughly cleaned before painting, dirt, grease, or old wax residues can prevent the paint from adhering properly. Applying paint too thickly can also lead to chipping. Always ensure your surface is clean and dry before starting your chalk paint project.
How do I clean chalk-painted furniture after it’s sealed?
Once sealed, cleaning chalk-painted furniture is simple. For wax-sealed pieces, use a damp cloth with mild soap. Avoid harsh cleaners or excessive water. For polycrylic-sealed furniture, you can use a damp cloth with a gentle all-purpose cleaner. Always wipe spills immediately. Regular dusting keeps your furniture looking fresh.
Conclusion
Giving your furniture a new life with chalk paint truly transforms it. The best part is, you can achieve stunning results without the tedious and dusty work of sanding. This method saves you time and energy. It opens up a world of possibilities for home makeovers. I hope this guide helps you feel confident to start your next project.
Remember, the keys to success are thorough cleaning, thin paint coats, and proper sealing. Whether you prefer a distressed, vintage look or a smooth, modern finish, chalk paint delivers. It is a forgiving medium that empowers you to unleash your inner artist. So, gather your supplies, pick your favorite color, and begin your journey to chalk paint furniture without sanding. Your next beautiful piece of furniture is just a few simple steps away. Start your transformation today!
- chalk paint
- no sanding
- furniture upcycling
- DIY painting
- home decor


