· Todd Martin · Automotive Maintenance · 19 min read
How To Clean 02 Sensor

Unlock Peak Performance: How to Clean Your O2 Sensor Effectively
Has your “Check Engine” light turned on? Do you notice your car using more fuel than usual? These are often signs that something is not quite right under the hood. One common culprit is a dirty or failing O2 sensor. This small but mighty component plays a vital role in your vehicle’s engine management system. Learning how to clean an O2 sensor can save you money and keep your car running smoothly.
A clean O2 sensor helps your car maintain optimal fuel economy and reduce harmful emissions. Neglecting this sensor can lead to significant performance issues and costly repairs down the road. I understand that car maintenance can feel daunting, but cleaning an oxygen sensor is a task many car owners can do themselves. This guide will walk you through the entire process, from understanding its function to the best cleaning practices. We will also cover when cleaning is a viable solution and when replacement is necessary.
Takeaway
Cleaning your O2 sensor can improve your vehicle’s performance and fuel efficiency.
- Identify Symptoms: Watch for reduced MPG or a “Check Engine” light.
- Gather Tools: You need specific wrenches and a wire brush.
- Remove Safely: Disconnect the battery and locate the sensor.
- Clean Properly: Use appropriate cleaners and methods.
- Reinstall & Test: Secure the sensor and check for codes.
How to Clean an O2 Sensor
You can clean an O2 sensor by carefully removing it from the exhaust system and gently scrubbing the sensor tip with a wire brush. Apply a specialized O2 sensor cleaner or carburetor cleaner to remove carbon deposits. Avoid harsh solvents, gasoline, or abrasive tools that might damage the sensitive platinum element.
Understanding Your O2 Sensor: A Car’s Breathing Indicator
Your car’s O2 sensor, or oxygen sensor, is a critical part of its exhaust system. It acts like a sophisticated lung, measuring the amount of oxygen in the exhaust gases. This measurement tells your car’s computer how efficiently the engine burns fuel. The computer then adjusts the air-fuel mixture to ensure the engine runs at its best. A healthy oxygen sensor helps your car achieve optimal performance and minimize harmful emissions.
This sensor works by generating a voltage based on the oxygen concentration. If there is too much oxygen, the voltage is low, indicating a lean mixture (too much air). If there is too little oxygen, the voltage is high, indicating a rich mixture (too much fuel). The car’s computer constantly receives this information. It makes tiny, rapid adjustments to fuel injection to keep the air-fuel ratio ideal. This constant adjustment is crucial for both fuel economy and the health of your catalytic converter.
Over time, carbon deposits and other contaminants can build up on the O2 sensor’s tip. This buildup can make the sensor less accurate, sending incorrect data to the car’s computer. When the computer receives bad data, it cannot properly manage the engine. This leads to issues such as decreased fuel efficiency and increased emissions. Think of it like a dirty lens on a camera; it simply cannot get a clear picture. Just as you might need to clean the sensor on a DSLR to get clear images, your car’s O2 sensor needs to be clean to get accurate readings.
A malfunctioning or dirty O2 sensor can trigger your “Check Engine” light. It can also cause your car to run rich or lean. Running rich means using too much fuel, leading to poor mileage and carbon buildup. Running lean means not enough fuel, which can cause engine misfires or even damage. Understanding how the O2 sensor works helps you diagnose issues and perform proper maintenance. This knowledge empowers you to keep your car in top shape.
When to Suspect a Dirty O2 Sensor
Identifying a dirty O2 sensor can save you from bigger problems. The most obvious sign is often the “Check Engine” light on your dashboard. Modern cars have onboard diagnostic systems (OBD-II) that can pinpoint issues. If your light comes on, it is wise to get the diagnostic codes read at an auto parts store or with your own OBD-II scanner. Specific codes, such as P0130 through P0167, often point to O2 sensor issues.
Beyond the warning light, several other symptoms suggest a dirty or failing oxygen sensor. You might notice a significant drop in your vehicle’s fuel economy. My car used to get excellent mileage, but a sudden decrease made me suspect something was off. This happens because a dirty sensor gives bad information to the engine computer. The computer then compensates by using more fuel than necessary. This leads to wasted gas and more frequent trips to the pump.
Another common symptom is poor engine performance. This can manifest as rough idling, hesitation, or a general lack of power during acceleration. Your engine might not feel as responsive as it once did. Sometimes, you might even smell rotten eggs from the exhaust. This indicates that the catalytic converter is struggling to process emissions due to an improper air-fuel mixture. A dirty O2 sensor prevents the engine from running cleanly.
Increased emissions are another sign, although you might not notice this without a proper emissions test. If your car fails an inspection, a dirty oxygen sensor could be the reason. Just as a dirty mass airflow sensor can affect engine performance, an O2 sensor issue impacts the entire combustion process. Addressing these symptoms early can prevent more expensive repairs, like replacing a damaged catalytic converter, which is far more costly than cleaning or replacing an O2 sensor. Pay attention to these signs, and you can tackle the problem proactively.
Gathering Your Tools: Preparing for O2 Sensor Cleaning
Before you begin the cleaning process, it is important to gather all the necessary tools and materials. Having everything ready beforehand makes the job smoother and safer. You do not want to stop in the middle of a repair because you are missing a crucial item. Preparation is key for any successful DIY project, especially when working on your vehicle’s engine.
Here is a list of what you will need:
- O2 Sensor Socket or Wrench: These are specialized tools designed to fit the hexagonal shape of the O2 sensor. They often have a slot to accommodate the sensor’s wiring. A 22mm (7/8 inch) open-end wrench or a specific O2 sensor socket is typically required. Using the correct tool prevents damage to the sensor or its wiring.
- Ratchet and Extension: To use with your O2 sensor socket. An extension can help you reach sensors located in tight spots.
- Wire Brush: A small, stiff wire brush is essential for scrubbing off carbon deposits from the sensor tip. Ensure it is not overly abrasive, as you want to clean, not scratch, the delicate sensor.
- Carburetor Cleaner or Non-Chlorinated Brake Cleaner: These are effective for dissolving carbon buildup. Make sure the product is safe for oxygen sensors. Avoid using anything containing harsh solvents, gasoline, or strong detergents, as these can damage the sensor’s sensitive platinum coating.
- Safety Glasses and Gloves: Always protect your eyes and hands when working with chemicals and around engine components.
- Jack Stands and Floor Jack (Optional but Recommended): If your O2 sensor is difficult to reach from above, you might need to lift your car. Always use jack stands for safety when working under a vehicle. Never rely solely on a jack.
- Pliers (Optional): For disconnecting electrical connectors if they are stiff.
- Anti-Seize Compound: This helps prevent the sensor threads from seizing in the exhaust pipe, making future removal easier. Apply a small amount to the threads upon reinstallation.
- OBD-II Scanner: To read and clear diagnostic trouble codes (DTCs) before and after the cleaning process. This helps confirm if the cleaning fixed the issue.
Having these items on hand ensures you are fully prepared for the task. Just as you would prepare the right tools to clean a filter in a dishwasher or clean mold off walls, having the right equipment for your O2 sensor is important for safety and efficiency.
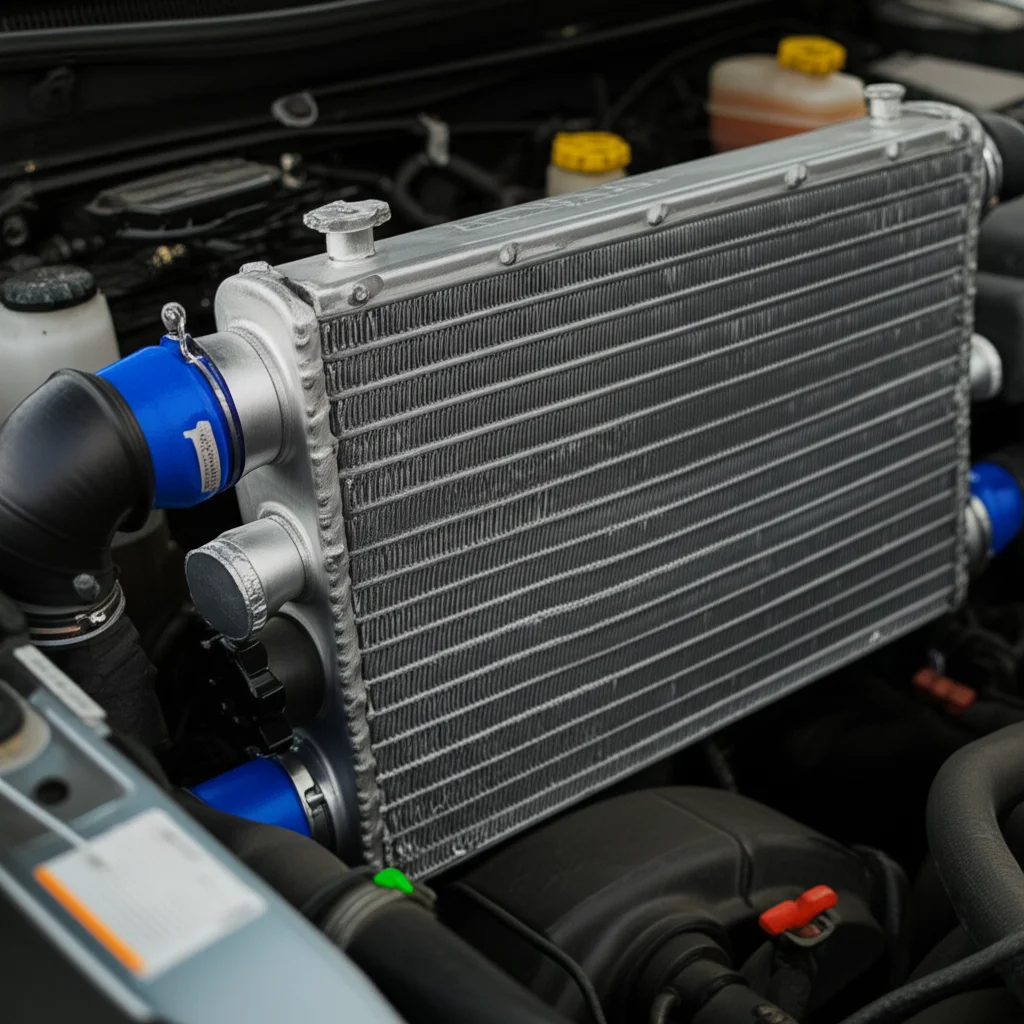
Safely Removing Your O2 Sensor: Step-by-Step Guide
Removing an O2 sensor requires careful steps to ensure your safety and avoid damaging vehicle components. Take your time with each step. I always start by ensuring my car is cool before touching anything in the engine bay or exhaust system. Hot exhaust components can cause severe burns.
Here is how to safely remove your O2 sensor:
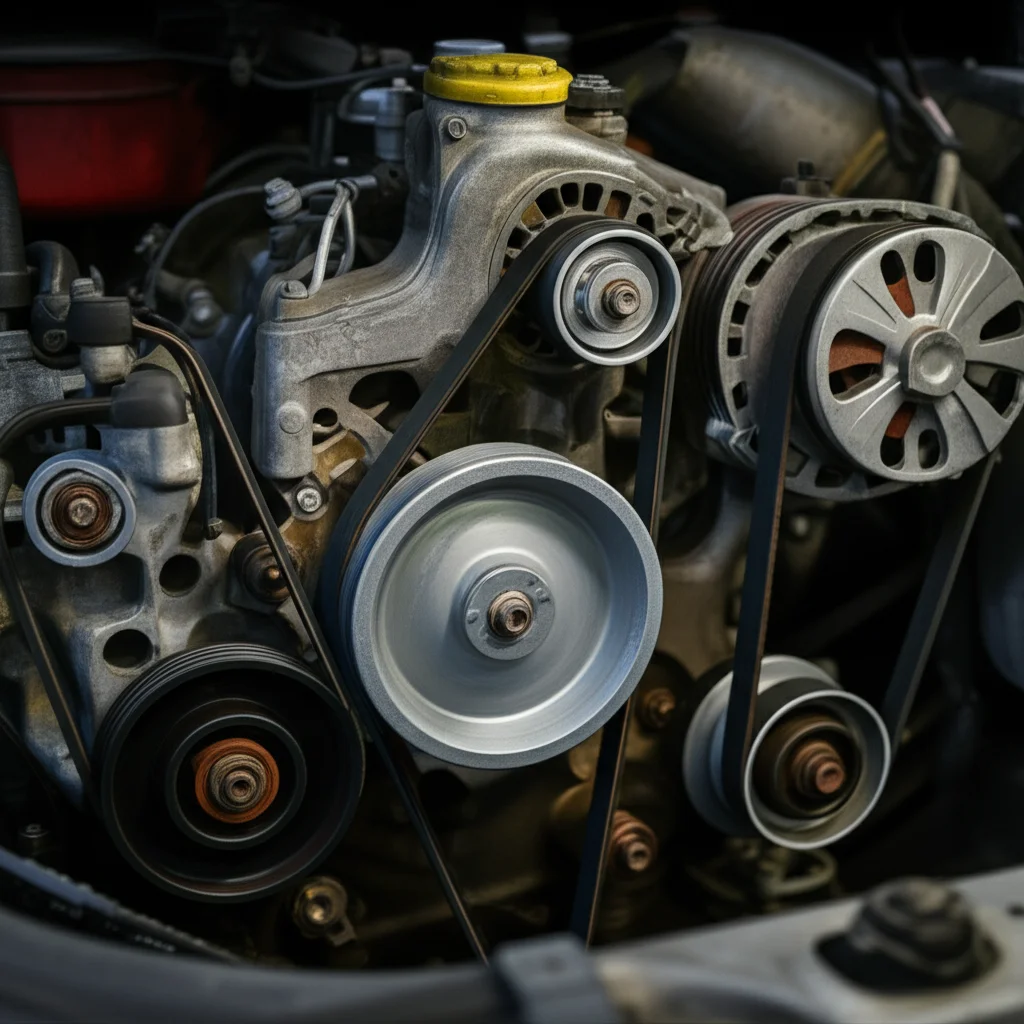
- Locate the O2 Sensor: Your car has multiple O2 sensors. Older cars often have one or two, while newer vehicles can have up to four.
- Upstream Sensors: These are located before the catalytic converter, usually on the exhaust manifold or downpipe. They measure oxygen levels before gases enter the converter.
- Downstream Sensors: These are located after the catalytic converter. They monitor the efficiency of the catalytic converter itself.
- Consult your vehicle’s service manual or an online diagram for precise locations. Identifying the correct sensor is important, especially if your OBD-II scanner indicates a specific sensor’s fault.
- Disconnect the Battery: Before performing any electrical work or working near sensitive sensors, disconnect the negative terminal of your car’s battery. This prevents accidental short circuits and protects the vehicle’s electrical system. It is a good safety practice for any under-the-hood work, similar to disconnecting power before servicing home appliances.
- Lift the Vehicle (If Necessary): If the O2 sensor is hard to reach from above, you will need to lift your car. Use a reliable floor jack to raise the vehicle and then securely place it on jack stands. Never work under a car supported only by a jack. Safety is paramount when working underneath your vehicle.
- Disconnect the Electrical Connector: Each O2 sensor has an electrical connector. This supplies power to the sensor and sends data back to the engine control unit (ECU). Carefully unclip this connector. Many connectors have a small tab you need to press or slide to release it. Be gentle; these plastic clips can be brittle, especially on older vehicles.
- Remove the Sensor: Now, use your specialized O2 sensor socket or open-end wrench. Fit the tool firmly over the sensor. Turn counter-clockwise to loosen and remove the sensor. O2 sensors can be very tight, especially if they have been in place for a long time or subjected to high temperatures. You might need some leverage. If the sensor is extremely stubborn, a penetrating oil applied beforehand can help, but allow it to soak for some time. Be careful not to strip the threads on the exhaust pipe.
- Pro Tip: Try removing the sensor when the exhaust system is slightly warm (but not hot). The heat can help expand the metal, making it easier to loosen. Do not do this if the parts are too hot to touch safely.
- During removal, inspect the threads on the sensor and in the exhaust pipe. Look for any signs of damage or excessive corrosion.
Once the sensor is out, you are ready for the cleaning stage. Remember, patience and proper technique are essential for a successful removal. Taking the time to do it right prevents additional complications down the road. Just as care is needed when you clean a wheel speed sensor to avoid damaging its components, the same care applies here.
The Right Way to Clean an O2 Sensor
Cleaning an O2 sensor is a delicate process because the sensor tip is very sensitive. Using the wrong cleaning method or harsh chemicals can permanently damage it, making the problem worse. The goal is to remove carbon deposits without harming the platinum sensing element. I have seen people try to use all sorts of things, but sticking to proven methods is key.
Here is the proper way to clean your O2 sensor:
- Inspect the Sensor: Once removed, examine the sensor tip. You will likely see a dark, sooty buildup. This is carbon and other deposits from the exhaust gases. Ensure there is no physical damage, such as cracks or broken wires. If the sensor shows signs of physical damage, cleaning will not help, and replacement is your only option.
- Soak the Sensor Tip: Submerge only the sensor tip (the part that was in the exhaust) in a small container of carburetor cleaner or a non-chlorinated brake cleaner. Do not submerge the entire sensor or the electrical connector, as this can cause damage. Let it soak for 15-30 minutes. This helps to loosen the stubborn carbon deposits. The cleaner works to break down the carbon.
- Gentle Scrubbing: After soaking, use a soft wire brush to gently scrub the carbon off the sensor tip. Focus on the perforated area and the ceramic element. Be careful not to apply too much pressure or use an overly aggressive brush. You want to remove the black soot, not scrape off the sensor’s protective coating. I find that a small brass wire brush works well for this. It is gentle enough not to cause damage, but firm enough to remove the crud.
- Rinse and Dry: After scrubbing, rinse the sensor tip thoroughly with clean water or more of the same cleaner. Ensure all cleaner residue is removed. Allow the sensor to air dry completely. You can use compressed air (at a low pressure) to speed up the drying process, but avoid direct heat from a heat gun or torch. The sensor must be completely dry before reinstallation to prevent issues.
- Avoid Harsh Chemicals and Abrasion: Never use gasoline, engine oil, or other harsh solvents to clean your O2 sensor. These substances can leave residues that contaminate the sensor and damage its internal components. Similarly, avoid sandpaper, grinding tools, or any abrasive materials that can scratch or wear away the platinum coating. This coating is crucial for the sensor’s accurate operation. This rule applies to other sensitive car components too; you would not use harsh chemicals to clean a FCW sensor that relies on precision.
- Do Not Touch the Tip with Bare Hands: The oils from your skin can leave residue on the sensor tip. Handle the sensor by its body or wires once cleaned and dried.
Proper cleaning can restore some functionality to a dirty O2 sensor. However, it is important to know that cleaning is not always a permanent fix for a truly failing sensor. If the internal components are worn out, cleaning will only offer a temporary solution, if any.
Reinstalling and Testing Your O2 Sensor
Once your O2 sensor is clean and completely dry, it is time to reinstall it in your vehicle. Proper reinstallation is as important as careful removal and cleaning. Mistakes here can lead to leaks, further damage, or incorrect readings. I always double-check everything before moving on to the next step.
Here is how to reinstall and test your O2 sensor:
- Apply Anti-Seize Compound: Before screwing the sensor back in, apply a small amount of high-temperature anti-seize compound to the sensor threads. Do not get any compound on the sensor tip itself, as this will contaminate it and render it useless. The anti-seize compound prevents the threads from seizing due to the high heat in the exhaust system. This will make future removal much easier if you ever need to replace or clean it again.
- Hand-Thread the Sensor: Carefully thread the O2 sensor back into its bung on the exhaust system by hand. Make sure it threads in smoothly without any resistance. If it feels tight or gets stuck, stop and re-align it. Forcing it can strip the threads in the exhaust pipe, which is a much more difficult and costly repair.
- Tighten with a Wrench/Socket: Once hand-tight, use your O2 sensor socket or wrench to tighten the sensor. Refer to your vehicle’s service manual for the exact torque specifications. Over-tightening can damage the sensor or the exhaust bung. Under-tightening can lead to exhaust leaks. Aim for snug, but not excessively tight.
- Reconnect the Electrical Connector: Reconnect the electrical connector to the O2 sensor. Ensure it clicks firmly into place. Give it a gentle tug to confirm it is secure and will not vibrate loose during driving. Proper electrical connection is vital for the sensor to transmit accurate data.
- Reconnect the Battery: Once all connections are secure, reconnect the negative terminal of your car’s battery.
- Clear Diagnostic Trouble Codes (DTCs): Your “Check Engine” light might still be on even after cleaning and reinstallation. This is because the car’s computer stored the fault code. Use your OBD-II scanner to clear these codes. If you do not have a scanner, driving the car for a few cycles (several starts and drives) might clear the light automatically if the problem is resolved, but a scanner is more reliable.
- Test Drive the Vehicle: Take your car for a test drive. Pay attention to how it feels. Look for improvements in engine performance, acceleration, and fuel efficiency. The “Check Engine” light should remain off if the cleaning was successful. If the light comes back on, or the symptoms persist, it indicates the sensor might be faulty and needs replacement, not just cleaning.
- Monitor your fuel economy over the next few days. A noticeable improvement is a good sign the cleaning was effective.
- Consider driving different speeds and conditions to give the car’s computer time to re-learn the optimal air-fuel mixture with the newly cleaned sensor.
Reinstallation and testing complete the entire process. Just like ensuring you properly clean your coffee filter for a good cup of coffee, correct installation of your O2 sensor ensures optimal vehicle function.
Maintaining Optimal Sensor Health: Beyond Just Cleaning
Cleaning your O2 sensor can be a helpful step, but maintaining its optimal health involves more than just periodic scrubbing. Proactive measures and understanding the limits of cleaning can extend the life of your sensor and prevent future issues. I have found that a holistic approach to car maintenance always pays off.
Here are ways to maintain optimal sensor health:
- Regular Vehicle Maintenance: The best defense against a dirty O2 sensor is a well-maintained engine. Regular oil changes, spark plug replacements, and air filter checks prevent excessive carbon buildup and engine inefficiencies that can stress the O2 sensor. A healthy engine means cleaner exhaust. Just as regularly cleaning your bathroom floor keeps it looking good, regular car maintenance keeps your engine running well.
- Address Engine Problems Promptly: Misfires, excessive oil consumption, or a rich-running engine can quickly foul an O2 sensor. If your engine is burning oil or running with an incorrect air-fuel mixture for an extended period, the O2 sensor will accumulate deposits much faster. Getting these underlying issues fixed ensures the O2 sensor is not constantly exposed to harsh conditions.
- Fuel Quality: Using good quality fuel can also contribute to cleaner combustion. While premium fuel is not always necessary, avoiding extremely cheap or questionable fuel sources can reduce the chances of harmful additives and contaminants that lead to excessive carbon.
- Know When to Replace: Cleaning is often a temporary fix for a dirty O2 sensor. If the sensor is truly failing due to age, internal damage, or electrical issues, cleaning will not bring it back to life. O2 sensors typically last between 30,000 to 50,000 miles for unheated sensors and 60,000 to 100,000 miles for heated sensors. If your “Check Engine” light returns shortly after cleaning, or symptoms persist, it is time to consider a new sensor. A new sensor provides accurate readings that cleaning might not fully restore.
- Avoid Contaminants: Be careful about what goes into your exhaust system. Certain fuel additives, silicone sealants (especially RTV type sealants used on exhaust parts), and even antifreeze leaks can contaminate and poison an O2 sensor. Always use sensor-safe products when working near these components. This attention to detail extends to other sensors too; you would ensure no contaminants get on your hood latch sensor to keep it working right.
By combining careful cleaning with comprehensive vehicle maintenance, you can ensure your O2 sensor, and indeed your entire engine, performs at its best. This proactive approach saves you money and keeps your car reliable for years to come.
FAQ Section
Can I use brake cleaner to clean an O2 sensor?
You can use non-chlorinated brake cleaner or carburetor cleaner to clean an O2 sensor. It is effective at dissolving carbon deposits. Ensure the product states it is safe for oxygen sensors. Avoid chlorinated brake cleaners, as the chlorine can damage the sensor’s delicate internal components and coating. Always apply it only to the sensor tip.
How often should O2 sensors be cleaned?
There is no set schedule for cleaning O2 sensors. Cleaning is typically performed when symptoms like a “Check Engine” light, poor fuel economy, or engine performance issues arise. If your vehicle is well-maintained and does not show symptoms, cleaning is not necessary. It is more reactive maintenance than preventative.
What are the risks of cleaning an O2 sensor?
The main risk is damaging the sensor itself. Using harsh chemicals, abrasive tools, or improper handling can contaminate or scratch the sensitive platinum element. This damage can lead to inaccurate readings, potentially causing worse engine performance or even harm to other components like the catalytic converter. Always follow proper cleaning steps carefully.
Will cleaning an O2 sensor fix a P0420 code?
A P0420 code typically indicates an issue with the catalytic converter’s efficiency. While a dirty downstream O2 sensor can sometimes contribute to this code by providing inaccurate readings, cleaning it might not fully resolve the P0420. The code often points to the catalytic converter itself failing. Cleaning the O2 sensor is a good first step, but be prepared for a potential catalytic converter replacement if the code persists.
How do I know if my O2 sensor is bad versus just dirty?
A dirty O2 sensor often causes temporary symptoms that improve after cleaning. A bad (failing) O2 sensor will likely show persistent symptoms, and the “Check Engine” light will return quickly even after cleaning. An OBD-II scanner can provide more specific diagnostic data, such as erratic voltage readings, that pinpoint a failing sensor, which cleaning cannot fix.
Is it better to clean or replace an O2 sensor?
If the O2 sensor is relatively new and the issue is simply carbon buildup, cleaning can be a cost-effective solution. However, if the sensor is old, has high mileage, or shows signs of internal failure, replacement is generally better. Cleaning offers a temporary fix for minor issues. Replacement ensures long-term reliability and accurate engine data.
Conclusion
Taking the time to understand and properly clean your O2 sensor can significantly improve your vehicle’s performance and fuel efficiency. We have covered the critical role an oxygen sensor plays in your car’s engine management. We also looked at the signs that tell you it might be dirty. I hope this guide has demystified the process for you. Remember, having the right tools and following each step carefully are keys to success.
From safely removing the sensor to choosing the correct cleaning agents, every detail matters. Reinstallation and post-cleaning checks ensure your hard work pays off. While cleaning a dirty O2 sensor can often resolve common issues like a “Check Engine” light or poor gas mileage, remember that it is not always a permanent solution for a truly failing part. Sometimes, replacement is the
- O2 sensor cleaning
- oxygen sensor maintenance
- car repair DIY
- fuel efficiency tips
- check engine light fix

Todd Martin
Senior Writer
With over 15 years of experience in home renovation and design, I started HEG to share what I’ve learned with homeowners who want to create spaces that are both beautiful and functional. I’ve always believed in a hands-on approach, and over the years, I’ve picked up practical solutions that actually work. Through HEG, I aim to make home improvement more approachable, sharing real tips that help you create a home you truly love.