· Todd Martin · Kitchen Cleaning · 19 min read
How To Clean A Burnt Non Stick Pan

How To Clean A Burnt Non Stick Pan Safely & Effectively
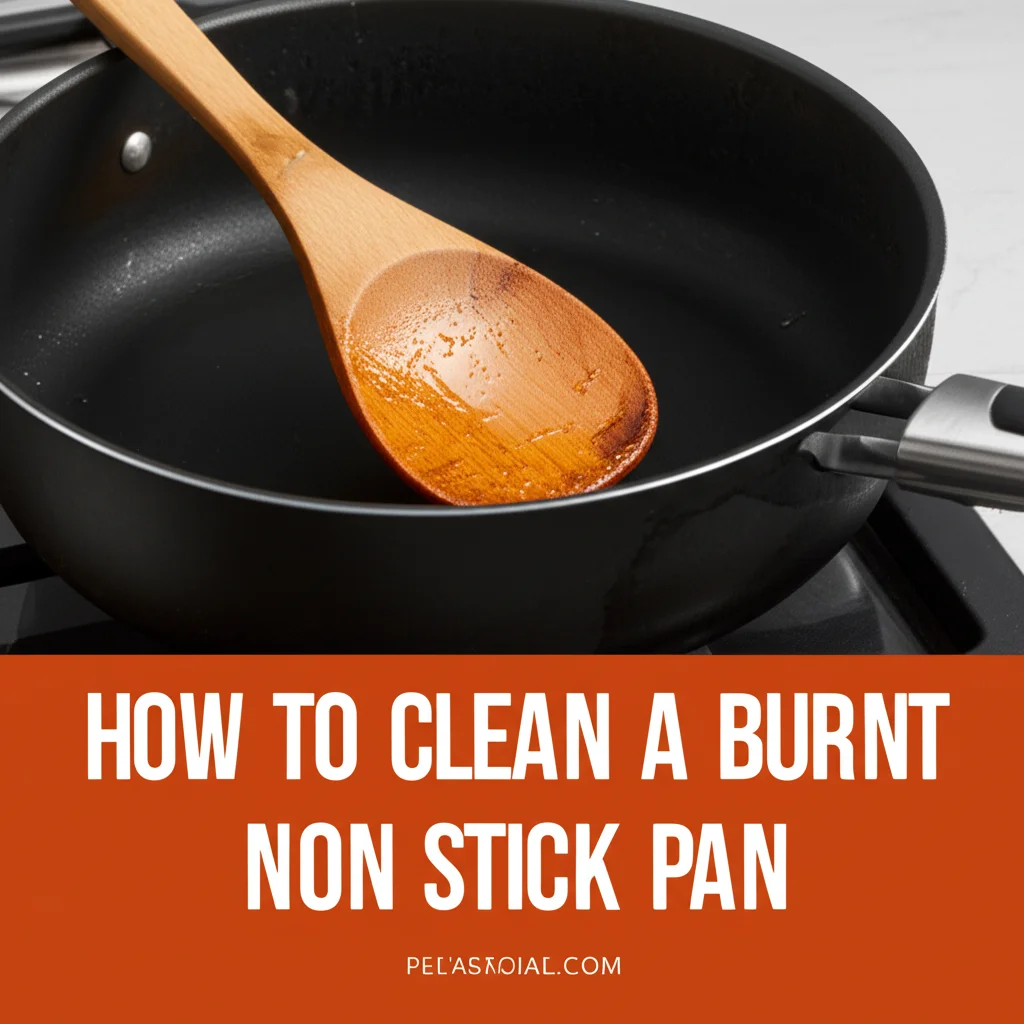
We all love our non-stick pans. They make cooking and cleanup easy. But what happens when you accidentally burn something in them? A burnt non-stick pan can look ruined. Many people think it is time to throw it away. I know I used to feel that way. However, you often can save your favorite pan. Cleaning a burnt non-stick pan needs special care. You must avoid harsh chemicals and abrasive scrubbers. These can damage the delicate non-stick coating. This guide provides simple, effective ways to clean your burnt non-stick pan. We will cover gentle cleaning methods. We will also discuss how to prevent future burns. You will learn how to keep your non-stick cookware in top condition for years.
Takeaway
- Use gentle cleaning methods like baking soda, vinegar, and dish soap.
- Avoid abrasive scrubbers and harsh chemicals on non-stick surfaces.
- Prevent future burns by controlling heat and using proper utensils.
- Re-season pans if necessary and store them properly to maintain coating.
To clean a burnt non-stick pan, first let it cool completely. Then, soak it in warm, soapy water to loosen debris. For stubborn burns, create a paste of baking soda and a little water, apply it, and let it sit before gently scrubbing with a soft sponge.
Understanding Burnt Non-Stick Pans: Why It Happens
A burnt non-stick pan is a common kitchen problem. Understanding why it happens helps prevent it. Non-stick coatings are delicate. They need specific care. When food sticks and burns, it often means the pan was too hot. It can also mean there was not enough oil.
Common Causes of Burnt Food and Residue
Food burns onto a non-stick pan for several reasons. High heat is a major culprit. Non-stick pans perform best at medium to low heat. Cooking at high temperatures can cause food to char quickly. This leaves a tough residue. Using too little cooking fat also contributes. Oil or butter helps create a barrier. This barrier prevents food from sticking. Without enough fat, food grabs onto the pan’s surface. Then it burns. Another cause is simply forgetting the pan on the stove. Distractions happen. A few extra minutes of heat can turn food into a burnt mess.
The Dangers of Overheating Non-Stick Coatings
Overheating a non-stick pan is more than just about burnt food. Extreme heat can damage the non-stick coating itself. Most non-stick pans use materials like PTFE (Teflon). These materials release fumes when overheated. These fumes can be harmful to pets, especially birds. They can also cause flu-like symptoms in humans. The coating also starts to break down. You might see flakes or peeling. Once the coating is compromised, the pan loses its non-stick properties. It can become unsafe to use. Always follow manufacturer heat recommendations. This prevents both burnt food and pan damage. Knowing these dangers helps you properly clean your pan and protect your health. For more general advice on maintaining these kitchen tools, learn how to clean a non-stick frying pan.
Essential Supplies for Cleaning Your Burnt Non-Stick Pan
Cleaning a burnt non-stick pan requires the right tools. You need gentle products. Using the wrong items can cause more damage. Always gather your supplies before you start. This makes the cleaning process smoother.
Gentle Cleaners
You will need mild cleaning agents. Dish soap is your first line of defense. A good quality liquid dish soap cuts through grease and loosens stuck food. Baking soda is another essential item. It is a mild abrasive. It gently scrubs away burnt residue. Baking soda also neutralizes odors. White vinegar is also very useful. It is an acid that helps break down burnt particles. Vinegar works well with baking soda to create a fizzing action. This fizzing helps lift stubborn stains. Avoid harsh chemical cleaners. Do not use oven cleaners or strong degreasers. These products can strip or degrade the non-stick coating. They can also leave harmful residues.
Soft Tools
Your choice of cleaning tools is crucial. You must protect the pan’s delicate surface. Use soft sponges or microfiber cloths. These materials are non-abrasive. They will not scratch the non-stick coating. Silicone spatulas or plastic scrapers are also helpful. You can use these to gently push off large pieces of burnt food. Never use metal scouring pads, steel wool, or abrasive brushes. These tools will scratch and ruin your non-stick pan. Even tough plastic scrubbers can be too harsh. Stick to the softest options available. For broader lessons on tackling burnt messes, consider reading how to clean a pan that is burnt. This general guide offers insights applicable across various pan types.
Protective Gear
While cleaning, protect yourself. Burnt food can leave strong smells. Sometimes, cleaning agents can irritate skin. Wearing rubber gloves protects your hands. This is especially important if you have sensitive skin. It also prevents your hands from drying out. If you are cleaning a very heavily burnt pan, consider working in a well-ventilated area. Open a window or turn on a kitchen fan. This helps dissipate any lingering odors. It also ensures good airflow. Safety first. This applies even to cleaning burnt non-stick pans.
The Baking Soda and Vinegar Method: A Gentle Approach
The baking soda and vinegar method is perfect for a burnt non-stick pan. It is effective yet gentle. This method uses common household items. They create a chemical reaction. This reaction helps lift burnt food. This method minimizes the risk of damage.
Step-by-Step Guide
- Cool the Pan: Let the burnt non-stick pan cool completely. Never put a hot pan under cold water. This can warp the pan. It can also damage the non-stick coating.
- Remove Loose Debris: Scrape away any loose, flaky burnt bits. Use a plastic spatula or a wooden spoon. Be very gentle. Do not press hard.
- Create a Baking Soda Paste: Mix equal parts baking soda and water in a small bowl. Aim for a thick paste consistency. It should be spreadable but not too watery.
- Apply the Paste: Spread the baking soda paste generously over the burnt area. Make sure it covers all the burnt residue.
- Add Vinegar (Optional but Recommended): Pour a small amount of white vinegar directly over the baking soda paste. You will see it fizz and bubble. This reaction helps break down the burnt particles.
- Let it Sit: Allow the paste to sit on the burnt area for at least 15-30 minutes. For very stubborn burns, leave it for several hours or even overnight. The longer it sits, the more it works.
- Gentle Scrubbing: After soaking, use a soft sponge or a microfiber cloth. Gently scrub the burnt areas. The residue should start to loosen and come off. You may need to apply a little more baking soda paste if it dries out.
- Rinse Thoroughly: Rinse the pan under warm water. Make sure to remove all paste and loosened debris.
- Wash with Dish Soap: Finally, wash the pan with mild dish soap and a soft sponge. This removes any remaining residue and odors.
- Dry Completely: Dry the pan thoroughly with a soft cloth. This prevents water spots and helps preserve the non-stick surface.
This method works wonders for most burnt non-stick pans. Its gentle nature protects the pan. It also avoids harsh chemicals.
Why This Method Works
Baking soda is an alkali. It reacts with acids like vinegar. This reaction produces carbon dioxide gas. The bubbles from this gas help lift and loosen burnt food particles. Baking soda is also a mild abrasive. It gently scrubs without scratching. Vinegar helps dissolve some burnt compounds. It also acts as a disinfectant. Together, they form a powerful yet safe cleaning duo. This method is especially effective for food residue that has caramelized or charred. It reaches into tiny crevices. It works without resorting to harsh scrubbing. This preserves your non-stick coating. This makes your pan last longer. This technique can also be adapted for other non-stick items, like learning how to clean a non-stick griddle, where gentle cleaning is equally important.
The Dish Soap and Hot Water Soak: For Lighter Burns
For a non-stick pan with lighter burns, a simple dish soap and hot water soak can often do the trick. This method is the least abrasive. It is perfect for recent, less severe burnt-on food. It relies on the power of prolonged soaking. This helps to loosen food particles.
When to Use This Method
Use the dish soap and hot water soak when:
- The burn is fresh.
- The burnt food is not completely charred or carbonized.
- The residue is mostly stuck-on food, not deep burns.
- You want the gentlest possible cleaning approach.
This method is ideal for everyday cooking mishaps. It avoids the need for any scrubbing initially. It prevents potential damage to the non-stick surface. Always try this method first. You can always move to a stronger method if needed.
Step-by-Step Soaking Process
- Cool Down: Let the burnt non-stick pan cool completely. This is a critical first step for any non-stick pan cleaning. Rushing this step can cause pan warping. It can also damage the coating.
- Remove Loose Debris: Carefully scrape off any loose food bits. Use a plastic or wooden spatula. Do not use metal. Be very gentle. This step makes the soaking more effective.
- Fill with Warm Water: Fill the pan with warm water. Ensure the water covers all the burnt areas. For really stuck-on food, use hot water. Hot water helps to loosen residues faster.
- Add Dish Soap: Add a few drops of mild dish soap to the water. Swish the water around gently. Distribute the soap evenly.
- Let it Soak: Let the pan soak for at least 30 minutes. For tougher, slightly more burnt residue, let it soak for several hours. You can even leave it overnight. The longer it soaks, the more the burnt food softens.
- Gentle Cleaning: After soaking, pour out the water. Use a soft sponge or a microfiber cloth. Gently wipe away the loosened burnt food. Most of it should come off easily. If some spots remain, repeat the soak.
- Final Wash and Dry: Wash the pan thoroughly with fresh dish soap and warm water. Rinse well. Dry the pan completely with a soft towel. This prevents water spots. It also prepares the pan for storage.
This method is simple. It is effective for light burns. It protects your non-stick pan. It maintains its integrity. For more specific cleaning issues, such as dealing with burnt residue on bakeware, you might find useful tips on how to clean a burnt non-stick baking sheet.
Dealing with Stubborn Burns: Special Considerations
Sometimes, a non-stick pan faces a really stubborn burn. The gentle methods may not fully work. In these cases, you need to step up your game slightly. Still, you must remain gentle. Aggressive cleaning will ruin your pan. Always remember the delicate nature of non-stick coatings.
Using a Non-Abrasive Scrubber
For residue that just won’t budge, a non-abrasive scrubber is your next best friend. Not all scrubbers are created equal. You need one specifically designed for non-stick surfaces. Look for scrubbers made from silicone, nylon mesh, or soft plastics. These types of scrubbers have enough texture to provide gentle friction. They will not scratch the pan. Avoid anything that feels rough or metallic.
- Soak First: Before scrubbing, always try the baking soda and vinegar method or a long soak. This softens the burnt food. It makes the scrubbing much easier.
- Apply Paste: Re-apply a baking soda paste to the stubborn area. This adds lubrication. It also enhances the cleaning power.
- Gentle Circular Motions: Use your non-abrasive scrubber. Apply light pressure. Work in small, circular motions over the burnt spot. Let the paste and the scrubber do the work. Do not push down hard.
- Rinse and Repeat: Rinse the pan to check your progress. If some residue remains, reapply the paste and scrub again. Repeat until the pan is clean. Patience is key here.
Never use extreme force. If the burn is truly fused, you might not get it all off. Some stains might remain. This is preferable to damaging the coating.
When to Seek Professional Help (or Replace)
Most of the time, home methods will clean your burnt non-stick pan. However, there are limits. If the non-stick coating is peeling, flaking, or heavily scratched, the pan is likely beyond repair. Using a pan with a damaged coating is not safe. The coating material can mix with your food. The pan will also lose its non-stick properties. Food will stick more easily.
Consider replacement if:
- Coating is Flaking: This means the coating is breaking down. It is no health risk but the pan is no longer non-stick.
- Deep Scratches or Peeling: If you see large areas where the coating has come off, the pan is compromised.
- Food Consistently Sticks: Even after thorough cleaning, if food always sticks, the pan’s non-stick properties are gone.
- Pan is Warped: A warped pan does not sit flat on the stove. This causes uneven cooking. This is a sign of pan damage, usually from extreme heat.
There is no “professional help” for non-stick pan repair. Non-stick coatings are applied in a factory. They cannot be reapplied at home. It is often more cost-effective and safer to replace a pan with severe damage. Think of it as an opportunity. You can upgrade to a new, better quality non-stick pan. Remember, proper care helps avoid early replacement. Understanding how to tackle various burnt residues can be a continuous learning process in the kitchen. For instance, knowing how to clean burnt sugar from a pan involves specific considerations for sugar’s unique stickiness.
Restoring Your Non-Stick Pan After Cleaning
Cleaning your burnt non-stick pan is only half the battle. After it’s clean, you can take steps to restore and protect its surface. This helps maintain its performance. It also extends its lifespan. Proper post-cleaning care is essential for any non-stick cookware.
Re-Seasoning (If Applicable)
Most modern non-stick pans, especially those with PTFE (Teflon) coatings, do not require traditional re-seasoning like cast iron. Their non-stick properties come from the coating itself. However, some non-stick pans, particularly those with ceramic or newer hybrid coatings, can benefit from a light “conditioning” after a deep clean. This can help refresh the surface.
To condition a non-stick pan:
- Ensure Pan is Dry: Make sure the pan is completely dry and clean.
- Light Oil Application: Add a very small amount of cooking oil (like vegetable or canola oil) to the pan. About half a teaspoon is enough.
- Wipe with Paper Towel: Use a clean paper towel. Rub the oil evenly over the entire non-stick surface. Wipe away any excess. The pan should have a very thin, almost invisible film of oil. There should be no pooling.
- Heat Gently (Optional): Some manufacturers recommend heating the pan gently on low heat for a minute or two. This can help the oil bond to the surface. Let it cool before wiping again.
- Wipe Again: Once cooled, give the pan a final wipe with a clean paper towel. This removes any leftover oil.
This process can help to maintain the pan’s slickness. It also provides an extra layer of protection. It is a good practice, especially after tackling tough burns. Keep in mind that certain types of non-stick pans, like those with Teflon, have specific cleaning and maintenance needs. You can learn more about how to clean a Teflon pan to ensure its longevity.
Proper Drying and Storage
How you dry and store your non-stick pan impacts its longevity. Improper drying can lead to water spots or mineral buildup. This can affect performance. Poor storage can cause scratches. These scratches damage the non-stick coating.
- Thorough Drying: Always dry your pan completely immediately after washing. Use a soft, clean towel. Water left on the surface can evaporate. This leaves mineral deposits. These deposits can dull the non-stick surface over time.
- Air Drying (with caution): If air drying, ensure the pan is placed in a way that allows air circulation. This helps it dry quickly. However, towel drying is always preferred for non-stick.
- Protect During Storage: Store non-stick pans carefully. Do not stack them directly inside other metal pans. The metal can scratch the delicate coating.
- Hang them: If you have space, hang your pans. This prevents contact with other cookware.
- Use Pan Protectors: Place soft pan protectors between stacked pans. These are felt or silicone disks. They prevent scratches.
- Paper Towels: A simple paper towel placed between pans works too. It provides a soft barrier.
By paying attention to these details, you will keep your non-stick pan performing like new. You will extend its useful life. This saves you money in the long run. It also ensures consistent cooking results.
Preventing Future Burns: Best Practices for Non-Stick Cookware
Cleaning a burnt non-stick pan is possible, but prevention is always better. By following simple best practices, you can avoid most burning incidents. This protects your pans. It also saves you cleaning time. Maintaining your non-stick cookware properly helps it last for years.
Proper Heat Management
Heat control is the most crucial factor for non-stick pans. Non-stick coatings are not designed for very high heat.
- Medium to Low Heat: Always cook with medium or low heat. Non-stick pans conduct heat efficiently. High heat can quickly damage the coating. It can also cause food to burn quickly.
- Preheating: Avoid preheating an empty non-stick pan on high heat. This can make the pan overheat rapidly. Add a little oil or food before heating.
- Gradual Heating: Let the pan heat up gradually. Do not suddenly blast it with high flame. Even heating helps prevent hot spots. Hot spots can cause food to stick and burn.
- Match Pan Size to Burner: Use a burner that matches the pan’s bottom size. A burner too large can cause uneven heating. It can also damage the pan’s sides. For tips on cleaning similar cookware, consider checking how to clean a non-stick griddle, as many of the heat management principles apply.
Using the Right Utensils
The utensils you use directly impact your non-stick pan’s longevity. Metal utensils can scratch and chip the coating.
- Silicone, Wood, or Plastic: Always use silicone, wooden, or heat-resistant plastic utensils. These materials are soft. They will not damage the non-stick surface.
- Avoid Metal: Never use metal spatulas, spoons, or whisks in your non-stick pans. Even a small scratch can compromise the coating. This makes the pan more prone to sticking. It can also lead to flaking.
Regular Maintenance
Consistent, gentle maintenance is key to keeping your non-stick pan in good condition.
- Clean After Every Use: Wash your non-stick pan after every use. Use warm, soapy water and a soft sponge. Do not let food dry and harden on the surface.
- Avoid Dishwashers: Many non-stick pans are “dishwasher safe.” However, hand washing is always recommended. Dishwasher detergents can be harsh. The high heat can also degrade the coating over time.
- Cool Before Washing: Always let your pan cool completely before washing it. Sudden temperature changes can warp the pan. This can also damage the non-stick coating.
- Proper Storage: Store pans carefully. Use pan protectors or paper towels between stacked pans. This prevents scratches.
- Inspect Regularly: Periodically inspect your non-stick pan. Look for signs of wear. Check for scratches, peeling, or dull spots. Early detection helps you adjust your cleaning or cooking habits. This ensures your pan stays effective and safe.
By adopting these habits, you can significantly extend the life of your non-stick pans. You will also enjoy better cooking results.
FAQ Section
Can I use steel wool or abrasive scrubbers on a non-stick pan?
No, never use steel wool or abrasive scrubbers on a non-stick pan. These harsh tools will scratch and permanently damage the delicate non-stick coating. This makes the pan lose its non-stick properties. It can also cause the coating to flake off into your food. Always use soft sponges or microfiber cloths.
Is a burnt non-stick pan safe to use?
A burnt non-stick pan is generally not safe if the coating is damaged. If you see peeling, flaking, or deep scratches, the pan’s integrity is compromised. The coating materials can break down and leach into your food. It is best to replace such a pan to ensure safety and proper cooking.
How do I remove burnt sugar from a non-stick pan?
To remove burnt sugar, let the pan cool. Then, fill it with warm water and a few drops of dish soap. Let it soak for several hours or overnight. The sugar should dissolve or soften. Gently scrape with a plastic spatula or wipe with a soft sponge. For stubborn sugar, a baking soda paste can help break it down further.
How often should I clean my non-stick pan?
You should clean your non-stick pan after every use. Wash it with warm, soapy water and a soft sponge. This prevents food from drying onto the surface and building up over time. Regular, gentle cleaning keeps your pan in optimal condition and preserves its non-stick properties.
Can extreme heat ruin a non-stick pan?
Yes, extreme heat can ruin a non-stick pan. Non-stick coatings, especially PTFE (Teflon), are not designed for very high temperatures. Overheating can cause the coating to degrade, release harmful fumes, and break down. This leads to flaking, loss of non-stick properties, and potential warping of the pan.
What if the burn is on the outside bottom of the pan?
For burns on the outside bottom, avoid harsh chemicals or steel wool on non-stick pans, as it can still affect the pan’s overall structure. Use a paste of baking soda and a little water. Apply it to the burnt area. Let it sit for a few hours. Then, scrub with a non-abrasive sponge or a nylon brush. This gently lifts the residue without damaging the pan.
Conclusion
A burnt non-stick pan can feel like a disaster. But with the right approach, you can often restore your pan. We have explored simple, safe methods. These include the power of baking soda and vinegar. We also looked at the effectiveness of a good, long soak with dish soap. The key is always to be gentle. Avoid harsh chemicals. Steer clear of abrasive scrubbers. They will only damage your pan’s delicate coating.
Remember, prevention is your best tool. Controlling heat is important. Using the correct utensils is also crucial. Proper storage helps too. By adopting these habits, you will protect your non-stick cookware. This ensures it performs well for many years. Don’t let a small cooking mishap ruin your favorite pan. Take care of your cookware. Enjoy effortless cooking and easy cleanup every time. You can keep your kitchen tools in top shape. You can make your cooking experience more enjoyable.
- non-stick pan cleaning
- burnt pan
- kitchen hacks
- cookware care
- non-stick care


