· Todd Martin · Kitchen Cleaning · 18 min read
How To Clean Burnt Oven
How to Clean Burnt Oven: Your Complete Guide
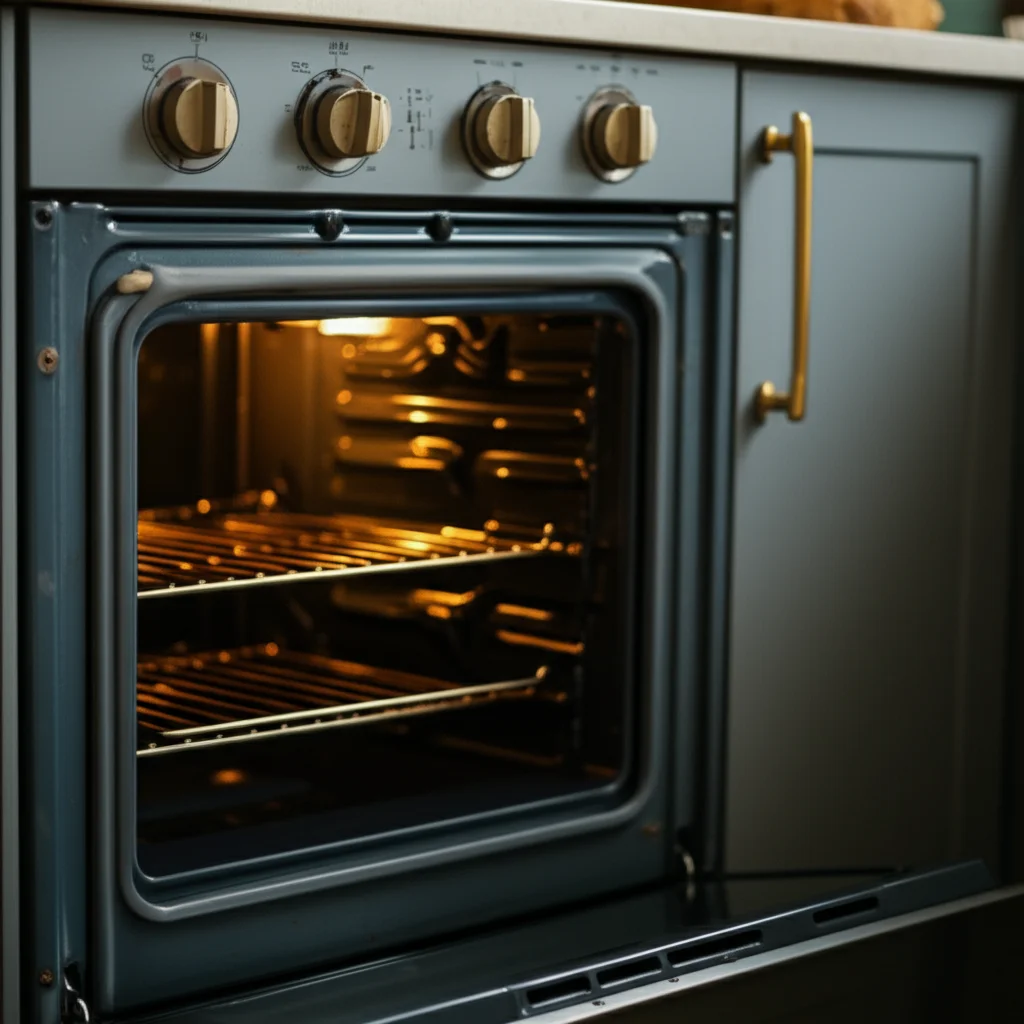
Few things are as frustrating as opening your oven door to find a thick layer of burnt-on grime. Burnt food residue not only looks bad, but it also creates unpleasant smells and can even affect the taste of your next meal. That lingering smoky odor signals a need for a deep clean. If you are wondering how to clean burnt oven, you are in the right place.
Cleaning a burnt oven can seem like a daunting chore. However, with the right techniques and a bit of patience, you can restore your appliance to its sparkling condition. We will explore various methods, from simple natural solutions to more robust commercial cleaners. We will also cover essential safety measures and offer practical tips for preventing future burnt messes. Get ready to tackle those tough stains and bring back the shine to your kitchen.
Takeaway:
- Prioritize safety by disconnecting power and ensuring ventilation.
- Use natural cleaners like baking soda and vinegar for effective, fume-free cleaning.
- Consider commercial cleaners for very stubborn, baked-on burnt residue.
- Clean specific areas like racks and door glass separately for best results.
- Implement preventative measures to keep your oven clean longer.
To clean a burnt oven, start by removing loose debris. Then, apply a cleaning agent such as a baking soda paste, vinegar spray, or a commercial oven cleaner. Allow it to sit for several hours or overnight to loosen burnt residue. Finally, scrub thoroughly and wipe clean.
Why Your Oven Gets Burnt and Why Cleaning Matters
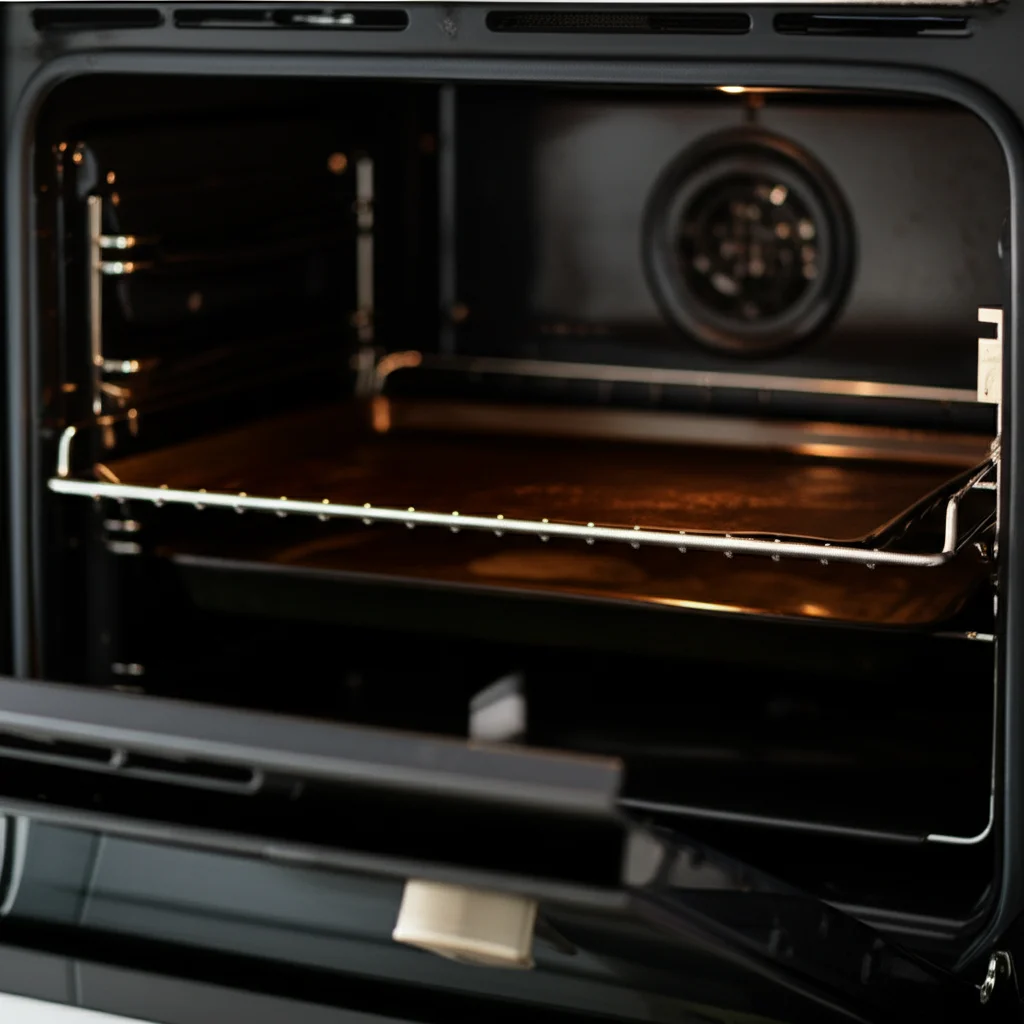
Your oven is a workhorse in the kitchen, but constant use can lead to significant build-up. Spills and splatters from cooking are the primary culprits. When food drips onto the hot surfaces, it bakes on and turns into hard, charred residue. Over time, this burnt material accumulates, becoming more difficult to remove.
Grease buildup also contributes to the problem. Fats and oils can coat the oven interior. High temperatures then burn this grease, creating a sticky, black film. This layer traps even more food particles, worsening the burnt mess.
Common Causes of Burnt Residue
Many everyday cooking incidents cause burnt residue. A bubbling casserole might overflow its dish. A pie could spill its sugary filling onto the oven floor. Roasting vegetables often releases oils that splatter on the walls. Each incident adds to the layer of burnt material.
Even crumbs from toast or pizza can fall and burn, contributing to the overall grime. Regular use without cleaning means these small incidents compound quickly. Understanding these causes helps you realize why a burnt oven is such a common issue for many households. It is a natural part of cooking and using your appliance frequently.
Health and Safety Risks of a Dirty Oven
A dirty oven is more than just an eyesore. It poses several health and safety risks. Burnt food particles can release smoke and unpleasant odors into your kitchen. These fumes contain acrolein, a chemical that irritates eyes and lungs. Continuous exposure can worsen respiratory conditions for some individuals.
Beyond health concerns, a heavily soiled oven can be a fire hazard. Accumulated grease and burnt food can ignite if the oven gets hot enough. This risk increases with higher cooking temperatures. A clean oven operates more efficiently and heats food properly. Regular cleaning reduces risks and ensures your appliance works safely. Taking the time to clean grease from oven regularly improves safety and performance. When you are ready to tackle those tough spots, consider a deep clean your oven to ensure all residues are removed.
Essential Safety Precautions Before You Begin Cleaning
Before you begin the cleaning process, safety must be your top priority. Cleaning a burnt oven often involves strong chemicals or high temperatures, so taking precautions is vital. Always ensure your work area is safe and you have the right protective gear. Rushing this step can lead to accidents or injury.
Proper preparation helps the cleaning process go smoothly and safely. It also prevents damage to your oven or surrounding kitchen areas. Follow these steps carefully before applying any cleaning solution. Your safety and the longevity of your appliance depend on it.
- Unplug the Oven: Always disconnect your oven from the power source. For electric ovens, pull the plug from the wall outlet. For gas ovens, turn off the gas supply valve. This prevents accidental activation or electrical shock during cleaning.
- Ensure Proper Ventilation: Open windows and doors in your kitchen. Use an exhaust fan if you have one. This is especially important when using commercial oven cleaners, as they can release strong fumes. Good airflow prevents inhalation of harsh chemicals.
- Wear Protective Gear: Put on rubber gloves to protect your hands from cleaning agents. Safety goggles are also recommended to shield your eyes from splashes. If you are sensitive to fumes, wear a face mask.
- Remove Oven Racks and Other Loose Parts: Take out all oven racks, baking sheets, and any other removable items. These items will be cleaned separately. Removing them provides full access to the oven interior.
- Let the Oven Cool Completely: Never clean a hot oven. Wait until the oven is completely cool to the touch. Cleaning a hot surface can cause severe burns and make some cleaning solutions less effective or even dangerous.
- Protect Your Floor: Place old towels, newspaper, or cardboard beneath the oven. This catches any drips or spills during the cleaning process. It protects your kitchen floor from chemicals or discolored residue.
Natural Methods to Clean Burnt Oven Residue
Natural cleaning methods offer a safer and less toxic alternative to harsh chemicals. These methods are excellent for moderate burnt messes and regular maintenance. They use common household ingredients you likely already have. Plus, you avoid the strong fumes and skin irritation often associated with commercial products.
Natural options are also better for the environment. They typically involve baking soda, vinegar, and lemon, which are biodegradable and non-polluting. If you prefer a gentle approach, these natural solutions can effectively remove burnt residue. They might require more dwell time or scrubbing but offer peace of mind.
Baking Soda and Vinegar Method
This classic duo is a powerhouse against burnt oven grime. Baking soda is a mild abrasive that helps scrub away tough spots. Vinegar is an acid that reacts with baking soda to create a fizzing action. This chemical reaction helps lift and break down stubborn residue. This method is safe, effective, and leaves no harsh chemical smells.
You will be amazed at how well these simple ingredients work together. It does require patience, as the mixture needs time to penetrate the burnt layers. However, the effort is worth it for a chemical-free clean.
Steps:
- Prepare the paste: In a bowl, mix about 1/2 cup of baking soda with a few tablespoons of water. Add water slowly until you form a thick, spreadable paste. The consistency should be like toothpaste.
- Apply the paste: Spread the baking soda paste all over the interior surfaces of your oven, avoiding the heating elements. Pay extra attention to areas with heavy burnt residue. Do not be afraid to use a generous amount.
- Let it sit: For best results, allow the paste to sit for at least 12 hours, or even overnight. This gives the baking soda time to break down the burnt grease and food particles. You can even consider closing the door.
- Spray with vinegar: After the waiting period, spray white vinegar over all the dried baking soda paste. It will immediately start to fizz and bubble. This reaction further loosens the grime.
- Scrub and wipe: Use a damp cloth, sponge, or non-abrasive scrubber to wipe away the loosened grime and baking soda residue. For stubborn spots, use a plastic scraper. Continue scrubbing until the oven surfaces are clean.
- Rinse thoroughly: Wipe down the entire oven interior with a clean, damp cloth several times. This removes all remaining baking soda and vinegar. Ensure no residue is left before using the oven again.
This method is excellent for general oven cleaning and tackling common burnt stains. For more detailed instructions on using this powerful duo, see our guides on how to clean oven with baking soda and how to clean the oven with baking soda.
Lemon and Water Steam Method
The lemon and water steam method is perfect for lighter burnt residue and unpleasant odors. The acidity of lemon helps break down grease and stains. The steam helps loosen any dried-on food particles. Plus, it leaves your oven smelling fresh and clean, masking any lingering burnt smells.
This method is less intensive than the baking soda and vinegar approach. It is great for regular, light cleanings or as a finishing touch. It uses only natural ingredients, making it safe for your home and family.
Steps:
- Prepare the solution: Slice two lemons into halves or quarters. Place them in an oven-safe bowl or baking dish filled with about 1/2 to 1 cup of water.
- Heat the oven: Place the bowl with lemons and water inside the cold oven. Close the oven door. Turn the oven on to a low temperature, around 250°F (120°C).
- Steam and cool: Allow the water to come to a boil and steam for 20-30 minutes. This creates a steamy environment that softens burnt-on grime. After 30 minutes, turn off the oven and let it cool completely with the door closed.
- Wipe clean: Once the oven is cool, remove the bowl. The steam and lemon acidity will have loosened many of the stains. Use a damp cloth or sponge to wipe down the interior. For slightly tougher spots, a gentle scrub should suffice.
- Rinse: Wipe the oven surfaces with a clean, damp cloth to remove any remaining residue. Your oven will look cleaner and smell fantastic. If you want to explore more ways to use citrus, check out our article on how to clean oven with lemon.
Ammonia Fumes Method (Caution Required)
The ammonia fumes method is highly effective for extremely stubborn, baked-on burnt grime. Ammonia is a powerful degreaser and can break down tough carbonized residue. However, it releases strong fumes. Extreme caution and excellent ventilation are non-negotiable when using this method. Never mix ammonia with bleach, as this creates dangerous toxic gases.
This method is best reserved for the toughest jobs, where other natural methods have not fully succeeded. Always follow safety guidelines strictly. Do not use this method if you have respiratory issues or small children and pets in the home.
Steps:
- Preparation (Evening): Ensure the oven is completely cold. Remove all racks. Place a small, oven-safe bowl with 1/2 cup of ammonia on the top rack. Place a large pot of boiling water on the bottom rack.
- Close and wait: Close the oven door tightly. Let the ammonia and water sit overnight (at least 6-8 hours). The ammonia fumes will soften the burnt grime.
- Ventilate and remove (Morning): The next morning, open all kitchen windows and turn on the exhaust fan. Carefully remove the bowls of ammonia and water. Leave the oven door open for at least 30 minutes to allow fumes to dissipate.
- Scrub and clean: Put on rubber gloves and a face mask. Use a damp cloth and a gentle scrubber to wipe away the loosened grime. The burnt residue should come off much more easily.
- Rinse thoroughly: Wipe down the oven interior multiple times with a clean, damp cloth to remove all ammonia residue. Ensure the oven is completely dry and aired out before use.
Using Commercial Oven Cleaners for Tough Burns
Sometimes, natural methods are not enough for heavily burnt ovens. For those exceptionally stubborn, baked-on layers, commercial oven cleaners can be a powerful solution. These products contain strong chemicals designed to dissolve even the toughest grease and carbon buildup. They offer a quick and effective way to restore your oven.
However, using commercial cleaners requires extra care due to their potency. They can release strong fumes and cause skin irritation. Always read the product label carefully and follow the manufacturer’s instructions precisely. Proper ventilation and personal protective equipment are essential.
Types of Commercial Oven Cleaners:
- Aerosol Sprays: These are very popular and easy to apply. They create a foamy layer that clings to surfaces. Brands like Easy-Off are common. They often require a waiting period, typically 2-4 hours or overnight, for deep cleaning.
- Gel/Liquid Cleaners: These are brushed or poured onto surfaces. They offer good coverage and adhere well to vertical surfaces. They might require less ventilation than aerosol sprays but still need caution.
- Fume-Free Formulas: Some commercial cleaners are marketed as “fume-free” or “low-fume.” While they still contain chemicals, they are generally safer for indoor use with less odor. They might require a longer dwell time to be effective.
When to Use Commercial Cleaners:
- Heavy Build-up: If your oven has years of baked-on grease and carbon that natural methods cannot penetrate.
- Time Constraints: When you need a quicker, more aggressive cleaning solution compared to overnight natural methods.
- Stubborn Burnt Stains: For highly charred or sticky residue that resists scrubbing with mild cleaners.
Application Steps:
- Read Instructions: Always start by reading the specific instructions on your chosen product. Different brands have varying application and dwell times.
- Safety First: Ensure excellent ventilation by opening windows and using an exhaust fan. Wear rubber gloves and safety goggles. Consider a face mask if you are sensitive to fumes.
- Prepare Oven: Ensure the oven is completely cool. Remove all racks and loose debris. Place old newspapers or towels under the oven door to catch drips.
- Apply Cleaner: Evenly spray or spread the cleaner over all interior surfaces, avoiding heating elements and the fan. Make sure to cover all burnt areas.
- Dwell Time: Allow the cleaner to sit for the recommended duration on the product label. This could be anywhere from 20 minutes to several hours, or even overnight for very tough stains.
- Wipe Clean: Using a damp cloth, sponge, or non-abrasive scrubber, wipe away the cleaner and loosened grime. You may need to scrub tough spots. Rinse your cloth frequently.
- Rinse Thoroughly: Wipe down the entire oven interior multiple times with a clean, damp cloth to remove all chemical residue. This step is crucial to prevent fumes when you use the oven later.
- Air Out: Leave the oven door open for a few hours after cleaning. This allows any residual fumes to dissipate before you use the oven for cooking.
Tackling Specific Burnt Areas: Racks, Doors, and Bottom
Cleaning the main oven cavity is a major step. However, some areas of your oven gather specific types of burnt residue and require targeted attention. Oven racks, the glass door, and the oven bottom are often the dirtiest parts. Tackling these areas separately ensures a thorough clean and helps your entire oven sparkle. Each part has unique cleaning challenges and methods that work best.
Cleaning Burnt Oven Racks
Oven racks endure direct contact with food and constant high heat. This often leads to severe burnt-on grease and carbon. Cleaning them separately and outside the oven is usually the most effective method. Soaking is key to loosening the grime.
The Bathtub Soak Method:
- Preparation: Place old towels or newspaper in the bottom of your bathtub to protect the surface. Carefully place the oven racks in the tub.
- Add Detergent: Sprinkle a generous amount of dishwasher detergent (powder or liquid) over the racks. You can also use a mixture of baking soda and vinegar.
- Soak: Fill the tub with enough hot water to submerge the racks completely. Let them soak overnight. The hot water and detergent will work to loosen the baked-on grease.
- Scrub and Rinse: The next morning, drain the water. Use a stiff brush or a non-abrasive scrubbing pad to scrub away the softened grime. It should come off much more easily. Rinse the racks thoroughly with clean water and dry them completely before putting them back in the oven. For alternative soaking methods without using your bathtub, check out our guide on how to clean oven racks without bathtub.
Ammonia Bag Method (for very tough racks):
- Caution: This method uses strong fumes. Use outdoors or in a very well-ventilated area.
- Steps: Place each oven rack into a large, heavy-duty garbage bag. Pour about 1/2 cup of ammonia into each bag (or a smaller amount if using multiple bags). Seal the bags tightly, expelling as much air as possible. Let them sit overnight. The fumes will break down the burnt residue. The next day, open the bags outdoors. Use gloves to remove the racks. Scrub them clean with soap and water. Rinse very well. Learn more about this specific technique in our article on how to clean oven racks with ammonia.
Removing Burnt Stains from Oven Door Glass
The oven door glass often shows the most visible burnt stains. These stains are usually from splatters that bake onto the inner glass pane. A baking soda paste is highly effective here because it is abrasive yet safe for glass.
Steps:
- Make a paste: Mix baking soda with a small amount of water to create a thick paste.
- Apply to glass: Spread the paste generously over the burnt areas on the inside of the oven door glass.
- Let it sit: Allow the paste to sit for at least 30 minutes, or up to several hours for tougher stains.
- Scrub gently: Use a non-abrasive sponge, cloth, or even a plastic scraper (like an old credit card) to gently scrub and scrape away the softened grime.
- Wipe clean: Wipe away the residue with a damp cloth. You may need to repeat the process for very stubborn marks. Ensure no baking soda residue remains. For a comprehensive guide on this specific task, refer to our articles on how to clean inside oven glass and how to clean the glass on oven door.
Cleaning the Bottom of Your Oven
The bottom of the oven is where most spills and drips land. This area often has the thickest, hardest burnt crust. Depending on the severity, you can use either the baking soda and vinegar method or a commercial cleaner.
Steps:
- Scrape loose debris: Use a plastic scraper or spatula to carefully remove any large, loose burnt pieces. Be gentle to avoid scratching the oven surface.
- Apply cleaner: Spread a thick layer of baking soda paste over the entire bottom surface. For very tough spots, you can apply a commercial oven cleaner according to its instructions.
- Dwell time: Allow the chosen cleaner to sit for an extended period. For baking soda, let it sit overnight. For commercial cleaners, follow the product’s recommended time.
- Scrub and wipe: After the dwell time, spray baking soda with vinegar if you used the natural method. Then, use a stiff brush or a non-abrasive pad to scrub the area. Wipe away the residue with a damp cloth. Repeat as necessary until the surface is clean. If you need more general tips for this area, our guide on how to clean bottom of oven provides further details.
Leveraging Your Oven’s Self-Cleaning Feature (If Applicable)
Many modern ovens come equipped with a self-cleaning feature. This function heats the oven to extremely high temperatures, typically between 800°F and 900°F (427°C and 482°C). At these temperatures, food residue and grease turn into a fine ash. This can seem like a magic solution, but it is important to understand how it works and its considerations.
While convenient, the self-cleaning cycle also requires careful preparation and awareness of potential issues. It is not always a hands-off process. Knowing its benefits and drawbacks helps you decide if it is the right method for your situation.
How the Self-Cleaning Cycle Works
The self-cleaning cycle essentially incinerates any food particles. The high heat breaks down organic matter into a powdery ash. This process typically takes 2 to 6 hours, depending on the oven and the level of soil. Once the cycle finishes and the oven cools, you simply wipe away the ash. This feature is powerful, designed to tackle even the most stubborn, baked-on grime. It avoids the need for harsh chemicals entirely.
Pre-Cleaning Steps for Self-Cleaning
Even with a self-cleaning feature, some preparation is necessary.
- Remove All Racks: Take out all oven racks, baking stones, and any other accessories. These items are usually not designed for the extreme temperatures of the self-cleaning cycle. They can warp, discolor, or damage the oven’s interior.
- Wipe Away Loose Debris: Use a paper towel or damp cloth to wipe out any large pieces of food or excessive grease. While the self-clean cycle handles burnt-on messes, large chunks can create excessive smoke.
- Clear the Area: Make sure the area around the oven is clear. Remove any flammable items. Ensure pets and children are not near the oven during the cycle.
Safety and Considerations During Self-Cleaning
The self-cleaning cycle generates very high heat and can produce fumes.
- Smoke and Odor: Expect some smoke and burning odors, especially if the oven is very dirty. Ensure good ventilation by opening windows and using an exhaust fan.
- Pet Safety: Birds and other sensitive pets should be removed from the house during the cycle. The fumes released can be harmful to their respiratory systems.
- High Temperatures: The oven exterior will become very hot. Do not touch the oven during the cycle. Keep children and pets away.
- Time and Energy: Self-cleaning cycles consume a lot of energy due to the sustained high temperatures. They also lock the oven door for safety. You cannot use your oven during this time.
- Potential Issues: In rare cases, extreme heat can damage internal components or warp oven racks if left inside. Some people report a temporary lingering smell.
Post-Cycle Cleanup
Once the self-cleaning cycle is complete and the oven has fully cooled down and unlocked (this can take several hours), the remaining task is simple.
- Wipe Away Ash: Use a damp cloth or sponge to wipe away the fine powdery ash. If any stubborn spots remain, they will be much softer and easier to remove with a light scrub of baking soda and water.
- Rinse Thoroughly: Wipe the interior several times with a clean, damp cloth to remove all ash residue. Ensure it is completely clean before cooking again.
- For more detailed advice on the steps to take after a self-clean cycle, refer to our article on how to clean oven after self-clean.
Preventative Measures to Avoid Future Burnt Messes
Preventing burnt messes is much easier than cleaning them. By adopting a few simple habits,
- oven cleaning
- burnt food
- grease removal
- home maintenance
- kitchen hacks

Todd Martin
Senior Writer
With over 15 years of experience in home renovation and design, I started HEG to share what I’ve learned with homeowners who want to create spaces that are both beautiful and functional. I’ve always believed in a hands-on approach, and over the years, I’ve picked up practical solutions that actually work. Through HEG, I aim to make home improvement more approachable, sharing real tips that help you create a home you truly love.