· Todd Martin · Home Maintenance · 19 min read
How To Clean Air Conditioner
Master How To Clean Your Air Conditioner for Peak Performance
A comfortable home relies on a well-functioning air conditioner. Many people overlook one simple task that keeps their system running its best: cleaning. Learning how to clean your air conditioner properly saves money and improves indoor air quality. I understand the difference a clean AC unit makes.
Keeping your air conditioner clean is a core part of home care. Dirty AC units work harder, use more energy, and can spread dust and allergens. This article provides a complete guide on how to clean an air conditioner. You will learn the exact steps to clean various parts of your unit. We will cover everything from filters to coils and drain lines. By the end, you will feel confident performing this important maintenance task.
Takeaway
- Improve Efficiency: A clean AC uses less energy to cool your home, saving you money.
- Enhance Air Quality: Regular cleaning removes dust, mold, and allergens from your system.
- Extend Lifespan: Proper maintenance prevents wear and tear, making your AC last longer.
- Prevent Breakdowns: Cleaning helps avoid common issues like clogs and restricted airflow.
- Maintain Comfort: Enjoy consistent, powerful cooling throughout the year.
To clean an air conditioner, first, turn off its power. Then, remove and clean air filters with water or a vacuum. Next, clean the evaporator coils and drain line using a coil cleaner and a brush. Finally, clear debris from the outdoor condenser unit and straighten its fins.
Why Regular AC Cleaning Matters for Your Home
Your air conditioner works hard to keep your home cool and comfortable. Over time, dust, dirt, and debris build up inside the unit. This buildup harms your AC’s performance. Regular cleaning prevents many common issues.
A dirty air conditioner cannot move air efficiently. Filters become clogged, and coils get insulated by grime. This forces the unit to work harder to achieve the desired temperature. More work means higher energy bills. It also puts stress on the system’s components. I’ve seen firsthand how much difference a clean unit makes in energy consumption.
Beyond energy, cleanliness directly affects air quality. Dust, pollen, mold spores, and other allergens collect in a dirty AC. When the unit operates, it can then circulate these particles throughout your home. This leads to poor indoor air quality. It can trigger allergies or respiratory problems for your family.
A neglected air conditioner also has a shorter lifespan. Components wear out faster when overworked. Dirt and moisture can lead to corrosion or mold growth. This causes expensive repairs or premature replacement. Regular cleaning is a simple act that protects your investment. It ensures your system provides reliable cooling for many years.
Essential Safety Steps and Tools Before You Clean Your AC
Before you start any cleaning project on your air conditioner, safety comes first. Working with electrical appliances requires caution. Ignoring safety steps can lead to serious injury or damage to your unit. I always make sure to take these precautions myself.
The most important step is to cut power to the unit. Find the circuit breaker that controls your air conditioner. It might be in your main electrical panel. Flip the breaker switch to the “off” position. For outdoor units, there is often a disconnect box near the unit itself. Turn the switch inside this box off as well. Double-check that the unit is completely powered down before touching any components. This prevents electric shock.
Gather all your tools and materials before you begin. Having everything ready saves time and ensures a smooth process. You do not want to stop midway to search for a brush. Here is a list of common items you will need:
- Safety Gloves: Protect your hands from dirt and cleaning solutions.
- Safety Glasses: Shield your eyes from dust or sprays.
- Screwdrivers: For opening access panels (Phillips and flathead).
- Vacuum Cleaner: With hose attachments for dust removal.
- Soft Brush or Coil Brush: For cleaning coils and fins.
- Fin Comb: To straighten bent condenser fins.
- Coil Cleaner: A specialized, non-acidic cleaner.
- Mild Detergent or Dish Soap: For general cleaning.
- Water Hose or Spray Bottle: For rinsing.
- Buckets: For mixing solutions or collecting water.
- Old Rags or Microfiber Cloths: For wiping surfaces.
- Wet/Dry Vacuum: Useful for clearing drain lines.
Having these items on hand ensures you can perform a thorough and safe cleaning of your air conditioner. Proper preparation makes the cleaning process much easier.
Cleaning Your Air Conditioner Filters for Better Airflow
The air filter is the frontline defense of your air conditioner. It catches dust, dirt, pollen, and pet dander before they enter your system. A clean filter is crucial for both air quality and unit efficiency. This is often the first thing I check when my AC seems off.
When the filter gets clogged, it restricts airflow. Your AC must work much harder to pull air through the system. This increases energy use and puts stress on the blower motor. A dirty filter also allows contaminants to pass through into the coils and ducts. This reduces indoor air quality significantly. It can even lead to coil freeze-up or mold growth within the unit. Many people overlook this simple maintenance item.
Cleaning or replacing your air filter is usually a quick task. The process varies slightly depending on your AC type. Most central AC systems have the filter located in the return air vent or in the air handler itself. Window units and portable ACs have filters accessible from the front or side.
To clean a reusable filter:
- Remove the Filter: Locate the filter slot and slide the old filter out. Note its direction of airflow.
- Vacuum Loose Debris: Use a vacuum cleaner with a brush attachment to remove large dust particles.
- Rinse with Water: For washable filters, rinse it under running water. Use a gentle stream. Rinse from the clean side to push dirt out.
- Use Mild Soap (if needed): If the filter is very dirty, mix mild detergent with water. Gently scrub the filter. Rinse thoroughly until no soap remains.
- Dry Completely: Allow the filter to air dry completely before reinstalling. A wet filter can promote mold growth.
For disposable filters, simply remove the old one and insert a new one of the correct size and MERV rating. Check your filter every month and clean or replace it every 1-3 months. This simple step makes a huge difference. You can find specific instructions for your unit in our guide on how to clean air conditioner filter.
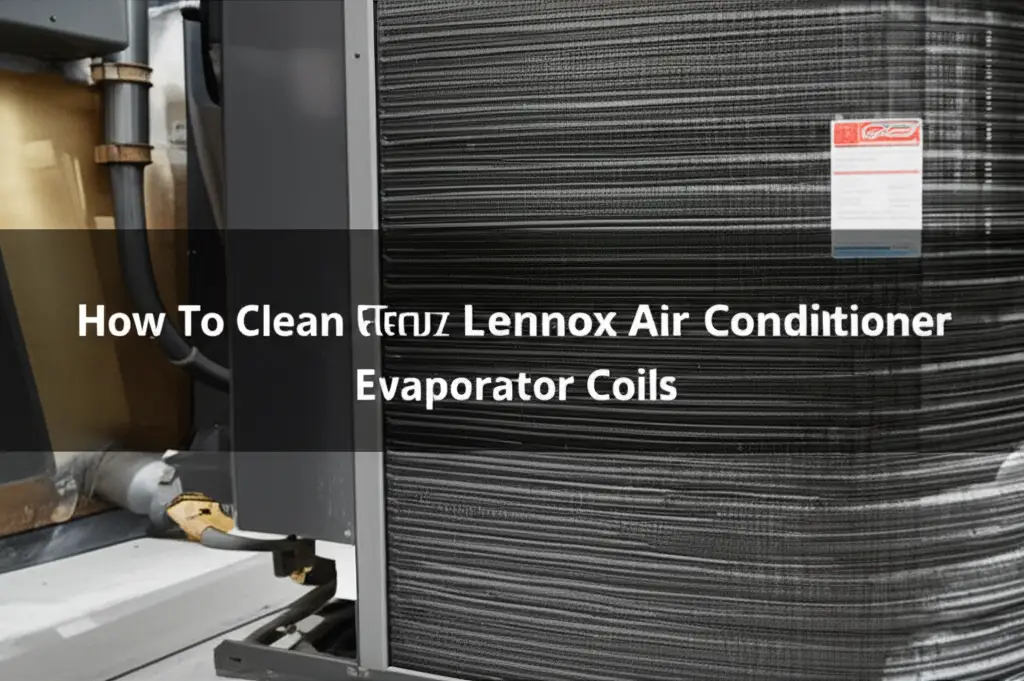
Deep Cleaning AC Coils: Evaporator and Condenser
The evaporator and condenser coils are vital to your air conditioner’s cooling process. The evaporator coil, located inside, absorbs heat from your home’s air. The condenser coil, found in the outdoor unit, releases that heat outside. Both coils must be clean to transfer heat efficiently. Dirt and grime act as insulation on the coils. This makes your AC less effective.
Cleaning the evaporator coil first improves your indoor air quality. This coil gets cold to absorb heat. Humidity in the air condenses on its surface. This moist environment, combined with dust, creates a perfect breeding ground for mold and mildew. A dirty evaporator coil can also freeze, causing your unit to stop cooling.
Here is how to clean it:
- Access the Evaporator Coil: For central units, this usually means opening an access panel on the indoor air handler. For window or portable units, the coils are often visible once the casing is removed.
- Vacuum Loose Debris: Use a soft brush attachment on your vacuum to carefully remove dust from the coil fins.
- Apply Coil Cleaner: Spray a specialized, non-acidic evaporator coil cleaner onto the coil. Many cleaners are “no-rinse” and will drip into the drain pan. Follow product instructions carefully.
- Clean Drain Pan: While the cleaner works, clean the drain pan below the coil. Wipe away any sludge or debris.
The condenser coil outside also collects a lot of dirt. Leaves, grass clippings, dust, and even pet hair can stick to the outdoor unit’s fins. This buildup prevents heat from escaping effectively. Your outdoor unit must work harder, leading to higher energy use and strain on the compressor.
Here is how to clean it:
- Clear External Debris: Remove any leaves, grass, or other large debris from around the outdoor unit.
- Remove Top Grille/Fan: Carefully unscrew and lift the top grille, often with the fan attached. Set it aside gently, without straining the wires.
- Clean Inside: Use a shop vacuum to remove debris from the bottom of the unit.
- Spray Coils: Use a garden hose with moderate pressure to spray water through the condenser fins from the inside out. This pushes dirt outwards. Avoid high pressure, which can bend the fins.
- Apply Coil Cleaner: If coils are very dirty, apply a condenser coil cleaner according to product directions. Rinse thoroughly after if required.
- Straighten Fins: Use a fin comb to carefully straighten any bent aluminum fins. This improves airflow.
Cleaning both the indoor and outdoor coils significantly improves your AC’s performance. It also helps prevent mold growth and ensures efficient heat transfer. You can find more detailed instructions for specific units in our guide on how to clean air conditioner coils.
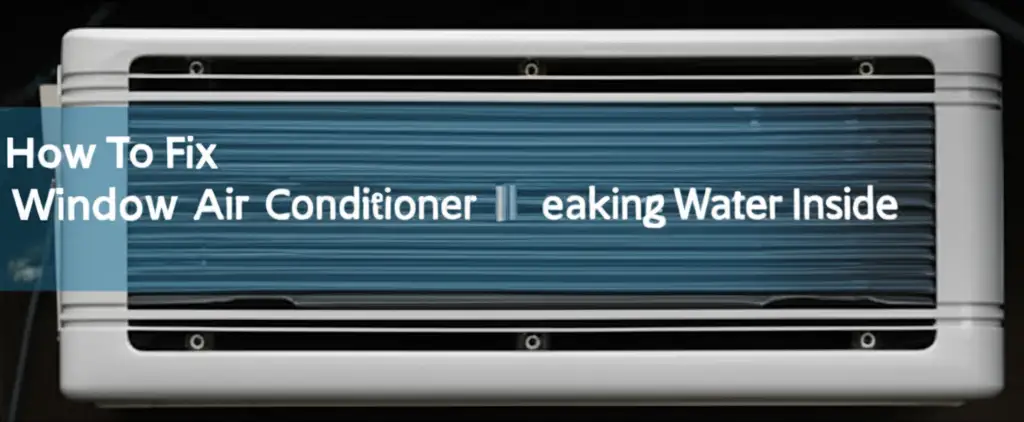
Clearing the AC Drain Line to Prevent Water Damage
The drain line, also known as the condensate drain line, is a small but important part of your air conditioner. As the evaporator coil cools your home, it removes humidity from the air. This moisture collects as condensation on the coil. It then drips into a drain pan and flows out through the drain line. A clear drain line prevents water from backing up and causing damage.
Over time, algae, mold, and sludge can build up inside the drain line. This creates a clog. When the line clogs, the condensate water has nowhere to go. It overflows the drain pan. This water can cause significant damage to your ceiling, walls, or flooring. It also creates a moist environment. This encourages mold growth in your indoor unit. I have seen homes with extensive water damage just from a simple clog.
Clearing the drain line is a routine maintenance task you can do yourself. It prevents costly repairs. Most AC units have a visible PVC pipe extending from the indoor unit. This is the drain line.
Here is how to clean it:
- Locate the Drain Line Access: Find the condensate drain pan and the PVC pipe connected to it. There is usually a small cap or vent at the end of the line.
- Remove Cap and Clear Debris: Remove the cap. Use a wet/dry vacuum to suck out any blockages from the end of the line. Hold the vacuum hose tightly over the opening for several minutes.
- Pour Cleaning Solution: If a vacuum does not work, pour a mixture of 1/4 cup distilled white vinegar and 1/4 cup warm water into the drain line opening. Vinegar kills mold and algae. You can also use a specialized drain line cleaner.
- Flush with Water: After about 30 minutes, flush the line with plain water. This ensures all the cleaning solution and loosened debris are gone.
- Check for Flow: Ensure water flows freely from the outdoor end of the drain line. If it does not, repeat the process or consider professional help.
Some units have a safety switch. This switch shuts off the AC if the drain pan overflows. This prevents damage but also stops your cooling. Cleaning the drain line regularly ensures continuous operation. For more in-depth guidance, refer to our detailed article on how to clean air conditioner drain line.
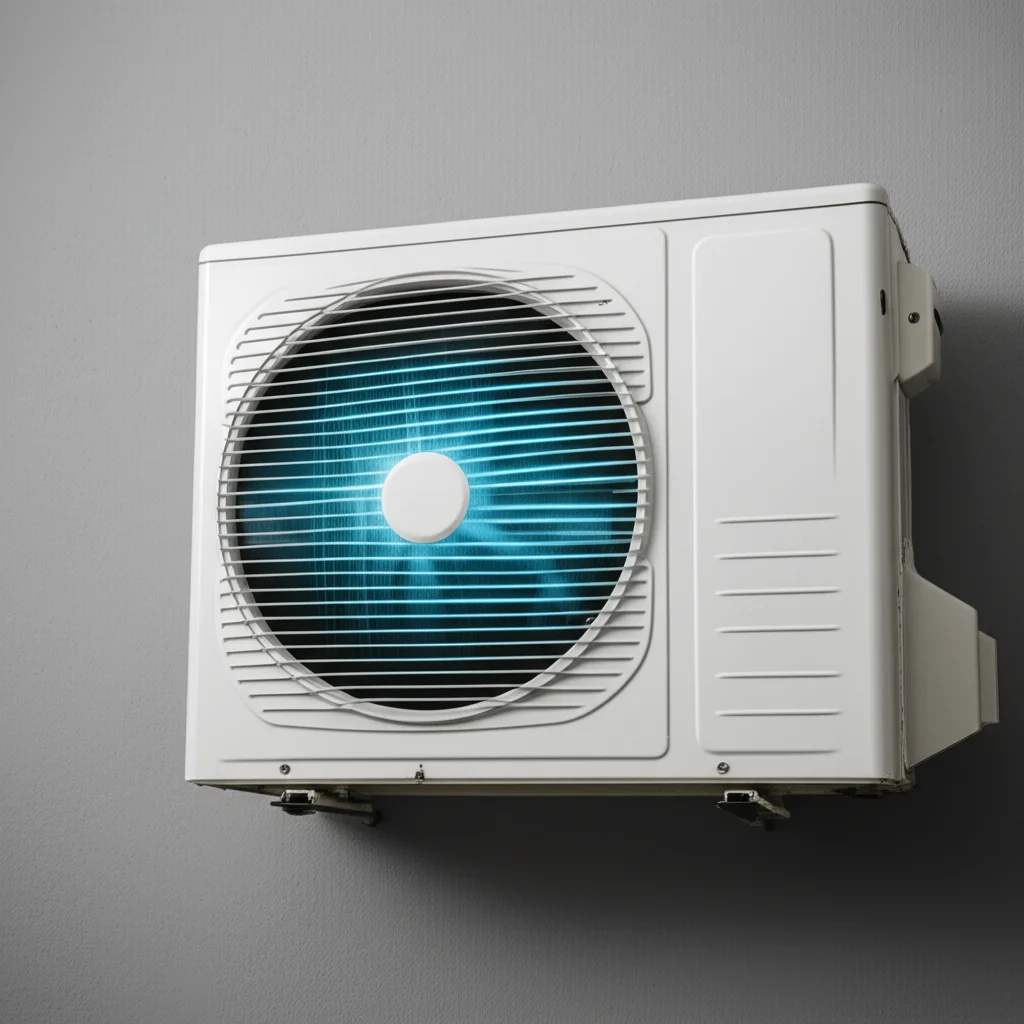
Maintaining the Outdoor Condenser Unit for Optimal Cooling
The outdoor condenser unit is the workhorse of your air conditioner. It expels the heat from your home into the outside air. Because it lives outside, it collects a lot of external dirt and debris. Keeping this unit clean is essential for efficient cooling and extending its life. I always make sure this unit is clear before summer starts.
Leaves, grass clippings, weeds, dust, and even pet fur can accumulate on the condenser coil fins. This debris blocks airflow over the coils. When airflow is restricted, the unit cannot dissipate heat effectively. This forces the compressor to work harder and run longer. This increases energy consumption and causes faster wear on the components. It can also lead to the unit overheating and shutting down.
Here are the key steps to maintain your outdoor condenser unit:
- Clear Surroundings: Begin by clearing any vegetation, leaves, or clutter from around the unit. Keep at least two feet of clear space around all sides of the condenser for proper airflow. Trim any bushes or trees that are too close.
- Remove Top Grille and Fan: Disconnect power at the outdoor disconnect box first. Then, carefully unscrew and lift the top grille of the unit. The fan blades are often attached to this. Be careful not to strain the electrical wires. You might need to gently rest the fan assembly on its side.
- Clean Inside the Unit: Use a shop vacuum to remove any leaves, dirt, or small animal nests from the bottom of the condenser housing.
- Rinse Coils: Use a garden hose to spray water through the condenser fins. Always spray from the inside out. This pushes the dirt and debris off the fins, rather than deeper into them. Use moderate water pressure; high pressure can bend delicate fins.
- Clean Fan Blades: Wipe down the fan blades with a damp cloth to remove any accumulated grime.
- Straighten Bent Fins: The delicate aluminum fins on the coil can bend easily. Bent fins block airflow. Use a specialized tool called a fin comb to gently straighten any bent fins. Slide the comb along the bent fin to gently realign it.
- Reassemble: Once everything is clean and dry, carefully lower the fan and grille back into place. Secure it with screws. Restore power to the unit.
Regular maintenance of your outdoor condenser unit ensures your AC runs efficiently. It also helps avoid costly breakdowns. This simple routine keeps your cooling system ready for the demands of warmer weather.
Cleaning Your Indoor Air Handler Unit for Fresh Air
The indoor air handler, or furnace, houses crucial components of your AC system. It contains the evaporator coil, the blower motor, and the drain pan. Keeping this part clean is essential for good indoor air quality and system efficiency. A dirty air handler can circulate allergens and odors throughout your home.
Dust, mold, and mildew can accumulate inside the air handler. The blower motor and fan blades can get coated with grime. This reduces airflow and makes the motor work harder. The insulated blower motor uses more electricity. It also produces less effective airflow. Dirty components inside the air handler can also become a source of unpleasant smells.
Here is how to clean your indoor air handler:
- Disconnect Power: As always, turn off power to the indoor unit at your home’s main electrical panel.
- Access the Blower Compartment: Locate and open the access panel for the blower section. This might require unscrewing a few fasteners.
- Inspect and Clean Blower Fan:
- Remove Debris: Use a soft brush or a vacuum cleaner with a narrow attachment to remove loose dust and debris from the blower wheel.
- Wipe Blades: If possible, gently wipe down the individual blades of the blower wheel with a damp cloth or a mixture of mild soap and water. Be careful not to bend the blades. Some blower wheels are removable, but this is a more advanced task.
- Clean the Blower Housing: Wipe down the inside surfaces of the blower housing with a damp cloth. You can use a mild all-purpose cleaner if needed.
- Check Electrical Connections: While inside, visually inspect any visible electrical connections for signs of wear or corrosion. Do not touch them.
- Inspect Evaporator Coil and Drain Pan: If your evaporator coil is accessible from this compartment, give it a quick check. Ensure it is clean. Recheck the drain pan to make sure it is free of standing water or sludge.
A clean indoor air handler ensures that the air circulated in your home is as clean as possible. It helps your system move air efficiently. This cleaning also prevents odors. By performing this maintenance, you contribute to a healthier indoor environment. It also ensures your AC unit operates at its best.
Specific AC Unit Types and Their Cleaning Needs
Not all air conditioners are the same. Different types of AC units have unique designs. This means their cleaning processes can vary slightly. Understanding these differences helps you clean your specific unit effectively. I know my portable AC needs different care than a central system.
Cleaning a Window Air Conditioner
Window units are compact and self-contained. They are popular for cooling individual rooms. They often collect dust and mold due to their direct exposure to outdoor elements and condensation.
- Disconnect Power: Unplug the unit from the wall outlet.
- Remove Cover and Filter: Take off the front grille and slide out the air filter. Clean the filter as described previously. Many window units are prone to mold. Our guide on how to clean mold from window air conditioner offers specific advice.
- Clean Coils: Use a vacuum with a brush attachment to gently clean the visible evaporator coils inside. On the back, spray the condenser coils with water from a garden hose to remove dirt.
- Clean Drain Pan: Locate the drain pan at the bottom. Clear any standing water or debris.
- Wipe Housing: Clean the outer casing with a damp cloth. Ensure all parts are dry before reassembling.
Cleaning a Portable Air Conditioner
Portable AC units are convenient because you can move them between rooms. They also contain all components in one freestanding unit.
- Unplug Unit: Disconnect power completely.
- Remove and Clean Air Filters: Portable units often have multiple filters (air filter, carbon filter). Remove and clean them with warm, soapy water or vacuum. Let them dry fully.
- Empty Water Tank: Portable ACs collect condensate in an internal tank. Regularly empty this tank. Some units have a continuous drain option. Refer to your manual for specific details on how to clean a portable air conditioner, including its water tank: how to clean portable air conditioner water tank.
- Clean Coils: Access internal coils, usually by removing the back panel. Vacuum dust from the coils gently.
- Clean Exterior: Wipe the exterior casing with a damp cloth.
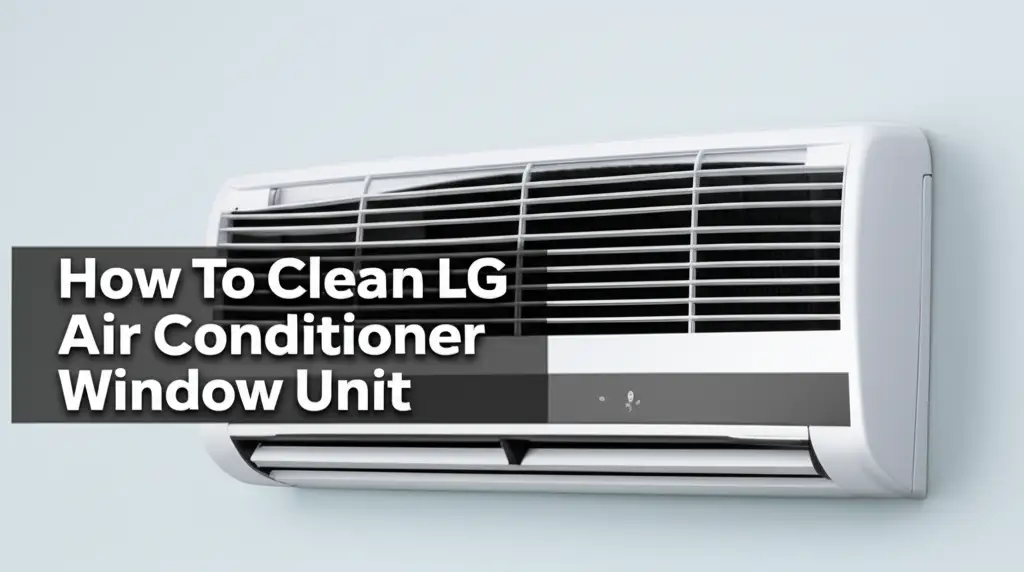
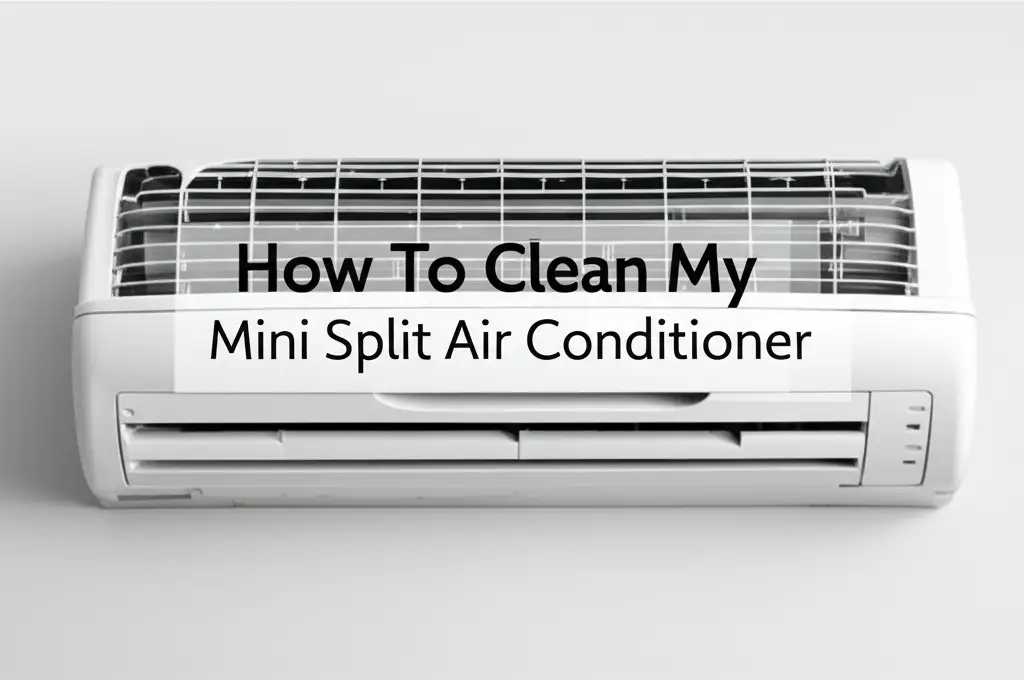
Cleaning a Wall-Mounted Mini-Split Unit (Ductless)
Mini-split systems are common for targeted cooling. They consist of an indoor wall-mounted unit and an outdoor condenser. The indoor unit requires specific care.
- Turn Off Power: Use the remote control to turn off the unit. Then, turn off the breaker for safety.
- Open Front Panel: Lift or open the front panel of the indoor unit.
- Remove and Clean Filters: Carefully remove the mesh air filters. Wash them under running water with mild soap. Allow them to dry completely.
- Clean Evaporator Coils: Use a soft brush or vacuum to remove dust from the evaporator coils behind the filters. You can spray a no-rinse coil cleaner on them.
- Clean Blower Fan/Vents: This is often the trickiest part. Use a vacuum with a narrow attachment to reach into the vents and clean the cylindrical blower fan. Some units allow for deeper cleaning access.
- Wipe Exterior: Clean the outside casing with a damp cloth.
- Reassemble: Replace filters and close the panel. Restore power. For more specific advice, our guide on how to clean air conditioner wall unit provides detailed steps.
These cleaning steps, tailored to your AC type, ensure maximum efficiency. Regular attention to your specific unit’s needs makes a big difference.
Frequently Asked Questions About Cleaning Your AC
Maintaining your air conditioner raises many common questions. Knowing the answers helps you make informed decisions about your unit’s care. Here are some of the most frequent inquiries I hear.
How often should I clean my air conditioner?
You should inspect your air filter monthly and clean or replace it every 1 to 3 months, depending on usage and household conditions. A full deep cleaning of coils, drain lines, and outdoor units is recommended annually, ideally before the cooling season begins. This schedule keeps your AC running smoothly and efficiently.
Can I use bleach to clean my AC unit?
No, avoid using bleach to clean your air conditioner. Bleach can corrode aluminum coils and rubber seals over time. It also produces strong fumes that are unhealthy to breathe. Instead, use specialized AC coil cleaners or a solution of distilled white vinegar and water. These alternatives are safer and effective.
What are the signs my AC needs cleaning?
Common signs include reduced cooling power, weak airflow from vents, unusual odors (musty or moldy smells), increased energy bills, or visible dirt and mold on the vents or filters. If you notice any of these, it is a good time to inspect and clean your AC unit.
Is professional AC cleaning necessary?
While many cleaning tasks are DIY-friendly, professional cleaning is beneficial every few years. Professionals have specialized tools to clean deep within the system, like ductwork, and can spot potential issues. They can also handle complex tasks like refrigerant checks. For cleaning air conditioner ducts, you might need a professional: how to clean air conditioner ducts.
Can a dirty air conditioner make me sick?
Yes, a dirty air conditioner can circulate allergens, dust mites, mold spores, and bacteria throughout your home. This can worsen allergies, trigger asthma symptoms, and potentially cause respiratory issues or skin irritations. Keeping your AC clean contributes to a healthier indoor environment.
How long does it take to clean an air conditioner?
Cleaning the air filter takes only a few minutes. A more thorough annual cleaning, including coils and drain lines, typically takes 1 to 3 hours, depending on the unit’s type and how dirty it is. Taking your time ensures a proper and effective clean.
Conclusion
Keeping your air conditioner clean is an important task for any homeowner. It ensures your system provides consistent, comfortable cooling. We have walked through the key steps involved in how to clean an air conditioner, from basic filter maintenance to deep cleaning coils and drain lines. By following these guidelines, you extend the life of your unit. You also improve its efficiency and the air quality inside your home.
A clean air conditioner means lower energy bills and a healthier living space. Remember to always prioritize safety by disconnecting power before you start. Regular cleaning prevents costly repairs and ensures your AC performs at its best. Make AC cleaning a part of your annual home maintenance routine. Your wallet and your lungs will thank you. Take action today to give your air conditioner the care it deserves. Enjoy a cooler, cleaner home.
- air conditioner cleaning
- AC maintenance
- DIY AC clean
- home HVAC care
- improve air quality

Todd Martin
Senior Writer
With over 15 years of experience in home renovation and design, I started HEG to share what I’ve learned with homeowners who want to create spaces that are both beautiful and functional. I’ve always believed in a hands-on approach, and over the years, I’ve picked up practical solutions that actually work. Through HEG, I aim to make home improvement more approachable, sharing real tips that help you create a home you truly love.