· Todd Martin · Air Purifiers · 13 min read
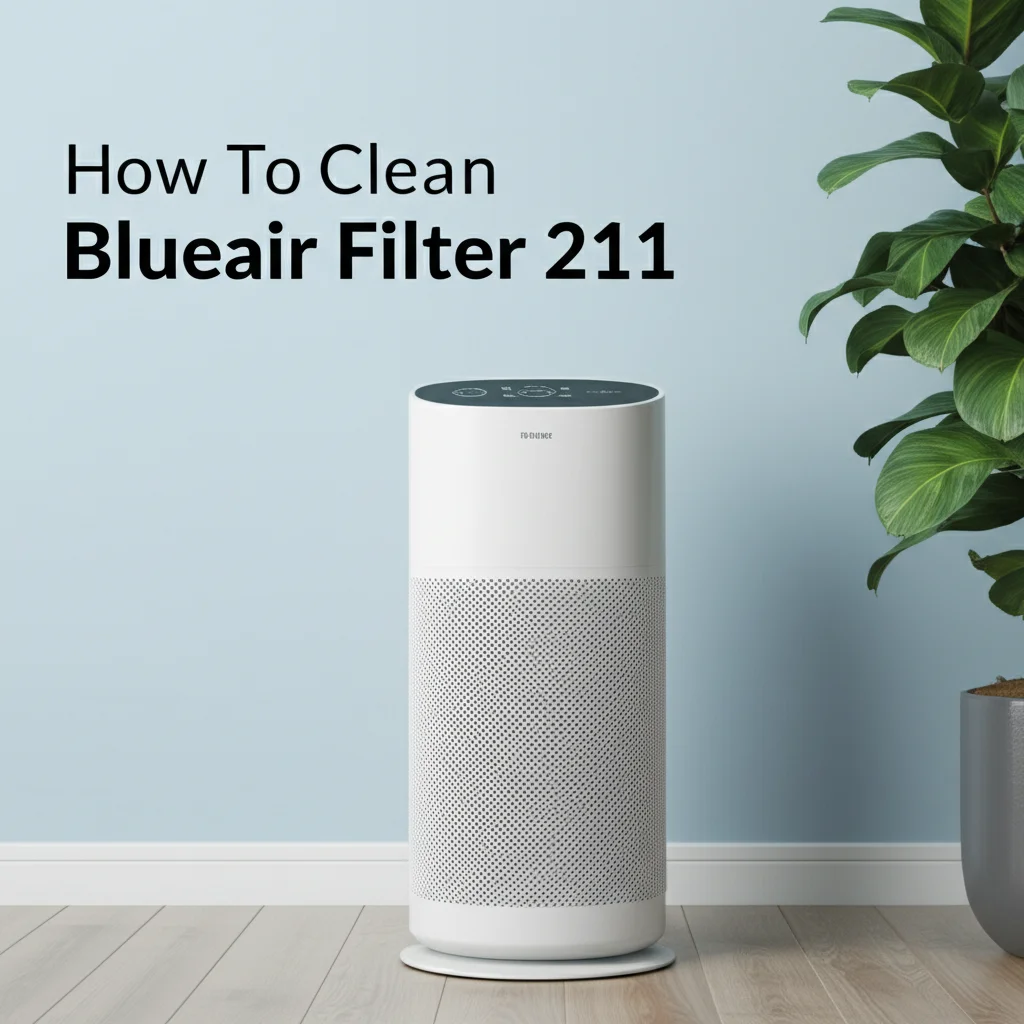
How To Clean Blueair Filter 211
Keep Your Air Clean: How to Clean Blueair Filter 211
Breathing clean air at home feels great. Your Blueair 211 air purifier works hard to provide this clean air. It traps dust, pollen, and other tiny particles. Over time, these filters collect a lot of debris. This article helps you understand the importance of maintenance. We will show you how to clean Blueair Filter 211 models. You will learn the right tools to use, step-by-step instructions, and vital tips for making your filter last longer. Keep your home air fresh and your Blueair 211 running well.
Takeaway
- Regularly check your Blueair 211 filter for dust buildup.
- Gently vacuum or brush the fabric pre-filter to remove loose debris.
- Follow Blueair’s guidelines for replacing the main filter every six months.
To clean a Blueair Filter 211, you primarily focus on the washable fabric pre-filter, which catches larger particles. You can gently vacuum or hand wash this pre-filter. The main particle and carbon filter inside the unit is not washable and requires replacement for optimal performance, typically every six months.
Understanding Your Blueair Filter 211: What Makes It Unique
The Blueair 211+ is a popular air purifier. It uses a unique filter system. This system includes two main parts. There is an outer fabric pre-filter. It also has an inner main filter.
The outer pre-filter on your Blueair 211 captures larger airborne particles. This includes dust, pet hair, and lint. You can often see this layer getting dirty. It acts as the first line of defense for your air purifier.
The inner main filter is different. It is a combination filter. This filter uses a particle filter. It also has an activated carbon layer. This combination removes smaller particles. It also helps remove odors and gases from your air. The main filter is vital for deep cleaning.
Blueair designs these filters for easy use. The pre-filter is simple to remove. You can clean it regularly. The main filter ensures high performance. This two-part system provides excellent air quality. It helps maintain a healthy home environment.
Why Regular Filter Cleaning Matters for Your Air Purifier
Maintaining your Blueair Filter 211 is important. Regular cleaning keeps your air purifier running well. A dirty filter makes the unit work harder. This uses more energy and costs you more money. Cleaning helps save on your electricity bill.
A clean filter traps more pollutants. If the filter is clogged, air cannot pass through easily. This means your air purifier cleans less air. You will not get the fresh air you expect. Dirty filters can also release dust back into your room. This defeats the purpose of having an air purifier.
Regular care extends the life of your main filter. The outer pre-filter protects the inner carbon filter. If you clean the pre-filter often, the main filter stays cleaner longer. This means you replace the main filter less often. This saves you money on replacement filters.
Proper maintenance prevents unpleasant smells. The carbon filter absorbs odors. A very dirty carbon filter can get saturated. This makes it less effective. Cleaning the pre-filter protects the carbon layer. This ensures your home smells fresh. Think about how other air filters benefit from regular cleaning, such as how keeping a clean air conditioner filter improves AC efficiency or how cleaning a range hood filter keeps your kitchen air fresh.
Gathering Your Tools: What You Need Before You Start
Before you clean your Blueair Filter 211, collect a few simple items. Having everything ready makes the process easy. You probably have most of these items at home. Preparation saves time and makes the job smooth.
First, you will need a vacuum cleaner. A handheld vacuum works well. Make sure it has a brush attachment. This attachment helps remove dust without damaging the filter. You can also use a regular vacuum with a hose and brush tool.
Next, find a soft brush. A clean, soft-bristled brush is good. A paintbrush or a gentle scrubbing brush works. This helps dislodge stubborn dirt. You might also want a microfiber cloth. This cloth helps wipe down the unit’s exterior.
For deeper cleaning of the fabric pre-filter, you will need water. A sink or a tub is sufficient. Use lukewarm water. Avoid hot water, as it might shrink the fabric. You also need a mild, bleach-free detergent. A small amount of laundry detergent or dish soap is fine.
Finally, prepare a drying area. You need a clean, flat surface. This area should be dry. Place a towel on the surface. This helps absorb excess water. You might also need a clothesline or a drying rack. These tools ensure a thorough and safe cleaning of your Blueair Filter 211.
Step-by-Step Guide: How to Clean Blueair Filter 211 Effectively
Cleaning your Blueair Filter 211 is a straightforward process. You need to focus on the pre-filter. The main filter is not washable. Follow these steps for best results. This ensures your air purifier performs well.
Step 1: Power Down and Unplug Your Unit
Safety comes first when cleaning. Turn off your Blueair 211 air purifier. Press the power button until it shuts down. Then, unplug the power cord from the wall outlet. This prevents any accidental starts during cleaning. It protects both you and the appliance. Do this before you touch any part of the filter.
Step 2: Remove the Fabric Pre-filter
The fabric pre-filter is the outer layer. It wraps around the main filter. Gently pull the pre-filter off the unit. It should slide off easily. You might see a lot of dust on it. This is normal. This filter catches large particles.
Step 3: Clean the Fabric Pre-filter
You have two main options for cleaning the fabric pre-filter: vacuuming or washing. Choose the method that fits your needs.
Option A: Vacuuming the Pre-filter
Vacuuming is quick and easy. Lay the fabric pre-filter flat. Use your vacuum cleaner with a brush attachment. Gently vacuum both sides of the fabric. Move the brush slowly to pick up all loose dust. This method is good for regular, light cleaning. It removes most surface dirt. Remember, a clean foam air filter or a Dyson blow dryer filter also benefits greatly from gentle vacuuming.
Option B: Washing the Pre-filter (for deeper cleaning)
Washing provides a deeper clean. If the pre-filter is very dirty, washing is best. Fill a sink or tub with lukewarm water. Add a small amount of mild, bleach-free detergent. Submerge the pre-filter in the soapy water. Gently hand wash it. You can rub it softly to remove grime. Rinse the pre-filter thoroughly under clean running water. Make sure no soap residue remains.
Step 4: Air Dry the Pre-filter Completely
After washing, the pre-filter must be completely dry. Squeeze out excess water. Do not twist or wring the fabric harshly. Lay it flat on a clean towel. You can also hang it on a clothesline or drying rack. Ensure good air circulation. Allow it to air dry for several hours. It must be bone dry before you put it back. Moisture can cause mold inside your air purifier. This step is critical for hygiene.
Step 5: Wipe Down the Air Purifier Unit
While the pre-filter dries, clean the main unit. Use a microfiber cloth. Dampen it slightly with water if needed. Wipe the exterior surfaces of your Blueair 211. Remove any dust or smudges. Do not spray water directly onto the unit. Avoid getting water inside the device. This keeps your air purifier looking clean. It also prevents dust from re-entering the system.
Step 6: Reassemble Your Blueair Filter 211
Once the pre-filter is completely dry, put it back. Slide the clean fabric pre-filter over the main filter. Ensure it fits snugly. Plug the power cord back into the wall outlet. Turn on your Blueair 211. You should notice improved airflow. The unit will run more efficiently now. You have successfully cleaned your Blueair Filter 211.
When to Clean or Replace Your Blueair Filter: Indicators and Schedule
Knowing when to service your Blueair Filter 211 is key. Regular checks keep your air purifier running effectively. There are clear signs and a recommended schedule to follow. Paying attention to these ensures optimal air quality.
Visual Inspection and Airflow Checks
First, check your fabric pre-filter. Look at it regularly. If you see a visible layer of dust, pet hair, or lint, it needs cleaning. The pre-filter should look clean and free of debris. A dirty pre-filter appears dull or discolored.
Next, feel the airflow. Place your hand near the air outlet. If the airflow feels weaker than usual, the filter might be clogged. Reduced airflow means your air purifier is working harder. This indicates a need for maintenance. A struggling unit cleans less air.
You might also notice a change in air quality. If your home air feels less fresh, or if odors return, the filters are probably saturated. The carbon filter absorbs smells. When it stops working, you will notice. These signs tell you it is time for action.
Blueair’s Recommended Replacement Schedule
Blueair provides a clear recommendation for the main filter. The main particle and carbon filter should be replaced every six months. This is crucial for maintaining high performance. Even if it looks clean, the filter media inside degrades over time. The carbon becomes saturated. It loses its ability to capture tiny particles and absorb odors.
Your Blueair 211+ model has an indicator light. This light often reminds you when to change the filter. Pay attention to this indicator. It is a helpful tool for maintenance. Following this schedule ensures you always have clean air.
Consider your home environment. If you have pets, allergies, or live in a dusty area, you might need to clean the pre-filter more often. You may even need to replace the main filter sooner. For example, if you live near a busy road, your filters collect more pollutants. Just like how different environments affect the cleaning frequency for a Levoit air filter or a Shark air purifier filter, your Blueair 211 also adapts to its surroundings. Always prioritize clean air.
Common Mistakes to Avoid When Cleaning Your Blueair Filter 211
Cleaning your air purifier filter seems simple. However, some common mistakes can damage your filter or the unit. Avoiding these errors ensures your Blueair 211 lasts longer. It also guarantees effective air purification.
Do not wash the main filter. The primary particle and carbon filter is not designed for washing. Water will damage its delicate fibers and carbon pellets. This makes the filter ineffective. It can also promote mold growth. Only the fabric pre-filter is washable.
Do not use harsh cleaning chemicals. Bleach, strong detergents, or abrasive cleaners can damage the fabric pre-filter. These chemicals might also leave residues. These residues can release harmful fumes into your air. Stick to mild, bleach-free soap for washing. For example, when cleaning a Homedics air purifier filter, it is also crucial to avoid harsh chemicals.
Do not put a wet filter back into the unit. Moisture can cause mold and mildew. This can grow inside your air purifier. It releases spores into your home. This defeats the purpose of an air purifier. Ensure the pre-filter is completely dry before reassembling. Air dry it for at least 24 hours.
Avoid excessive scrubbing or rough handling. The fabric pre-filter is durable but can tear. Gentle hand washing or vacuuming is enough. Do not pull or stretch the fabric excessively. This can distort its shape. A distorted pre-filter might not fit correctly. It could also reduce its filtering ability.
Do not ignore the filter replacement indicator. Your Blueair 211 has a light that signals filter replacement. Ignoring this light means your air purifier is running with a saturated filter. It will not clean your air properly. Change the main filter when the light turns on. Avoid these mistakes for effective and safe air purification.
Extending Your Filter’s Life: Tips for Optimal Performance
Making your Blueair Filter 211 last longer saves you money. It also ensures consistent air quality. Simple habits can significantly extend the life of your filters. These tips help your air purifier work at its best.
Regularly vacuum around your air purifier. Dust and pet hair on the floor get pulled into the unit. Cleaning the surrounding area reduces the load on your pre-filter. This means less frequent pre-filter washing. Consider how you might keep an air filter on a lawn mower clean by preventing too much debris from getting near it.
Place your air purifier strategically. Avoid placing it in very dusty corners. Keep it away from high-traffic areas if possible. This minimizes the amount of large particles it needs to capture. It also helps with better air circulation. Proper placement means less strain on the filter.
Address major sources of indoor pollutants. If you smoke indoors, consider stopping. Use exhaust fans when cooking. Control pet dander with regular grooming and cleaning. Reducing the overall pollutant load lessens the burden on your Blueair filter. This directly extends its useful life.
Run your air purifier on a lower setting when possible. Higher fan speeds draw more air. This also draws more particles into the filter. If air quality is not a major concern, use a lower setting. This still cleans the air effectively. It also reduces wear and tear on the filter.
Monitor your indoor air quality. Use a separate air quality monitor if you have one. This helps you understand when your air is dirtiest. You can then run the air purifier at higher settings during peak pollution times. Otherwise, maintain a lower setting. These small changes help extend your Blueair filter’s life.
FAQ Section
How often should I clean the fabric pre-filter on my Blueair 211? You should clean the fabric pre-filter every 2-4 weeks, or more often if you have pets, allergies, or live in a dusty environment. A quick visual check will tell you if it needs vacuuming or washing. Regular cleaning prevents excessive buildup and helps the main filter last longer.
Can I wash the main particle and carbon filter of my Blueair 211? No, you cannot wash the main particle and carbon filter. Water will damage its delicate structure and activated carbon pellets. Washing will make the filter ineffective and can encourage mold growth. The main filter needs replacement, not cleaning.
How do I know when to replace the main filter in my Blueair 211? Blueair recommends replacing the main filter every six months. Your Blueair 211+ also has an indicator light that signals when it’s time for a replacement. Additionally, if you notice reduced airflow, increased odors, or worsening air quality, it’s likely time for a new filter.
What type of detergent should I use to wash the fabric pre-filter? Use a mild, bleach-free liquid detergent for washing the fabric pre-filter. A small amount of laundry detergent or dish soap works well. Avoid harsh chemicals or abrasive cleaners, as they can damage the fabric and leave residues that could affect your indoor air quality.
Can a dirty filter affect my Blueair 211’s energy consumption? Yes, a dirty filter can increase your Blueair 211’s energy consumption. When the filter is clogged, the air purifier must work harder to pull air through it. This extra effort consumes more electricity. Regular cleaning helps maintain efficiency and keeps your energy bills lower.
Conclusion
Keeping your Blueair Filter 211 clean is simple. It ensures your air purifier provides optimal performance. You now understand how to clean the fabric pre-filter. This involves gentle vacuuming or washing. Remember, the main filter is not washable. It needs regular replacement. This keeps your home air fresh and healthy.
Maintaining your Blueair 211 extends its life. It also ensures efficient operation. You save money on energy and replacement filters. A clean air purifier means cleaner air for you and your family. Make filter maintenance a part of your regular home cleaning routine. Your lungs will thank you. Take action today and enjoy the benefits of truly clean air.
- Blueair 211 cleaning
- air purifier filter
- home air quality


