· Kianna Connelly · Home Cleaning · 14 min read
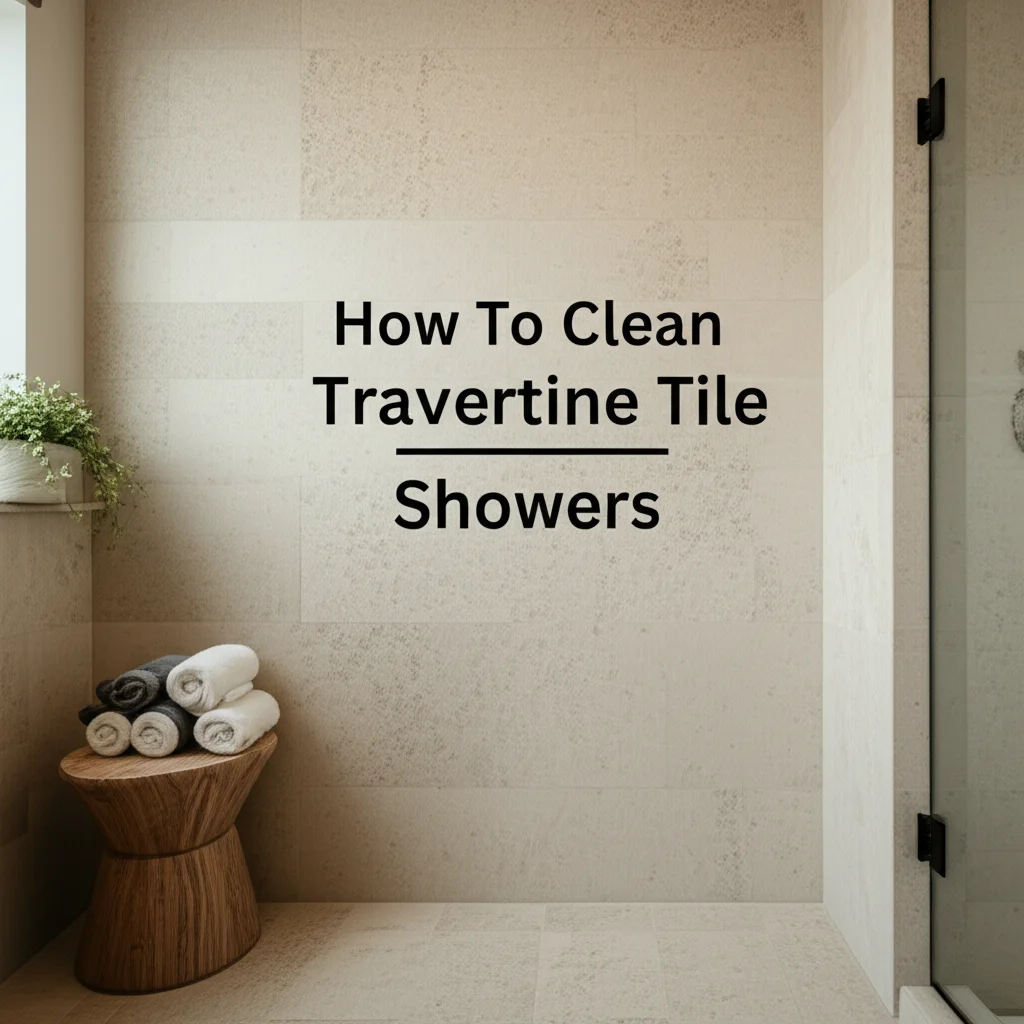
How To Clean Bottom Of Shower
How To Clean Bottom Of Shower Effectively
A clean bathroom feels fresh. The shower bottom, however, often sees the most grime. Soap scum, hard water stains, and mold can build up here. Neglecting this area makes your shower look dirty. It can also harbor harmful bacteria. I believe a clean shower bottom makes a big difference. It brightens your entire bathroom space. This guide shows you how to tackle tough stains. You will learn effective cleaning methods for your shower floor. We cover common problems and specific solutions. You will find tips for different shower materials. Our aim is to help you achieve a sparkling clean shower bottom. This article provides steps for easy maintenance.
Takeaway
- Gather essential cleaning tools and protective gear before you start.
- Use natural solutions like vinegar and baking soda for common stains.
- Target specific issues like hard water, mold, and grout stains with focused methods.
- Adapt cleaning techniques based on your shower material (tile, fiberglass, acrylic).
- Maintain a routine cleaning schedule to prevent future grime buildup.
To clean the bottom of your shower, you should remove loose debris, apply a suitable cleaning solution (such as a vinegar and baking soda paste or a specialized cleaner), let it sit to break down grime, then scrub the surface thoroughly, paying attention to grout and caulk lines, and finally rinse completely with water.
Understanding Common Shower Bottom Problems
The bottom of your shower faces constant exposure to water, soap, and dirt. This creates a perfect environment for various issues. Soap scum is a common problem. It forms when minerals in water react with soap residue. This leaves a dull, sticky film. It clings to surfaces like tiles and fiberglass. Hard water stains are another frequent issue. These appear as white or reddish mineral deposits. They come from high mineral content in your water. These stains can be tough to remove.
Mold and mildew also love shower bottoms. They thrive in damp, warm places. Mold often looks like black or pink spots. It grows in grout lines and around caulk. These growths are unsightly and can be unhealthy. Stains like orange discoloration can also appear. This is often due to iron in water or certain types of bacteria. Rust stains might show up from metal objects. Understanding these problems helps you choose the right cleaning method. Identifying the stain type is the first step towards an effective clean.
Essential Cleaning Tools and Supplies
Before you start cleaning, gather your tools. Having everything ready saves time. You will need certain items to clean the bottom of your shower effectively. A good stiff-bristled brush is crucial for scrubbing. A grout brush is also very helpful for those narrow lines. Microfiber cloths or sponges are good for wiping surfaces. Always use a spray bottle for applying liquid cleaners. This ensures even coverage.
Safety gear is important too. Wear rubber gloves to protect your hands from chemicals. Goggles or safety glasses protect your eyes from splashes. Sometimes, a face mask might be necessary. This is especially true when using strong cleaners or dealing with mold. Common household items like white vinegar, baking soda, and dish soap are often effective. For tougher stains, you might need hydrogen peroxide or a commercial cleaner. Having these supplies prepared makes the cleaning process much easier. It ensures you can tackle any type of grime efficiently.
Natural Cleaning Solutions for Your Shower Base
Natural cleaners are often very effective. They are also safer for your home. White vinegar and baking soda are powerful allies. These items can tackle many common shower bottom issues. They are non-toxic and eco-friendly. I often start with these gentle options. You can avoid harsh chemicals. This approach protects your shower surfaces. It also keeps your bathroom air clean.
Vinegar Power for Mild Stains
White vinegar works wonders on soap scum and hard water stains. Its acidic nature breaks down mineral deposits. I like to fill a spray bottle with undiluted white vinegar. I then spray the entire shower bottom. Make sure to cover all affected areas thoroughly. Let the vinegar sit for at least 15-30 minutes. For tougher buildup, you can let it sit longer. Then, scrub with a brush or sponge. The grime should come off more easily. Rinse the surface well with water afterwards. For more detailed instructions on using vinegar, you can check out our guide on how to clean shower with vinegar.
Baking Soda Paste for Tough Grime
Baking soda is a mild abrasive. It is excellent for scrubbing away stubborn dirt. To make a paste, mix baking soda with a little water. Add just enough water to form a thick consistency. Apply this paste directly to heavily soiled areas. Focus on soap scum buildup or discoloration. Let the paste sit for 10-15 minutes. This allows it to penetrate the grime. Then, scrub with your brush. The gritty texture of baking soda helps lift away dirt. This method is effective without scratching surfaces.
Combining Forces: Vinegar and Baking Soda
For a truly deep clean, combine vinegar and baking soda. This creates a fizzing reaction. This reaction helps lift stubborn grime and dissolve stains. First, sprinkle baking soda liberally over the wet shower bottom. Then, spray white vinegar over the baking soda. You will see it foam and bubble. This reaction is actively breaking down dirt. Let the mixture sit for 30 minutes to an hour. Afterward, scrub with a brush. Rinse thoroughly with warm water. This combination is especially powerful for how to clean with vinegar and baking soda. It tackles many tough spots on your shower base.
Targeting Stubborn Stains and Grime
Sometimes, natural solutions need a boost. Certain stains require specific attention. Hard water, rust, and orange stains are common culprits. They can make your shower bottom look very dirty. These stains embed deeply into the surface. Knowing how to target each type is key. This section provides focused strategies.
Removing Hard Water Marks
Hard water stains are tough, chalky deposits. They appear due to mineral buildup. For these stains, a strong acid works best. You can use lemon juice for a natural option. Apply it undiluted and let it sit. For tougher stains, a specialized hard water cleaner helps. Apply the cleaner according to package directions. Let it soak for the recommended time. Then, scrub vigorously with a stiff brush. Rinse the area completely afterwards. This helps remove all traces of the stain.
Tackling Orange Stains
Orange stains usually indicate iron in your water. They can also come from certain types of bacteria. A common solution for how to clean orange stains in shower is hydrogen peroxide. Mix hydrogen peroxide with a small amount of baking soda. This creates a paste. Apply the paste directly to the orange areas. Let it sit for 15-20 minutes. The peroxide helps bleach the stain. Scrub with a brush and rinse well. Repeating this process might be necessary for deep stains. Always test in an inconspicuous area first.
Dealing with Rust Spots
Rust stains appear from metal items left in the shower. Common culprits include shaving cream cans or razors. For small rust spots, lemon juice and salt can work. Sprinkle salt on the stain, then add lemon juice. Let it sit for a few hours. The acid and abrasive salt help lift the rust. For larger or older rust stains, an oxalic acid-based cleaner is effective. Follow the product instructions carefully. Apply, let sit, then scrub. Rinse thoroughly to prevent residue buildup.
Deep Cleaning Grout and Caulk at the Shower Bottom
Grout and caulk lines collect a lot of dirt. They also harbor mold and mildew. These areas are porous. They absorb grime easily. Cleaning these specific spots makes a huge difference. A clean grout line makes the entire shower look new. Caulk can get discolored and moldy. Addressing these parts is essential.
Revitalizing Grout Lines
Grout is porous and traps dirt. It can turn from white to gray or black. For how to clean grout in shower, a baking soda paste is very effective. Mix baking soda with hydrogen peroxide. Apply this paste directly onto the grout lines. Let it sit for 10-15 minutes. Use a stiff grout brush to scrub the lines. The narrow brush bristles get deep into the grout. You can also use a mixture of bleach and water for very stubborn moldy grout. Always ventilate well when using bleach. Rinse the grout thoroughly after scrubbing.
Cleaning Shower Caulk
Caulk seals the seams in your shower. It often becomes moldy and discolored. Black mold spots are common on caulk. For how to clean caulking in shower, a bleach-based cleaner works well. Apply a bleach solution directly to the moldy caulk. You can use a cotton ball soaked in bleach. Press it onto the mold and leave overnight. This allows the bleach to penetrate. In the morning, remove the cotton and rinse. For severe mold, re-caulking might be necessary. This ensures a clean and hygienic seal. Remember to ventilate the area well.
Cleaning Different Shower Bottom Materials
Shower bottoms come in various materials. Each material has specific cleaning needs. What works for tile might not be best for fiberglass. Using the correct method prevents damage. It also ensures an effective clean. Understanding your shower material is important. This section covers common types.
Tile and Grout Shower Bottoms
Ceramic and porcelain tiles are common shower materials. They are durable but can accumulate soap scum and hard water. Their porous grout lines also trap dirt easily. For how to to clean ceramic tile shower and grout, a combination of methods works best. Start with a vinegar spray for surface grime. For embedded dirt, use a baking soda paste. Apply it to both tiles and grout. Scrub the tiles with a non-abrasive pad. Use a dedicated grout brush for the grout lines. For tough mold in grout, a diluted bleach solution can be used. Always rinse very well after cleaning. Regular cleaning prevents heavy buildup.
Fiberglass and Acrylic Shower Pans
Fiberglass and acrylic are softer materials. They are prone to scratching. Avoid abrasive cleaners or harsh scrubbing pads. These can damage the surface. For how to clean fiberglass shower floor or acrylic pans, stick to gentle solutions. A mixture of dish soap and warm water is often enough for daily cleaning. For soap scum, a vinegar solution works well. Spray vinegar, let it sit, then wipe with a soft cloth. A baking soda paste can also be used. Make sure the paste is smooth. Do not use gritty baking soda directly. Gently rub with a sponge or soft cloth. Always rinse thoroughly to prevent residue.
Advanced Cleaning Techniques: When to Use Stronger Agents
Sometimes, natural cleaners are not enough. Very tough stains or persistent mold require stronger agents. These solutions can be powerful. They can effectively remove stubborn problems. Always use caution with these products. Proper ventilation is critical. Read all product labels carefully. This ensures safe and effective use.
Using Bleach for Serious Mold
Bleach is highly effective against mold and mildew. For significant mold on your shower bottom, bleach can provide a deep clean. Mix one part bleach with ten parts water in a spray bottle. Spray the affected areas liberally. Let the solution sit for 10-15 minutes. This allows the bleach to kill the mold spores. Scrub the area with a brush. Rinse thoroughly with plenty of water. Never mix bleach with ammonia or acid-based cleaners. This creates dangerous fumes. For details on how to clean mold with bleach, consult our specific guide. Ensure good ventilation when using bleach. Open windows and use a fan.
Commercial Cleaners for Persistent Issues
Many commercial shower cleaners are available. They target specific problems like soap scum or hard water. If natural methods fail, these can be a good option. Choose a cleaner formulated for your shower material. Read the instructions carefully before use. Apply the cleaner as directed. Let it sit for the recommended time. Then, scrub with a brush or sponge. Rinse thoroughly to remove all chemical residue. Some cleaners are designed for weekly maintenance. Others are for deep cleaning. I always test new products in a small, hidden area first. This checks for any adverse reactions. This prevents damage to your shower surface.
Maintaining a Clean Shower Bottom: Prevention is Key
Keeping your shower bottom clean is easier with prevention. Regular maintenance prevents heavy buildup. Small daily habits make a big difference. This saves you from deep cleaning later. It also keeps your bathroom healthier. Consistent effort means less work overall.
After each shower, take a minute to wipe down the bottom. Use a squeegee or a microfiber cloth. This removes water and soap residue. This simple step prevents soap scum formation. You can also spray a daily shower cleaner. These products help prevent mold and mildew growth. Ensure your bathroom is well-ventilated. Turn on the exhaust fan during and after showers. Open a window if possible. This reduces humidity. Humidity is a major cause of mold.
Fix any leaks promptly. Leaky faucets or showerheads cause constant dampness. This leads to mold and hard water stains. Consider a water softener if you have very hard water. This reduces mineral deposits. It makes cleaning much easier over time. Regular light cleaning is more effective. It is better than infrequent, heavy cleaning sessions. Make cleaning your shower bottom a routine part of your bathroom upkeep. This keeps your shower looking pristine.
FAQ Section
How often should I clean the bottom of my shower? You should clean the bottom of your shower at least once a week. Daily wiping helps prevent buildup. A thorough weekly cleaning prevents soap scum, mold, and hard water stains from setting in. This maintains hygiene and appearance.
What causes pink or orange stains on the shower bottom? Pink or orange stains on your shower bottom are often caused by airborne bacteria like Serratia marcescens. These bacteria thrive in moist environments and feed on soap residue. They are generally harmless but indicate a need for more frequent cleaning.
Can I use a power washer on my shower bottom? No, I do not recommend using a power washer on your shower bottom. The high pressure can damage grout, caulk, and even the shower material itself. It can also force water into walls, leading to unseen mold issues. Stick to brushes and sponges.
Is it safe to mix different cleaning products for my shower? No, mixing cleaning products can be very dangerous. For example, mixing bleach with ammonia or acid-based cleaners creates toxic gases. Always use one product at a time. Rinse surfaces thoroughly between different product applications to ensure safety.
How do I prevent future soap scum buildup? To prevent soap scum, wipe down the shower bottom after each use. A squeegee or cloth removes water and soap residue. You can also use a daily shower spray. This product helps prevent mineral deposits from forming. Using liquid body wash instead of bar soap can also help.
What should I do if my shower bottom has permanent stains? If your shower bottom has permanent stains, they might be etched into the material. Try specialized stain removers designed for your specific shower material. If stains persist, professional cleaning services might help. In some cases, resurfacing or replacement may be the only option.
Conclusion
Cleaning the bottom of your shower might seem like a chore. With the right approach, it becomes manageable. We covered understanding common problems. We explored essential tools. You learned about effective natural solutions. We discussed tackling specific stains like hard water and rust. We also looked at deep cleaning grout and caulk. Cleaning different materials like tile and fiberglass was covered. Finally, we touched on using stronger agents safely.
Maintaining a clean shower bottom requires consistent effort. Regular wiping and proper ventilation are key. My goal is to help you achieve a sparkling clean shower. You can enjoy a fresh and hygienic bathroom space. Do not let grime build up. Apply these tips. Your shower bottom will look its best. A clean shower enhances your daily routine. Take pride in your sparkling clean home.
- how to clean bottom of shower
- shower floor cleaning
- shower base cleaning
- soap scum removal
- mold removal shower
- hard water stains shower
- grout cleaning

Kianna Connelly
Cleaning Expert
With a background in hospitality management and a passion for professional organizing, I’ve dedicated my career to helping people create cleaner, calmer living spaces. At HEG, I design efficient, eco-friendly cleaning systems that not only save time but also deliver spotless, lasting results. I believe that a well-organized home brings peace of mind—and I’ve had the privilege of transforming thousands of homes with practical strategies that truly work. Whether it’s streamlining routines or tackling the toughest messes, I’m here to make clean living simple and sustainable.