· Todd Martin · Home Care · 8 min read
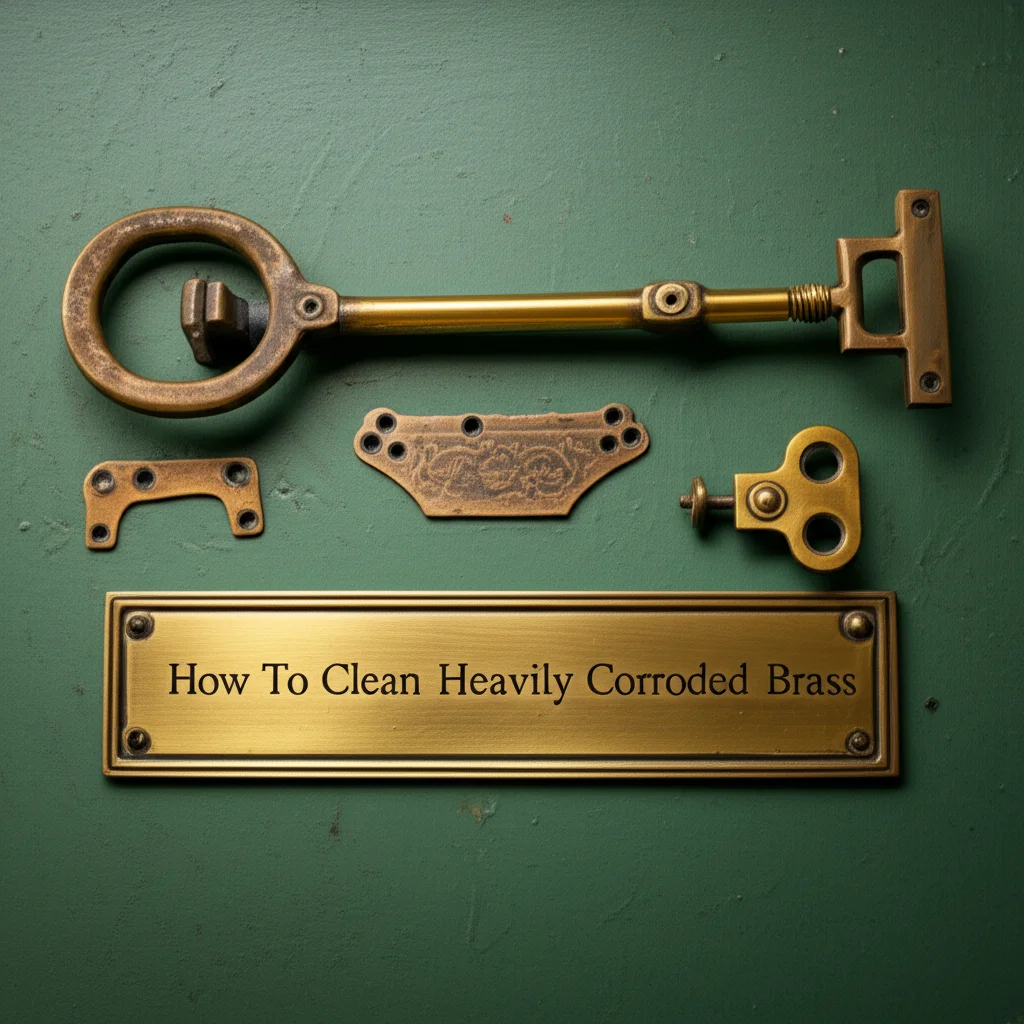
How To Clean Brass Without Removing Patina
Gentle Ways to Clean Brass While Preserving Patina
Have you ever looked at a beautiful piece of brass and wondered how to keep it clean without losing its distinctive, aged look? I understand the desire to maintain that rich, darkened surface. This unique layer, known as patina, often adds character and historical depth to brass items. Removing it can strip away the very essence of what makes antique brass special.
Cleaning brass items requires a careful approach, especially when you want to preserve their natural patina. Aggressive cleaners or harsh scrubbing can quickly strip this valuable layer, leaving the brass looking stark and new. I will show you how to clean brass without removing patina, ensuring your cherished pieces retain their authentic beauty. This article covers why patina is important, how to identify real brass, and gentle cleaning techniques that respect its aged finish. You will learn about mild solutions and proper aftercare to protect your brass for years to come.
Takeaway:
- Use mild, non-acidic cleaners like soap and water or gentle oils to remove dirt.
- Avoid harsh chemicals or abrasive scrubbing that strip the patina.
- Apply a protective wax or oil finish to maintain the cleaned surface and prevent new tarnish.
How do you clean brass without removing its patina?
You clean brass without removing its patina by using mild, non-acidic solutions and gentle techniques. Focus on removing surface dirt and grime rather than polishing away the aged layer. Soap and water, mineral oil, or a soft cloth are effective choices for preserving the brass’s natural, darkened finish.
Understanding Patina and Why It Matters
Patina is more than just dirt; it is a chemical reaction that develops on the surface of brass over time. This reaction typically results in a darkened, often brownish or greenish layer that gives brass an antique appearance. Many collectors and enthusiasts value this natural aging process, as it adds character and historical significance to the item. Think of it as the brass’s story, etched onto its surface.
Removing patina means stripping away this aged surface, exposing the bright, shiny brass underneath. While some prefer a highly polished look, preserving the patina is essential for maintaining the authenticity and value of older pieces. It acts as a protective barrier, preventing further corrosion and adding to the item’s unique aesthetic. Understanding this natural process is the first step in knowing how to clean brass without removing patina, ensuring you respect the item’s journey through time.
The Role of Patina in Brass Appearance
Patina is a complex layer formed by oxidation and environmental exposure. This layer can vary in color from a subtle brown to a deeper, almost black hue, depending on the brass alloy and its environment. It creates a rich, nuanced finish that cannot be replicated quickly. This natural aging process is highly sought after in antique furniture, musical instruments, and decorative objects.
When you clean brass, your goal should be to remove surface grime and accumulated dirt, not to erase this beautiful protective layer. I always approach brass cleaning with respect for its history. If you are cleaning brass that has turned black due to severe tarnish, it is important to distinguish between desirable patina and detrimental corrosion that could harm the metal. Learning how to identify the difference helps you preserve the brass effectively. Learn how to clean brass that has turned black.
Identifying Real Brass Before You Clean
Before attempting to clean any item, it is crucial to confirm that it is indeed solid brass. Many objects that look like brass are actually brass-plated, meaning they have a thin layer of brass over another metal, often steel or zinc. Cleaning plated items with methods intended for solid brass can damage the thin coating, leading to chipping, flaking, or exposure of the base metal. This can ruin the item’s appearance and significantly diminish its value.
A simple magnet test is the easiest way to identify real brass. Solid brass is not magnetic, so a magnet will not stick to it. If the magnet clings to the item, it is likely brass-plated. For plated items, you need to be even more gentle to avoid scratching or eroding the thin brass layer. Knowing what you are working with guides your cleaning choices, helping you avoid irreversible damage.
The Magnet Test for Brass Identification
To perform the magnet test, simply hold a standard refrigerator magnet against the item you want to clean. If the magnet sticks firmly, the item is not solid brass; it is brass-plated. If the magnet does not stick or only barely sticks, you likely have solid brass. This quick test saves you from making cleaning mistakes.
Another indicator is the item’s weight. Solid brass is quite heavy for its size compared to hollow or plated items. Look for areas where the brass might be worn, such as edges or raised details; if you see a silver or grayish color peeking through, it is plated. Always proceed with caution until you confirm the material.
Gentle Cleaning Methods for Preserving Patina
The key to cleaning brass without removing its patina is using the mildest possible solutions and a very gentle touch. You want to remove surface dirt, dust, and light grime, not the underlying oxidized layer. Abrasive cleaners or harsh chemicals will strip the patina quickly. I recommend starting with the least aggressive method and only moving to stronger options if necessary. Remember, the goal is preservation, not intense polishing.
These gentle methods prioritize maintaining the brass’s historic charm. They are safe for most brass items, even those with intricate details. Always test your chosen cleaning method on an inconspicuous area first, especially with very old or valuable pieces. This ensures the method does not cause any undesirable changes to the finish.
Method 1: Soap and Water Wash
For most brass items with desirable patina, a simple wash with mild dish soap and warm water is all you need. This method effectively removes dust, fingerprints, and light surface grime without affecting the underlying patina. It is the safest and most recommended starting point for general maintenance. I find this method works wonders on frequently handled items like doorknobs or decorative accents.
- Fill a basin with warm water and add a few drops of mild dish soap. Avoid harsh detergents.
- Dip a soft cloth, like microfiber, into the soapy water and wring it out so it is damp, not dripping.
- Gently wipe the entire brass surface. Do not scrub vigorously. Focus on wiping away visible dirt.
- Use a soft brush (like an old toothbrush) for intricate areas, but be very gentle.
- Rinse the cloth with clean water and wipe down the brass again to remove all soap residue.
- Immediately dry the brass thoroughly with a clean, soft cloth to prevent water spots and new tarnish.
Method 2: Mineral Oil or Olive Oil Rub
Using mineral oil or olive oil is another excellent way to clean and nourish brass while preserving its patina. The oil helps to lift dirt and grime, and it also imparts a subtle luster without making the brass overly shiny. This method is particularly effective for brass that looks dull or has a slight film. It conditions the metal and can even deepen the richness of the patina.
- Apply a small amount of mineral oil or olive oil to a soft, clean cloth.
- Gently rub the oil onto the brass surface in small sections. You will notice dirt lifting onto the cloth.
- Continue rubbing until the dirt is gone and the brass has a gentle sheen.
- Use a separate clean, dry cloth to buff the surface and remove any excess oil.
- This method also leaves a slight protective layer, which is beneficial. It is similar to how you might clean kitchen cabinets without removing their finish. Discover how to clean kitchen cabinets without removing finish.
Tackling Stubborn Spots Without Stripping Patina
Sometimes, brass items might have more stubborn spots of grime or localized tarnish that a simple soap and water wash cannot remove. The challenge is to target these areas without affecting the surrounding patina. This requires a more localized and targeted approach. I often encounter brass pieces with specific marks that need careful attention.
Avoid using abrasive pads or harsh chemical polishes, as these will inevitably strip the patina. Instead, think about gentle friction and mild, non-acidic abrasive agents applied selectively. The goal remains to lift the stain, not to reveal the bright brass underneath. Patience is key when dealing with these more challenging blemishes.
Using a Lemon & Baking Soda Paste (Very Mild)
A paste made from lemon juice and baking soda is a popular home remedy for brass, but it needs extreme caution when preserving
- brass cleaning
- preserve patina
- antique brass care

Todd Martin
Senior Writer
With over 15 years of experience in home renovation and design, I started HEG to share what I’ve learned with homeowners who want to create spaces that are both beautiful and functional. I’ve always believed in a hands-on approach, and over the years, I’ve picked up practical solutions that actually work. Through HEG, I aim to make home improvement more approachable, sharing real tips that help you create a home you truly love.