· Todd Martin · Kitchen Cleaning · 12 min read
How To Clean Greasy Oven
Reclaim Your Kitchen: How to Clean Greasy Oven Effectively
A clean oven is a happy oven, and a happy oven makes for a happy cook. However, that layer of baked-on grease and food spills can feel like an impossible challenge. Do you wonder how to clean a greasy oven without spending hours scrubbing or using harsh chemicals? I understand that feeling completely. Over time, spills, splatters, and burnt-on residue build up, turning your once shiny appliance into a sticky, smoky mess.
This guide will show you simple, effective ways to tackle even the toughest grease. We will explore various cleaning methods, from natural solutions using everyday pantry items to powerful commercial cleaners. You will learn step-by-step how to clean your oven’s interior, racks, and glass door. By the end, your oven will sparkle, ready for your next culinary adventure.
Takeaway
- Prepare your oven by removing racks and loose debris.
- Choose between natural (baking soda/vinegar) or commercial cleaners.
- Apply cleaner, allow dwell time, then scrub and wipe thoroughly.
- Clean racks and glass separately for best results.
- Maintain cleanliness with regular spot cleaning.
Clear and Concise Answer
To effectively clean a greasy oven, first remove racks and loose debris. Apply a baking soda paste or a commercial oven cleaner, allowing it to sit for several hours or overnight. Finally, scrub away loosened grease and residue, wipe clean with a damp cloth, and rinse thoroughly to reveal a sparkling interior.
Understanding the Greasy Oven Problem
Grease buildup in your oven is more than just unsightly. It affects how your food cooks. It creates smoke, smells, and can even become a fire hazard. When you heat your oven, old grease continues to cook, producing unpleasant odors. This cooked-on grease makes your oven less efficient. It can also transfer flavors to your food, which is not what anyone wants.
Oven grease comes from cooking. Fats from roasting meats, bubbling casseroles, and baking dishes splatter onto the oven walls. Over time, these splatters bake onto the surfaces. They form a stubborn, sticky layer. This layer gets harder to remove the longer it sits. Regular cleaning helps prevent this accumulation.
Understanding the cause helps you clean more effectively. It also helps you take steps to prevent future buildup. A well-maintained oven lasts longer. It also cooks food better and safer. Knowing why grease builds up helps you choose the right cleaning method. It prepares you for the task ahead.
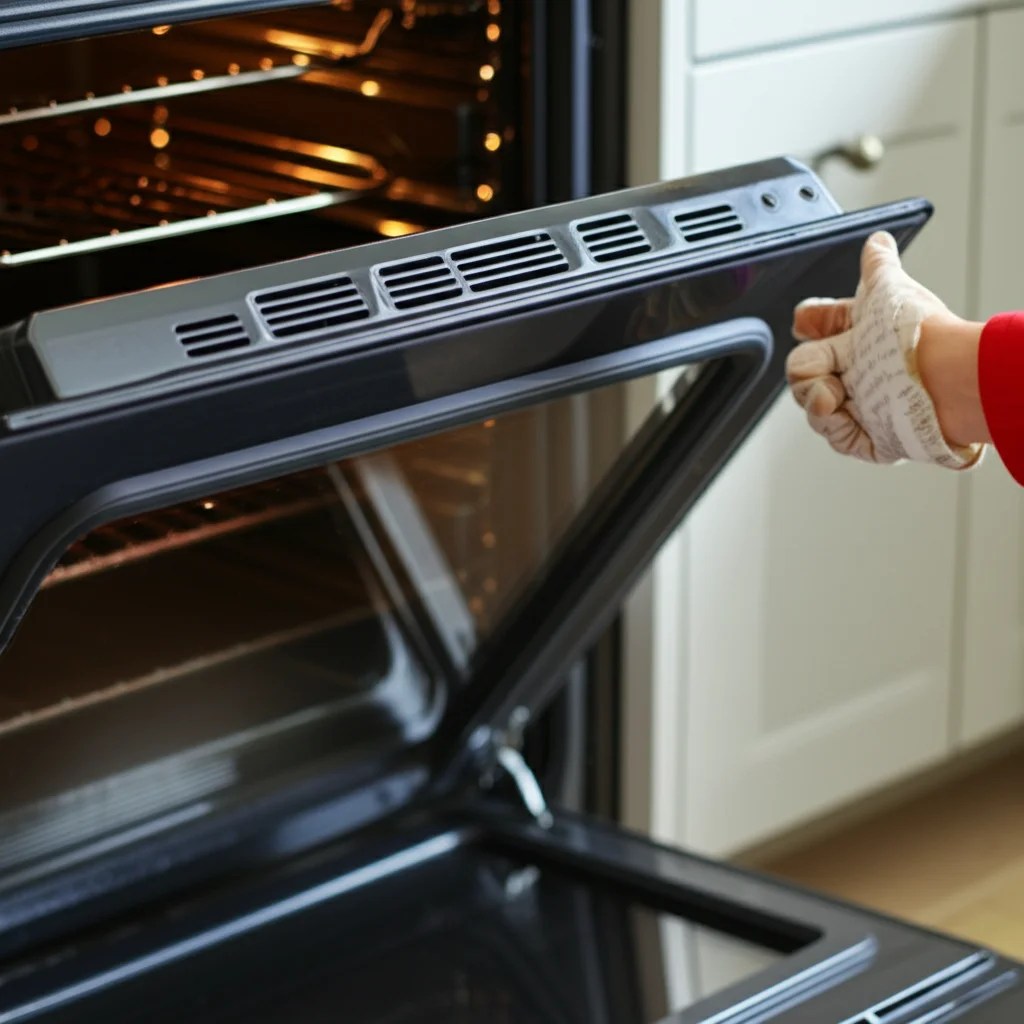
Safety First: Preparing for Oven Cleaning
Before you start any cleaning project, safety is very important. This is especially true when you clean an appliance like an oven. Always make sure your oven is completely cool before you begin. Never clean a hot oven. This prevents burns and potential damage to the appliance. Disconnect the oven from its power source if possible. Pull out the plug from the wall outlet or flip the circuit breaker. This removes any risk of electric shock.
Gather all your cleaning supplies before you start. This includes gloves, sponges, cloths, and your chosen cleaner. Wear protective gloves to shield your hands from harsh chemicals or abrasive solutions. Good ventilation is also crucial. Open windows and turn on exhaust fans. This helps clear fumes, especially if you use commercial oven cleaners. These cleaners often contain strong chemicals. Air circulation protects your respiratory system.
Place old newspapers or towels on the floor around the oven. This protects your kitchen floor from spills. It also catches any drips from cleaning solutions. Having everything ready makes the cleaning process smoother and safer. Always read the instructions on commercial cleaning products. They contain important safety information. Your health and safety are the top priority.
Natural Cleaning Solutions for Greasy Ovens
You can clean a greasy oven effectively using common household ingredients. Baking soda and vinegar are powerful natural cleaners. They create a fizzy reaction that breaks down grease. This method is safe for your family and pets. It avoids the harsh fumes of chemical cleaners.
First, remove oven racks and any loose food debris. You can use a vacuum cleaner attachment for crumbs. Mix about half a cup of baking soda with a few tablespoons of water. Create a thick paste. Spread this paste all over the interior surfaces of your oven. Avoid heating elements and fan openings. Pay extra attention to heavily greased areas. The paste will turn brown as it absorbs grease. This means it is working.
Let the baking soda paste sit for at least 12 hours, or overnight. This long waiting time allows the baking soda to soften the baked-on grease. After waiting, spray the dried paste with white vinegar. The vinegar reacts with the baking soda, creating a foaming action. This helps lift the grease and grime. Gently scrub the surfaces with a non-abrasive sponge or cloth. For stubborn spots, use a plastic scraper. Wipe away all residue with a damp cloth. Rinse the cloth often. Repeat as needed until your oven is sparkling clean. This natural method works wonders on greasy surfaces. It leaves your oven fresh without chemical smells. If you want to know more about this specific method, you can learn how to clean oven with baking soda.
Tackling Tough Grease with Commercial Cleaners
Sometimes, natural methods need a little help. For extremely tough, baked-on grease, commercial oven cleaners offer a powerful solution. These products are designed to dissolve stubborn grime quickly. They save you a lot of scrubbing time. Always choose a product that fits your oven type. Some cleaners are specifically for self-cleaning ovens. Others are for traditional ovens. Read the product label carefully before buying.
Before applying, ensure your kitchen is well-ventilated. Open windows and doors. Wear rubber gloves and eye protection. Spray the cleaner generously onto all interior surfaces of the oven. Avoid heating elements, pilot lights, and any electrical connections. Follow the product’s instructions for dwell time. This varies, usually from 20 minutes to several hours. For very heavy grease, some products recommend overnight application.
After the recommended time, use a damp cloth or sponge to wipe away the cleaner and loosened grease. You may need to scrub stubborn spots with a non-abrasive scrubber. It is important to rinse the oven thoroughly. Wipe several times with clean, damp cloths. This removes all chemical residue. Any remaining cleaner can produce fumes when you heat the oven. Some cleaners require you to turn on the oven for a short period after cleaning. This burns off any lingering residue. Always check the product instructions for proper ventilation and post-cleaning steps. When facing heavy grease, commercial cleaners can be very effective in restoring your oven’s cleanliness. They simplify the process of how to clean grease from oven.
Cleaning Oven Racks and Glass Door
Cleaning the main oven cavity is only part of the job. Your oven racks and glass door also accumulate significant grease and grime. These parts require specific cleaning techniques. Ignoring them leaves your oven looking half-clean. They also contribute to smoke and odors.
For oven racks, you have several options. One effective method is to soak them. Fill your bathtub or a large basin with hot water and add a few drops of dish soap. You can also add half a cup of baking soda or half a cup of laundry detergent. Submerge the racks completely. Let them soak overnight. The grease will loosen, making it easy to wipe away the next day. For alternative methods, you can read about how to clean greasy wire racks or explore other solutions for oven racks. After soaking, scrub any remaining residue with a stiff brush or old cloth. Rinse the racks thoroughly and dry them before returning them to the oven.
The oven glass door often gets a thick film of grease and burnt-on splatters. You can use a baking soda paste for this too. Mix baking soda with a little water to form a paste. Spread it generously over the inside of the oven glass. Let it sit for 20-30 minutes, or longer for tougher spots. Use a non-abrasive sponge or a plastic scraper to gently remove the loosened grime. For a streak-free finish, wipe the glass with a vinegar-dampened cloth. Then, wipe dry with a clean microfiber cloth. This ensures a clear view into your oven. For detailed steps on how to clean inside oven glass, check out our dedicated guide.
Post-Cleaning Care and Prevention Tips
Cleaning a greasy oven is hard work. You want that sparkle to last. Regular maintenance is key to preventing future heavy grease buildup. A few simple habits can keep your oven looking cleaner for longer. These tips will save you time and effort in the long run. They make your deep cleaning tasks much easier.
After each cooking session, especially after roasting or baking greasy foods, wipe down the oven interior. Wait for the oven to cool down completely first. Use a damp cloth or a sponge with a little dish soap. This quick wipe removes fresh spills before they bake on and become stubborn. Catching spills early prevents significant grease accumulation. This simple step is very effective.
Consider using oven liners or baking sheets under dishes that might splatter. Silicone oven liners catch drips and can be easily removed and washed. Aluminum foil also works well as a temporary liner. This acts as a barrier between your food and the oven floor. It minimizes direct grease contact with the oven surfaces. This proactive approach significantly reduces the amount of grease that bakes onto your oven. By adopting these habits, you can extend the time between deep cleaning sessions. Keeping the bottom of your oven clean is essential for overall oven hygiene.
Troubleshooting Common Greasy Oven Issues
Even with the best cleaning methods, you might encounter specific challenges. A common issue is persistent odors after cleaning. This often happens if some cleaner residue remains. To fix this, wipe the oven down several more times with a clean, damp cloth. Then, turn on your oven to a low temperature (around 250°F or 120°C) for 15-30 minutes. Make sure your kitchen is well-ventilated during this process. This helps burn off any remaining fumes and odors.
Sometimes, a self-cleaning oven doesn’t get perfectly clean. Self-cleaning cycles use high heat to burn off grease. However, they can leave behind a fine ash. This ash can be greasy or stubbornly stick to surfaces. After a self-clean cycle, wait for the oven to cool. Then, wipe out the ash with a damp cloth. For particularly tough spots after a self-clean, a light application of baking soda paste can help. Remember that self-cleaning ovens do not eliminate the need for occasional manual spot cleaning, especially if you have an older model gas oven. Knowing how to clean a gas oven differs slightly from electric ovens.
If your oven still seems greasy in specific spots, you might need to re-apply the cleaner to those areas. Allow a longer dwell time. Use a plastic scraper for burnt-on spots that won’t budge with scrubbing alone. Persistence and targeted treatment can overcome most stubborn grease problems. Do not get discouraged by difficult spots. Your oven will eventually get clean.
FAQ Section
Q1: How often should I clean my greasy oven? A1: Clean your oven when you notice significant grease buildup or persistent smoke and odors during cooking. For light use, a deep clean every 3-6 months is usually enough. If you cook frequently or prepare greasy meals, consider cleaning it every 1-2 months. Regular spot cleaning after each use helps prolong the time between deep cleans.
Q2: Can I use steel wool or abrasive scrubbers on my oven? A2: No, avoid using steel wool or highly abrasive scrubbers inside your oven. These materials can scratch the enamel or protective coating, damaging the surface. Scratches can make future grease buildup even harder to remove. Always use non-abrasive sponges, cloths, or plastic scrapers.
Q3: Is it safe to use a self-cleaning cycle on a very greasy oven? A3: Using a self-cleaning cycle on a very greasy oven is often not recommended. Excessive grease can create a lot of smoke and strong odors during the high-heat cycle. It can also potentially cause a small fire. It is best to scrape out large grease deposits before running a self-clean cycle.
Q4: What if my oven smells like chemicals after cleaning? A4: A chemical smell after cleaning indicates residual cleaner. Wipe the oven interior thoroughly with clean, damp cloths several times. Then, open windows for ventilation. Turn on the oven to a low temperature (e.g., 250°F or 120°C) for 15-30 minutes. This will help burn off any lingering fumes.
Q5: Can I clean my oven without harsh chemicals? A5: Yes, you can effectively clean your oven using natural ingredients. A paste made from baking soda and water, followed by a spray of white vinegar, is a powerful combination. It breaks down grease and grime without the need for harsh chemicals or strong fumes. This method is safe and eco-friendly.
Q6: How can I prevent my oven from getting greasy quickly? A6: Prevent quick grease buildup by wiping spills immediately after the oven cools. Use oven liners or foil under dishes prone to splattering. This catches drips before they bake onto the oven surfaces. Regular, quick wipe-downs will significantly reduce the need for deep cleaning.
Conclusion
Cleaning a greasy oven can seem like a daunting chore, but it does not have to be. By following these practical steps, you can effectively tackle even the most stubborn baked-on grease. Whether you choose natural solutions like baking soda and vinegar or opt for the power of commercial cleaners, a sparkling clean oven is within reach. Remember to prioritize safety by preparing your space and ensuring proper ventilation.
A clean oven not only looks better but also functions more efficiently and safely. Regular maintenance and quick clean-ups after cooking sessions will help prevent future heavy grease buildup, making your cleaning tasks much easier in the long run. Take pride in your kitchen. Make your oven shine once more. Your efforts will result in a healthier cooking environment and tastier meals. So, roll up your sleeves and get ready to enjoy a truly clean kitchen appliance. Start cleaning your greasy oven today. You will love the results!
- oven cleaning
- greasy oven
- kitchen cleaning
- oven maintenance
- home cleaning

Todd Martin
Senior Writer
With over 15 years of experience in home renovation and design, I started HEG to share what I’ve learned with homeowners who want to create spaces that are both beautiful and functional. I’ve always believed in a hands-on approach, and over the years, I’ve picked up practical solutions that actually work. Through HEG, I aim to make home improvement more approachable, sharing real tips that help you create a home you truly love.