· Todd Martin · Beauty & Personal Care · 14 min read
How To Clean Face Sponge
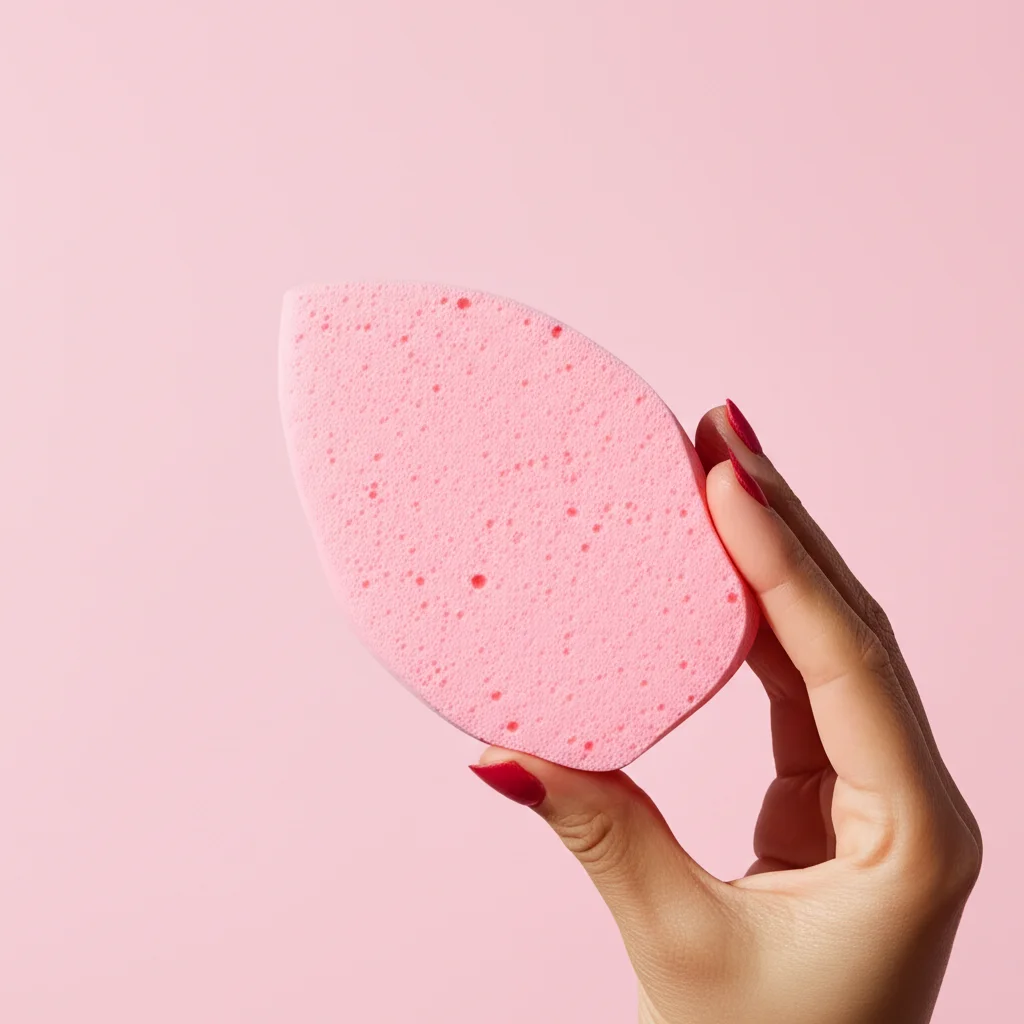
How To Clean Your Face Sponge for Clearer Skin
A clean face sponge is a secret weapon for perfect makeup and healthy skin. You use it every day to blend foundation, concealer, and other products. This tool touches your skin directly. Over time, makeup, oils, and dead skin cells build up in the sponge. This creates a breeding ground for bacteria. Using a dirty sponge can cause breakouts, irritation, and dull skin. It also makes your makeup look patchy.
Keeping your face sponge clean is not just about hygiene; it directly impacts your skin’s health and your makeup’s finish. Many people neglect this step. A simple cleaning routine can prevent many skin problems. It also helps your expensive sponges last longer. I will guide you through simple, effective methods to clean your face sponge thoroughly. You will learn how to choose the right cleaning agents. We will cover different cleaning techniques and proper drying methods. By the end, you will know exactly how to keep your face sponges pristine.
Takeaway:
- Regularly clean your face sponge to prevent bacteria buildup.
- Use gentle cleansers like mild soap, baby shampoo, or specialized sponge cleaners.
- Rinse thoroughly until water runs clear, ensuring no residue remains.
- Always dry your sponge completely to avoid mold and mildew growth.
- Replace sponges regularly, even with consistent cleaning.
How do you clean a face sponge?
To clean a face sponge, wet it thoroughly under warm water, apply a gentle cleanser (like mild soap or a specialized sponge cleaner), and gently squeeze and massage it to work out makeup and impurities. Rinse under warm running water until the water runs clear and the sponge is free of suds. Squeeze out excess water and allow it to air dry completely.
Why Cleaning Your Face Sponge Matters for Skin Health
Your face sponge picks up more than just makeup. It collects dirt, oil, and dead skin cells from your face. These things get trapped deep inside the sponge’s porous material. If you do not clean your sponge often, bacteria can grow there. This bacteria then transfers back to your face each time you use the sponge. This cycle can lead to skin problems.
Using a dirty sponge can cause acne breakouts. The bacteria clog your pores. It can also cause skin irritation, redness, and even infections. Think of it like using a dirty dish sponge on clean dishes. You would not do that. The same rule applies to your face. Your skin is delicate. It needs clean tools for healthy application. Beyond breakouts, a dirty sponge prevents smooth makeup application. It can leave streaks and patchy areas. The makeup does not blend well. This makes your overall look appear less polished. Cleaning your sponge ensures a hygienic and flawless makeup routine. This simple step protects your skin.
Choosing the Best Cleansers for Your Face Sponge
Selecting the right cleanser is key for effective cleaning without damaging your face sponge. You want something strong enough to remove makeup and oils but gentle enough not to break down the sponge material. Harsh chemicals can shorten your sponge’s life. They might also leave residues that irritate your skin. We can choose from several good options.
Mild soap is a popular choice. This includes gentle hand soap or bar soap. Baby shampoo is another excellent option. It is formulated to be gentle, making it perfect for delicate beauty tools. You can also find specialized makeup brush and sponge cleansers. These products are designed specifically for beauty tools. They often work very well at breaking down makeup formulas. I find that a good balance of efficacy and gentleness is important. Avoid strong detergents or dish soaps. These can strip the sponge’s softness and integrity. Always check the ingredients if you are unsure. Remember, a little goes a long way with most cleansers.
Gentle Soaps and Shampoos
Many people use simple, everyday products to clean their face sponges. Mild bar soap works wonderfully. Just wet the sponge and rub it gently on the soap. Then, lather and rinse. Baby shampoo is another fantastic option because it is tear-free and very gentle. I often use baby shampoo for my own sponges. It removes makeup without harshness. You can also use gentle liquid hand soap. Make sure it does not contain strong perfumes or dyes. These additives can irritate your skin later. The goal is to clean without causing damage or leaving residues.
Specialized Beauty Cleansers
For those who want dedicated products, many brands offer specialized beauty tool cleansers. These come in liquid, solid, or spray forms. They are formulated to dissolve makeup effectively. Some even have antibacterial properties. Solid cleansers are great for travel. You rub the wet sponge directly on the solid soap. Liquid cleansers are often concentrated. You can add a few drops to water or directly to the sponge. While these can be more expensive, they often deliver excellent results. They are specifically made for the task at hand. Choosing a specialized cleanser can give you peace of mind.
Step-by-Step Guide: How to Clean Your Face Sponge
Cleaning your face sponge is a simple process. Regular cleaning extends the life of your sponge. It also keeps your skin clear. I usually clean my sponges after every few uses. For a deeper clean, I do it once a week. Here is a detailed guide to get your sponges spotless. Follow these steps carefully for the best results.
Method 1: Hand Washing with Mild Soap
Hand washing is the most common and effective way to clean your face sponge. It allows you to control the pressure. This method works for all types of beauty sponges.
- Wet the Sponge: Hold your face sponge under warm running water. Let it soak up water until it expands fully. It should feel soft and saturated.
- Apply Cleanser: Apply a small amount of your chosen cleanser directly onto the wet sponge. This can be a squirt of baby shampoo or a rub on a bar of mild soap.
- Lather and Squeeze: Gently squeeze and massage the sponge. Work the cleanser deep into the sponge’s core. You will see makeup residue and dirt start to come out. Keep squeezing and releasing. This creates a lather and pushes impurities out. Continue this until the water running out of the sponge appears murky.
- Rinse Thoroughly: Hold the sponge under warm running water again. Squeeze and rinse repeatedly. The goal is to get all the soap and makeup out. Keep rinsing until the water running off the sponge is completely clear. No suds or color should remain.
- Final Squeeze and Dry: Squeeze out as much excess water as you can. You can gently press it into a clean towel. Then, reshape the sponge and place it in a well-ventilated area to air dry. Do not put it in a closed container. For other facial tools, you can use similar methods. Check out how to clean a face brush for more tips on tool hygiene. how to clean face brush
Method 2: Deep Cleaning with Olive Oil (for heavy stains)
For sponges with stubborn, heavy makeup stains, adding a bit of olive oil can help. Oil breaks down oil-based makeup very well.
- Prep the Sponge: Wet your sponge with warm water.
- Add Oil and Cleanser: Apply a small amount of olive oil (about a pea-sized drop) directly to the stained area. Then, add your mild soap or cleanser on top of the oil.
- Massage Gently: Gently rub and massage the sponge. The oil helps loosen the tough makeup. The soap then washes away the oil and makeup.
- Rinse and Repeat: Rinse thoroughly under warm water. If stains remain, repeat the process. Always follow with a good rinse to remove all oil and soap residue.
Drying Your Face Sponge Properly to Prevent Mold
Proper drying is as important as cleaning. A damp sponge is a perfect breeding ground for mold and bacteria. If you do not dry your sponge completely, it can develop unpleasant odors. It can also become unsafe for your skin. Mold can cause serious skin issues. It can also ruin your sponge. I always make sure my sponges are completely dry before putting them away.
After squeezing out excess water, reshape your sponge. Place it on a clean, dry surface. A sponge holder or a clean paper towel works well. Ensure the area has good air circulation. Do not put your sponge in a closed bag or drawer while it is still damp. This traps moisture and promotes mold growth. I usually let mine dry overnight. It is ready for use the next morning. If you live in a humid environment, consider placing it near a fan. Air drying is key. Never use a hairdryer or microwave to dry your sponge. High heat can damage the material. It can also cause it to shrink or warp. Keeping moisture at bay is important in preventing problems like how to clean bathroom mold, so apply the same principle here.
Air Drying Techniques
Effective air drying protects your sponge and skin. After rinsing, gently squeeze out all remaining water. You can wrap it in a clean towel and press it firmly. This helps remove extra moisture. Next, place the sponge on a well-ventilated surface. A mesh drying rack or a clean, dry paper towel is ideal. Avoid placing it on absorbent surfaces that stay damp. These include a bathmat or inside a cup. Position the sponge so air can circulate all around it. This speeds up the drying process. I often place mine on a windowsill or counter where air flows freely. This ensures it dries completely and quickly.
Avoiding Damp Storage
Storing a damp sponge is a major mistake. It creates a perfect environment for bacteria and mold. Never put a wet or even slightly damp sponge into a makeup bag, drawer, or closed container. These spaces lack air circulation. This traps moisture. Over time, your sponge will develop a foul smell. It can also show visible mold spots. If you see mold, throw the sponge away immediately. It is not worth risking your skin health. Always ensure your sponge is bone dry before storing it. This keeps it fresh and safe for your next use. Proper storage extends its life.
How Often Should You Clean and Replace Your Face Sponge?
Knowing how often to clean and replace your face sponge is vital for maintaining hygiene and effective makeup application. Many people under-clean their sponges. This leads to the issues we discussed. Your cleaning schedule depends on how often you use your sponge. I have a simple rule for myself.
If you use your face sponge daily, you should clean it after every use. A quick wash with mild soap helps remove surface makeup. This prevents buildup. For a deeper clean, aim to wash it thoroughly once or twice a week. This removes all embedded makeup and bacteria. This regular routine helps keep your skin clear. It also keeps your sponge in good condition. Neglecting cleaning can lead to issues like oily skin, so regular hygiene is important. Learn more about managing how to clean oily face if this is a concern for you.
Even with regular cleaning, face sponges do not last forever. They are porous and absorb a lot. Over time, the material can break down. It loses its elasticity and becomes less effective. You might notice tears or a permanently stained appearance. A good rule of thumb is to replace your face sponge every 1 to 3 months. If you use it very frequently, replace it closer to the 1-month mark. If you notice it is no longer blending makeup smoothly or has a persistent odor, it is time for a new one. Replacing them often ensures optimal performance and hygiene.
Troubleshooting Common Face Sponge Cleaning Problems
Sometimes, cleaning your face sponge does not go as planned. You might face persistent stains or strange odors. Do not worry, these are common issues. I have encountered them myself. Knowing how to troubleshoot these problems can save your sponge and your skin. Let us look at some common issues and their solutions.
Dealing with Stubborn Stains
Some makeup formulas, like long-wear foundation or heavy concealers, can leave stubborn stains. Even after a good wash, faint marks might remain. First, try the olive oil method described earlier. Oil is excellent at breaking down oil-based makeup. Another trick is to use a small amount of rubbing alcohol. Dip a cotton swab in alcohol and gently dab it on the stain. Be careful not to saturate the whole sponge. This method should be used sparingly. Alcohol can dry out or damage the sponge material over time. Always follow with a thorough wash with soap and water. Rinse until no alcohol smell remains. This helps to lift those tough spots. For particularly deep stains, sometimes replacement is the only true answer.
Eliminating Odors
A persistent musty or sour smell usually indicates bacteria or mold. This happens when the sponge does not dry completely. If your sponge smells bad, give it a deep clean. Use a stronger cleanser or a bit of vinegar. For a vinegar soak, mix one part white vinegar with two parts warm water. Submerge the sponge for 15-30 minutes. Then, wash it thoroughly with soap and rinse. Vinegar is a natural disinfectant. It helps kill odor-causing bacteria. Make sure to rinse until the vinegar smell is gone. Proper drying is crucial after this. If the smell persists after multiple attempts, it is safest to discard the sponge. No cleaning method can truly fix a mold-infested sponge. This is similar to how vinegar can be used to clean other household items. If you’re curious about other vinegar cleaning uses, check out how to clean shower with vinegar.
Best Practices for Face Sponge Care and Maintenance
Beyond cleaning, consistent care and maintenance can significantly extend the life of your face sponges. These practices ensure your tools remain effective and hygienic. I incorporate these simple habits into my routine. They make a big difference in the long run. Good habits prevent future cleaning headaches.
Storing Your Sponges Correctly
Proper storage is crucial after cleaning and drying. Once your face sponge is completely dry, store it in a clean, breathable container. Avoid airtight containers. These can trap any remaining moisture and promote bacterial growth. A mesh bag, a dedicated sponge holder, or even an open container on your vanity works well. The key is to allow air circulation. Keep sponges away from direct sunlight and excessive humidity. This prevents material breakdown and keeps them fresh. I like to keep mine in a small, open basket on my dresser. This way, they are accessible but also aired out.
Having Multiple Sponges
I highly recommend having more than one face sponge. This strategy provides several benefits. First, it allows you to rotate your sponges. While one is drying, you can use another clean one. This ensures you always have a fresh sponge ready for use. It also gives your sponges a proper break and drying time. Second, having backups means you are less likely to use a dirty sponge out of necessity. If one sponge gets unexpectedly dirty or damaged, you have an immediate replacement. This simple practice supports consistent hygiene and extends the overall life of your sponge collection. It is a small investment for healthier skin and better makeup application.
Conclusion
Cleaning your face sponge is a simple, yet essential, step in your beauty routine. It directly impacts your skin health and the flawless application of your makeup. I have shown you that a little effort goes a long way. Regular cleaning prevents bacteria buildup and breakouts. It ensures your sponge remains soft and effective. We covered gentle cleaning methods using common household items. We also talked about specialized cleansers. Remember the importance of thorough rinsing and proper air drying. These steps prevent mold and odors.
By following these guidelines, you extend the life of your sponges. You also protect your skin from potential irritants and infections. Make cleaning your face sponge a regular habit. It is a small investment of time for clear, healthy skin and beautiful makeup every day. Start today! Your skin will thank you. Keep your beauty tools pristine and your complexion radiant.
- beauty sponge cleaning
- makeup tool hygiene
- skincare routine
- beauty blender care
- prevent acne
- healthy skin
- cleaning tips

Todd Martin
Senior Writer
With over 15 years of experience in home renovation and design, I started HEG to share what I’ve learned with homeowners who want to create spaces that are both beautiful and functional. I’ve always believed in a hands-on approach, and over the years, I’ve picked up practical solutions that actually work. Through HEG, I aim to make home improvement more approachable, sharing real tips that help you create a home you truly love.