· Todd Martin · Aquarium Maintenance · 18 min read
How To Clean Filter Socks
A Comprehensive Guide to Cleaning Filter Socks for Optimal Water Quality
Keeping your aquarium or pond water clean and clear is a top priority for any aquatic enthusiast. Filter socks are unsung heroes in this task. They work hard to capture particles and improve water clarity. Knowing how to clean filter socks properly ensures your filtration system runs efficiently. Dirty filter socks can lead to poor water quality, which harms aquatic life.
This guide explores the best methods to clean your filter socks. We will cover everything from simple manual rinsing to thorough machine washing and deep sterilization. I will also share tips for maintaining filter socks and troubleshooting common issues. My goal is to help you achieve pristine water quality in your aquatic environment. You will learn how to make your filter socks last longer and work better.
Takeaway
Cleaning filter socks is vital for healthy aquatic environments. Regular maintenance prevents water quality issues.
- Manually rinse filter socks frequently for routine upkeep.
- Machine wash with a gentle cycle and no detergent for deeper cleaning.
- Use bleach or hydrogen peroxide solutions for sterilization when needed.
- Air dry filter socks completely to prevent mold or mildew growth.
- Rotate multiple filter socks to ensure continuous filtration.
Main Query Answer
To clean filter socks, you first rinse them thoroughly under cold, high-pressure water to remove loose debris. For deeper cleaning, machine wash them on a delicate cycle without soap, or soak them in a diluted bleach or hydrogen peroxide solution. Always air dry completely before reuse.
Understanding Filter Socks and Their Importance
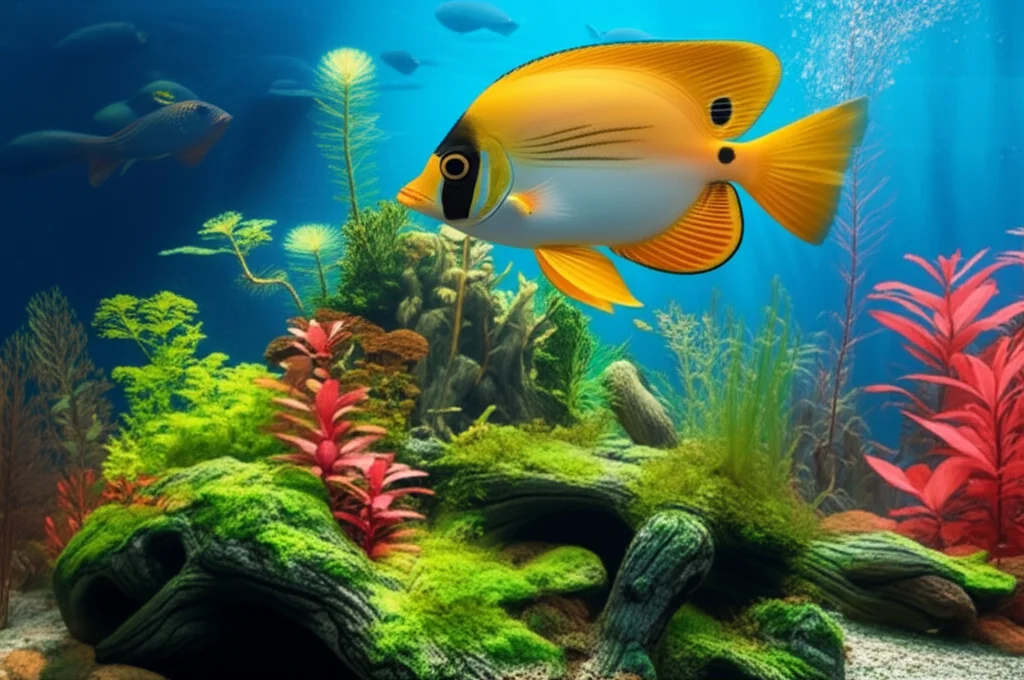
Filter socks serve as the primary mechanical filtration component in many sumps for aquariums and ponds. They act as a physical barrier. These socks trap suspended particles like uneaten food, detritus, fish waste, and algae. This mechanical action removes visible impurities from your water. This process results in crystal-clear water.
Dirty water can harm fish and other aquatic inhabitants. When filter socks become clogged, they stop performing effectively. Water bypasses the filtration, leading to poor water quality. Regular cleaning is therefore not just about clarity; it is about maintaining a healthy environment for your aquatic friends.
The Role of Mechanical Filtration
Mechanical filtration is the first line of defense in an aquatic filtration system. Filter socks excel at this role. They physically remove particulate matter from the water column. Without this removal, these particles break down. This breakdown releases nitrates and phosphates into the water. High levels of these compounds can fuel algae blooms. They can also stress aquatic organisms.
I have seen firsthand how much cleaner water stays with regularly maintained filter socks. They prevent a buildup of organic waste. This helps keep nutrient levels low. Many people rely on filters for clean water. Cleaning your water filter is a general practice that extends to these specialized socks. It ensures your filtration system operates at its peak capacity. Effective mechanical filtration directly supports a stable and thriving aquatic ecosystem.
Signs Your Filter Socks Need Cleaning
You can observe several clear signs that indicate your filter socks are due for a cleaning. The most obvious sign is when water starts overflowing the filter sock housing. This means the sock is so clogged that water cannot pass through it quickly enough. The water seeks the path of least resistance, bypassing the dirty sock entirely.
Another common sign is reduced water flow. If the water entering your sump or filter area seems less vigorous, the socks might be restricting flow. The water in your display tank might also look cloudy or hazy. This cloudiness suggests that particles are no longer being efficiently removed. A buildup of detritus within the sock itself is also a clear indicator. I always check mine for this buildup regularly. Ignoring these signs can lead to degraded water quality and stress for your aquatic life.
Essential Supplies for Cleaning Filter Socks
Before you start cleaning, gather all the necessary supplies. Having everything ready streamlines the process. This prevents unnecessary delays. The specific items you need depend on your chosen cleaning method. Basic cleaning requires minimal tools. Deep cleaning methods need a few more specialized items.
Investing in these supplies makes the cleaning process easier and more effective. It helps maintain the lifespan of your filter socks. You will also ensure your aquatic environment remains pristine. I always keep these items on hand, ready for quick use. Being prepared saves time and effort in the long run.
Basic Cleaning Tools
For routine filter sock maintenance, you will need a few simple items. A dedicated bucket is essential. This bucket should be used only for aquarium or pond equipment. This prevents cross-contamination from household chemicals. A strong garden hose with a spray nozzle is also incredibly useful. High-pressure water helps dislodge stubborn debris.
You might also want a stiff brush or a designated scrubbing tool. These help remove caked-on waste. Having a few spare filter socks on hand is always a good idea. This allows you to swap out dirty socks immediately. This ensures continuous filtration while the dirty ones are being cleaned. I find that having spares makes my maintenance routine much smoother.
Deep Cleaning Solutions
Sometimes, basic rinsing is not enough. For deep cleaning or sterilization, you will need additional solutions. Household bleach (unscented and chlorine-only) is a common choice. Use it sparingly and with great caution. Hydrogen peroxide is another effective alternative. It breaks down organic matter and sanitizes. Vinegar, while not a sterilizer, can help remove some mineral deposits.
Always dilute these solutions heavily. Proper dilution prevents damage to the filter sock material. It also ensures safety when handling. Remember to wear gloves and eye protection when working with these chemicals. Thorough rinsing after using any deep cleaning solution is absolutely critical. This removes all chemical residues before returning the sock to your system.
Step-by-Step Guide: Manual Rinsing Method
Manual rinsing is the most common and frequent way to clean filter socks. It is suitable for routine maintenance. This method works well for socks that are not heavily soiled. It helps prevent major clogs from forming. Manual rinsing is quick and easy to perform.
I recommend rinsing your filter socks at least once a week. Heavily stocked tanks or ponds might require more frequent rinsing. This simple step can greatly improve water clarity. It also extends the time between more intensive deep cleans. Make sure you have your replacement sock ready before you start this process.
Removing and Initial Rinse
First, turn off any pumps feeding water to the filter sock area. Carefully remove the dirty filter sock from its holder. Be gentle to avoid dislodging trapped debris back into your clean water. Immediately place the dirty sock into your dedicated bucket. This prevents drips and spills.
Take the sock outside or to a utility sink. Use cold, high-pressure water from a garden hose. Point the nozzle into the open end of the sock. The water pressure will push accumulated detritus out from the inside. Work your way down the sock. Turn the sock inside out and spray again. Continue this initial rinse until most of the loose debris is gone. You will see the water running clearer as you rinse.
Thorough Manual Cleaning
After the initial rinse, inspect the filter sock for any remaining stubborn particles. You may need to use a stiff brush or your hands to gently scrub away any caked-on gunk. Pay close attention to the bottom and seams of the sock, as these areas tend to trap more debris. Continue rinsing with high-pressure water. I often pinch the fabric between my fingers under the running water. This helps push out finer particles.
Rinse until the water running off the sock is completely clear. There should be no visible dirt or cloudy discharge. This thorough cleaning is essential. It ensures the sock is truly clean. This prepares it for drying or for a deeper cleaning method. This manual process, though simple, is effective for regular upkeep.
Step-by-Step Guide: Machine Washing Filter Socks
Machine washing is an excellent method for achieving a much deeper clean. It is ideal for filter socks that are heavily soiled or have a noticeable odor. This method can restore the sock’s original flow rate. It makes the fibers much cleaner than manual rinsing alone. However, proper precautions are essential to avoid introducing harmful substances into your aquatic system.
I typically machine wash my filter socks every few weeks. This frequency depends on how quickly they get dirty. Having multiple filter socks allows you to rotate them. This means you always have a clean one ready to go. Consider machine washing when your manual rinses no longer produce clear water.
Preparing for Machine Wash
Before putting filter socks into a washing machine, perform a thorough manual rinse. This removes the bulk of the detritus. Skipping this step can clog your washing machine. It can also spread debris inside the machine. Turn the filter socks inside out. This exposes the most soiled surface to the washing action.
It is highly recommended to use a dedicated mesh laundry bag. Place your filter socks inside this bag. This prevents the socks from tangling. It also protects them from getting snagged or damaged by the washing machine agitator. This small step prolongs the life of your filter socks. It also keeps your washing machine cleaner.
Washing Machine Settings and Detergent Choice
When machine washing filter socks, select a gentle cycle. Use cold water. Hot water can cause the sock material to shrink or degrade. Avoid using any laundry detergent, fabric softener, or bleach in the wash cycle. Most laundry detergents contain phosphates and other chemicals. These chemicals are highly detrimental to aquatic life. Even small residues can cause massive problems in an aquarium or pond.
If you feel the need for an additive, a small amount of unscented hydrogen peroxide can be added to the wash water. However, I prefer to rely on the mechanical action of the washer and the initial manual rinse. After the wash cycle, run an extra rinse cycle. This ensures all potential residues are flushed away. This step is critical for the safety of your aquatic inhabitants.
Step-by-Step Guide: Deep Cleaning and Sterilization Methods
Sometimes, filter socks require more than just a regular wash. For socks that are heavily stained, smell bad, or have been exposed to disease, deep cleaning and sterilization are necessary. These methods kill bacteria and remove stubborn organic buildup. They can revitalize a sock that seems beyond salvation.
These deep cleaning methods use stronger chemicals. Always proceed with caution. Ensure proper ventilation. Wear protective gear. The goal is to make the socks completely safe for your aquatic system again. I use these methods sparingly, usually only when a sock is truly fouled or I suspect contamination.
Bleach or Hydrogen Peroxide Soak
For deep cleaning and sterilization, a bleach or hydrogen peroxide soak is effective. For bleach, prepare a diluted solution. Use about 1 cup of unscented, chlorine-only bleach per 5 gallons of water. For hydrogen peroxide, use a 3% solution, diluted at a ratio of 1 part peroxide to 3 parts water. Submerge the pre-rinsed filter socks in the solution. Let them soak for several hours, or even overnight, depending on the severity of the fouling.
The bleach will break down organic matter and kill most pathogens. Hydrogen peroxide works similarly, breaking down into water and oxygen, which is safer for the environment. These solutions are powerful. They lift stains and eliminate odors. Remember that bleach residue is highly toxic to aquatic life. This makes the next rinsing step incredibly important. For comparison, cleaning certain other types of filtration systems also involves careful soaking and rinsing, much like when you clean a hot tub filter. Find out more about that process here: How To Clean Hot Tub Filter.
Post-Soak Rinsing and Drying
After soaking, the most critical step is thorough rinsing. Remove the filter socks from the bleach or peroxide solution. Rinse them extensively under running cold water. This can take several minutes per sock. Your goal is to eliminate every trace of the cleaning agent. I often sniff the sock to check for any residual chemical smell. If you can smell bleach, keep rinsing.
For bleach-soaked socks, an additional step can be helpful. You can soak them in a bucket of dechlorinator solution for 30 minutes. This neutralizes any remaining chlorine. Then, rinse them again. Once fully rinsed, squeeze out excess water. Hang the filter socks to air dry completely. Ensure they are in a well-ventilated area, away from any fumes or contaminants. Do not use a dryer, as high heat can damage the fibers. A thoroughly dried sock prevents mold and mildew. This also ensures it is ready for immediate use.
Tips for Extending Filter Sock Lifespan and Maintaining Water Quality
Proper maintenance goes beyond just cleaning. It involves understanding how to maximize the life of your filter socks. It also helps in continuously providing the best water quality for your system. A few simple practices can make a big difference. These practices reduce the frequency of intense cleaning. They also ensure your filtration system is always performing optimally.
Consistency is key. Regular care means less work in the long run. It also means a healthier aquatic environment. I have found that a little effort upfront saves a lot of hassle later. These tips come from years of experience in managing various aquatic setups.
Rotation and Frequency
Having multiple filter socks on hand is a game-changer. I recommend owning at least three or four. This allows you to rotate them. When one sock gets dirty, you can immediately replace it with a clean, dry one. Then, you can clean the dirty sock at your convenience. This system ensures continuous mechanical filtration. It prevents any downtime for your filter.
The frequency of cleaning depends on your specific system. Heavily stocked tanks or ponds produce more waste. These systems require more frequent sock changes, sometimes every 1-3 days. Lighter bioloads might allow for changes once a week. Observe your system. Adjust your cleaning schedule based on how quickly your socks become clogged. A good rule of thumb is to clean them before water starts bypassing them. Maintaining a regular schedule helps prevent any sudden dips in water quality. This is similar to how careful maintenance keeps a pool’s water clean and healthy. Explore more about pool filter care here: How To Clean Pool Cartridge Filter.
Proper Drying Techniques
After cleaning, drying your filter socks correctly is essential. Never put filter socks in a clothes dryer. The high heat can melt or damage the synthetic fibers. This reduces their effectiveness and lifespan. Instead, always air dry them. Hang them in a clean, dry, well-ventilated area. A clothesline or a drying rack works perfectly.
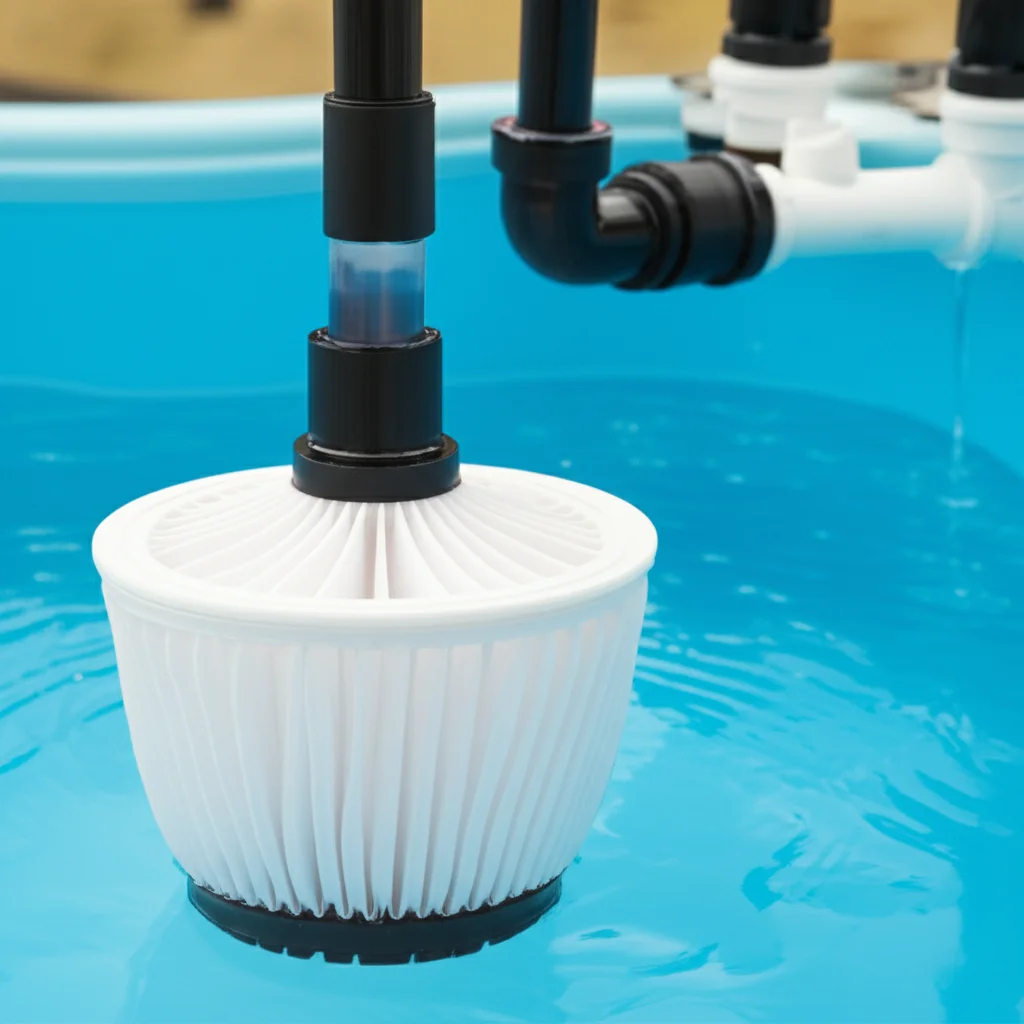
Ensure the socks are completely dry before storing or reusing them. Damp socks can develop mold or mildew. This introduces harmful spores into your aquatic system. I usually hang mine for at least 24 hours. This guarantees they are bone dry. Proper drying prevents odors. It also keeps your socks in good condition for many uses. For filters used in other large water systems, like a sand filter for a pool, proper cleaning and drying are also critical for their lifespan. Learn about that process here: How To Clean Sand Filter For Above Ground Pool.
When to Replace Filter Socks
Even with diligent cleaning, filter socks do not last forever. Over time, the fibers will degrade. They lose their ability to effectively trap particles. You might notice that a cleaned sock clogs up much faster than it used to. This is a sign that the fibers are breaking down. The material may also feel thinner or less rigid than a new sock.
Visible damage, such as tears, holes, or fraying seams, also indicates it is time for replacement. If you can see light passing through areas that should be dense, its filtration efficiency is compromised. I generally aim to replace my filter socks every 6-12 months. This timeframe depends on usage and cleaning frequency. Replacing them proactively maintains optimal filtration. It helps avoid sudden declines in water quality.
Troubleshooting Common Filter Sock Cleaning Issues
Even with the best practices, you might encounter some challenges when cleaning filter socks. Issues like persistent clogging or unpleasant odors can arise. Understanding how to address these problems is important. It ensures your cleaning efforts are always effective. I have faced these issues myself and learned how to tackle them.
These troubleshooting tips will help you overcome common hurdles. They will help you maintain high water quality. A clean and efficient filter sock system is a cornerstone of a healthy aquatic environment. Do not let minor setbacks deter you from proper maintenance.
Persistent Clogging
If your filter socks seem to clog up almost immediately after cleaning, several factors could be at play. First, reassess your pre-cleaning rinse. Are you removing enough loose debris before machine washing or deep soaking? A very thorough initial rinse is crucial. Secondly, consider if your deep cleaning method is strong enough. The sock might still harbor embedded organic matter. A longer soak in bleach or hydrogen peroxide might be needed.
Another cause could be an exceptionally high bioload in your tank or pond. Too much waste production will overwhelm even a clean filter sock quickly. In this case, you might need to increase your feeding frequency or reduce the number of inhabitants. Or, you may need to increase the frequency of filter sock changes. Sometimes, the sock itself is simply at the end of its life. If it clogs easily even after proper deep cleaning, it is time for a new one.
Odor Problems
A foul smell coming from a cleaned filter sock indicates residual organic material or bacterial growth. This often happens if the sock was not completely sterilized. It can also happen if it was not dried properly. If a sock smells bad after cleaning, it means the cleaning was incomplete.
To fix this, perform a very aggressive deep clean. Soak the sock in a strong bleach or hydrogen peroxide solution for a longer period. Ensure the solution reaches every fiber. Follow this with an extremely thorough rinsing, potentially multiple times. A dechlorinator soak is also recommended if you use bleach. Finally, guarantee the sock is absolutely bone dry before storing or re-using it. Any lingering dampness invites bacterial growth and odor. Consider investing in an extra set of filter socks. This allows for a longer drying period.
FAQ Section
How often should I change my aquarium filter socks?
You should change aquarium filter socks every 1 to 7 days, depending on your system’s bioload and how quickly they clog. Heavily stocked tanks or those with messy eaters might need daily changes. Lighter bioloads can go a week. Consistent replacement prevents water bypass and maintains water clarity.
Can I clean filter socks in a regular washing machine?
Yes, you can clean filter socks in a regular washing machine. Always perform a thorough manual rinse first to remove large debris. Use a gentle cycle with cold water. Crucially, do not use any detergent, fabric softener, or bleach during the machine wash. Run an extra rinse cycle to ensure no residues remain.
What should I avoid when cleaning filter socks?
Avoid using hot water, harsh chemical detergents, fabric softeners, or bleach without extreme caution and thorough rinsing. Never put filter socks in a clothes dryer. These can damage the sock material, introduce harmful chemicals into your aquatic system, or cause mold if not dried properly.
Is it better to manually rinse or machine wash filter socks?
Both methods have their place. Manual rinsing is best for frequent, routine maintenance to remove loose detritus. Machine washing offers a deeper clean, effective for heavily soiled or odorous socks. I often use a combination: manual rinse for daily maintenance and machine wash every few weeks.
How do I store clean filter socks?
Store clean, completely dry filter socks in a clean, airtight container or bag. This prevents dust accumulation and keeps them fresh until use. Make sure they are totally dry. Any moisture can lead to mold or mildew growth, rendering them unsafe for your aquatic system.
Can filter socks be reused indefinitely?
No, filter socks cannot be reused indefinitely. Over time, the synthetic fibers degrade, losing their ability to efficiently trap particles. You will notice them clogging faster, even after proper cleaning. Plan to replace filter socks every 6 to 12 months, or sooner if visible damage occurs.
Conclusion
Maintaining a healthy and visually appealing aquatic environment relies heavily on effective filtration. Knowing how to clean filter socks properly is an essential skill for any aquarium or pond owner. From the quick manual rinse to the more intensive machine wash or bleach soak, each method serves a unique purpose in keeping your water pristine. I have seen the direct positive impact of clean filter socks on water quality.
Remember, consistency in your cleaning routine is key. Regular maintenance not only ensures crystal-clear water but also extends the lifespan of your filter socks. Always prioritize thorough rinsing and complete drying to prevent contamination. By following these guidelines on how to clean filter socks, you will contribute significantly to the well-being of your aquatic inhabitants. Start implementing these practices today for a healthier, happier aquatic world.
- Aquarium filter socks
- Pond filter maintenance
- Water clarity
- Mechanical filtration
- Filter sock cleaning

Todd Martin
Senior Writer
With over 15 years of experience in home renovation and design, I started HEG to share what I’ve learned with homeowners who want to create spaces that are both beautiful and functional. I’ve always believed in a hands-on approach, and over the years, I’ve picked up practical solutions that actually work. Through HEG, I aim to make home improvement more approachable, sharing real tips that help you create a home you truly love.