· Todd Martin · Home Maintenance · 22 min read
How To Clean Gravel

Mastering Gravel Cleaning: Your Essential Guide
Have you ever looked at your gravel driveway, garden path, or even your aquarium, and wondered how to bring back its original sparkle? Dirty gravel can detract from your home’s appearance. It can also cause drainage problems and harbor unwanted debris. Learning how to clean gravel effectively is simpler than you might think. We need to understand the right techniques and tools.
This guide will walk you through everything you need to know about cleaning gravel. We will cover various types of gravel, from outdoor landscaping and driveways to the delicate environment of fish tanks. I will share practical methods, essential tools, and even preventive tips to keep your gravel looking pristine for longer. Get ready to transform your space.
Takeaway
- Identify your gravel type and dirt level for the best cleaning method.
- Gather the correct tools, from simple rakes to pressure washers or aquarium vacuums.
- Clean outdoor gravel using manual methods, pressure washing, or targeted solutions.
- Maintain aquarium gravel carefully to protect aquatic life.
- Implement preventative measures to reduce future cleaning efforts.
Cleaning gravel involves removing debris, dirt, algae, or sediment from the stones. This process restores its aesthetic appeal, improves drainage, and maintains a healthy environment, especially in aquariums. The method depends on the gravel’s location and the type of dirt.
Understanding Your Gravel: Types and Cleaning Challenges
Gravel comes in many forms, and each type presents unique cleaning considerations. Recognizing your specific gravel type helps you choose the most effective cleaning approach. We want to clean efficiently and safely. Different settings demand different care.
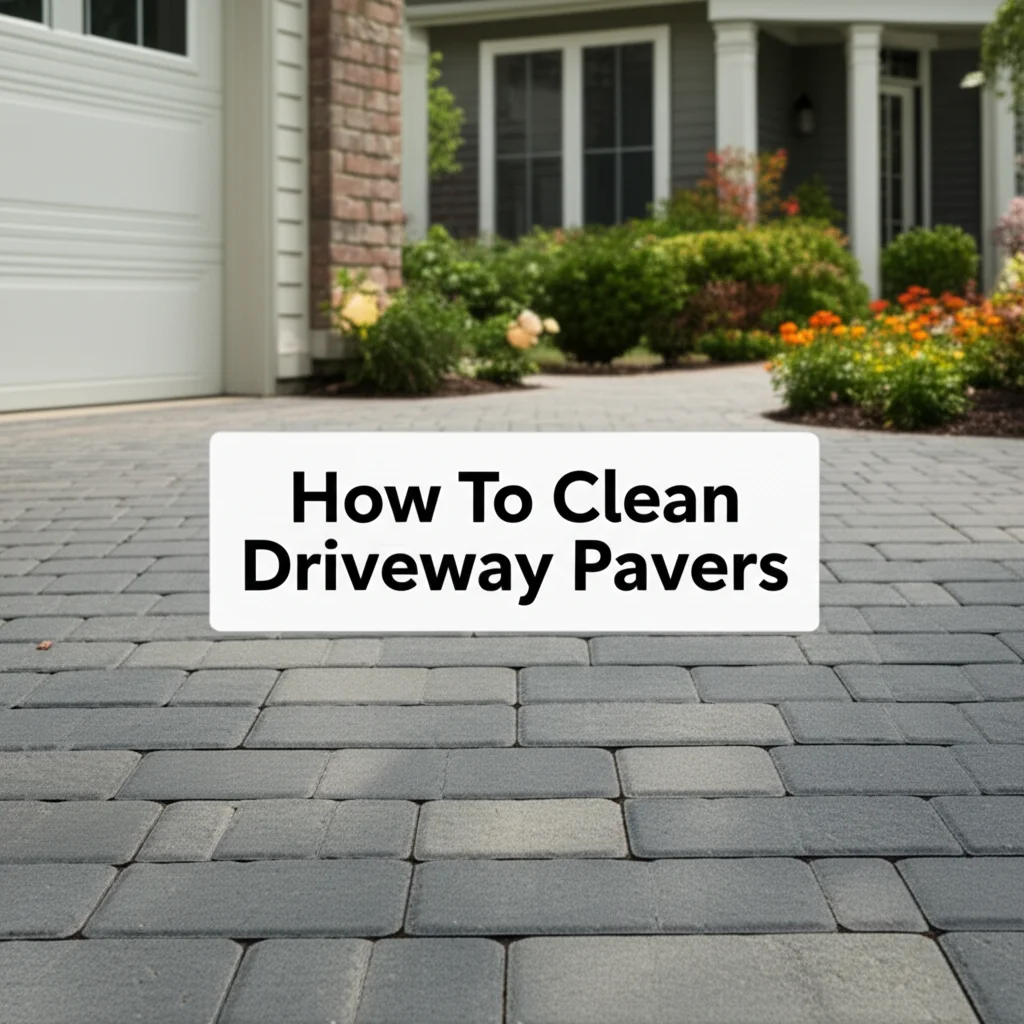
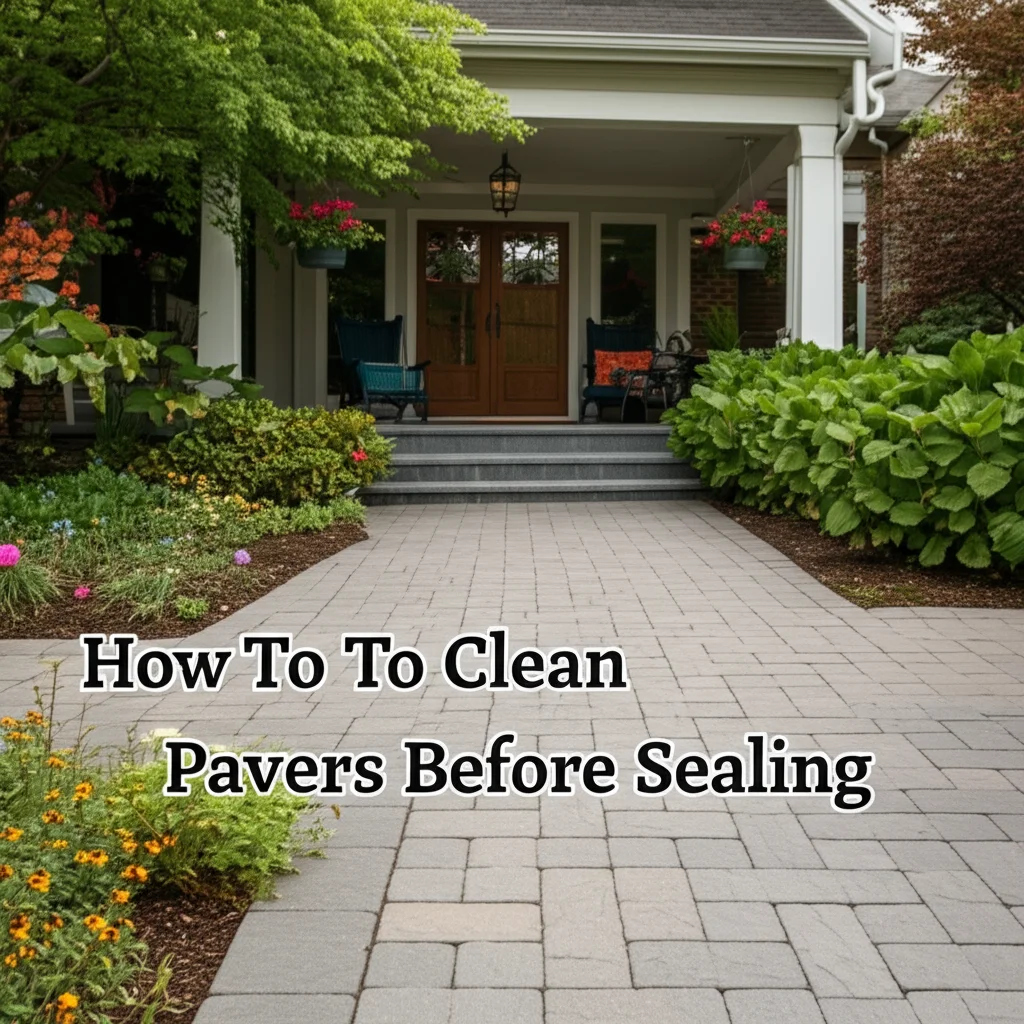
Outdoor Gravel: Driveways, Pathways, and Landscaping
Outdoor gravel serves functional and aesthetic purposes. Driveways often use larger, durable gravel to support vehicle weight. Pathways and decorative landscaping gravel might use smaller, more decorative stones. These outdoor areas collect a variety of debris. Leaves, twigs, soil, mud, and general outdoor grime are common culprits. Weeds are also a major issue. Rain can splash dirt onto the gravel, and foot traffic grinds it in. Cleaning challenges include large areas, stubborn stains, and the constant influx of new organic matter. Effective cleaning here often balances power with protection for surrounding plants.
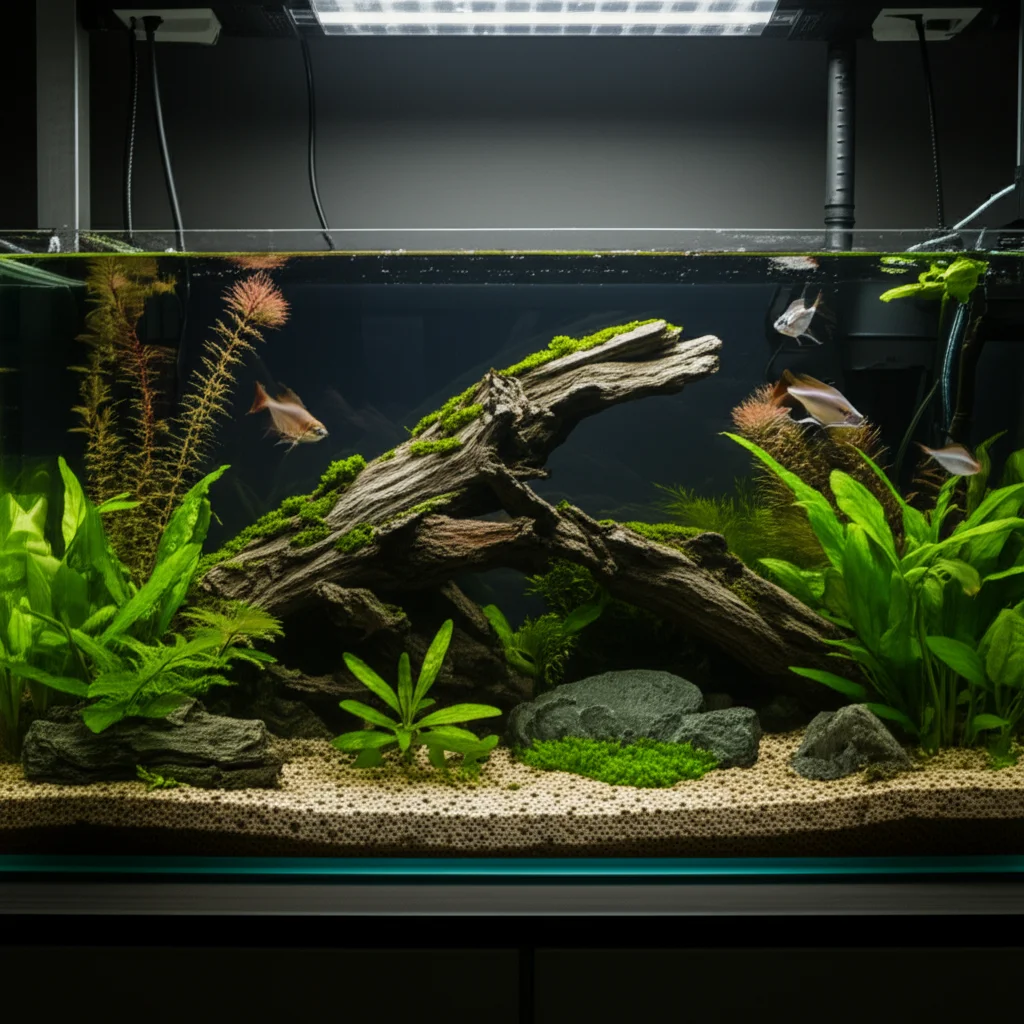
Aquarium Gravel: The Aquatic Environment
Aquarium gravel is a critical part of a fish tank ecosystem. It provides a surface for beneficial bacteria to grow. It also anchors plants and creates a natural look. However, this gravel collects fish waste, uneaten food, and decaying plant matter. This debris releases harmful toxins like ammonia and nitrates into the water. This can stress or even kill fish. Cleaning aquarium gravel is sensitive. It must remove waste without disrupting the essential bacterial colonies or harming the fish. The water quality is paramount here. We need specialized tools for this task.
Other Gravel Applications
Gravel can also be found in drainage systems, playgrounds, or even decorative indoor pots. Drainage gravel might need periodic clearing of sediment to maintain water flow. Playground gravel needs cleaning to ensure safety and hygiene. Understanding the gravel’s purpose guides the cleaning method. We always aim for effective and appropriate cleaning. Each application has its own set of challenges.
Essential Tools and Supplies for Gravel Cleaning
Having the right tools makes any cleaning job easier and more effective. For gravel cleaning, your supplies will vary greatly depending on whether you are tackling outdoor areas or a delicate aquarium. I always prepare my tools beforehand. This saves time and effort.
Outdoor Gravel Cleaning Tools
Cleaning outdoor gravel requires robust equipment. You will deal with heavy dirt and large areas.
- Stiff-Bristled Broom or Rake: These are essential for initial debris removal. A landscape rake can spread and level gravel while pulling out larger items. A stiff broom sweeps away lighter debris and loose dirt.
- Leaf Blower/Vacuum: For large areas with leaves and light debris, a leaf blower saves immense time. Some models have a vacuum function. This allows you to collect the debris directly.
- Pressure Washer: A pressure washer is highly effective for deep cleaning and removing stubborn dirt or algae. Choose one with adjustable pressure settings. This prevents scattering the gravel too widely. You might need different nozzles.
- Garden Hose with Nozzle: A strong jet from a standard garden hose can rinse away loose dirt. It is useful for smaller areas or as a pre-treatment before more intensive cleaning.
- Shovel and Wheelbarrow: You might need these for relocating or sifting gravel. This is useful for very heavily soiled areas or for adding new gravel.
- Weed Puller/Torch: Manual weed pullers work for individual weeds. A weed torch uses heat to destroy weeds. This is a chemical-free option.
- Protective Gear: Gloves, eye protection, and sturdy shoes are crucial. They protect you from flying debris or chemicals.
Aquarium Gravel Cleaning Tools
Cleaning aquarium gravel is a precise task. You protect the aquatic environment.
- Gravel Vacuum (Siphon): This is the primary tool for aquarium gravel cleaning. It works by siphoning water and waste from the gravel bed. The gravel sinks back down, while debris is carried out with the water. These come in various sizes. You choose based on your tank size. This method removes detritus effectively. You can find out more about how to use one here: How to Clean Fish Tank Gravel.
- Buckets: You will need clean buckets for collecting siphoned water. Also, you will use them for preparing new water. Never use buckets that have held chemicals.
- Algae Scraper/Pad: While not for gravel itself, these clean the tank glass. They help improve visibility, which makes gravel cleaning easier.
- Water Conditioner: This treats tap water, removing chlorine and chloramines. It makes tap water safe for fish. You use it when replacing tank water.
- Optional: Gravel Cleaner without Vacuum: If you do not have a vacuum, specific methods exist. These might involve stirring the gravel gently. Then you scoop out debris manually. You can learn about these methods here: How to Clean Fish Tank Gravel Without a Vacuum.
Selecting the right tools ensures an efficient and safe cleaning process. Always prioritize safety for yourself and the environment you are cleaning.
How to Clean Outdoor Gravel: Driveways, Pathways, and Landscaping
Cleaning outdoor gravel can rejuvenate your landscape. It improves drainage and reduces weed growth. I find that a combination of methods often works best. You tailor the approach to the level of dirt and type of gravel.
Manual Cleaning Methods
Manual cleaning is effective for regular maintenance or smaller areas. It is also good for a gentle approach.
- Initial Debris Removal: Start by removing large debris. Use a stiff rake or a leaf blower. Rake leaves, twigs, and larger stones from the gravel surface. A leaf blower quickly clears light debris from wider areas. This step prevents clogging in later processes.
- Weed Removal: Weeds are a constant battle in gravel. Pull them by hand, especially after rain when the ground is soft. You can use a weed puller tool. For persistent weeds, a weed torch offers a chemical-free solution. Pass the flame quickly over the weed. The heat destroys the plant cells. Be careful to avoid dry surrounding vegetation.
- Light Rinsing: Use a garden hose with a strong nozzle. Rinse the gravel surface. This washes away loose dirt and dust. Direct the water flow to push debris towards a drain or collection point. This method is good for routine upkeep. It prevents dirt buildup.
Pressure Washing Techniques
Pressure washing offers a deep clean for outdoor gravel. It removes embedded dirt, algae, and grime. Always use caution with a pressure washer.
- Preparation: Clear the area of all movable items. Wear protective eyewear and sturdy shoes. Consider how the dirty water will drain. You might need to divert it away from clean areas or storm drains.
- Test a Small Area: Before full application, test a small, inconspicuous area. This helps you determine the correct pressure setting. Too much pressure can scatter gravel or damage nearby plants. Start with a wide fan nozzle and lower pressure.
- Washing Process: Hold the pressure washer wand at an angle. Direct the spray across the gravel surface. Work in small sections. The water jet lifts dirt and debris. It pushes them away. Move systematically across the entire area. Overlap your passes slightly. For stubborn spots, you can reduce the distance or increase pressure slightly. Be careful not to blast the gravel away.
- Rinsing and Respreading: After pressure washing, you may have areas with less gravel. Rinse away any remaining loose dirt. Then, use a rake to redistribute the gravel evenly. This restores the uniform look of your driveway or path. Pressure washing can also clean nearby concrete or paved areas effectively. You can learn more about general cleaning of concrete here: How to Clean Stains From Concrete.
Chemical and Natural Solutions
For severe stains or organic growth, specific solutions can help. Use these with care.
- Algae and Moss Removal: For green growth, a diluted bleach solution (1 part bleach to 10 parts water) can be effective. Apply it with a spray bottle or watering can. Let it sit for 15-20 minutes. Then, thoroughly rinse the area with a garden hose. Alternatively, use a commercial outdoor cleaner designed for patios and stone. Always follow product instructions. For a natural option, a strong vinegar solution (undiluted white vinegar) can also kill moss and some weeds. Apply it on a sunny day. The sun helps activate its properties. Be aware that vinegar can affect soil pH around plants.
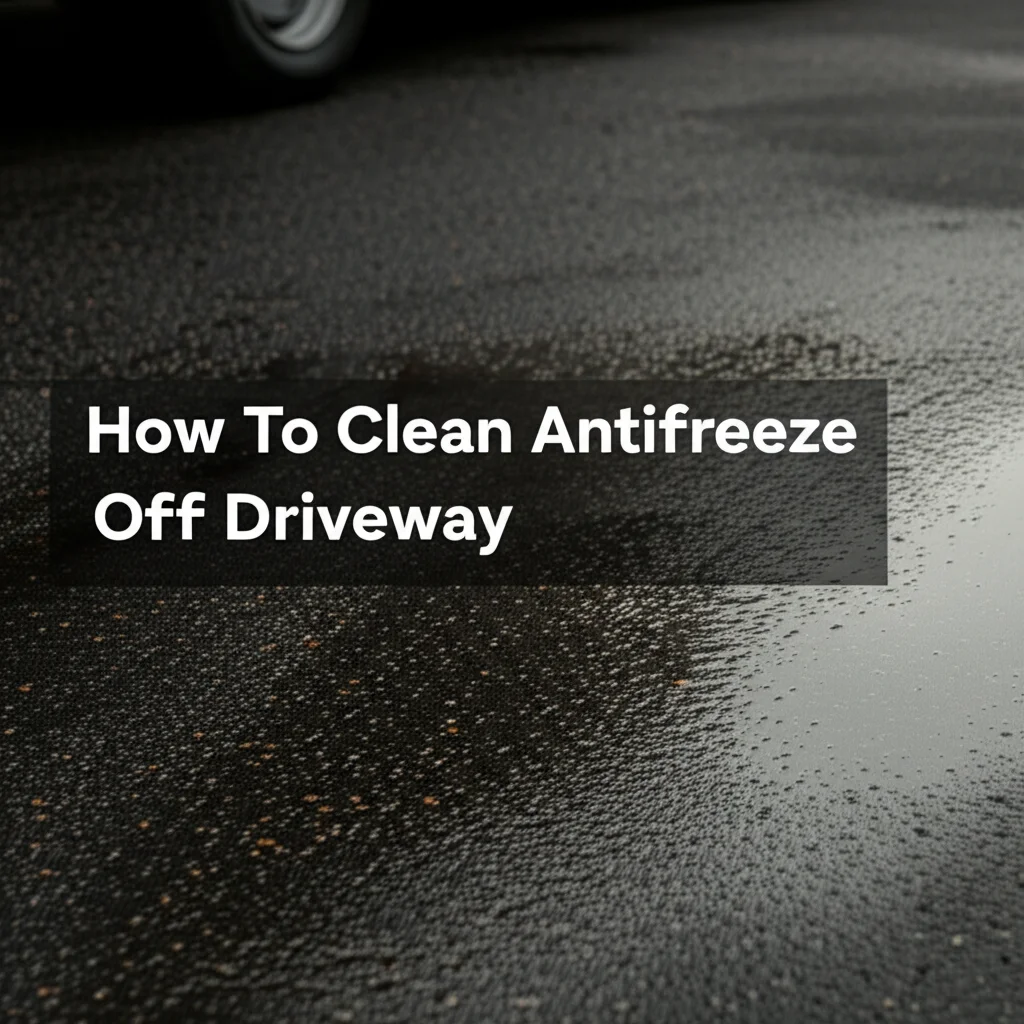
- Oil Stains: For oil or grease stains on gravel, apply an absorbent material like cat litter or sawdust first. Let it soak up the oil. Sweep it away. Then, scrub the remaining stain with a stiff brush and a strong degreasing cleaner or dish soap. Rinse thoroughly with water. Repeat if necessary.
- Safety Precautions: When using any chemical, always wear appropriate personal protective equipment (PPE). This includes gloves and eye protection. Ensure good ventilation. Keep pets and children away from the treated area until it is dry and rinsed. Consider the environmental impact. Choose biodegradable options where possible.
Cleaning outdoor gravel requires effort but significantly enhances your property’s curb appeal. Regular maintenance makes the task less daunting over time.
How to Clean Aquarium Gravel: A Detailed Approach
Cleaning aquarium gravel is crucial for maintaining a healthy aquatic environment. Unlike outdoor gravel, you are dealing with living organisms. You need to be gentle and precise. I always prioritize the fish’s well-being.
Vacuuming Live Tanks
This is the most common method for routine gravel cleaning in an active aquarium. It involves partial water changes.
- Preparation: Gather your gravel vacuum, a clean bucket, and your water conditioner. Turn off the heater and filter. This prevents them from running dry during the water change. Have your new, dechlorinated water ready.
- Siphoning Start: Submerge the wide end of the gravel vacuum into the tank. Place the hose end into your bucket. Use a quick up-and-down motion with the vacuum tube to start the siphon. Water will begin flowing into the bucket.
- Cleaning the Gravel: Once the siphon is active, push the wide end of the vacuum into the gravel. Go about an inch or two deep. Do this in small sections. As you push it down, you will see debris (fish waste, uneaten food, decaying plant matter) being sucked up into the tube. The heavier gravel will fall back down into the tank as the dirt flows into the bucket. Move slowly. Do not rush.
- Section by Section: Clean about one-third to one-half of the tank’s gravel during each cleaning session. You do not want to clean the entire gravel bed at once. This protects the beneficial bacteria that live in the gravel. These bacteria are essential for the nitrogen cycle. Over-cleaning can crash your tank’s biological filter. Focus on the most visibly dirty areas.
- Water Replacement: Stop siphoning when you have removed about 25-30% of the tank’s water. This is a standard partial water change amount. Add the new, temperature-matched, dechlorinated water back into the tank slowly. Pour it onto a plate or your hand. This prevents disturbing the gravel and stressing the fish. Turn your filter and heater back on.
- Frequency: For most tanks, cleaning gravel with a siphon every 1-2 weeks is sufficient. Heavily stocked tanks or those with messy eaters might require more frequent, smaller cleanings. You can find more detailed instructions on this process at How to Clean Fish Tank Gravel. If you do not have a vacuum, alternative methods are available: How to Clean Fish Tank Gravel Without a Vacuum.
Deep Cleaning Empty Tanks
Sometimes, you need to completely clean aquarium gravel. This happens during a tank breakdown, relocation, or if the tank has severe algae or disease issues. This method is much more thorough.
- Remove All Inhabitants: Carefully transfer all fish, plants, and decorations to a temporary holding tank. Ensure the temporary tank has filtered, temperature-controlled water.
- Drain the Tank: Remove all water from the main tank.
- Remove Gravel: Scoop all the gravel out of the tank. Place it into clean buckets or a large colander.
- Washing the Gravel:
- Rinsing: Take the gravel outside or into a large utility sink. Rinse it thoroughly with clean, cool tap water. Use a strong spray from a hose. Agitate the gravel with your hands or a scoop. Continue rinsing until the water runs clear. This removes all visible dirt and debris.
- Disinfection (Optional): If the tank had a disease outbreak or severe algae, you might want to disinfect the gravel. You can use a very dilute bleach solution (1 part bleach to 19 parts water). Soak the gravel for 15-30 minutes. Rinse it extremely thoroughly afterward. Rinse it multiple times. Then, soak it in dechlorinated water for several hours. Rinse again before putting it back into the tank. Any residual bleach is toxic to fish. A safer alternative for disinfection is a strong vinegar solution (white vinegar). This effectively kills most algae and mild bacteria. Rinse thoroughly afterward.
- Reassembly: Once the gravel is sparkling clean and completely free of any cleaning agents, return it to the tank. Then, re-introduce your treated water, decorations, plants, and finally, your fish.
Deep cleaning is a rare event for a healthy tank. Regular siphoning prevents the need for such drastic measures. Always remember, the health of your aquatic ecosystem depends on careful and consistent cleaning practices.
Preventative Measures for Cleaner Gravel
Preventing dirt and debris accumulation is often easier than cleaning it. I always try to minimize future cleaning needs. A few simple habits can keep your gravel looking great longer. This applies to both outdoor and indoor settings.
For Outdoor Gravel Areas
Maintaining outdoor gravel involves managing common outdoor elements.
- Regular Sweeping or Blowing: Sweep or use a leaf blower regularly. Do this especially after heavy winds or leaf fall. This removes surface debris before it breaks down and gets embedded. Early removal prevents staining and decomposition.
- Weed Barriers: Install a quality landscape fabric or geotextile barrier beneath new gravel. This acts as a physical barrier against weeds. It also separates the gravel from the soil beneath. This prevents soil mixing with the gravel, which causes muddiness. Even for existing gravel, you can sometimes lay fabric over areas where soil has mixed in, then top with new gravel.
- Edge Restraints: Install edging around gravel areas. This can be metal, plastic, or stone. Edging prevents gravel from scattering into lawns or garden beds. It also keeps soil and grass from encroaching into the gravel. This reduces the amount of organic matter that can settle on your gravel.
- Overhanging Vegetation Management: Trim back trees, shrubs, or plants that shed leaves, berries, or other debris onto your gravel. Less debris means less to clean. Consider plants that are less prone to shedding near gravel paths.
- Drainage Improvement: Ensure proper drainage around your gravel areas. Standing water can cause algae growth and lead to muddy conditions. Improve slopes or install French drains if needed. Good drainage prevents dirt from settling and hardening.
For Aquarium Gravel
Preventative measures in aquariums focus on good husbandry practices. These keep the tank environment healthy.
- Avoid Overfeeding: Excess food sinks to the bottom. It decays and pollutes the gravel. Feed your fish small amounts. Feed them only what they can consume in a few minutes. Remove any uneaten food promptly. This is a simple but very effective step.
- Proper Stocking Levels: Overstocking an aquarium leads to more waste production. This increases the load on your filter and gravel bed. Research appropriate stocking levels for your tank size and fish species. A balanced ecosystem stays cleaner.
- Regular Water Changes: Even without visible dirt, regular partial water changes are vital. They remove dissolved wastes and refresh the water. This dilutes pollutants before they accumulate in the gravel. A consistent schedule is key.
- Effective Filtration: Ensure your tank has an adequately sized and maintained filter. A good filter removes suspended particles and processes harmful chemicals. Clean or replace filter media regularly. A clean filter helps keep the water and gravel cleaner.
- Live Plants: Live aquarium plants absorb nitrates. They also outcompete algae for nutrients. Their root systems can also help stabilize the gravel. This prevents waste from sinking too deep. Plants are a natural part of a healthy ecosystem.
By implementing these preventative strategies, you can significantly reduce the frequency and intensity of your gravel cleaning tasks. Proactive care saves you time and effort in the long run.
Troubleshooting Common Gravel Cleaning Issues
Even with the right tools and techniques, you might encounter specific challenges. I have faced many of these myself. Knowing how to troubleshoot common gravel cleaning issues can save you frustration and effort.
Stubborn Stains and Discoloration
Outdoor gravel can develop tough stains. These include rust, oil, or deep-seated organic discoloration.
- Rust Stains: These often come from metal objects resting on the gravel. For light rust, a solution of lemon juice and salt can work. Apply it, let it sit, then scrub and rinse. For heavier stains, an oxalic acid-based cleaner designed for rust removal on concrete or stone is effective. Always follow product directions carefully and test in an inconspicuous area.
- Oil and Grease: As mentioned before, absorbents like cat litter are the first step. For residual stains, a strong degreasing detergent or a dedicated concrete cleaner can be scrubbed in. Rinse thoroughly with hot water if possible, to help break down the grease. Repeated applications might be necessary for old stains.
- Green Algae/Moss: This is a common issue in damp, shady areas. Pressure washing is often effective. For persistent growth, apply an outdoor cleaner or a diluted bleach solution (1:10 bleach to water). For natural options, a strong vinegar solution can kill off green growth. Ensure proper rinsing to protect surrounding plants and avoid runoff into storm drains. Consider improving drainage or increasing sun exposure to prevent recurrence.
Gravel Loss and Scattering
Pressure washing or heavy foot traffic can cause gravel to spread or thin out.
- During Pressure Washing: Use a wider fan nozzle and reduce pressure. Hold the wand further away from the gravel. This helps lift dirt without displacing too many stones. Work in controlled, even passes.
- After Cleaning: If gravel has scattered, use a stiff broom or rake to gather it back. Redistribute it evenly across the area. You might need to add new gravel periodically to maintain the desired depth, especially in high-traffic areas like driveways. Consider installing low-profile edging to contain the gravel better.
Clogged Drainage Systems
Gravel used in drainage ditches or French drains can become clogged with silt and organic matter.
- Physical Removal: For accessible areas, you can manually scoop out the clogged gravel. Wash it thoroughly with a strong hose jet to remove all sediment. Then, return it to the drain.
- Flushing: For less accessible drains, a powerful water jet from a pressure washer or specialized drain cleaner attachment can help. This flushes out the accumulated debris. Ensure the flushed material has somewhere to go without causing new blockages. Regular inspection and clearing of inlet grates can prevent major clogs.
Aquarium Gravel Cloudiness or Persistent Dirt
Sometimes, despite siphoning, tank water remains cloudy, or the gravel seems perpetually dirty.
- Insufficient Siphoning: You might not be cleaning deep enough or often enough. Ensure the gravel vacuum penetrates the gravel bed. Clean adequate sections during each session.
- Overfeeding/Overstocking: These are major causes of excess waste. Re-evaluate your feeding habits and fish population. Reduce food amounts. Consider reducing the number of fish if your tank is too crowded.
- Filter Issues: A dirty or undersized filter cannot process waste effectively. Check your filter media. Clean or replace it as needed. Ensure your filter is appropriate for your tank size.
- Bacterial Bloom: New tanks or tanks with disrupted nitrogen cycles can experience cloudy water due to a bacterial bloom. This often resolves itself. Continue with regular water changes and avoid over-cleaning the gravel. Do not add more fish until the water clears.
- Algae Bloom: If water is green, it is usually an algae bloom. Reduce light exposure and address excess nutrients (from overfeeding or overstocking). Regular partial water changes help.
- Detritus Worms: These tiny white worms can appear if too much organic matter accumulates in the gravel. They are usually harmless but indicate a need for more thorough gravel cleaning and reduced feeding.
By systematically addressing these common problems, you can ensure your gravel remains clean and functional, whether it’s supporting your vehicle or housing your aquatic friends. Patience and consistency are key.
Environmental Considerations and Disposal
When cleaning gravel, it is important to be mindful of the environment. The cleaning methods and disposal of waste can impact local ecosystems. I always consider the broader implications of my cleaning choices.
Responsible Disposal of Outdoor Gravel Waste
Outdoor gravel cleaning generates a variety of waste.
- Organic Debris: Leaves, twigs, weeds, and mud collected from driveways or garden paths are usually organic. You can compost these materials. If composting is not an option, dispose of them with yard waste. Check your local municipal guidelines for yard waste collection. Do not sweep large amounts of organic debris into storm drains. This can clog drainage systems and pollute waterways.
- Dirty Water Runoff: Water used for rinsing or pressure washing gravel will contain dirt, silt, and possibly chemicals if you used cleaners. Try to direct this runoff onto permeable surfaces like lawns or garden beds. The soil can filter some pollutants. Avoid directing highly soiled or chemically treated water into storm drains, street gutters, or directly into natural water bodies. These outlets lead untreated water to rivers and lakes.
- Chemical Residues: If you use chemical cleaners for stains or algae, choose biodegradable options when possible. Minimize their use. Always read product labels for disposal instructions and environmental warnings. Proper rinsing is crucial. This dilutes any residual chemicals.
Handling Aquarium Waste Water
Aquarium waste water contains fish waste, nitrates, phosphates, and sometimes medications.
- Nutrient-Rich Water: The water siphoned from an aquarium is rich in nutrients. It acts as a fantastic fertilizer for houseplants or outdoor gardens. Many aquarists use it for watering their plants. This is a great way to reuse a resource.
- Disposal Down the Drain: For smaller quantities, disposing of aquarium water down a household drain (sink or toilet) is generally acceptable. Your municipal wastewater treatment plant processes it.
- Medicated Water: If you have treated your tank with medications, be cautious. Some medications can harm beneficial bacteria in septic systems or aquatic life if released into the environment. Follow the medication manufacturer’s instructions for disposal. Some require specific disposal methods. Never pour heavily medicated water directly into a storm drain or outdoor environment.
- Gravel Disposal (Rare): If you ever need to dispose of old aquarium gravel, rinse it thoroughly. Then, you can repurpose it for outdoor landscaping. Alternatively, discard it with general household waste. Do not release it into natural waterways. This can introduce non-native materials or organisms.
Eco-Friendly Cleaning Practices
Choosing environmentally conscious methods benefits everyone.
- Reduce Chemical Use: Opt for manual cleaning, pressure washing, or natural solutions like vinegar for outdoor gravel. For aquariums, rely on regular siphoning and good husbandry. Minimize the use of harsh chemicals.
- Water Conservation: Use water efficiently. A pressure washer, while powerful, can use less water than a constantly running hose for large areas. For aquariums, make water changes routine but not excessive.
- Waste Reduction: Preventative measures reduce the need for intensive cleaning. This means less water, less chemical, and less effort expended.
Being mindful of how you clean and what you discard contributes to a healthier environment. Your cleaning efforts extend beyond your property, impacting local ecosystems.
Frequently Asked Questions About Cleaning Gravel
Cleaning gravel often raises several practical questions. Here are answers to some common inquiries. I hope these help clarify your gravel cleaning journey.
How often should I clean my gravel?
Outdoor gravel needs cleaning based on accumulation. Driveways or high-traffic paths might need quarterly or bi-annual cleaning. Garden beds might need it once a year. Aquarium gravel needs cleaning weekly or bi-weekly. This prevents toxin buildup and maintains water quality. Consistency is more important than infrequent, heavy cleaning.
Can I use bleach to clean gravel?
You can use bleach to clean outdoor gravel for stubborn algae or mildew. Dilute it (1 part bleach to 10 parts water). Rinse thoroughly afterward. Never use bleach in an aquarium. It is highly toxic to fish and beneficial bacteria. Vinegar is a safer, natural alternative for outdoor gravel.
What causes gravel to get dirty?
Outdoor gravel gets dirty from organic debris like leaves and dirt. It also gets dirty from mud, vehicle fluids, and weed growth. Aquarium gravel becomes dirty from fish waste, uneaten food, and decaying plants. Both types accumulate dust and airborne pollutants over time. Environmental factors play a big role.
Is gravel cleaning necessary for drainage?
Yes, cleaning outdoor gravel is crucial for drainage. Accumulation of dirt, silt, and organic matter between gravel pieces can clog the voids. This prevents water from percolating through. Clean gravel allows rainwater to drain freely. This prevents puddles and maintains healthy soil conditions underneath.
How do I remove moss from gravel?
To remove moss from outdoor gravel, start by raking or scrubbing to loosen it. Then, use a pressure washer to blast it away. For persistent moss, apply a commercial outdoor cleaner, a diluted bleach solution, or undiluted white vinegar. Ensure proper rinsing. Improve drainage and increase sunlight exposure to prevent recurrence.
Can I clean gravel without removing it?
Yes, you can clean most gravel types without removing them. For outdoor gravel, use rakes, leaf blowers, garden hoses, or pressure washers directly on the installed gravel. For aquariums, a gravel vacuum (siphon) cleans the gravel effectively while it remains in the tank. Only for deep tank cleaning is gravel typically removed.
Conclusion: Achieving Spotless Gravel with Confidence
Learning how to clean gravel effectively is a
- gravel cleaning
- outdoor maintenance
- landscaping
- aquarium care
- driveway cleaning

Todd Martin
Senior Writer
With over 15 years of experience in home renovation and design, I started HEG to share what I’ve learned with homeowners who want to create spaces that are both beautiful and functional. I’ve always believed in a hands-on approach, and over the years, I’ve picked up practical solutions that actually work. Through HEG, I aim to make home improvement more approachable, sharing real tips that help you create a home you truly love.