· Todd Martin · Electronics Care · 18 min read
How To Clean Headphone Cushions
How To Clean Headphone Cushions
Do your favorite headphones feel a little less fresh lately? I know the feeling. Over time, headphone cushions collect sweat, oils, dirt, and even makeup. This buildup affects comfort, hygiene, and even your listening experience. Learning how to clean headphone cushions correctly is simple, but it makes a big difference. This guide provides detailed steps for various materials. I will help you restore your ear pads to their original clean state. You will keep your beloved headphones looking and feeling brand new.
Takeaway
Keeping your headphone cushions clean ensures comfort, hygiene, and extends the life of your headphones.
- Always identify your cushion material first; this dictates the cleaning method.
- Use mild cleaning solutions and gentle techniques to avoid damage.
- Allow cushions to dry completely before reattaching them or using headphones.
- Regular light cleaning prevents heavy buildup and keeps your headphones fresh.
Answer to Main Query
To clean headphone cushions, first identify the material. Use a damp, soft cloth with a mild soap solution for pleather or leather. For velour or fabric, vacuum lightly, then spot clean with a diluted solution. Air dry all cushions completely to prevent damage and mildew.
The Importance of Cleaning Headphone Cushions: Why It Matters
Your headphones are a personal item, often worn for hours each day. They sit directly on your ears, absorbing much more than just sound. Over time, the cushions can become quite dirty. This buildup comes from sweat, skin oils, dust, and even hair products. Ignoring this can lead to several problems. I always recommend regular cleaning to keep your audio experience top-notch.
Health and Hygiene Benefits
Dirty headphone cushions create a breeding ground for bacteria and fungi. This can lead to skin irritation or ear infections. Think about it: sweat and warmth provide a perfect environment for germs. Cleaning your cushions removes these harmful microorganisms. This keeps your ears healthy and prevents unpleasant skin issues. Maintaining hygiene is crucial for any personal item.
Regular cleaning also eliminates odors. Old sweat and oils can make your headphones smell unpleasant. A clean cushion ensures a fresh scent every time you put them on. I find this simple step makes a big difference in my listening comfort. It improves my overall enjoyment of music and podcasts.
Preserving Sound Quality and Comfort
The accumulation of grime can affect sound quality. Dirt particles might block tiny perforations in the cushion material. This can slightly alter the sound profile, making it less clear. Clean cushions maintain proper airflow and acoustic properties. This ensures you hear your audio as intended.
Comfort also degrades with dirty cushions. Grime makes the material stiff or sticky. This causes discomfort during long listening sessions. Clean cushions remain soft and pliable. They offer the original comfortable fit. You can wear your headphones for hours without irritation.
Extending Headphone Lifespan
Cushion materials degrade faster when exposed to constant sweat and oils. These substances can break down the material over time. This leads to cracking, peeling, or thinning of the pads. Regular cleaning removes these corrosive elements. It preserves the integrity of the cushion material.
By keeping your cushions clean, you extend their functional life. This means you replace them less often, saving money. Well-maintained cushions protect the delicate internal components of your headphones. They keep dirt and moisture from reaching the speakers. This simple habit protects your investment.
Understanding Your Headphone Cushion Material: The First Step
Before you begin cleaning, you must know what your headphone cushions are made of. Different materials require different cleaning approaches. Using the wrong method can damage your ear pads. I always check my headphone’s manual first. If you do not have the manual, you can usually identify the material by sight and feel.
Common Cushion Materials
Most headphone cushions fall into a few main categories. Knowing these helps you pick the right cleaning method. Each material has unique properties. These properties dictate how you should care for them. I will outline the most common types.
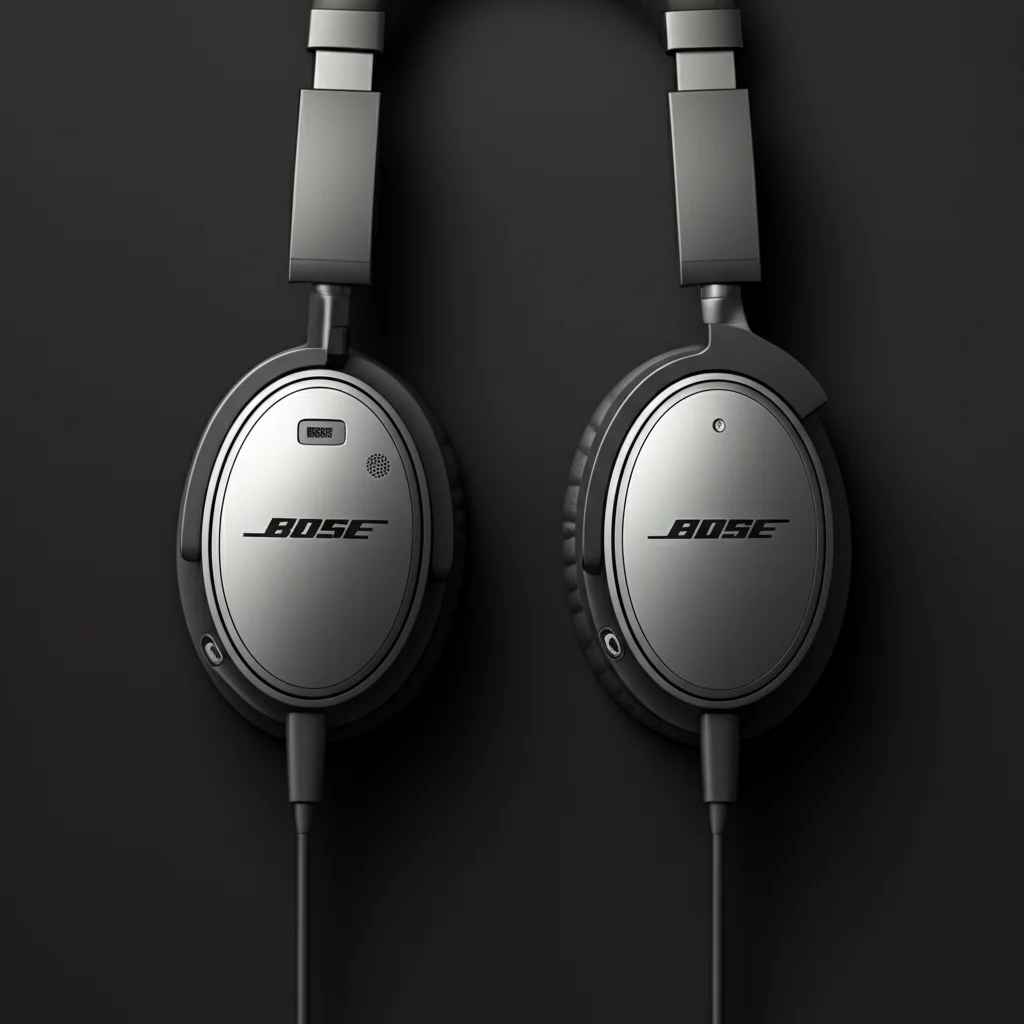
Pleather (Protein Leather) and Genuine Leather: Pleather is a synthetic leather. It is very common on many headphones. Genuine leather is less common but found on premium models. Both look smooth and feel soft. They tend to be non-absorbent. This makes them relatively easy to wipe clean.
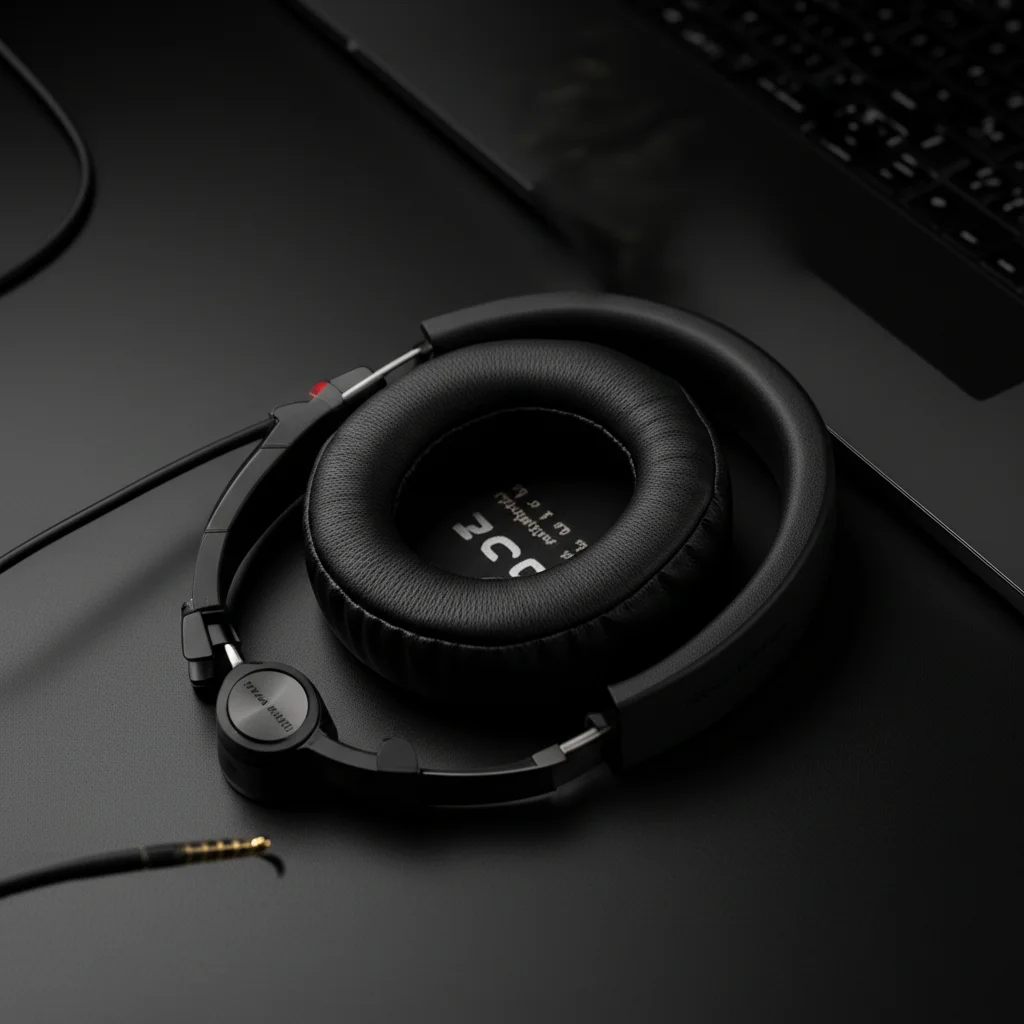
Velour and Fabric: Velour feels soft and fuzzy, similar to velvet. Fabric cushions are often a woven cloth material. These materials are breathable and comfortable. However, they are also absorbent. This means they can soak up sweat and odors. Cleaning these requires more care with liquids.
Foam: Some headphones use open-cell foam pads. These are lightweight and porous. They offer less durability than other materials. Foam cushions are very absorbent. They require a gentle touch and minimal moisture during cleaning.
Silicone: Silicone ear tips are common on in-ear headphones. They are very smooth and flexible. Silicone is non-porous and easy to clean. It resists sweat and oils well. Cleaning these is usually straightforward.
How to Identify Your Material
Identifying your headphone cushion material is usually straightforward. Look closely at the texture and feel the material. If it is smooth, slightly shiny, and non-porous, it is likely pleather or real leather. You can often tell the difference by checking the edges. Real leather shows natural imperfections and grain.
If the cushion feels soft, fuzzy, or woven like cloth, it is velour or fabric. If it feels like a soft sponge and easily compresses, it is foam. Silicone will feel very smooth and slightly rubbery. It stretches easily. Once you identify the material, you can proceed with confidence. This simple step protects your cushions from damage.
Gathering Your Headphone Cushion Cleaning Essentials
Having the right tools and cleaning solutions makes the job much easier. Using specific, gentle products protects your headphone cushions. I keep a small kit ready for my electronics. This ensures I can clean them whenever needed. Always gather your supplies before starting.
Basic Cleaning Tools
You will not need many specialized tools. Simple household items work best. I always start with these basics. These tools help remove loose debris and apply solutions gently.
- Soft, lint-free cloths: Microfiber cloths are ideal. They are gentle and highly absorbent. Avoid abrasive materials that can scratch or damage surfaces. I use separate cloths for cleaning and drying.
- Cotton swabs or Q-tips: These are perfect for reaching small crevices and seams. They allow for precise application of cleaning solutions.
- Soft-bristled brush (like a new toothbrush or a camera lens brush): Use this for gently dusting away debris from fabric cushions. It helps dislodge dirt without damaging the material.
- Small bowl or container: For mixing your cleaning solution.
- Gloves (optional): If you have sensitive skin or prefer to keep your hands clean.
Safe Cleaning Solutions
Choosing the correct cleaning solution is critical. Harsh chemicals can degrade cushion materials. Always opt for mild, diluted solutions. I have found these options to be very effective and safe.
- Mild dish soap: A single drop of dish soap mixed with distilled water creates a gentle cleaning solution. This is effective for most non-porous materials.
- Distilled water: Using distilled water prevents mineral deposits and water spots. Tap water can leave behind residue, especially in hard water areas.
- Rubbing alcohol (Isopropyl alcohol) 70% or less: Use sparingly and only on specific materials like pleather or silicone for disinfection. Always dilute it further (e.g., 50/50 with distilled water) and test in an inconspicuous area first. Alcohol can dry out and crack leather or pleather if used improperly. For general cleaning, I prefer mild soap and water.
- Specialized electronics cleaner: Some brands offer cleaners specifically for headphone materials. These are usually safe if used as directed. I look for non-abrasive, alcohol-free formulas.
- White vinegar: Diluted white vinegar can be used for general disinfection or mold removal, especially on more robust materials like silicone or some fabrics. Mix it with water. For mold, specifically on cushions, you might find this guide helpful: How to Clean Mold With Vinegar. This can be a strong option, so use with care.
What to Avoid
Certain cleaning agents can cause irreversible damage to headphone cushions. I learned this the hard way with a pair of headphones years ago. Avoid these at all costs.
- Harsh chemicals: Bleach, ammonia-based cleaners, abrasive cleaners, or strong solvents can strip finishes, cause discoloration, or degrade materials.
- Direct spraying: Never spray liquid directly onto your headphones or cushions. Moisture can seep into the electronics. Always dampen a cloth first.
- Excessive water: Too much water can damage foam, fabric, and even some pleather backings. It can also promote mold growth if cushions do not dry properly.
- Rough scrubbing: Aggressive scrubbing can damage the surface of any cushion material. Be gentle.
Cleaning Pleather and Leather Headphone Cushions: A Gentle Approach
Pleather (protein leather) and genuine leather are common materials for headphone cushions. They offer a premium feel and are relatively easy to clean. However, they do require a gentle touch to prevent cracking or peeling. I approach these materials with care. This method focuses on gentle wiping and proper conditioning. Many principles for cleaning leather apply here, similar to how one might clean How To Clean Leather Shoes.
Preparation and Detachment
Before you start, check if your headphone cushions are detachable. Many models allow you to twist or pull the ear pads off. Detaching them makes cleaning easier and safer. It prevents moisture from reaching the headphone’s drivers. If they are not detachable, be extra careful with moisture.
First, gently wipe down the entire cushion with a dry microfiber cloth. This removes loose dust and debris. I make sure to get into any creases or seams. This initial dry wipe prevents dirt from turning into muddy streaks during wet cleaning.
Gentle Wiping Techniques
Now, prepare your cleaning solution. Mix a single drop of mild dish soap with about half a cup of distilled water. Stir it well until slightly sudsy. Do not use too much soap; a little goes a long way.
- Dampen the cloth: Dip a corner of your microfiber cloth into the solution. Wring out excess liquid very thoroughly. The cloth should be damp, not wet. There should be no drips.
- Wipe the surface: Gently wipe the surface of the pleather or leather cushions. Use a light, circular motion. Focus on areas with visible grime, sweat, or oil buildup. Do not press hard or scrub aggressively. My goal is to lift dirt, not abrade the material.
- Address seams and crevices: Use a cotton swab dampened with the same solution for tricky areas like seams or where the cushion meets the headphone body. Be precise to avoid getting liquid into electronic components.
- Repeat if necessary: If the cushions are very dirty, rinse your cloth and repeat the process. Always re-dampen and wring the cloth out thoroughly each time.
Drying and Reassembly
Proper drying is crucial for pleather and leather cushions. Air drying is always the best option.
- Dry wiping: After cleaning, use a clean, dry microfiber cloth to wipe away any residual moisture and soap film. Buff the surface gently.
- Air dry completely: Allow the cushions to air dry completely for several hours, or even overnight. Place them in a well-ventilated area, away from direct sunlight or heat sources. Do not use a hairdryer, as heat can damage the material.
- Condition (for genuine leather): If you have genuine leather cushions, you might apply a tiny amount of leather conditioner after they are dry. This helps keep the leather supple and prevents drying or cracking. Use a product specifically designed for electronics or delicate leather goods. Apply with a clean cloth and buff gently.
- Reassemble: Once completely dry, reattach the cushions to your headphones. Make sure they are securely in place.
Deep Cleaning for Stubborn Grime
For stubborn grime or sticky residue on pleather, a very diluted alcohol solution can be used. Mix 70% isopropyl alcohol with distilled water in a 1:1 ratio. Lightly dampen a cotton swab or the corner of a microfiber cloth. Gently dab and wipe the affected area. Do not rub vigorously. Follow up with a plain damp cloth to wipe away any residue, then dry completely. I use this method sparingly, only when necessary, as alcohol can be harsh over time. If you have AirPod Max cushions, which are detachable and often have similar materials, the general care steps might overlap with instructions for How to Clean AirPod Max Cushions.
Effective Cleaning Methods for Velour and Fabric Headphone Cushions
Velour and fabric headphone cushions are comfortable and breathable, but they can be more challenging to clean than pleather. Their porous nature means they absorb sweat, oils, and odors more readily. This section outlines effective methods for keeping these materials fresh without causing damage. I approach these with patience and gentle action.
Vacuuming and Lint Removal
Start by removing loose dust, lint, and hair. This initial step prevents dry debris from becoming wet muck during cleaning. It is a simple but important beginning.
- Vacuum gently: Use a handheld vacuum cleaner with a brush attachment, or the hose attachment of a larger vacuum. Gently vacuum the surface of the velour or fabric cushions. Move the nozzle across the surface to lift off surface debris. I am careful not to press too hard.
- Lint roller or tape: For persistent lint or hair, a lint roller works well. You can also dab the surface with masking tape or painter’s tape. This lifts off fibers without leaving residue.
- Soft brush: A soft-bristled brush, like a new, clean toothbrush or a dedicated electronics brush, can help dislodge dust from the fibers. Brush lightly in one direction.
Spot Cleaning and Gentle Washing
Velour and fabric cushions do not tolerate excessive moisture well. Spot cleaning is often the safest and most effective method. If a more thorough cleaning is needed, a very gentle wash is possible.
- Prepare solution: Mix a small amount of mild liquid laundry detergent or upholstery cleaner with distilled water. Use a tiny amount of detergent – just enough to create light suds. The solution should be mostly water.
- Dampen cloth or sponge: Dip a clean, soft cloth or sponge into the solution. Wring it out very thoroughly. The cloth should be barely damp, not wet. You want to minimize moisture saturation.
- Spot clean: Gently dab and blot the stained areas. Do not rub vigorously, as this can push the stain deeper or damage the fabric. Work from the outside of the stain inwards.
- Rinse (damp cloth): Dampen another clean cloth with plain distilled water (no soap). Wring it out well. Gently blot the cleaned area to remove soap residue.
- Gentle washing (if detachable): If cushions are heavily soiled and detachable, you might be able to hand wash them. Check your headphone’s manual first for specific instructions. If allowed, submerge them in a bowl of cool, soapy water. Gently squeeze and release the cushions a few times to work the solution through. Rinse thoroughly under cool running water until no more suds appear. Squeeze out as much water as possible without twisting or wringing forcefully.
Drying Fabric Cushions Safely
Drying fabric cushions properly is crucial to prevent mildew and damage. This material is prone to retaining moisture. Many of the principles for cleaning outdoor cushions, particularly regarding drying, can apply to fabric headphone pads to prevent moisture issues, so you can draw general ideas from guides on cleaning articles such as How To Clean Outdoor Cushions.
- Squeeze excess water (if washed): If you hand-washed them, gently press the cushions between clean, dry towels. This absorbs a lot of water. Do not twist or wring them aggressively.
- Air dry completely: Place the cushions in a well-ventilated area. They need good airflow from all sides. Use a fan to circulate air around them, if possible. This significantly speeds up drying.
- Flip periodically: Turn the cushions every few hours to ensure even drying. This prevents moisture from settling in one spot.
- Avoid heat: Never use a hairdryer, direct sunlight, or a heater. Excessive heat can shrink the fabric or damage the foam inside. It can also cause adhesives to fail.
- Ensure dryness: It can take 24-48 hours for fabric cushions to dry completely. Do not reattach them until they are absolutely bone dry. Any residual moisture can lead to mold or a musty smell.
Combating Odors in Fabric
Fabric cushions easily absorb odors. If cleaning does not remove all odors, try these steps.
- Baking soda treatment: Place the dry cushions in a sealed bag with an open container of baking soda. Let them sit overnight or for a full day. Baking soda absorbs odors naturally.
- Fabric refresher spray: Lightly mist a fabric refresher spray designed for upholstery. Test it on an inconspicuous area first. Ensure it is non-staining and quick-drying.
Tackling Persistent Issues: Mold, Mildew, and Deep Stains
Sometimes, regular cleaning is not enough. Headphone cushions, especially fabric ones, can develop mold, mildew, or stubborn stains from prolonged contact with sweat and oils. Addressing these issues requires more targeted methods. I tackle these problems head-on to restore my headphones.
Removing Mold and Mildew Safely
Mold and mildew are common problems, especially if cushions are stored in humid environments or not dried properly. They appear as black, green, or white spots and have a musty smell. For general advice on removing mildew from fabrics, you can look at resources like How To Clean Mildew Off Outdoor Cushions, as the principles of using mild solutions and thorough drying apply.
- Isolate the cushions: If possible, remove the cushions from your headphones immediately. This prevents mold spores from spreading to the rest of the device.
- Initial dry removal: In a well-ventilated area (preferably outdoors), use a soft brush or a dry cloth to gently brush away any loose mold growth. Do this carefully to avoid inhaling spores.
- Vinegar solution: Mix equal parts white vinegar and distilled water in a spray bottle. Vinegar is a natural fungicide and mold killer.
- Apply and treat: Lightly mist the affected areas with the vinegar solution. Do not saturate the cushion. Let the solution sit for about 10-15 minutes. This gives the vinegar time to work.
- Gently wipe: Use a clean, damp microfiber cloth (dampened with plain water) to wipe away the mold and vinegar solution. Repeat if necessary.
- Thorough drying: This is the most crucial step. Air dry the cushions completely in a well-ventilated area. Use a fan to promote airflow. Ensure they are bone dry before reattaching. Any remaining moisture will allow mold to return. For stubborn mold, a guide on how to deal with it using vinegar may provide additional insights: How To Clean Mold With Vinegar.
Addressing Sweat and Oil Stains
Sweat and skin oils are the most common culprits for headphone cushion stains. They leave behind dark, greasy marks and can break down materials over time.
- For Pleather/Leather:
- Mild soap and water: As detailed previously, a mild dish soap solution is usually effective. Gently wipe the stained area.
- Alcohol wipe (diluted): For stubborn oil stains, dampen a cotton swab with a very diluted solution of 50% isopropyl alcohol and 50% distilled water. Gently dab the stain. Do not rub vigorously. Wipe immediately with a clean, damp cloth and then dry.
- For Velour/Fabric:
- Enzyme cleaner (optional): For organic stains like sweat, an enzyme-based fabric cleaner designed for upholstery can be effective. Follow product instructions, ensuring it is safe for your material. Test in an inconspicuous area first.
- Baking soda paste: For greasy stains, mix a small amount of baking soda with water to form a paste. Apply the paste to the stain. Let it sit for 15-30 minutes to absorb the oil. Gently brush off the dried paste, then lightly vacuum. Follow up with a damp cloth to remove residue, then air dry.
- Detergent pre-treatment: For tough stains on detachable fabric cushions, pre-treat the stain with a small drop of mild laundry detergent. Gently work it in with your finger. Let it sit for a few minutes before hand washing the cushion as described in the previous section.
Disinfecting for Comprehensive Cleanliness
Beyond just cleaning, disinfection is important for hygiene. This eliminates bacteria and viruses that regular cleaning might miss.
- Isopropyl alcohol (70%): For pleather and silicone cushions, lightly dampen a microfiber cloth with 70% isopropyl alcohol. Wipe down the surfaces. Alcohol evaporates quickly and is an effective disinfectant. Do not over-saturate. I avoid alcohol on velour or porous fabric due to potential discoloration or drying.
- UV-C light sanitizer (optional): Some electronic sanitizers use UV-C light to kill germs. These can be effective for headphone cushions, especially if you want a chemical-free disinfection method. Ensure the device is rated for electronics and follow its instructions carefully.
- Disinfectant wipes: Use electronics-safe disinfectant wipes. Check the label to ensure they are suitable for the materials. Avoid wipes with harsh chemicals or abrasive textures. Always test on a small, hidden area first.
Remember to always allow your headphone cushions to dry completely after any deep cleaning or disinfection process. This prevents further issues and ensures longevity.
Maintaining Headphone Cushion Cleanliness: Prevention and Care
Regular maintenance goes a long way in keeping your headphone cushions clean and extending their lifespan. Preventing heavy buildup is always easier than deep cleaning. I have incorporated these simple habits into my routine, and my headphones stay fresh. This section provides tips for ongoing care and knowing when it’s time for a replacement.
- headphone cleaning
- ear pad maintenance
- headphone hygiene
- audio accessories
- electronics maintenance

Todd Martin
Senior Writer
With over 15 years of experience in home renovation and design, I started HEG to share what I’ve learned with homeowners who want to create spaces that are both beautiful and functional. I’ve always believed in a hands-on approach, and over the years, I’ve picked up practical solutions that actually work. Through HEG, I aim to make home improvement more approachable, sharing real tips that help you create a home you truly love.