· Todd Martin · Home Maintenance · 21 min read
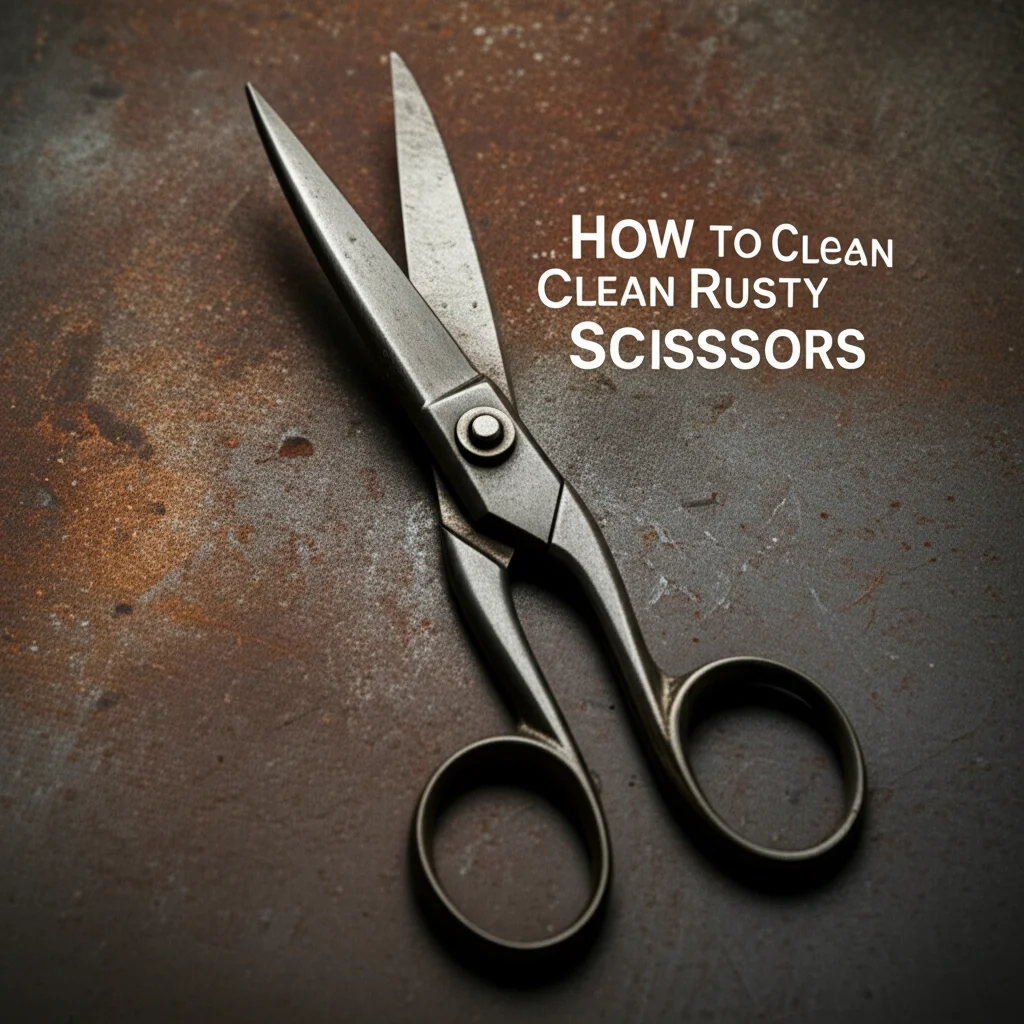
How To Clean Hinges Hardware
Unlock the Shine: How to Clean Hinges Hardware
Have you ever noticed how quickly the small details in your home gather grime? Hinges, though often out of sight, are workhorses. They hold your doors and cabinets in place, allowing smooth movement. Over time, these essential pieces of hardware can accumulate dust, dirt, grease, and even rust.
Learning how to clean hinges hardware is crucial for both function and appearance. Dirty hinges can stick, squeak, and detract from the overall look of your home. This guide helps you restore their shine and extend their lifespan. We will cover different hinge materials, the right tools to use, and step-by-step cleaning methods. We also look at special care for antique hardware and offer tips for keeping your hinges pristine.
Takeaway:
- Identify your hinge material for proper cleaning methods.
- Gather basic tools like brushes, cloths, and mild cleaners.
- Address rust and paint splatter with targeted techniques.
- Clean hinges regularly to maintain appearance and function.
- Lubricate hinges after cleaning for smooth operation.
To clean hinges hardware, first identify the material. Then, gather soft cloths, brushes, and mild cleaning solutions like dish soap, vinegar, or specialized metal cleaners. Carefully scrub away dirt, grime, or rust. Rinse and dry thoroughly. Finally, lubricate the clean hinges.
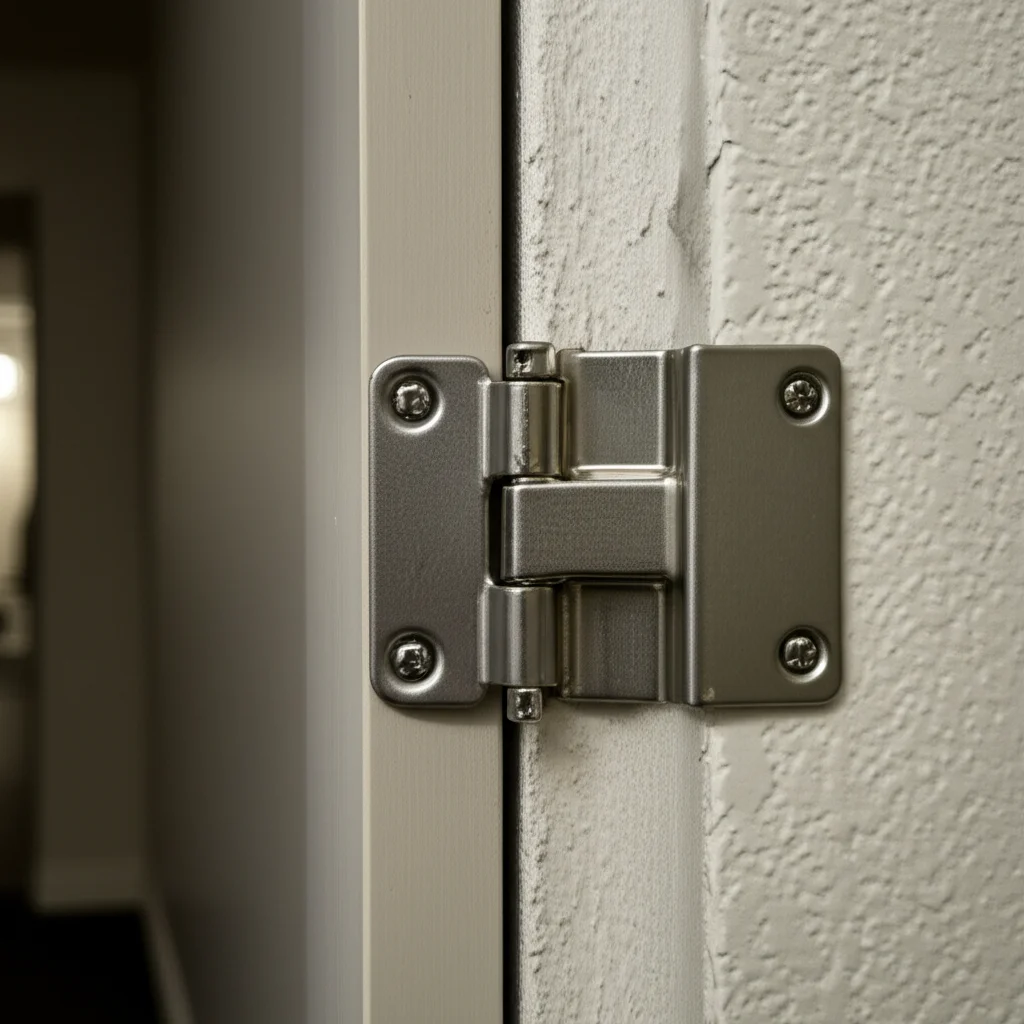
Understanding Your Hinge Hardware Material
Before you start cleaning, it is important to know what your hinges are made of. Different materials react differently to cleaners. Using the wrong product can damage the finish or cause corrosion. Identifying the material ensures safe and effective cleaning.
Most hinges are made from common metals like brass, steel, or iron. Some might have a chrome or nickel plating. You may also find hinges that have been painted over. Each material requires a slightly different approach for cleaning and care.
Common Hinge Materials and Their Care:
- Brass: Brass is a soft, golden-yellow alloy. It can tarnish over time. For light tarnish, a lemon juice and baking soda paste works well. You can use specialized brass polish for heavier tarnish. Always test a small, hidden area first.
- Steel (including Stainless Steel): Steel hinges are strong and durable. They are often silver-colored. Mild dish soap and water are usually enough for cleaning. For stainless steel, wipe with the grain to avoid streaks. Rust can be a problem with regular steel.
- Cast Iron: Cast iron hinges are heavy and rustic. They often have a dark, matte finish. These are prone to rust. Avoid harsh abrasives that could strip their protective finish. A wire brush might be needed for heavy rust.
- Chrome or Nickel Plated: These hinges have a shiny, reflective surface. The plating covers a base metal, often steel or brass. Use gentle, non-abrasive cleaners to avoid scratching the plating. A soft cloth with soapy water is usually sufficient. Never use steel wool on plated finishes.
- Painted Hinges: Hinges are sometimes painted to match a door or cabinet. You must be careful not to chip the paint while cleaning. Use a damp cloth and mild soap. Harsh chemicals can strip the paint. If the paint is peeling, you might need to strip and repaint.
Knowing the material helps you choose the right cleaning agent. This prevents damage and helps you get the best results. For a broader understanding of cleaning different metal types, you can find more information on how to clean metal hardware. This knowledge helps preserve the integrity and appearance of your hinges.
Gathering Your Cleaning Arsenal
Cleaning hinges hardware requires the right tools and supplies. Having everything ready before you start saves time and makes the process smoother. Most items are common household products you might already own. Gathering these essentials helps you tackle dirt, grime, and rust effectively.
You do not need many specialized tools for basic hinge cleaning. Simple brushes, cloths, and mild cleaning agents are often sufficient. For tougher jobs, you might need slightly more aggressive but still safe options. Always prioritize gentleness to protect the hardware’s finish.
Essential Tools and Supplies:
- Soft Cloths or Microfiber Towels: These are perfect for wiping surfaces without scratching. Use them for applying cleaners and drying.
- Soft-Bristle Brush or Old Toothbrush: Great for getting into crevices and around pins. A toothbrush can dislodge dirt from tight spots.
- Bucket or Small Bowl: For mixing cleaning solutions.
- Mild Dish Soap: A universal cleaner for most materials. It cuts through grease and grime gently.
- Warm Water: Used with dish soap for general cleaning.
- White Vinegar: An excellent natural cleaner for rust and grime. It is mildly acidic.
- Baking Soda: Good for creating a paste to tackle stubborn stains or light tarnish.
- Fine-Grit Steel Wool (Optional, for specific metals like unplated iron/steel): Use with extreme caution and only on appropriate, unplated metals for rust removal. Never use on plated or delicate finishes.
- Metal Polish (Specific to Material): For brass, copper, or stainless steel that needs shining. Choose a polish made for your specific hinge material.
- Rust Remover (Optional): For stubborn rust spots on steel or iron. Follow product instructions carefully.
- Protective Gloves: To protect your hands from cleaning solutions.
- Screwdriver (If removing hinges): Make sure it fits the hinge screws correctly to avoid stripping them.
- Lubricant (e.g., WD-40, silicone spray, lithium grease): For post-cleaning maintenance to ensure smooth operation.
Having these items on hand ensures you are prepared for any cleaning challenge your hinges present. Being organized helps you work efficiently. This preparation is a key step in keeping your furniture hardware and other metal components looking their best.
Step-by-Step Cleaning Methods for General Grime
Once you have your supplies, you can start cleaning your hinge hardware. For general dirt and grime, the process is usually straightforward. You can often clean hinges without removing them, especially if they are only lightly soiled. This saves time and effort.
However, if hinges are very dirty, covered in paint, or heavily rusted, removing them might be the best option. This allows for a more thorough cleaning. I find that starting with the simplest method is always best. You can escalate to more intense methods only if needed.
Method 1: Cleaning Hinges In-Place (Light Dirt)
This method works well for everyday dust and light grease. It is ideal for hinges that are still functioning well but look a bit dull. You will avoid the hassle of disassembling the door or cabinet. This method also protects the surrounding wood or paint.
- Prepare the Area: Place a drop cloth or old towel beneath the hinge. This catches any drips or loosened dirt.
- Initial Wipe-Down: Use a dry soft cloth to wipe away loose dust and cobwebs. Get into the crevices as much as you can.
- Mix Cleaning Solution: In a small bowl, mix a few drops of mild dish soap with warm water.
- Clean with Soap and Water: Dip a soft-bristle brush or old toothbrush into the soapy water. Gently scrub the hinge. Focus on the pin, knuckles, and plates.
- Wipe Clean: Dampen a clean cloth with plain water and wipe down the hinge to remove soap residue. Do not soak the hinge.
- Dry Thoroughly: Use a dry, clean cloth to dry the hinge completely. Moisture can lead to rust.
- Lubricate: Apply a small amount of lubricant to the hinge pin and knuckles. Move the hinge back and forth to distribute the lubricant. This helps keep movement smooth. For more detailed instructions on this, check out how to clean door hinges without removing them.
Method 2: Cleaning Hinges After Removal (Heavy Dirt/Paint)
For heavily soiled, rusty, or painted-over hinges, removal allows for a deeper clean. This is often the most effective way to restore hardware to its original condition. Remember to keep track of all screws.
- Remove Hinges: Use the correct size screwdriver to remove the screws holding the hinge. Support the door or cabinet door as you remove the last hinge. Set the screws aside carefully in a labeled bag or container.
- Separate Hinge Parts (If Possible): Some hinges can be separated into their leaf plates and pin. This allows for easier cleaning of each component.
- Soak (Optional, for stubborn grime): For metal hinges, you can soak them in a solution of warm water and dish soap, or a 50/50 white vinegar and water solution, for 30 minutes to an hour. For painted hinges, avoid soaking in vinegar. You can use a paint stripper if removing paint.
- Scrub Thoroughly: After soaking, use a brush to scrub all surfaces of the hinge. For tough spots, you may need a slightly stiffer brush.
- Rinse: Rinse the hinges under clean running water. Make sure all cleaning solution is gone.
- Dry Completely: Dry the hinges immediately and thoroughly. You can use a cloth or even a hairdryer on a cool setting. Ensure no moisture remains.
- Lubricate and Reinstall: Apply lubricant to the hinge pin and reassemble the hinge. Reinstall the hinges onto the door or cabinet, making sure they are properly aligned.
This systematic approach ensures your hinges become clean and functional again. Whether you are working with door hinges or furniture hardware, these methods will yield great results.
Tackling Tough Stains: Rust, Paint, and Grime
Sometimes, hinges are more than just dusty. They might be covered in stubborn rust, layers of old paint, or deeply embedded grime. These tough stains require more specific methods and a bit more effort. Do not worry; with the right approach, you can restore even the most neglected hinges.
The key to tackling tough stains is patience and selecting the correct cleaning agent for the specific problem. Always work in a well-ventilated area, especially when using stronger chemicals. Protect your hands with gloves.
Removing Rust from Hinges:
Rust is a common problem, especially on steel and iron hinges. It can make hinges stiff and unsightly. Several methods can help remove rust.
- White Vinegar Soak: For light to moderate rust, soak the removed hinges in white vinegar overnight. The acetic acid in vinegar helps dissolve rust. After soaking, scrub with a wire brush or fine steel wool (only on unplated metal). Rinse thoroughly and dry immediately.
- Baking Soda Paste: Mix baking soda with a little water to form a thick paste. Apply the paste to rusty areas. Let it sit for a few hours. Then, scrub with a brush or a non-abrasive scrubber. This is a gentler option.
- Citric Acid: A powder form of citric acid mixed with water can also be effective. Soak hinges in the solution for a few hours. Scrub and rinse. This is great for many types of metals.
- Commercial Rust Remover: For heavy rust, consider a commercial rust remover. Follow the product instructions carefully. These products often contain strong chemicals, so use them with caution and proper ventilation. Remember to use these products on the appropriate type of metal.
- Fine-Grit Sandpaper or Steel Wool (Caution): For very stubborn rust spots on non-decorative, unplated steel or cast iron, you can gently abrade the rust away. Always start with the finest grit possible and avoid over-sanding. This can remove the surface finish, so use it as a last resort.
Removing Paint from Hinges:
Painted-over hinges can stick and look messy. Removing paint restores their original appearance and function.
- Boiling Water (for small items): If hinges are removed, you can carefully boil them in an old pot. The heat can soften the paint, making it easier to scrape off with a plastic scraper or old toothbrush. This method works well for many types of paint.
- Paint Stripper: For tough, multi-layered paint, a chemical paint stripper is effective. Apply the stripper according to the manufacturer’s instructions. Allow it to sit, then scrape the softened paint off with a plastic or wooden tool. Always wear gloves and work in a well-ventilated area.
- Heat Gun (Caution): A heat gun can soften paint on hinges, allowing it to be scraped away. Use a low setting and keep the gun moving to avoid scorching the metal or surrounding surfaces. Be extremely careful not to burn yourself or cause a fire.
- Wire Brush (for durable metals): For very sturdy, unplated iron or steel hinges, a wire brush attachment on a drill can quickly remove old paint and rust. This is an aggressive method and should not be used on delicate or plated hardware.
Dealing with Deep-Seated Grime and Varnish:
Sometimes, hinges have decades of dirt, grease, or old varnish built up.
- Mineral Spirits or Turpentine: These solvents can dissolve old grease, varnish, and sticky residue. Soak the removed hinges for a short period, then scrub with a brush. Always follow safety precautions and ensure good ventilation.
- Degreaser: For heavy grease buildup, an automotive or household degreaser can be very effective. Spray or soak, then scrub clean. Rinse thoroughly.
After any intense cleaning, especially rust or paint removal, always rinse the hinges thoroughly and dry them immediately. Leaving any moisture or chemical residue can cause further problems. Proper cleaning brings new life to your old metal hinges.
Special Considerations for Antique and Delicate Hardware
Antique hinges and delicate hardware pieces hold a unique charm. They add character to old homes and furniture. Cleaning these items requires extra care and a gentle touch. You want to remove grime without damaging their historical value or fragile finishes. Harsh chemicals or abrasive tools can cause irreversible harm.
The goal is to preserve the patina – the natural aging process that gives antique metal its unique look. Aggressive cleaning can strip this patina, reducing the item’s appeal and value. Always prioritize preservation over a perfectly polished shine when dealing with antiques.
Gentle Cleaning for Valuable Pieces:
- Identify the Metal: As always, knowing the material is the first step. Antique hinges are often brass, bronze, cast iron, or wrought iron. Some might have decorative finishes or platings that are no longer common.
- Start with the Least Invasive Method: Begin with a dry, soft cloth to remove loose dust. If more cleaning is needed, use a very mild soap solution. A drop of mild dish soap in warm water is often enough.
- Use Soft Tools: Opt for a soft-bristle brush, an old toothbrush, or even a cotton swab for intricate details. Avoid anything abrasive like steel wool or stiff wire brushes. These can scratch or remove valuable patina.
- Avoid Over-Soaking: Prolonged soaking, especially for composite or very old metals, can cause damage. A quick dip or wiping with a damp cloth is better. If soaking is necessary, keep it brief and use a gentle solution.
- No Harsh Chemicals: Stay away from strong acids, alkalis, or commercial rust removers unless they are specifically formulated and recommended for antique hardware of that specific material. Even then, test on a hidden spot first. Many traditional home remedies like lemon juice or vinegar can be too acidic for some antique finishes.
- Polishing Antique Brass/Bronze: For antique brass or bronze, avoid aggressive polishing that removes the natural patina. If you must polish, use a specialized antique brass polish sparingly. Focus on areas that are truly dull or tarnished, rather than the entire surface. Many collectors prefer a well-maintained patina over a bright, new shine. For a deep dive into this, consult guides on how to clean antique brass hardware.
Dealing with Damage and Restoration:
- Loose Parts: Antique hinges can have loose pins or components. Handle them carefully to avoid losing small parts. If a pin is stuck, a very small amount of penetrating oil might help.
- Professional Restoration: For very valuable or severely damaged antique hardware, consider professional restoration. Specialists have the knowledge and tools to clean and repair these items without compromising their integrity or value.
- Document Before Cleaning: If you are working on very old or potentially valuable hardware, take photos before you start cleaning. This helps document its original state.
- Patience is Key: Cleaning antique hardware is not a race. Take your time, work slowly, and observe the hardware’s reaction to your cleaning efforts. If you see any adverse effects, stop immediately.
Caring for old hardware is a delicate balance. You aim to remove dirt and grime while preserving its historical character. This attention to detail ensures your antique pieces remain beautiful and functional for years to come. Whether it’s old door hardware or hardware on old furniture, the principle remains the same: gentle care for lasting beauty.
Cleaning Hinges Without Removal
Sometimes, removing hinges is not practical or desirable. You might have a heavy door, intricate cabinet hardware, or simply want a quick refresh. Cleaning hinges in place is a convenient option for maintaining their appearance and function. This method is best for hinges with light to moderate dirt, dust, and minimal rust.
While you cannot soak the hinges or apply aggressive scrubbing, you can still achieve impressive results. The key is using the right tools and techniques to clean the visible and accessible parts effectively. I often use this method for a routine clean.
Steps for In-Place Hinge Cleaning:
- Prepare the Area: Place a towel or paper towels on the floor or cabinet surface directly under the hinge. This protects the surrounding area from drips and catches any dirt that falls.
- Gather Supplies: You will need a small bowl of warm, soapy water (using mild dish soap), an old toothbrush or a soft-bristle brush, cotton swabs, clean microfiber cloths (one damp, one dry), and a lubricant.
- Initial Dusting: Use a dry brush or soft cloth to remove any loose dust, cobwebs, or surface grime. Pay attention to the top and bottom of the hinge leaves and the pin area.
- Targeted Scrubbing:
- Dip the toothbrush or soft brush into the soapy water. Squeeze out excess moisture. The brush should be damp, not dripping.
- Gently scrub the hinge. Focus on the knuckles (the cylindrical parts where the pin goes through), the edges of the hinge leaves, and any decorative elements. The small bristles of a toothbrush are great for getting into tight spots.
- For very tight crevices, use a cotton swab dipped in the soapy water.
- Remove Stubborn Spots (Carefully):
- For light rust spots, you can make a paste of baking soda and a few drops of water. Apply it to the rust with a cotton swab or small brush. Let it sit for 15-20 minutes. Gently scrub and wipe away.
- For light paint splatters, you might carefully pick at them with a plastic scraper or your fingernail. Avoid metal tools that can scratch. A tiny bit of mineral spirits on a cotton swab might help, but test it first on an inconspicuous area to ensure it does not damage the hinge finish or surrounding paint.
- Wipe Clean: Dampen a clean microfiber cloth with plain water (no soap). Wipe down the hinge to remove all soap residue and loosened dirt. Make sure no soapy film remains.
- Dry Thoroughly: Immediately use a dry, clean microfiber cloth to dry the hinge completely. Any remaining moisture can lead to rust, especially in the tight areas. You can use a hairdryer on a cool setting for faster drying if needed.
- Lubricate: Once the hinge is fully dry, apply a small amount of lubricant (like silicone spray, dry lubricant, or a few drops of light machine oil) to the hinge pin and knuckles. Open and close the door or cabinet several times to distribute the lubricant evenly. This helps prevent squeaks and ensures smooth operation.
Cleaning hinges in place is a fantastic way to keep your home looking good with minimal disruption. It is a quick maintenance task that extends the life and improves the function of your hardware. For more specific instructions on this technique, check out how to clean door hinges without removing them.
Lubricating and Maintaining Clean Hinges
Cleaning your hinges is a great step. But the job is not truly complete until you lubricate them. Lubrication ensures smooth operation and helps prevent future squeaks and wear. Regular maintenance also helps keep your hinges cleaner for longer periods. This preventative care extends the life of your hardware significantly.
Think of it as a small investment in your home’s longevity. A well-lubricated hinge performs better and lasts longer. It also contributes to a quieter and more pleasant home environment.
Choosing the Right Lubricant:
The best lubricant depends on the hinge type and its environment.
- Silicone Spray: This is a versatile option for most indoor hinges. It is clear, does not attract much dust, and provides excellent lubrication. It is safe for many materials, including plastic.
- Dry Lubricants (Graphite or PTFE/Teflon sprays): These are good for hinges where you want to avoid a greasy residue. They leave a fine, dry film that resists dust and dirt buildup. Excellent for interior doors and cabinet hinges.
- Lithium Grease: A heavier-duty lubricant suitable for exterior doors or gates, or hinges that experience more wear. It provides a thicker, more durable coating but can attract more dirt. Apply sparingly.
- Light Machine Oil (e.g., 3-in-1 oil): A traditional choice for metal hinges. Apply a small drop directly to the hinge pin. It works well but can drip if over-applied.
- Avoid WD-40 as a Long-Term Lubricant: While WD-40 is excellent for displacing water and freeing rusted parts, it is primarily a penetrant, not a long-lasting lubricant. It can evaporate quickly, leaving hinges unprotected. Use it to loosen, then follow up with a proper lubricant.
How to Lubricate Hinges:
- Clean First: Always clean the hinges thoroughly before lubricating. Applying lubricant over dirt and grime traps it and makes the problem worse.
- Apply Sparingly: A little goes a long way. Too much lubricant can attract dust and create a messy buildup.
- Target the Pin: The most crucial area to lubricate is the hinge pin and the knuckles where the leaves pivot. For most hinges, you can spray or drip lubricant directly into the top of the hinge pin.
- Work it In: Open and close the door or cabinet several times after applying lubricant. This helps distribute the lubricant throughout the hinge mechanism, ensuring smooth movement and quiet operation.
- Wipe Excess: Use a clean cloth to wipe away any excess lubricant from the outside of the hinge. This prevents dust accumulation and staining of surrounding surfaces.
Ongoing Maintenance Tips:
- Regular Dusting: Include hinges in your regular dusting routine. A quick wipe with a dry cloth prevents dust and grime from building up.
- Annual Lubrication: For frequently used doors, re-lubricate hinges at least once a year. Less-used hinges might only need it every few years.
- Address Squeaks Immediately: If a hinge starts squeaking, it is a sign that it needs lubrication. Addressing it quickly prevents further wear.
- Inspect for Wear: Periodically check hinges for signs of wear, loose screws, or corrosion. Addressing small issues early prevents larger problems later.
By regularly lubricating and maintaining your clean hinges, you ensure they remain functional and attractive for many years. This simple step protects your investment in your home’s hardware. It helps keep your door hinges and furniture hardware in top condition.
Advanced Techniques for Stubborn Issues
Sometimes, cleaning and lubricating are not enough. Hinges can develop issues that require more advanced techniques. These might include stripped screws, severe corrosion, or extreme stiffness that standard methods cannot fix. Knowing these advanced solutions can save you from replacing perfectly good hardware.
These techniques often involve specialized tools or a deeper understanding of hinge mechanics. Always proceed with caution. If you are unsure, consult a professional.
Dealing with Stripped Hinge Screws:
Stripped screws are a common problem. The screwdriver can no longer grip the screw head. This makes removal very difficult.
- Larger Screwdriver Bit: Sometimes, simply switching to a larger screwdriver bit (one size up) can provide enough grip to turn the screw. Use a manual screwdriver for better feel.
- Rubber Band Method: Place a wide rubber band flat over the stripped screw head. Press the screwdriver into the rubber band, then try to turn the screw slowly. The rubber provides extra grip.
- Screw Extractor Kit: For severely stripped screws, a screw extractor kit is the best tool. These kits typically have special bits that bite into the stripped head, allowing you to unscrew it. Follow the kit’s instructions carefully.
- Drilling Out the Screw (Last Resort): If all else fails, you might need to drill out the screw. Use a drill bit slightly smaller than the screw shaft. Drill slowly and carefully. This will destroy the screw and potentially damage the hinge or surrounding wood. You will need to patch the hole later.
Addressing Severe Corrosion or Pitting:
Severe corrosion or pitting means the metal itself has degraded. Simple cleaning will not restore the surface.
- Sanding and Polishing (for solid, unplated metal): For solid brass, bronze, or steel hinges (not plated ones), you can gently sand away pitting with very fine-grit sandpaper (e.g., 400-grit, then 600-grit). Follow up with a metal polishing compound and a soft cloth to restore shine. This removes material, so do it sparingly.
- Electrolysis (for iron/steel with heavy rust): This is an advanced method for removing heavy rust from iron or steel. It involves setting up an electrolytic cell to convert rust back into iron. It requires specific equipment and knowledge of electrical safety. Only attempt this if you are experienced.
- Buffing Wheel (for solid metal): For high-quality solid metal hinges, a buffing wheel with appropriate compounds can achieve a professional-level polish. This also requires specialized equipment and safety precautions.
- hinge cleaning
- hardware care
- metal polishing
- door hardware
- cabinet hinges
- rust removal

Todd Martin
Senior Writer
With over 15 years of experience in home renovation and design, I started HEG to share what I’ve learned with homeowners who want to create spaces that are both beautiful and functional. I’ve always believed in a hands-on approach, and over the years, I’ve picked up practical solutions that actually work. Through HEG, I aim to make home improvement more approachable, sharing real tips that help you create a home you truly love.