· Todd Martin · Home Maintenance · 16 min read
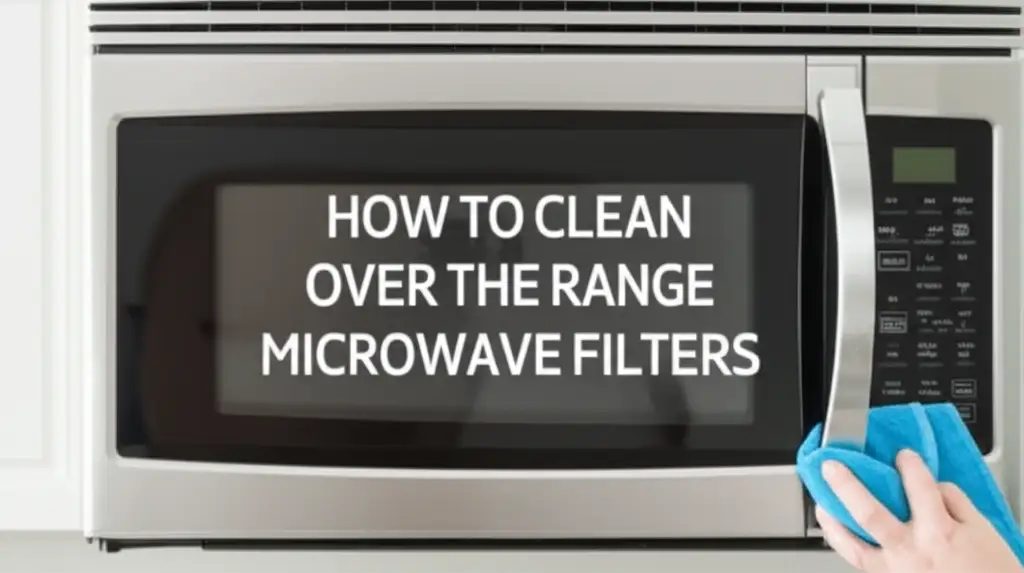
How To Clean Over The Range Microwave Filters
Cleaning Over The Range Microwave Filters For Better Air
Is your kitchen smelling a bit off after cooking? Does the microwave fan seem less effective? Often, the culprit is dirty filters. Learning how to clean over the range microwave filters is a simple task. This maintenance step boosts air quality and keeps your kitchen smelling fresh. I will guide you through cleaning both grease and charcoal filters. This article provides steps to ensure your microwave runs well.
Takeaway:
- Regularly clean grease filters to maintain airflow and prevent odors.
- Replace charcoal filters every 6-12 months for effective odor absorption.
- Always disconnect power before beginning any filter maintenance.
Cleaning over the range microwave filters involves removing them, typically soaking grease filters in hot, soapy water, and then rinsing them clean. Charcoal filters cannot be washed; they require replacement when they become saturated. Following these steps ensures your microwave’s ventilation system functions properly.
Understanding Your Over The Range Microwave Filters
Every over the range microwave has filters. These filters trap airborne particles. They play a crucial role in maintaining kitchen air quality. Knowing your filter type helps with cleaning.
Types of Microwave Filters
There are two main types of filters in over the range microwaves. Each type has a specific job. Each type also requires different care. I will explain these types now.
Grease Filters
Grease filters are metal mesh screens. They sit underneath your microwave. Their main job is to catch grease and food particles. These particles come from cooking on your stovetop. Keeping them clean is important. Dirty grease filters block airflow. This reduces your microwave’s ability to clear smoke. You can clean these filters.
Charcoal Filters (Carbon Filters)
Charcoal filters are usually behind the grill at the top front of the microwave. They are not visible from below. Their job is to absorb odors. These odors come from cooking fumes recirculating in your kitchen. Charcoal filters are common in microwaves that do not vent outside. These filters cannot be cleaned. They must be replaced. Proper ventilation helps keep your kitchen fresh. Understanding what an over the range microwave looks like can help you identify filter locations.
Recognizing the type of filter you have is the first step. Most microwaves use both. Some models may only have grease filters if they vent directly outside. Check your microwave manual. The manual gives specific filter details. It also tells you about your model’s ventilation setup.
Gathering Your Cleaning Tools and Supplies
Before you start cleaning your microwave filters, gather everything you need. This preparation makes the process smooth. You will avoid interruptions later. Having the right tools ensures a thorough clean.
Essential Supplies for Grease Filters
You will need a few common household items. These items help break down grease effectively. They are safe for your metal filters. I always make sure these are ready.
- Warm Water: Hot water helps dissolve grease. It is the base for your cleaning solution.
- Dish Soap: A good degreasing dish soap is key. It cuts through tough grease and grime. Choose one known for its grease-fighting power.
- Baking Soda: This is an optional but powerful addition. Baking soda boosts the cleaning power of dish soap. It also helps with odor removal.
- Non-abrasive Brush or Sponge: A soft brush or sponge helps scrub away stuck-on grease. Avoid harsh scrubbers that can damage the filter mesh.
- Clean Cloth or Towel: You will need this for drying the filters. Air drying is also an option.
- Large Sink or Tub: A spacious area allows you to soak the filters fully. This makes cleaning easier.
What You Might Need for Charcoal Filters
Charcoal filters are different. They do not get cleaned. Instead, they get replaced. You will need new filters.
- Replacement Charcoal Filters: Make sure you buy the correct model-specific filters. Check your microwave manual for the part number. Generic filters may not fit or perform as well.
Gathering these items beforehand saves time. It makes the cleaning process straightforward. Always check your microwave’s specific instructions. This ensures you use the best methods for your model. It also keeps your microwave performing optimally.
Step-by-Step Guide to Cleaning Grease Filters
Cleaning grease filters is a simple process. It needs little effort. Following these steps ensures your filters are clean. This keeps your microwave working efficiently. I do this regularly to maintain air quality.
Removing the Filters Safely
First, you must remove the filters from the microwave. Safety is important here. Always disconnect power to your microwave before starting any maintenance. This prevents accidental startup.
- Unplug the Microwave: Locate the microwave’s power cord. Unplug it from the wall outlet. If unplugging is not possible, trip the circuit breaker that controls the microwave. This removes power completely.
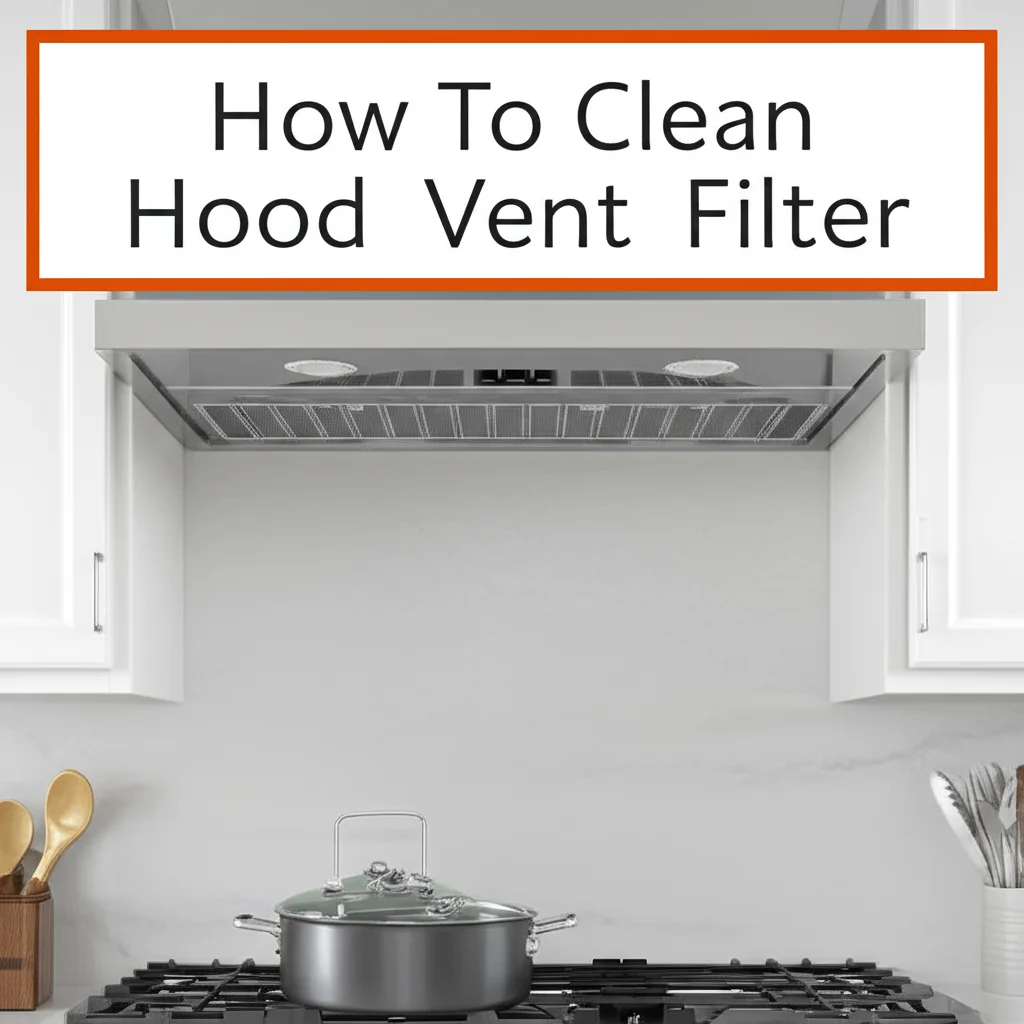
- Locate the Filters: Grease filters are typically found on the underside of the microwave. They are usually metal mesh panels. They sit above your stovetop.
- Release the Latches: Many filters have small tabs or rings. You pull these down or push them in. This releases the filter from its housing. Gently slide the filter out. Be careful, as grease may drip. Use old newspapers or towels underneath. This catches any drips.
The Cleaning Process
Now that the filters are out, it’s time to clean them. This method works well for most metal grease filters. It is similar to how you might clean stove fan filters for your range hood.
- Prepare the Soaking Solution: Fill a large sink or tub with very hot water. Add a generous amount of degreasing dish soap. About 1/4 cup should be enough for a sink full of water. For extra cleaning power, add a 1/2 cup of baking soda. Stir the water to mix the soap and baking soda.
- Soak the Filters: Submerge the grease filters completely in the hot soapy water. Let them soak for 15-30 minutes. For very greasy filters, you can let them soak longer, up to an hour. The hot water and soap will loosen the caked-on grease.
- Scrub and Rinse: After soaking, use a non-abrasive brush or sponge. Gently scrub both sides of each filter. Pay attention to the mesh holes. Make sure to remove all visible grease and grime. Rinse the filters thoroughly under hot running water. Continue rinsing until no soap residue remains. The water should run clear.
- Dry the Filters: Lay the clean filters flat on a clean towel. Allow them to air dry completely. You can also pat them dry with a clean cloth. Ensure they are fully dry before reinstalling them. Moisture can cause issues inside the microwave.
Reinstalling the Filters
Once dry, put the filters back in place. This step is simple.
- Slide Back In: Align the dry filter with its slot. Gently slide it back into the microwave’s underside.
- Secure Latches: Push up or push in the tabs or rings. Make sure the filter clicks securely into place. It should feel firm and not wobble.
- Restore Power: Plug your microwave back into the outlet. If you tripped a circuit breaker, flip it back on.
Your microwave grease filters are now clean. This improves airflow. It reduces odors. You will notice a difference in your kitchen’s air quality. Regular cleaning makes this task easier each time.
Maintaining and Replacing Charcoal Filters
Charcoal filters are different from grease filters. You cannot wash them. Their job is to absorb odors. Over time, they become saturated. This means they cannot absorb odors anymore. When this happens, they need replacement. I make sure to check mine regularly.
When to Replace Charcoal Filters
The lifespan of a charcoal filter varies. It depends on how often you cook. It also depends on what you cook. Foods with strong odors saturate filters faster.
- Manufacturer Recommendations: Always check your microwave’s manual first. Manufacturers usually provide a recommended replacement schedule. This is often every 6 to 12 months.
- Signs of Saturation: You will notice signs that your filter is saturated. Your kitchen may retain cooking odors longer. The microwave’s fan might run but not clear the air effectively. If you smell lingering food odors, it’s time for a new filter. A visible grayish or dirty appearance might also indicate saturation.
Replacing charcoal filters is a quick task. It significantly improves your kitchen’s air quality. Proper maintenance ensures your microwave’s ventilation works well. You might also consider how an over the range microwave can be installed in a cabinet, as installation setup can impact ventilation needs.
Steps for Replacing Charcoal Filters
Replacing charcoal filters is generally straightforward. You do not need special tools. Follow these steps carefully.
- Disconnect Power: Safety first. Unplug the microwave from the power outlet. If the outlet is not accessible, trip the circuit breaker. This removes all electrical power.
- Locate the Filter: Charcoal filters are typically located behind the vent grill. This grill is usually at the top front of the microwave. You might see two small screws or clips.
- Remove the Vent Grill: Gently open or remove the vent grill. Some grills pop open. Others slide out after removing a few screws. Consult your microwave’s manual for exact instructions. The manual shows how your specific model’s grill works.
- Remove the Old Filter: The old charcoal filter will be visible. It often looks like a black, porous pad. It usually slides out or unclips from its housing. Note its orientation before removing it. This helps when installing the new one.
- Install the New Filter: Unwrap your new charcoal filter. Make sure it is the correct size and model for your microwave. Slide or clip the new filter into place. Ensure it sits securely in its housing. Its orientation should match the old one.
- Replace the Vent Grill: Put the vent grill back on. Secure it with the screws or clips you removed earlier. Make sure it is firmly in place.
- Restore Power: Plug the microwave back into the wall outlet. If you tripped the circuit breaker, turn it back on.
You have successfully replaced your charcoal filter. Your microwave’s odor absorption ability is now restored. This helps keep your kitchen smelling clean. Regular replacement is part of good microwave maintenance.
Frequency of Filter Cleaning and Replacement
Knowing how often to clean and replace filters is important. It ensures your microwave ventilation works best. It also keeps your kitchen air clean. I follow these guidelines to keep my kitchen fresh.
Grease Filter Cleaning Schedule
Grease filters need frequent cleaning. They catch cooking residues directly. The frequency depends on your cooking habits.
- Regular Cooking: If you cook daily, especially with high-fat foods, clean your grease filters monthly. This prevents heavy buildup.
- Occasional Cooking: For less frequent cooking, cleaning every 2-3 months may suffice. Check them regularly regardless.
- Signs of Need: Filters look visibly dirty. They may feel greasy to the touch. Airflow seems weaker during cooking. These are signs to clean them.
Consistent cleaning prevents grease from solidifying. It also prevents odors from building up. Clean filters allow the fan to work efficiently. This extends the life of your microwave’s ventilation system. It also reduces the risk of grease fires.
Charcoal Filter Replacement Schedule
Charcoal filters cannot be cleaned. They absorb odors until they are full. Then, they need replacement. Their lifespan also depends on your cooking.
- Manufacturer Recommendations: Most manufacturers suggest replacing charcoal filters every 6 to 12 months. This is a good general guideline.
- Heavy Cooking: If you cook with strong-smelling foods often, replace them more frequently. Every 3-6 months might be necessary.
- Noticeable Odors: The most obvious sign is lingering cooking odors. If your kitchen still smells after cooking, even with the fan on, your charcoal filter is likely saturated.
Keeping a small note about the last replacement date helps. You can attach it inside the microwave door. This way, you remember when to change it next. Proper filter maintenance keeps your kitchen pleasant. It also helps your microwave function well. This is part of general microwave care. Maintaining your microwave, including ensuring proper ventilation, is key to its lifespan. If you’re exploring if you can install an over the range microwave yourself, remember that future maintenance like filter changes is part of the long-term commitment.
Troubleshooting Common Filter Issues
Even with regular care, filter issues can arise. Knowing common problems helps you fix them quickly. I have encountered a few over time.
Weak Airflow or Poor Ventilation
One common problem is weak airflow. The microwave fan runs, but it does not clear smoke effectively. This is usually a filter issue.
- Clogged Grease Filters: This is the most frequent cause. Greasy filters block air from passing through. Clean them thoroughly using the steps I described earlier. If heavily clogged, repeat the soaking process.
- Saturated Charcoal Filters: If odors linger, the charcoal filter is full. Replace it. A full charcoal filter also restricts airflow slightly.
- Wrong Filter Type: Ensure you use the correct filters for your microwave model. Incorrect filters can impede airflow. Always check your manual for the right part number.
- Blocked Vents: Sometimes, the issue is not the filters themselves. Check the exhaust vent on your microwave. Make sure nothing blocks it. Also, ensure the exterior wall cap (if vented outside) is clear.
Persistent Odors
Lingering smells after cooking point to filter problems. They indicate that odors are not being removed.
- Saturated Charcoal Filter: This is the main culprit for persistent odors. Replace the charcoal filter.
- Dirty Microwave Interior: Odors can come from food splatters inside the microwave. Clean the interior thoroughly. Use a damp cloth and mild soap.
- Other Kitchen Odors: Sometimes, odors come from other sources. Check your trash can. Clean your stovetop. Ensure your general kitchen cleanliness.
- Grease Buildup Elsewhere: Grease can build up around the microwave. Wipe down the exterior surfaces. Pay attention to the areas near the filters.
Troubleshooting these issues often brings your microwave’s ventilation back to peak performance. Regular maintenance minimizes these problems. It keeps your kitchen air fresh. If problems persist after filter cleaning and replacement, consult a professional. There might be a deeper issue with the fan motor or ductwork. Knowing how to use your Whirlpool over the range microwave properly, including its fan settings, can also help you identify if the problem is with the fan itself or the filters.
Safety Precautions for Filter Maintenance
Working with any appliance requires attention to safety. Microwave filter maintenance is no exception. Taking precautions protects you. It also protects your appliance. I always prioritize safety.
Electrical Safety First
Your microwave is an electrical appliance. Electricity can be dangerous. Always treat it with respect.
- Unplug Before Work: This is the most crucial step. Always unplug your over the range microwave from the wall outlet. If the outlet is not accessible, turn off the corresponding circuit breaker. This completely removes power. Do not rely on just turning the microwave off. Accidental startup can cause injury.
- No Wet Hands: Never handle electrical cords or plugs with wet hands. Water conducts electricity. This increases the risk of shock. Ensure your hands are dry before plugging the unit back in.
Handling and Cleaning Safety
Beyond electricity, consider other safety aspects during the cleaning process.
- Hot Water Caution: Use caution when handling hot water. Very hot water can cause burns. Use gloves if necessary.
- Detergent Use: Dish soap is generally safe. However, avoid getting it in your eyes. Rinse thoroughly if contact occurs. Follow product instructions.
- Sharp Edges: Microwave filters, especially metal ones, can have sharp edges. Handle them carefully to avoid cuts. Wear gloves if you prefer.
- Drying Thoroughly: Ensure filters are completely dry before reinstallation. Moisture inside an electrical appliance can cause short circuits. It can also lead to mold growth.
- Proper Disposal: If replacing filters, dispose of old ones properly. Grease filters can be greasy. Wrap them in a plastic bag before discarding. Old charcoal filters are generally safe to discard with regular trash.
Following these simple safety precautions ensures a safe cleaning experience. It protects you and your microwave. Regular, safe maintenance keeps your appliance running well for years. This is key to a functional kitchen.
Conclusion
Cleaning your over the range microwave filters is a vital task. It improves kitchen air quality. It removes cooking odors. This maintenance also helps your microwave run efficiently. We covered how to clean grease filters with hot, soapy water. We also discussed replacing charcoal filters. I shared insights on how often to perform these tasks. Troubleshooting common issues like weak airflow and persistent odors helps you maintain your kitchen. Always prioritize safety. Disconnect power before you start any work.
Regular filter care extends your microwave’s life. It creates a more pleasant cooking environment. Make filter maintenance a regular part of your home routine. Your kitchen will thank you for it. If you need new filters, check your microwave’s manual for the correct part numbers. Keep your kitchen fresh and clean.
FAQ Section
How often should I clean my over the range microwave grease filters?
You should clean over the range microwave grease filters at least once a month if you cook regularly. For less frequent cooking, cleaning every two to three months may be sufficient. Visual inspection is key: if they look dirty or feel greasy, it’s time for a clean. Regular cleaning maintains proper airflow.
Can I put over the range microwave filters in the dishwasher?
Yes, many metal grease filters for over the range microwaves are dishwasher safe. Place them in the dishwasher on a normal cycle. However, always check your microwave’s user manual first. Some older or specific models may not recommend this, or the mesh might get damaged.
How do I know if my microwave has charcoal filters?
Most over the range microwaves that recirculate air back into the kitchen have charcoal filters. These are usually located behind the top vent grill. If your microwave vents outside, it might only have grease filters. Check your microwave’s manual to confirm the specific filter types for your model.
What happens if I don’t clean my microwave grease filters?
If you don’t clean your microwave grease filters, they will become clogged with grease and food particles. This reduces airflow, making your microwave’s fan less effective at removing smoke and odors. It can also create a fire hazard as accumulated grease is flammable.
How do I replace charcoal filters in my over the range microwave?
To replace charcoal filters, first unplug your microwave. Locate the vent grill at the top front of the microwave, usually held by clips or screws. Open or remove the grill. The old charcoal filter will be visible; slide or unclip it out. Insert the new filter in the same orientation, then replace the grill and restore power.
Are all over the range microwave filters the same size?
No, over the range microwave filters are not all the same size. Filter dimensions and attachment methods vary by microwave brand and model. Always check your microwave’s user manual for the correct filter part numbers. Using the wrong size filter can reduce effectiveness or not fit at all.
- microwave filter cleaning
- over the range microwave
- kitchen ventilation
- grease filter maintenance
- charcoal filter replacement

Todd Martin
Senior Writer
With over 15 years of experience in home renovation and design, I started HEG to share what I’ve learned with homeowners who want to create spaces that are both beautiful and functional. I’ve always believed in a hands-on approach, and over the years, I’ve picked up practical solutions that actually work. Through HEG, I aim to make home improvement more approachable, sharing real tips that help you create a home you truly love.