· Todd Martin · Footwear Care · 20 min read
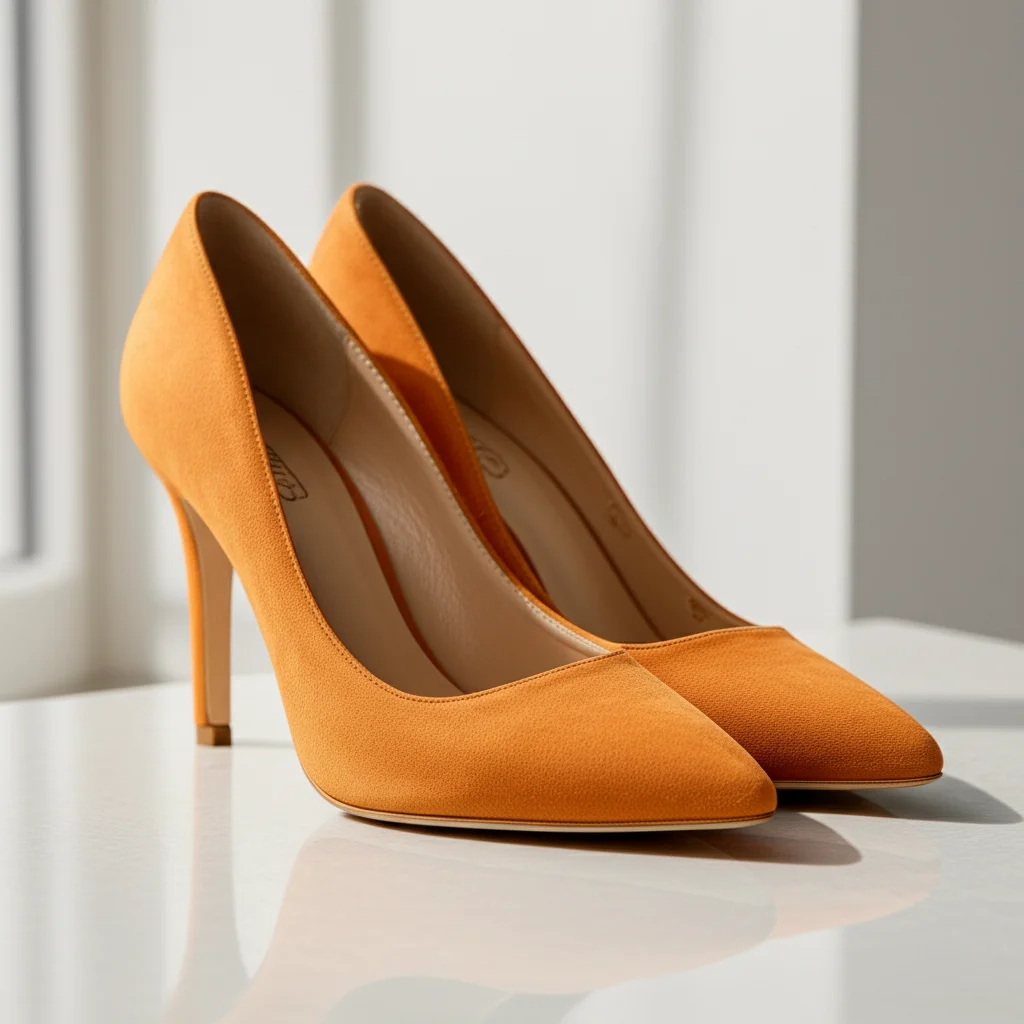
How To Clean Suede Boots
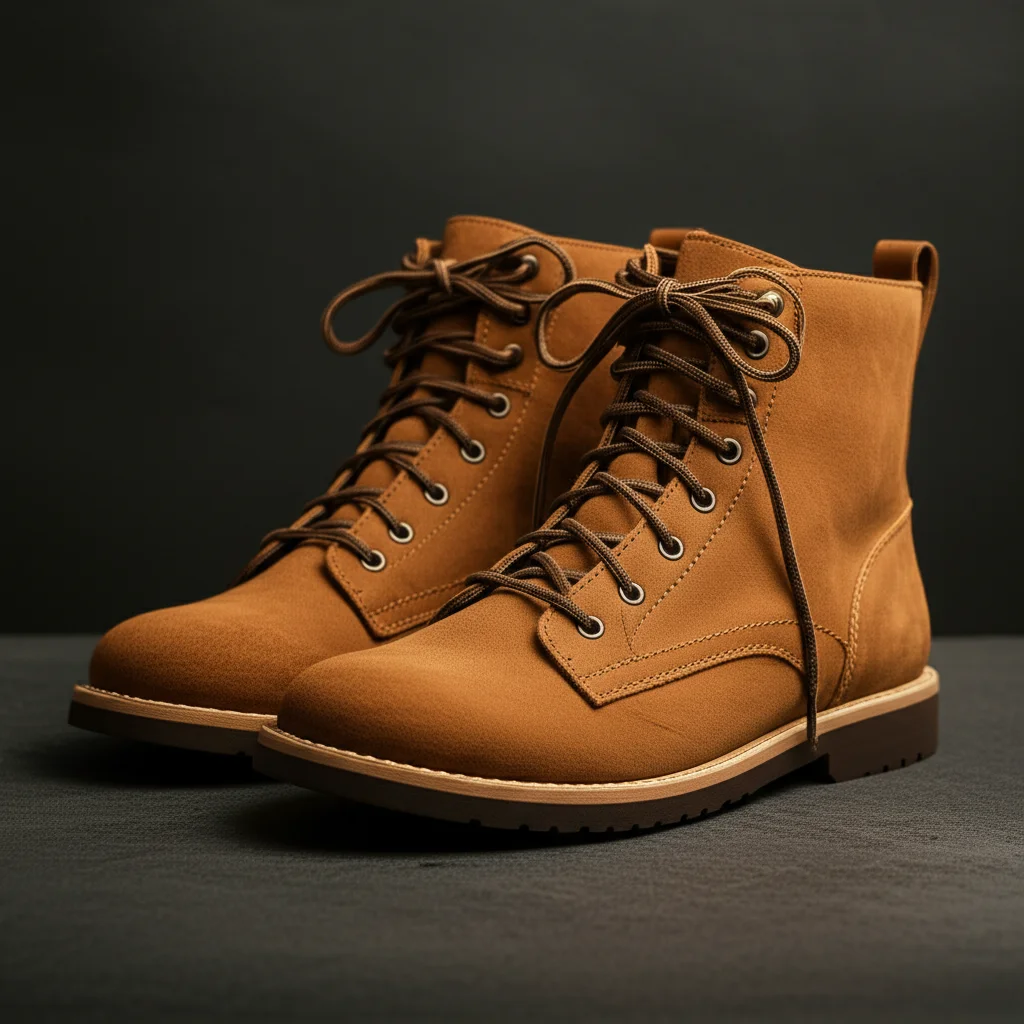
Revive Your Suede Boots: A Comprehensive Cleaning Guide
Suede boots bring a touch of elegance and style to any outfit. Their soft, napped texture offers a luxurious feel that stands out. However, this beautiful material is also known for being delicate, easily attracting dirt, dust, and stains. Keeping your suede boots looking their best can seem like a daunting task, but it is entirely manageable with the right approach. I understand the frustration of seeing a beloved pair of suede boots lose their luster due to everyday wear.
Many people avoid suede footwear simply because they do not know how to clean suede boots properly. This guide will take you through a step-by-step process, from understanding suede’s unique properties to applying the best cleaning and protection methods. We will cover essential tools, preparation steps, deep cleaning techniques for various marks, and vital tips for ongoing care. By the end, you will feel confident in your ability to restore and maintain your favorite suede boots, ensuring they remain a stylish staple in your wardrobe for years to come.
Takeaway
- Gather Essential Tools: Start with a dedicated suede brush, eraser, and cleaner for best results.
- Prepare Properly: Always dry your boots first and gently brush off loose dirt before deep cleaning.
- Target Stains Precisely: Use specific methods for water, oil, or mud stains to avoid damage.
- Restore the Nap: After cleaning, brush the suede’s nap back into place for a smooth finish.
- Protect Your Investment: Apply a quality suede protector regularly to prevent future damage.
How do you clean suede boots?
To clean suede boots, first, allow them to dry completely, then use a suede brush to gently remove loose dirt. Use a suede eraser for scuffs and small marks. For tougher stains, apply a specialized suede cleaner following product instructions, then brush the nap back into its original direction. Finally, apply a protective spray to prevent future damage.
Understanding Suede and Why It Needs Special Care
Suede is a unique type of leather, distinct from traditional smooth leather. It comes from the underside of animal hides, typically lamb, goat, calf, or deer. The material undergoes a special sanding process to create a soft, velvety surface known as the nap. This distinctive texture is what gives suede its luxurious appeal and comfortable feel.
Because suede is made from the inner layer, it is more porous than full-grain leather. This porosity makes it highly susceptible to absorbing liquids and attracting dirt particles. Rain, spills, and everyday dust can easily penetrate the surface, leading to stains and discoloration. Understanding this characteristic is the first step in learning how to effectively clean suede boots and keep them looking new.
The Unique Texture of Suede
The nap of suede is made up of many tiny, raised fibers. These fibers give suede its characteristic soft touch and matte appearance. They also determine how light reflects off the surface, creating a varied look depending on the viewing angle. When dirt or moisture disturbs these fibers, they can become matted, stiff, or stained.
Proper cleaning involves lifting and restoring these fibers. Using the wrong tools or methods can permanently damage the nap, making the suede look worn or patchy. This is why specialized suede brushes and gentle techniques are essential. You want to clean the material without crushing its delicate texture.
Common Threats to Suede Boots
Your suede boots face several common threats in daily life. Water is a major culprit, often leaving dark spots and stiffening the material once it dries. Oil and grease stains are also problematic, as they soak deep into the fibers and become difficult to remove. Mud and dirt can cake onto the surface, requiring careful removal to prevent scratching.
Even general dust and scuffs from brushing against objects can dull suede’s appearance over time. Knowing these common threats helps you anticipate and prevent damage, or address issues quickly. Regular maintenance and preventative measures are key to preserving your suede’s condition. Protecting your boots from these elements is a continuous process.
Essential Tools for Cleaning Suede Boots
Before you begin cleaning your suede boots, gathering the right tools is crucial. Using the correct items ensures you clean effectively without causing damage to the delicate material. Many of these tools are affordable and readily available at shoe stores or online. Having a dedicated suede cleaning kit will make the process much simpler and safer for your footwear.
I always recommend investing in these basic items; they are foundational for proper suede care. Do not attempt to use harsh household cleaners or abrasive brushes, as these can ruin the suede’s nap and color. The right tools respect the material’s sensitivity and help maintain its beautiful finish. Preparing your toolkit beforehand saves time and prevents mistakes.
Must-Have Suede Cleaning Kit
Your essential suede cleaning kit should include a few key items. First, a suede brush is indispensable. These brushes typically have soft rubber or brass bristles on one side and firmer nylon bristles on the other. They are designed to lift dirt and restore the nap without scratching the surface. Second, a suede eraser or “gum” eraser is perfect for removing scuffs, marks, and dry stains. It works like a pencil eraser, gently rubbing away imperfections.
Third, a suede cleaner spray is often needed for deeper cleaning or liquid stains. Choose one specifically formulated for suede and nubuck. Some kits also include a suede protector spray, which is vital for preventing future stains and water damage. Finally, a clean, lint-free cloth will be useful for applying solutions or wiping away residue. With these items, you are well-equipped to tackle most suede cleaning tasks.
DIY Alternatives and Precautions
While specialized tools are best, some DIY alternatives can work in a pinch, but they require caution. For example, a clean, soft toothbrush can sometimes substitute for a suede brush’s softer side for very light dust, but be extremely gentle. A regular pencil eraser (the white, gummy kind, not pink ones) can be used for small scuffs, but test it in an inconspicuous area first to ensure it does not leave marks.
For cleaning, plain white vinegar mixed with water (1:1 ratio) can be used for some water stains, but it must be applied very sparingly and allowed to dry completely. Always avoid harsh chemicals like bleach, strong detergents, or abrasive scrubbers. These will irreversibly damage suede’s delicate fibers and color. Remember, gentle is always the key when working with suede.
Preparing Your Suede Boots for Cleaning
Proper preparation is a vital first step in cleaning your suede boots effectively. Rushing this stage can lead to superficial cleaning or even spread dirt further into the suede. Think of it as setting the stage for a successful restoration. This initial work removes loose debris and prepares the fibers for deeper treatment, ensuring that subsequent steps are more efficient and less damaging.
I always take my time with this part, as it lays the groundwork for the entire cleaning process. You want to make sure the boots are completely dry before you even think about brushing. This prevents mud or wet dirt from becoming ingrained even deeper into the material. Taking these preliminary steps ensures your cleaning efforts yield the best possible results.
Drying and Initial Dirt Removal
Before touching your suede boots with any cleaning tools, they must be completely dry. If your boots are wet or damp, allow them to air dry naturally away from direct heat sources like radiators or sunlight. Heat can cause suede to stiffen, crack, or shrink. Once dry, your next step is to remove any loose dirt, mud, or dust.
Use a dedicated suede brush, brushing gently in one direction to lift away surface debris. If there is caked-on mud, gently tap the boots together to dislodge larger pieces. For particularly muddy boots, you might find it helpful to refer to guides on how to clean muddy boots to ensure all large particles are removed before moving to the suede-specific cleaning. This initial brushing prevents you from grinding dirt deeper into the nap during subsequent cleaning steps.
Protecting the Boot’s Shape
As you clean your suede boots, it is important to maintain their original shape. Suede can sometimes lose its form or sag when wet or during vigorous cleaning. To prevent this, insert boot trees into your boots before you begin. If you do not have boot trees, crumpled newspaper or paper towels can serve as a good substitute.
Stuff the newspaper firmly into the boots, ensuring they hold their shape, especially around the ankle and toe areas. Avoid using colored newspaper ink, as it might transfer onto the inside of your boots if they get damp. Maintaining the boot’s structure ensures that the suede dries evenly and prevents creases or distortions from forming. This simple step helps your boots look better and last longer.
Deep Cleaning Techniques for Suede Boots
Once your suede boots are dry and free of loose dirt, you can move on to deeper cleaning techniques. This is where you address scuffs, stains, and ingrained grime. Different types of marks require different approaches, so understanding which method to apply is key. Always work gently and methodically to avoid damaging the delicate suede fibers.
I find that patience is crucial here; trying to rush the process can lead to frustration and potential harm to your boots. Remember to test any new cleaning method or product in a small, inconspicuous area first. This patch test confirms the product will not discolor or damage your particular suede before you apply it to a visible spot.
Gentle Brushing for Surface Dirt
For general surface dirt, dullness, or matted nap, gentle brushing is highly effective. Use the softer bristles of your suede brush, moving back and forth across the affected area. The goal is to lift the nap and dislodge any dirt particles clinging to the fibers. Brush in different directions initially to loosen everything.
Once the dirt is loose, brush uniformly in one direction to realign the nap. This action not only cleans but also helps restore the suede’s even texture and color. If you are dealing with general dirt on other suede items, the principles of how to clean dirt off suede shoes apply directly to boots as well, emphasizing the importance of gentle, consistent brushing. Be careful not to press too hard, as excessive pressure can damage the nap.
Tackling Scuffs and Minor Marks
Scuffs and minor marks are common on suede boots and often respond well to a suede eraser. For scuffs, gently rub the suede eraser back and forth over the mark, just like you would erase a pencil mark. The eraser’s friction lifts the embedded dirt or scuff material from the suede fibers. After erasing, use your suede brush to brush away the residue.
This method works wonders for light marks and shiny spots caused by friction. If a scuff seems stubborn, apply a bit more pressure but remain cautious. For deeper marks, you might need to repeat the process a few times. The goal is to lift the mark without rubbing away the suede itself.
Using Suede Cleaners for Deeper Grime
For more ingrained dirt or general grime that brushing alone cannot remove, a specialized suede cleaner spray is your best option. Always read the product instructions carefully before use. Typically, you will spray a small amount onto a clean, lint-free cloth, then gently blot the affected area. Avoid oversaturating the suede, as too much liquid can cause water marks.
After applying the cleaner, use your suede brush to gently work the cleaner into the nap and loosen the dirt. Blot any excess moisture with a clean part of your cloth. Allow the boots to air dry completely, then brush the nap to restore its texture. Suede cleaners are formulated to lift dirt without damaging the delicate fibers, making them ideal for a deeper clean.
Effective Stain Removal from Suede Boots
Stains are perhaps the most challenging aspect of cleaning suede boots, but they are not impossible to remove. The key is to act quickly and use the right technique for each type of stain. Different substances react differently with suede, so a tailored approach is essential. Never try to clean liquid stains while they are still wet by rubbing them, as this can spread the stain and push it deeper into the fibers.
I have found that patience and precision are your best friends when tackling tough stains on suede. Always test any stain removal method on an inconspicuous area first, such as the inside ankle or heel, to ensure it does not cause discoloration or damage. Remember that how to clean suede stains is a specific art that requires careful execution.
Water Stains on Suede
Water stains are common on suede and can leave noticeable rings or dark spots. To remove them, lightly dampen the entire affected area of the boot with a fine mist of water, avoiding over-saturation. You want to make the entire area uniformly damp, not just the stain. Then, blot the area gently with a clean, lint-free cloth to remove excess water.
Stuff the boots with newspaper or boot trees to maintain their shape, and let them air dry completely away from direct heat. As the water evaporates evenly, the stain should lift and disappear. Once dry, brush the suede’s nap vigorously with a suede brush to restore its texture. This method helps the suede dry uniformly, preventing new water marks.
Oil and Grease Stains
Oil and grease stains on suede require a different approach due to their oily nature. For fresh oil stains, immediately sprinkle a generous amount of cornstarch or talcum powder directly onto the stain. These powders are excellent at absorbing oil. Let the powder sit on the stain for several hours, or even overnight, to allow it to fully absorb the grease.
After the absorption period, gently brush away the powder with your suede brush. Repeat the process if necessary. For older or stubborn oil stains, you might need a specialized dry cleaning fluid designed for suede. Apply it sparingly to a clean cloth and blot the stain, then follow with a suede brush after drying. Do not rub, as this can spread the oil.
Mud and Caked-On Dirt
Dealing with mud or heavily caked-on dirt on suede boots needs a specific strategy. First, allow the mud to dry completely and thoroughly. Trying to clean wet mud will only smear it and push it deeper into the suede fibers, making the stain worse. Once the mud is bone dry, gently tap the boots together to dislodge as much loose dirt as possible.
Next, use a suede brush to gently brush off the remaining dry mud. Work in small sections, always brushing in one direction to lift the dirt. For any stubborn, caked-on bits, you can carefully use the edge of a butter knife or a dull scraper to lift them, but be extremely gentle to avoid damaging the nap. Finish by brushing the entire area to restore the nap.
Restoring the Nap and Protecting Your Suede Boots
After deep cleaning and stain removal, your suede boots might look a bit disheveled, with their nap matted or uneven. Restoring the nap is a crucial step that brings back the suede’s signature velvety appearance. This process makes the boots look revitalized and uniform. Once the nap is restored, applying a protective layer is essential to safeguard your cleaning efforts and prepare your boots for future wear.
I cannot stress enough the importance of this final stage. It is what transforms a “cleaned” boot into a “restored” boot, making all your hard work worthwhile. Think of it as the finishing touch that seals in the freshness and beauty. Proper protection is key to prolonging the lifespan and pristine condition of your beloved suede footwear.
Brushing the Nap Back
Once your suede boots are completely dry after cleaning, it is time to restore the nap. Use your suede brush, specifically the rubber or brass bristled side, for this task. Gently brush the entire surface of the boots, always moving in one consistent direction. This action helps to lift and realign the delicate fibers, restoring the suede’s soft, even texture and uniform color.
You will notice the suede’s color change slightly as you brush, appearing lighter or darker depending on the direction of the nap. This is normal and indicates you are successfully restoring the texture. Continue brushing until the suede looks consistently smooth and uniform across the entire boot. This step is vital for the aesthetic appeal of your cleaned suede.
Applying Suede Protector Spray
After the nap is fully restored, applying a suede protector spray is the most important preventative measure you can take. These sprays create an invisible barrier on the suede’s surface, making it resistant to water, stains, and dirt. Choose a high-quality protector specifically designed for suede and nubuck. Always ensure your boots are completely clean and dry before application.
Hold the spray can about 6-8 inches away from the boots and apply an even, light mist over the entire surface. Do not saturate the suede; a light, even coat is sufficient. Allow the first coat to dry completely, which usually takes about 15-20 minutes, then apply a second light coat for maximum protection. Let the boots dry for several hours, ideally overnight, before wearing them. Reapply the protector every few months or after any major cleaning.
General Suede Boot Maintenance and Prevention Tips
Keeping your suede boots in top condition goes beyond occasional deep cleaning. Regular maintenance and preventative measures are essential to extend their lifespan and preserve their luxurious appearance. By incorporating a few simple habits into your routine, you can significantly reduce the need for extensive cleaning and protect your investment. Prevention is always easier than a cure when it comes to delicate materials like suede.
I often tell people that consistent small efforts make a huge difference in the longevity of any footwear. These tips are not just about cleaning; they are about fostering a habit of care that respects the material. Protecting your suede boots from daily wear and tear will keep them looking elegant for years to come.
Regular Brushing and Spot Cleaning
One of the simplest yet most effective maintenance tips is regular brushing. After each wear, or at least weekly, give your suede boots a quick brush with a soft suede brush. This helps to remove dust, loose dirt, and minor scuffs before they become embedded. Brushing also keeps the nap lifted and even, preventing it from looking matted or worn.
For any small, fresh marks or scuffs, use your suede eraser immediately. Addressing these minor imperfections as they occur prevents them from setting in and becoming more challenging to remove later. Think of it as daily upkeep that keeps your boots looking fresh. This quick routine can save you from bigger cleaning tasks down the line.
Proper Storage for Longevity
How you store your suede boots significantly impacts their longevity. Always store them in a cool, dry place away from direct sunlight and heat sources. Extreme temperatures can cause suede to dry out, crack, or fade. Use boot trees to help them maintain their shape and prevent creases from forming, especially around the ankle.
If you are storing them for an extended period, place them in breathable shoe bags or boxes. Avoid plastic bags, as they can trap moisture and lead to mold growth. Proper storage protects your boots from dust, humidity, and accidental damage, ensuring they are ready to wear when you need them. This small effort yields great benefits over time.
What to Avoid When Caring for Suede
Knowing what not to do is just as important as knowing what to do when caring for suede boots. Never use harsh chemical cleaners, detergents, or abrasive brushes that are not specifically designed for suede. These can strip the natural oils, discolor the material, or permanently damage the delicate nap. Similarly, avoid vigorously scrubbing suede, as this can flatten or tear the fibers.
Do not expose suede boots to excessive water or rain without prior protection. If they do get wet, allow them to air dry naturally; never use a hairdryer or place them on a radiator. Avoid storing suede boots in damp or humid environments, as this promotes mold growth. For general suede items like Birkenstocks, the advice for how to clean suede birkenstocks also emphasizes avoiding water and harsh treatment. By avoiding these common mistakes, you preserve the integrity and appearance of your suede.
Frequently Asked Questions
Can I use water to clean suede boots?
You should avoid using excessive water on suede boots. While light dampening can help with water stains, oversaturating suede can cause permanent water marks, stiffening, or discoloration. Always use water sparingly and allow the boots to air dry completely. For most cleaning, a dry brush and eraser are sufficient.
How often should I clean my suede boots?
The frequency of cleaning depends on how often you wear your suede boots and the conditions they are exposed to. For regular wear, a quick brush after each use is beneficial. Deep cleaning, including stain removal, should be done as needed when visible dirt or stains appear. Aim for a thorough cleaning every few months or seasonally.
What if my suede boots get soaking wet?
If your suede boots get soaking wet, do not panic. First, gently blot away excess water with a clean, dry towel. Then, stuff the boots with newspaper or boot trees to absorb moisture and maintain their shape. Allow them to air dry completely and naturally, away from any direct heat sources. Once dry, brush the nap to restore its texture.
Can I use a regular brush for suede?
A regular brush is not ideal for suede. The bristles might be too stiff, damaging the delicate nap, or they could contain oils or residues that stain the suede. Always use a dedicated suede brush, which has soft rubber or brass bristles designed to lift dirt and restore the nap without causing harm to the material.
How do I remove salt stains from suede boots?
To remove salt stains from suede boots, mix a small amount of white vinegar with water (1:1 ratio). Lightly dampen a clean cloth with this solution and gently blot the salt-stained areas. Do not rub. The vinegar helps dissolve the salt. Allow the boots to air dry completely, then brush the suede’s nap to restore its appearance.
Is professional cleaning necessary for suede boots?
Professional cleaning for suede boots is not always necessary but can be a good option for very stubborn stains, extensive damage, or if you are unsure about cleaning them yourself. Professional cleaners have specialized tools and techniques that can restore suede more effectively in difficult cases. For routine cleaning, home methods are usually sufficient.
Conclusion
Caring for your suede boots might seem like a detailed process, but it is a rewarding effort that preserves their beauty and extends their life. We have explored everything from understanding suede’s delicate nature to applying specific techniques for cleaning, stain removal, and protection. By following these steps, you gain the confidence to keep your beloved footwear looking pristine, just as when you first bought them. Remember, patience and gentle application are key when working with this unique material.
Embracing regular maintenance, using the right tools, and knowing how to clean suede boots properly will transform them from a potential wardrobe headache into a cherished, long-lasting investment. Do not let the fear of stains deter you from enjoying the elegance and comfort that suede offers. Take action today, gather your cleaning kit, and give your suede boots the care they deserve. Your stylish footwear will thank you for it, maintaining its luxurious appeal season after season.
- suede boots
- suede cleaning
- boot care
- stain removal
- footwear maintenance
- suede protection

Todd Martin
Senior Writer
With over 15 years of experience in home renovation and design, I started HEG to share what I’ve learned with homeowners who want to create spaces that are both beautiful and functional. I’ve always believed in a hands-on approach, and over the years, I’ve picked up practical solutions that actually work. Through HEG, I aim to make home improvement more approachable, sharing real tips that help you create a home you truly love.