· Davia Murnell · Home Cleaning · 23 min read
How To Clean The Glass Inside Your Oven Door
Sparkling Clean: How To Clean The Glass Inside Your Oven Door
A clean oven makes cooking more enjoyable. However, the glass inside your oven door often gathers baked-on grime. This layer of dirt can block your view of food. It also makes your oven look dirty. Learning how to clean the glass inside your oven door is simple. You can restore its shine with common household items. This guide provides clear steps and effective methods. We will cover routine cleaning, dealing with tough stains, and cleaning between the glass panels. You will learn how to maintain a clear oven window for better cooking experiences. Get ready to see your food cook without obstructions.
Takeaway
- Regular Cleaning: Use baking soda and vinegar for fresh spills.
- Deep Cleaning: Apply a thicker paste for baked-on grime.
- Between Panels: Disassemble the door carefully to reach hidden dirt.
- Safety First: Always unplug the oven and let it cool completely.
- Preventive Measures: Wipe spills immediately to avoid buildup.
To clean the glass inside your oven door effectively, first ensure the oven is cool and unplugged. Then, apply a paste of baking soda and water to the glass. Let it sit for 20-30 minutes, or longer for tough stains. Finally, scrub gently with a non-scratch sponge and wipe clean with a damp cloth, followed by a dry one for a streak-free finish.
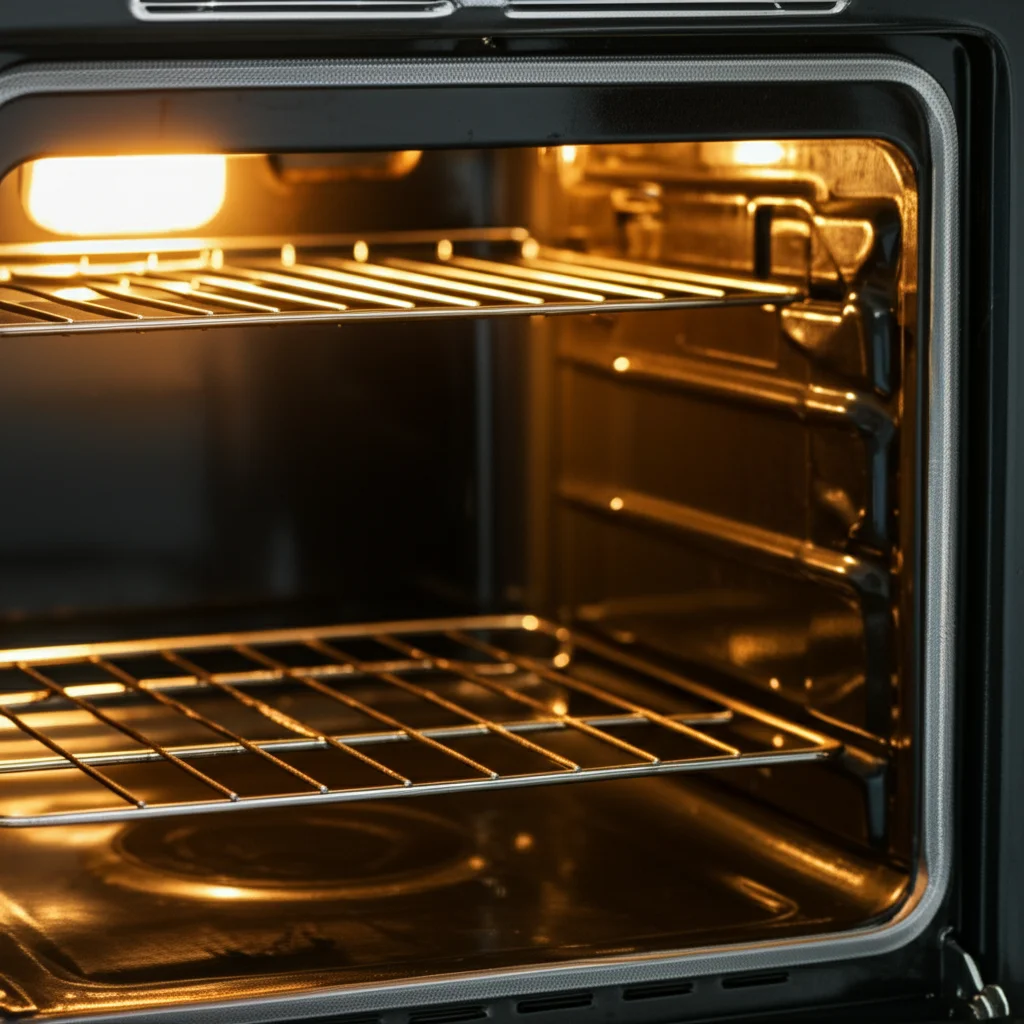
Understanding Oven Door Glass Grime
Oven door glass can get very dirty. Food splatters turn into hardened layers. Grease and oils bake onto the surface. This creates a dark, hazy film. This film makes it hard to see inside your oven. The grime also makes your kitchen look untidy. Knowing what causes this buildup helps you clean it better.
When you cook, fats and sugars become airborne. They settle on cool surfaces, like the oven door glass. High temperatures then bake these particles onto the glass. This process hardens the grime over time. The longer it stays, the harder it becomes to remove. Regular cleaning prevents this problem. It stops simple splatters from becoming tough stains. Understanding this helps us choose the right cleaning method. We focus on breaking down these baked-on layers effectively.
Different types of food leave different stains. Sugary spills can caramelize into sticky, dark spots. Greasy residue forms a brownish, slick film. Proteins might leave burnt black marks. Each type of grime needs a slightly different approach. However, many universal cleaners work for all. We aim to soften the baked-on material. This makes it easy to wipe away.
The inside glass surface often gets dirtier than the outside. This is because it directly faces the cooking chamber. Heat exposure also plays a role. It bakes the spills firmly onto the glass. You might find a thick, dark layer. This layer needs a powerful yet safe cleaning agent. Many people try harsh chemical cleaners. However, natural methods are often safer and just as effective. They protect your family and your oven.
Sometimes, grime builds up between the glass panels. This happens when liquid seeps through small gaps. Cleaning this area requires special steps. It involves disassembling part of the oven door. We will cover this in detail. For now, focus on the inner surface. A clear view of your food helps prevent burning. It also ensures even cooking. Cleaning the glass is a key part of overall oven maintenance. It improves both function and appearance.
Essential Tools and Natural Cleaners
Before you start cleaning, gather your supplies. You will need a few basic items. These items are common household products. They are safe for you and your oven. Using the right tools makes the job easier. It also ensures you clean effectively without damage. My favorite method uses natural ingredients.
You will need baking soda. This white powder is a gentle abrasive. It helps scrub away stuck-on grime. Baking soda is also a deodorizer. It helps remove any lingering smells. Mix it with water to form a paste. This paste clings to the dirty surface. It starts breaking down the baked-on food.
Next, have some white vinegar. This acidic liquid helps dissolve grease. It reacts with baking soda to create fizzing. This reaction lifts tough stains. Vinegar also leaves a streak-free shine. Use it in a spray bottle for easy application. Always use plain white vinegar, not apple cider or other types. They might leave a residue.
You will also need microfiber cloths. These cloths are soft and absorbent. They won’t scratch the glass surface. They pick up dirt and water very well. Have several on hand. You will use one for applying, one for wiping, and one for polishing. Avoid using abrasive scrubbers or steel wool. These can permanently damage the glass.
For tougher spots, a plastic scraper can be helpful. This tool allows you to gently lift stubborn bits. Make sure it’s plastic, not metal. Metal scrapers will scratch the glass. A spray bottle is useful for applying vinegar. It ensures even coverage. You might also want a small bowl for mixing the baking soda paste.
For deep cleaning between glass panels, you might need a screwdriver set. Most oven doors have screws that hold the panels. A flashlight can help you see inside tight spaces. Some people use a wire hanger or a thin stick. Wrap a cloth around it to reach far corners. Remember to protect your hands with gloves. This keeps your hands clean and safe. These tools are simple but effective. They make the cleaning process smooth. You can achieve a sparkling clean oven door without harsh chemicals. For more tips on general oven cleaning, you can read about how to clean inside oven.
Step-by-Step Guide to Cleaning the Inner Glass
Cleaning the inside of your oven door glass is straightforward. Follow these steps carefully for the best results. This method is effective for most baked-on grime. It uses natural ingredients, making it safe for your home. I always recommend this approach first.
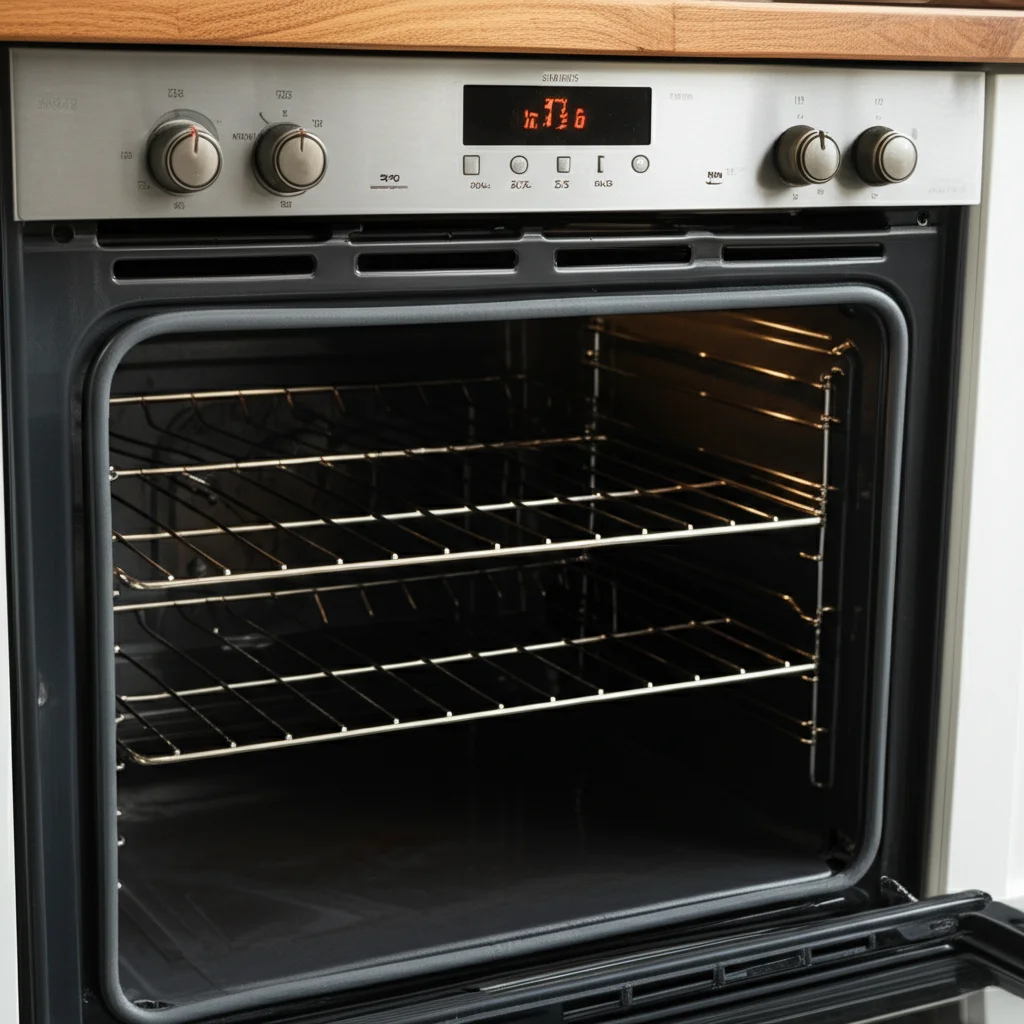
Step 1: Prepare Your Oven and Workspace
First, ensure your oven is completely cool. Never clean a hot oven. Unplug the oven from the wall outlet. This prevents accidental activation. It also ensures your safety. Lay an old towel or newspaper on the floor in front of the oven. This catches any drips and protects your flooring. Clear any racks or items from inside the oven for better access. Open the oven door fully.
Step 2: Apply the Baking Soda Paste
In a small bowl, mix about ½ cup of baking soda with a few tablespoons of water. Stir until you form a thick paste. The consistency should be like toothpaste. It needs to be thick enough to stick to the glass. If it’s too runny, add more baking soda. If it’s too dry, add a little more water.
Spread this paste generously over the entire inner glass surface. Pay extra attention to areas with heavy grime. Don’t be afraid to use a thick layer on tough spots. You can use a sponge or your gloved hand to apply it. Make sure the grime is fully covered. For very persistent baked-on grease, you might consider how to tackle grease from oven.
Step 3: Let the Paste Work its Magic
This is crucial for breaking down the grime. Let the baking soda paste sit on the glass for at least 20 to 30 minutes. For truly stubborn, baked-on stains, I recommend leaving it for several hours, or even overnight. The longer the paste sits, the more it softens the hardened food residue. This makes scrubbing much easier later. You can see the grime breaking down as the paste dries and works.
Step 4: Scrub Away the Grime
After the waiting period, take a damp microfiber cloth or a non-scratch scrub sponge. Gently begin to scrub the glass. You will notice the baking soda paste turning brownish or yellowish as it mixes with the grime. Use circular motions. For very tough spots, you can apply a little more pressure. If there are still very hard bits, use a plastic scraper to carefully lift them. Be gentle to avoid scratching the glass. You can find more targeted advice on how to clean oven door glass for specific issues.
Step 5: Rinse and Wipe Clean
Once you have scrubbed away most of the grime, wipe the glass clean. Use a clean, damp cloth to remove all baking soda residue. You may need to rinse your cloth multiple times. Continue wiping until no paste remains. This might take a few passes. Ensure all residue is gone before the next step.
Step 6: Polish with Vinegar for a Streak-Free Shine
Fill a spray bottle with white vinegar. Lightly mist the entire inner glass surface. Use a clean, dry microfiber cloth to wipe the glass. The vinegar helps to cut through any remaining film. It also leaves a beautiful, streak-free shine. This step is essential for a truly clear view. You will be amazed at the clarity. Your oven door glass will look brand new. For general streak-free cleaning, learning how to clean glass without streaks is helpful.
Step 7: Reassemble and Restore Power
Once the glass is perfectly clean and dry, you can close the oven door. Plug the oven back into the wall outlet. Your oven is now ready for use. You will enjoy a clear view of your food cooking. This simple process makes a big difference in your kitchen.
Tackling Stubborn Stains and Baked-On Grime
Sometimes, the standard baking soda method needs a boost. Stubborn stains and layers of baked-on grime can be challenging. These are often old spills that have been cooked repeatedly. Don’t worry, there are stronger approaches. We can enhance the cleaning process.
One effective strategy is to extend the sitting time for the baking soda paste. If the grime is exceptionally tough, leave the paste on for several hours. I often apply it before bed and let it sit overnight. The prolonged contact gives the baking soda more time to break down the hardened food particles. This extra dwell time can make a significant difference. When you wake up, the grime will be much softer.
For really thick, carbonized spots, you might need a stronger paste. Add a bit of dish soap to your baking soda and water mixture. Just a few drops of liquid dish soap can enhance the grime-cutting power. Dish soap is designed to break down grease. This combination creates a more potent cleaning agent. Apply it thickly over the stubborn areas. Let it sit for a good while.
Another technique involves using a warm, damp cloth before applying the paste. Heat helps loosen tough deposits. You can dampen a cloth with hot water and place it on the glass for a few minutes. This pre-soak softens the grime. Then, apply your baking soda paste. This prepares the surface for cleaning. It makes the job easier.
Some people consider using specialty oven cleaners for very tough stains. These cleaners are powerful but can contain harsh chemicals. If you choose this route, always read the product instructions carefully. Ensure the cleaner is safe for oven glass. Wear protective gloves and ensure good ventilation. Chemical cleaners require very thorough rinsing. Any residue left behind can fume when the oven heats up. For safety and effectiveness, I usually stick to natural methods first.
If the stains are burnt beyond recognition, you might have to tackle them differently. Carbonized sugar or fat turns into a hard, black substance. For these, a plastic razor blade scraper is excellent. Hold the scraper at a very low angle, almost flat against the glass. Gently push it under the burnt spots to lift them. Always be gentle. Do not use metal blades, as they will scratch the glass. This method physically removes the hardened layers. It requires patience and care.
Remember to be persistent. Sometimes, stubborn stains need a second application. Reapply the baking soda paste. Let it sit again. Repeat the scrubbing process. Over time, even the most challenging baked-on grime will yield. Achieving a clean oven door glass is possible with the right approach and a little patience. Consider exploring how to clean the inside glass of an oven for more deep-cleaning strategies.
Cleaning Between Oven Door Glass Panels
Sometimes, the dirt isn’t just on the visible inner surface. Grime can seep in between the two or three glass panels of the oven door. This dirt is often the most frustrating. It looks terrible and is hard to reach. Cleaning this area requires partially disassembling the oven door. Do not worry; it is often simpler than it sounds. Many modern ovens are designed for this.
Before you start, make sure the oven is cool and unplugged. This is critical for your safety. Get your screwdriver set ready. You will typically need a Phillips head screwdriver. Lay a blanket or large towel on the floor. This provides a soft surface to rest the oven door. You do not want to scratch the door or glass.
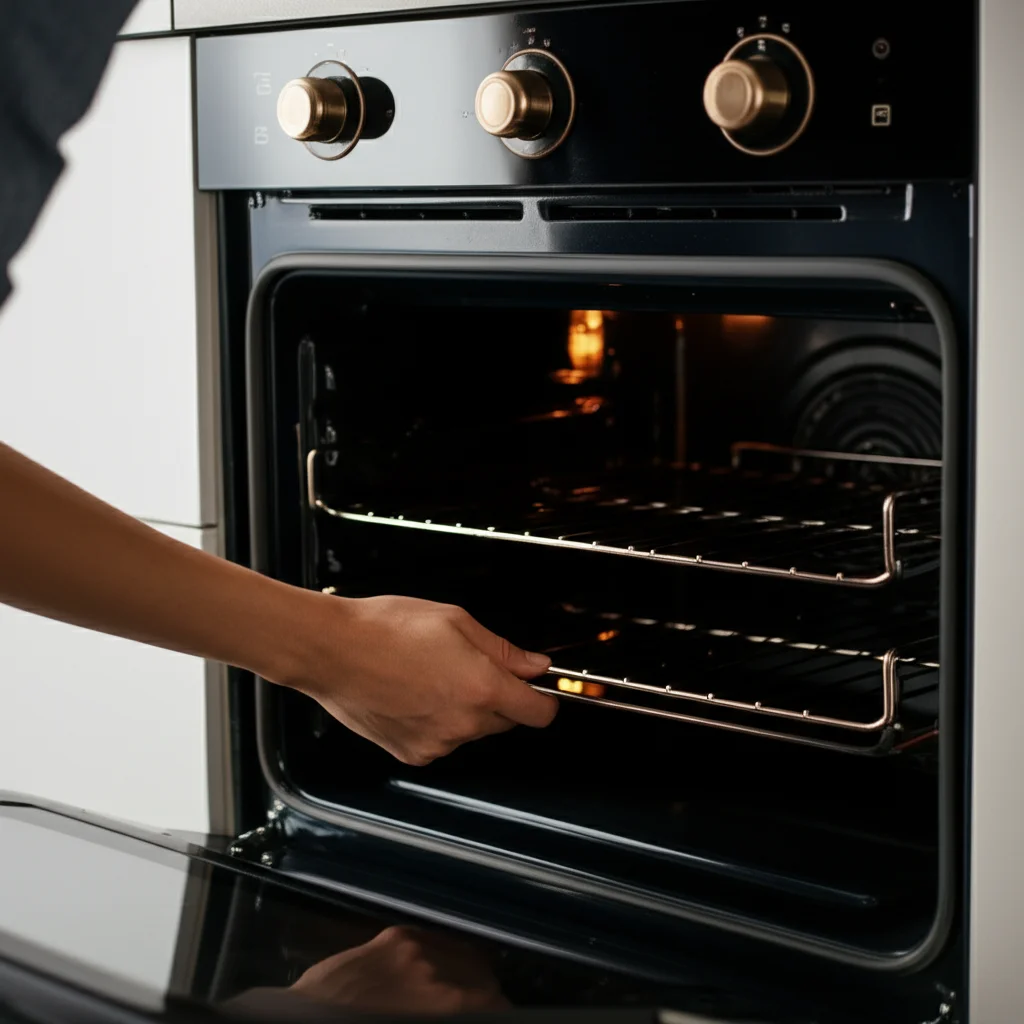
The first step is often to remove the oven door itself. Most oven doors can be lifted off their hinges. Open the door fully. Look for small levers or clips on the hinges at the bottom of the door. These levers usually need to be flipped or pulled to unlock the door. Once unlocked, partially close the door to about a 45-degree angle. Then, carefully lift the door straight up and out. Place it gently on your protected surface. If you are unsure, consult your oven’s user manual. Manuals often have specific instructions for door removal.
Once the door is off, you need to access the inner panels. Look along the edges of the door. You will usually find screws holding the inner panel or frame in place. These screws are typically on the top or bottom edge of the door, or sometimes along the sides. Carefully unscrew them. Keep all screws in a small bowl or magnetic tray. This prevents them from getting lost.
After removing the screws, you can often gently separate the oven door panels. Some doors have a removable vent strip at the top or bottom. Removing this strip might allow access to the space between the glass. Other designs require removing the entire inner panel. Be careful when lifting the glass panels. They can be heavy and fragile. Handle them by their edges. Set aside any glass panels you remove in a safe place. Now you have access to the dirty surfaces between the glass.
For cleaning this inaccessible area, use the same baking soda paste method. Apply the paste to the inner surfaces of the glass panels. Let it sit for 20-30 minutes, or longer for tough stains. Use a damp cloth or a thin, non-scratch sponge on a stick to reach all areas. You can also wrap a microfiber cloth around a ruler or a stiff wire. This helps you reach into narrow gaps. Scrub gently until the grime is gone.
Once clean, wipe all surfaces with a clean, damp cloth. Then, polish with white vinegar for a streak-free finish. Ensure all parts are completely dry before reassembly. This prevents moisture from getting trapped. Carefully reassemble the door panels. Make sure all screws are tightened securely. Reattach the oven door to its hinges. Test the door to ensure it closes properly. Cleaning between the glass panels is an advanced step, but it gives your oven a truly professional clean. For a broader perspective on maintaining your appliance, you might find useful tips on how to clean an oven door window.
Preventive Measures and Regular Maintenance
Cleaning your oven door glass is a significant task. You want to keep it clean for as long as possible. Regular maintenance and preventive measures help a lot. They reduce the need for deep cleaning. This saves you time and effort in the long run. I always advise small, consistent actions over infrequent major cleanups.
The simplest prevention is immediate cleanup. Whenever something spills or splatters inside the oven, wipe it up right away. This is easier when the oven is still warm but not hot. A warm spill is much softer than a baked-on one. Use a damp cloth to wipe fresh splatters. This prevents them from hardening into stubborn stains. This immediate action is the most effective way to avoid future problems.
Another good habit is to clean the oven door glass after every few uses. A quick wipe-down prevents grime accumulation. You do not need to do a full deep clean each time. Just a quick pass with a damp cloth can remove light residue. If you see light streaks or smudges, a quick spray of vinegar and a wipe will suffice. This keeps the glass clear without much effort.
Consider using baking sheets or foil to catch drips. When baking pies, casseroles, or anything that might bubble over, place a baking sheet on the rack below. This catches any overflows. It stops food from spilling onto the oven bottom or door glass. This simple step can prevent a lot of mess. Aluminum foil can also be placed on the bottom rack. Just make sure it does not block the vents.
Using oven-safe dishes with high sides also helps. These dishes reduce the chance of food bubbling over. When roasting, use roasting bags or covered dishes. These keep fats and juices contained. They prevent splattering onto the oven walls and door. These cooking habits make a big difference in oven cleanliness.
If your oven has a self-cleaning feature, use it regularly. The self-clean cycle burns away most food residue. After the cycle, the grime turns into ash. This ash is easy to wipe away. However, remember to check your oven manual first. Some manufacturers advise against using self-clean on the door glass specifically. Always follow your oven’s instructions. If you do use the self-clean cycle, still wipe down the door glass after it cools. For comprehensive oven cleaning advice, check out guides like how to deep clean your oven.
A routine cleaning schedule is also helpful. For example, aim to clean the oven door glass weekly or bi-weekly. Mark it on your calendar. This builds a consistent habit. It stops dirt from becoming overwhelming. A consistent cleaning routine ensures your oven always looks its best. It also makes cooking more pleasant. A clean oven is a happy oven, and a happy chef.
Common Mistakes to Avoid When Cleaning Oven Glass
Cleaning oven glass can seem easy, but mistakes can happen. These errors can damage your oven or make the cleaning harder. Knowing what to avoid is as important as knowing what to do. I have seen many people make these common errors.
First, never clean a hot oven. This is the most crucial rule. Hot surfaces can cause severe burns. Cleaning products can also react dangerously with heat. Always let the oven cool completely. If you have just used it, wait several hours. Or, clean it the next day. Safety comes first.
Second, do not use abrasive materials. Steel wool, rough scouring pads, or harsh scrubbers can scratch the glass. These scratches are permanent. They make the glass look cloudy. They also create places for new grime to stick. Always use soft microfiber cloths or non-scratch sponges. A plastic scraper is fine, but metal is not.
Third, avoid harsh chemical cleaners unless necessary. Many commercial oven cleaners contain strong chemicals. These can be corrosive. They can irritate your skin and lungs. They can also damage oven components if not used correctly. Natural cleaners like baking soda and vinegar are often just as effective. They are safer for you and your home. If you must use a chemical cleaner, ensure the area is well-ventilated. Wear gloves and eye protection.
Fourth, do not leave cleaning residue behind. Any leftover cleaning solution can cause problems. When the oven heats up, residue can burn. This creates fumes and smells. It can also leave streaks or a hazy film. After cleaning, wipe the glass thoroughly with clean, damp cloths. Follow with a dry cloth or vinegar to ensure no residue remains. This is especially important for greasy oven situations where residue might be harder to remove.
Fifth, do not overtighten screws when reassembling the door. If you disassemble the oven door to clean between the glass panels, be gentle when putting it back together. Overtightening screws can strip threads or crack the glass panels. Tighten them until snug, but avoid excessive force. This ensures the door components remain intact and functional.
Sixth, ignore manufacturer guidelines. Every oven is different. Some ovens have specific instructions for cleaning. Others might warn against certain cleaning methods. Always check your oven’s user manual. It provides model-specific advice. Following these guidelines ensures you do not void your warranty or damage your appliance. For instance, specific advice for electric oven or gas oven cleaning might differ.
Finally, do not neglect the surrounding areas. While you focus on the glass, remember the door frame, hinges, and rubber seals. Grime can build up there too. Cleaning these areas prevents dirt from transferring back to the clean glass. A comprehensive clean gives a better overall result. Avoiding these common mistakes makes your oven glass cleaning safer and more effective. You will achieve a sparkling clean result without any damage.
When to Call a Professional (and When Not To)
Most oven door glass cleaning jobs are DIY friendly. The methods discussed here cover most situations. However, there are times when you might need professional help. Knowing when to call a pro saves you time, effort, and potential damage.
You probably do NOT need a professional if:
- The grime is on the inner or outer surface of the glass. This means you can see and touch the dirty areas. Our baking soda and vinegar method is perfect for this.
- You can see the dirt between the glass panels, and your oven manual explains how to access them. Many modern ovens have user-friendly designs for this. If you are comfortable with basic tools, you can likely do it yourself.
- The oven glass is just cloudy or streaky. This usually means leftover residue or light buildup. A good polish with vinegar will fix this.
You SHOULD consider calling a professional if:
- The oven glass is cracked or shattered. This is a safety hazard. Do not attempt to fix or clean it yourself. Oven glass is tempered and specific to the appliance. A professional can safely replace it. Trying to clean a cracked glass can worsen the damage or cause injury. For issues like exploded glass in oven, professional help is essential.
- You cannot remove the oven door or access the internal panels. Some older or less common oven models have complex door designs. If you follow your manual and still struggle, a technician can safely disassemble and reassemble it. They have the right tools and expertise.
- You suspect the grime is not just food residue. If you see strange stains, discoloration, or burnt-on substances that do not respond to cleaning, it might be a component issue. A professional can diagnose the problem.
- You are uncomfortable with the process. If the idea of disassembling your oven door makes you nervous, that is okay. It is better to hire a professional than to risk damaging your appliance or hurting yourself. Many appliance repair services offer cleaning services.
- There is a strong chemical smell or persistent fuming after cleaning. This could mean chemical residue is trapped. A professional can help ensure all hazardous materials are removed.
Ultimately, your safety and the integrity of your appliance are most important. For most routine oven glass cleaning, DIY methods are perfect. But for complex issues, damage, or discomfort, professional help is a wise choice. They can ensure the job is done safely and correctly, keeping your oven in top condition.
FAQs About Cleaning Oven Door Glass
Q1: Can I use a self-cleaning oven cycle to clean the glass inside the door?
A self-cleaning oven cycle heats the oven to very high temperatures. This burns off food residue inside the oven. However, it may not effectively clean the glass between the door panels. Some manufacturers advise against using the self-clean cycle for the door glass itself. Always consult your oven’s manual first. After a self-clean cycle, you may still need to wipe down the glass manually.
Q2: What if my oven glass has persistent streaks after cleaning?
Streaks usually happen from leftover cleaning residue or dirty cloths. After scrubbing, wipe the glass thoroughly with several clean, damp microfiber cloths. Then, spray the glass lightly with white vinegar. Polish it dry with a separate, clean, dry microfiber cloth. This vinegar step removes any remaining film and leaves a streak-free shine.
Q3: Is it safe to use commercial oven cleaners on the glass?
Commercial oven cleaners are very strong. They can be effective, but they contain harsh chemicals. These chemicals can be irritating and may damage some oven finishes. Always check if the cleaner is safe for oven glass. If you use one, ensure good ventilation and wear protective gear. Thoroughly rinse the glass to remove all chemical residue. Natural methods like baking soda and vinegar are often safer.
Q4: How often should I clean the glass inside my oven door?
The frequency depends on how often you use your oven and what you cook. For light use, cleaning every 2-3 months might be enough. If you cook often or have frequent spills, a quick wipe-down weekly or bi-weekly is best. A deep clean, including between the glass panels, can be done once or twice a year. Regular light cleaning prevents heavy buildup.
Q5: What if I can’t remove my oven door to clean between the glass?
Not all oven doors are designed for easy removal. If your oven manual doesn’t provide instructions or you struggle, do not force it. You might damage the door or hinges. Instead, try reaching into the gap with a thin tool. Wrap a microfiber cloth around a ruler or a wire hanger. This allows you to wipe some of the inner surfaces. For a complete clean, consider hiring a professional appliance technician.
Q6: Can I use dish soap alone to clean the oven glass?
Dish soap is excellent for cutting grease. You can use a mix of warm water and dish soap for light grease and fresh spills. However, for baked-on grime, dish soap alone is usually not strong enough. It works best when combined with the abrasive power of baking soda. The baking soda paste helps scrub and lift the hardened food particles more effectively.
Conclusion
A clean oven door glass makes a big difference in your kitchen. Learning how to clean the glass inside your oven door gives you a clear view of your cooking. It also makes your oven look much better. We covered simple, effective methods using natural ingredients like baking soda and vinegar. These solutions are safe and produce sparkling results.
Remember to prepare your oven properly before starting. Apply the baking soda paste generously, let it sit, then scrub and wipe clean. Finish with vinegar for a streak-free shine. For those trickier jobs, like cleaning between the glass panels, we explored how to safely disassemble your oven door. Always prioritize safety. Unplug the oven and let it cool completely. Use non-abrasive tools to avoid scratches.
Preventive measures are your best friends. Wiping up spills immediately saves you from future deep cleaning sessions. Regular, light maintenance keeps the grime from building up. If you face broken glass or complex issues, remember that professional help is available. With these tips, you can maintain a clear, spotless oven door. Enjoy your next cooking adventure with a perfectly clean view!
- oven cleaning
- glass cleaning
- kitchen maintenance
- DIY cleaning
- grease removal

Davia Murnell
Room Cleaning Expert
Before joining HEG, I spent over a decade running my own window cleaning business, where I perfected streak-free techniques and learned the ins and outs of specialty glass care. Now, I bring that expertise to a broader mission—helping homeowners maintain sparkling windows and beautiful outdoor spaces. From skylights and sliding doors to patio glass and outdoor furniture, I believe every surface deserves attention and care. I share practical tips and proven methods that make even the toughest cleaning jobs feel manageable. Whether you're battling pollen on the porch or smudges on high windows, I’m here to help you see your home in a whole new light—literally.