· Todd Martin · Food Preparation · 14 min read
How To Clean Tilapia
How To Clean Tilapia at Home: Your Complete Guide
Imagine cooking a fresh, flaky tilapia, perfectly cleaned and ready for your favorite recipe. Achieving this level of freshness starts with knowing how to clean tilapia properly. Many people buy pre-filleted fish, but cleaning a whole tilapia at home ensures you get the freshest taste and control over your food. This guide will walk you through each step, from basic scaling to expert filleting. You will learn the simple tools you need and the techniques to make fish preparation easy. Let us transform your kitchen into a professional fish-cleaning station.
Takeaway
Cleaning tilapia at home is a simple process. You will remove scales, gut the fish, and wash it thoroughly. You can also fillet the fish for boneless portions. Proper cleaning ensures better taste and safer food.
To clean tilapia, you need a sharp knife, a scaler, a cutting board, and running water. The process involves removing scales, making an incision to remove internal organs, and rinsing the fish completely inside and out. You can then cook it whole or proceed with filleting.
Understanding Why Cleaning Tilapia is Important
Cleaning tilapia before cooking is crucial for taste and health. Freshly cleaned fish has a better flavor profile. The process removes any unwanted parts that can spoil the taste. It also removes bacteria and parasites that might be present on uncleaned fish.
When you buy whole fish, it often still has scales, fins, and internal organs. Scales are tough and unpleasant to eat. The internal organs can carry a strong, bitter taste. They also start to decompose quickly, affecting the fish’s freshness. This makes proper cleaning a vital step for any home cook.
I always feel more confident serving fish I have cleaned myself. It gives me peace of mind about what my family eats. Plus, the texture of properly cleaned and prepared fish is far superior. This attention to detail makes a big difference in the final dish.
A well-cleaned fish is also safer to handle and cook. Removing all waste reduces the chance of cross-contamination in your kitchen. It also means you can fully enjoy the natural sweetness of tilapia. This step truly unlocks the full potential of your seafood meal.
Gathering Your Essential Tools for Cleaning Fish
Before you begin to clean tilapia, gather all necessary tools. Having everything ready makes the process smoother and faster. You do not want to stop midway to search for an item. The right tools ensure safety and efficiency when handling fish.
Here are the basic items you will need:
- A Sharp Knife: A filleting knife is ideal due to its thin, flexible blade. A sharp chef’s knife also works well. Sharpness is key for clean cuts and safety.
- Fish Scaler: You can buy a dedicated fish scaler. A spoon, the back of a knife, or even the cap of a bottle can also work. These tools help remove scales without damaging the fish.
- Cutting Board: Use a sturdy, non-slip cutting board. Plastic boards are easy to sanitize after handling raw fish. Avoid wooden boards, as they can absorb odors and bacteria.
- Gloves (Optional): Disposable gloves can keep your hands clean and reduce odor transfer. They also provide a better grip on slippery fish. I often use them for hygiene reasons.
- Large Bowl or Sink: You will need a place to work and rinse the fish under running water. A large bowl filled with ice water can also help keep the fish cold and firm during cleaning.
- Paper Towels: These are useful for drying the fish and cleaning up your workspace. Keeping things tidy prevents a mess.
Having these tools at hand will make the cleaning process simple. It also helps maintain a clean kitchen environment. This preparation sets you up for a successful and hygienic fish cleaning session.
The First Step: How to Scale Tilapia Effectively
Scaling is often the first step when you clean tilapia. Tilapia has small, tough scales that need removal for a pleasant eating experience. Removing scales is simple once you know the technique. It is best to do this step under running water to control the mess.
You want to prevent scales from flying everywhere. Place the fish in a sink under cold running water. Hold the fish firmly by the tail. You can grip it with a paper towel for a better hold.
Now, take your fish scaler or the back of a knife. Start scraping against the grain of the scales. Work from the tail towards the head in short, firm strokes. The scales should come off easily. Make sure you cover all areas, including near the fins and belly.
After scaling one side, flip the fish over and repeat the process. Pay attention to the edges and the top of the fish. Once most scales are off, give the fish a good rinse. Feel the skin to check for any remaining scales. You want the skin to feel smooth.
This step can be a bit messy, but it is necessary. I find that doing it quickly and efficiently makes a big difference. After scaling, your tilapia is ready for the next stage of cleaning. It is a fundamental part of preparing fresh fish for cooking.
Opening Up: Properly Gutting Tilapia
After scaling, the next critical step is gutting the tilapia. This means removing all internal organs. This process ensures the fish is clean and tastes great. It also prevents any bitter flavors from spreading to the meat.
First, lay your scaled tilapia on the cutting board. Position the fish with its belly facing you. Take your sharp knife. Make a shallow cut along the belly from the anal opening to the gills. Be careful not to cut too deep. You only want to cut through the skin and muscle layer. Do not puncture the organs inside.
Once the incision is made, open the cavity. Reach inside with your fingers or a spoon. Gently scoop out all the internal organs. This includes the intestines, liver, and any other matter. Make sure to remove everything. Some people find it easier to use a spoon for scraping.
You will also see a dark bloodline along the backbone. This is the kidney. Scrape this away firmly with your thumbnail or the edge of a spoon. This bloodline can give the fish a stronger, less pleasant taste if left in. Removing it makes a big difference.
After removing all organs, rinse the cavity thoroughly under cold running water. Ensure no bits of blood or organ remain. The inside should look clean and pink. This careful gutting ensures your tilapia is fresh and ready for the next steps. It is a simple but important part of the cleaning process.
Rinsing and Washing Tilapia Thoroughly
After scaling and gutting, a thorough rinse is essential. This step removes any remaining scales, blood, or debris from the fish. It ensures your tilapia is truly clean before you cook it. A well-washed fish cooks better and tastes fresher.
Place the gutted fish under cold running water. Hold it firmly. Rinse the outside of the fish first. Use your fingers to rub along the skin. This helps remove any stubborn scales you might have missed. It also washes away any slime.
Next, focus on the inside cavity. Open the fish wide. Let the cold water run directly into the cavity. Use your fingers to gently rub the inside walls. This will wash away any remaining blood or tissue. Pay special attention to the area along the backbone where the kidney line was.
Ensure the water runs clear from the fish. This tells you all debris is gone. A final quick rinse over the entire fish is a good idea. This step prepares the tilapia for filleting or cooking whole.
I always take my time with this part. A proper wash prevents any lingering “fishy” odors in the cooked meal. It is also a good habit for general kitchen hygiene. After washing, your tilapia is now ready for the next stage of preparation. This simple step makes a big difference in the final dish. If you clean other seafood, like how to clean crab or how to clean shrimp, thorough rinsing is always key.
The Art of Filleting Tilapia (Optional but Recommended)
Filleting tilapia turns a whole fish into boneless, skinless portions. This makes it easier to eat and more versatile for cooking. While optional, learning to fillet can greatly enhance your cooking experience. It gives you professional-looking fish at home.
Lay your cleaned tilapia on the cutting board. Ensure the fish is dry on the outside to prevent slipping. Use your sharp filleting knife. Make a cut behind the gill plate, down to the backbone. Do not cut through the backbone. This forms the starting point for your fillet.
Now, turn your knife parallel to the backbone. Work your knife along the backbone towards the tail. Use long, smooth strokes. Keep the blade pressed against the bones to get as much meat as possible. You want to separate the fillet cleanly from the spine.
Once you reach the tail, the first fillet should come off. Flip the fish over. Repeat the same process on the other side. Cut behind the gill plate and run the knife along the backbone. Take your time to get a clean separation.
After removing both fillets, you will have the fish skeleton and two fillets. Check the fillets for any small bones (pin bones). You can remove these with small pliers or tweezers. Run your fingers over the fillet to feel for them. This creates a completely boneless piece of fish. Filleting is a skill that improves with practice, just like learning how to clean lobster or other challenging seafood.
Skinning Tilapia Fillets for Smoother Texture
Many people prefer skinless tilapia fillets. Removing the skin gives the fish a smoother texture and a milder flavor. This step is easier than you might think once you get the hang of it. It creates a cleaner, more refined piece of fish for your meal.
Lay one tilapia fillet skin-side down on your cutting board. Make sure the fillet is completely dry. This helps to get a better grip on the skin. You can pat it with paper towels if needed.
Grip the tail end of the fillet firmly. Some people find it useful to make a small cut at the very end to separate a corner of the skin. This provides a starting point for your knife. Place your knife blade between the skin and the flesh at this tail end.
Angle your knife slightly downwards towards the skin. Now, hold the skin firmly with one hand. With the other hand, push the knife forward, wiggling it gently. Keep the blade pressed against the skin as you move. The goal is to separate the skin from the meat cleanly.
As you push the knife, pull the skin back against the direction of the knife. This opposing force helps the blade slide easily. Continue until all the skin is removed. Repeat this process for the second fillet. You will be left with beautiful, boneless, skinless tilapia fillets ready for cooking. This method ensures your fish has the best texture.
Final Preparation: Drying and Storing Cleaned Tilapia
After cleaning and optionally filleting your tilapia, the final preparation steps are crucial. Proper drying and storage ensure the fish stays fresh and cooks perfectly. Moisture on the fish can prevent proper searing and lead to steaming instead of browning.
First, thoroughly pat your cleaned tilapia dry with paper towels. Get rid of as much surface moisture as possible. This applies whether you have whole fish or fillets. Dry fish will cook better and develop a more desirable crust. I always make sure the fish feels almost sticky from being so dry.
If you plan to cook the fish immediately, you are ready to go. You can season it as desired and proceed with your recipe. Cooking fresh, well-prepared fish is always a treat.
If you are not cooking it right away, proper storage is vital. Place the cleaned tilapia in an airtight container or wrap it tightly in plastic wrap. Then, put it in the coldest part of your refrigerator. Freshly cleaned fish should be cooked within 1-2 days for the best quality.
For longer storage, you can freeze tilapia. Wrap each fillet or whole fish tightly in plastic wrap, then aluminum foil. Place it in a freezer-safe bag. Label it with the date. Frozen tilapia can last for several months. When ready to use, thaw it slowly in the refrigerator overnight. These steps ensure your hard work in cleaning the fish pays off with delicious meals.
Kitchen Cleanup After Cleaning Tilapia
Cleaning fish can leave odors and residue in your kitchen. Proper cleanup is essential for hygiene and to keep your kitchen smelling fresh. This step is as important as the cleaning of the fish itself. It ensures your workspace is ready for the next cooking task.
Start by disposing of all fish scraps immediately. Place scales, guts, and bones in a sealed bag. Tie the bag tightly before placing it in your outdoor trash bin. This prevents odors from lingering indoors. Do not let fish waste sit in your kitchen trash.
Next, clean all tools and surfaces. Wash your cutting board, knife, and scaler with hot, soapy water. For plastic cutting boards, you can also use a solution of one part bleach to twenty parts water for extra sanitization. Let them air dry or dry them thoroughly. If you used a stainless steel sink, wipe it down well.
Wipe down all surfaces that came into contact with the raw fish. This includes countertops and the sink. Use a good kitchen cleaner or a solution of vinegar and water. Vinegar is excellent for neutralizing fish odors. I often spray down my sink and counters with a vinegar solution after handling fish.
Finally, wash your hands thoroughly with soap and water. Use a strong soap to remove any lingering fish smell. You can also rub your hands with lemon juice or a stainless steel odor absorber. This complete cleanup ensures your kitchen remains hygienic and pleasant. It is the final important step in the process of cleaning tilapia at home. Cleaning tools like a skillet or a steamer after cooking fish also helps maintain kitchen cleanliness.
FAQ Section
How long does it take to clean a tilapia? Cleaning one tilapia usually takes 5 to 10 minutes. This time includes scaling, gutting, and rinsing. If you also fillet the fish, it might add another 5 to 10 minutes. Practice makes you faster and more efficient.
Can I clean tilapia without special tools? Yes, you can clean tilapia with basic kitchen tools. A sharp chef’s knife works for cutting and gutting. You can use a spoon or the back of a knife for scaling. A sturdy cutting board is also necessary.
What is the best way to remove the “fishy” smell from my hands? After cleaning tilapia, rub your hands with lemon juice, white vinegar, or salt. Then, wash them with soap and water. Stainless steel odor removers also work well. These methods neutralize fish odors effectively.
Should I wash tilapia with salt or vinegar? Washing tilapia with cold running water is enough for hygiene. Some people rub the fish with salt or a dilute vinegar solution. They believe this removes more slime and odor. Rinse thoroughly afterward if you use them.
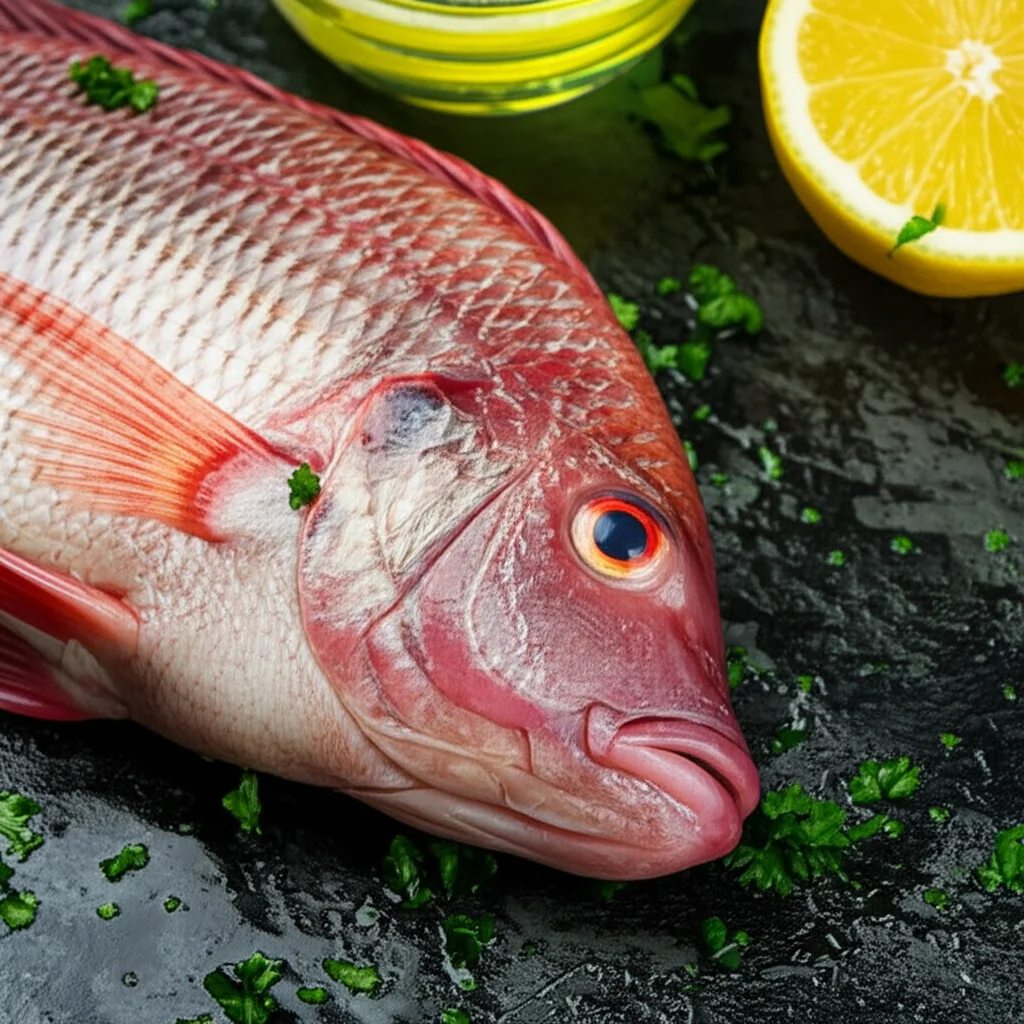
How do I know if my tilapia is fresh before cleaning? Fresh tilapia has clear, bright eyes, not cloudy or sunken. Its skin should be shiny and moist, not dull. The gills should be bright red. It should have a mild, fresh ocean smell, not a strong, unpleasant fishy odor. The flesh should be firm when pressed.
What should I do with the fish scraps? Place all fish scraps like scales, guts, and bones into a sealed plastic bag. Tie the bag tightly. Dispose of it immediately in an outdoor trash bin. This prevents bad odors from developing in your indoor kitchen trash.
Conclusion
Learning how to clean tilapia is a valuable skill for any home cook. You gain control over the freshness and quality of your fish. This guide walked you through each simple step: gathering tools, scaling, gutting, rinsing, filleting, and proper cleanup. By following these clear instructions, you ensure a delicious and safe meal every time.
Embrace the process of preparing your own fish. The effort is small, but the reward is great. You will enjoy fresher flavors and a sense of accomplishment. Start practicing these techniques today. Soon, cleaning tilapia will be a simple part of your cooking routine. Elevate your home-cooked meals by starting with perfectly cleaned fish.
- Tilapia cleaning
- Fish preparation
- Seafood cleaning
- Scaling fish
- Gutting fish
- Filleting fish
- Home cooking

Todd Martin
Senior Writer
With over 15 years of experience in home renovation and design, I started HEG to share what I’ve learned with homeowners who want to create spaces that are both beautiful and functional. I’ve always believed in a hands-on approach, and over the years, I’ve picked up practical solutions that actually work. Through HEG, I aim to make home improvement more approachable, sharing real tips that help you create a home you truly love.