· Todd Martin · Home Improvement · 15 min read
How To Dye A Couch Slipcover

Refresh Your Sofa: How To Dye A Couch Slipcover
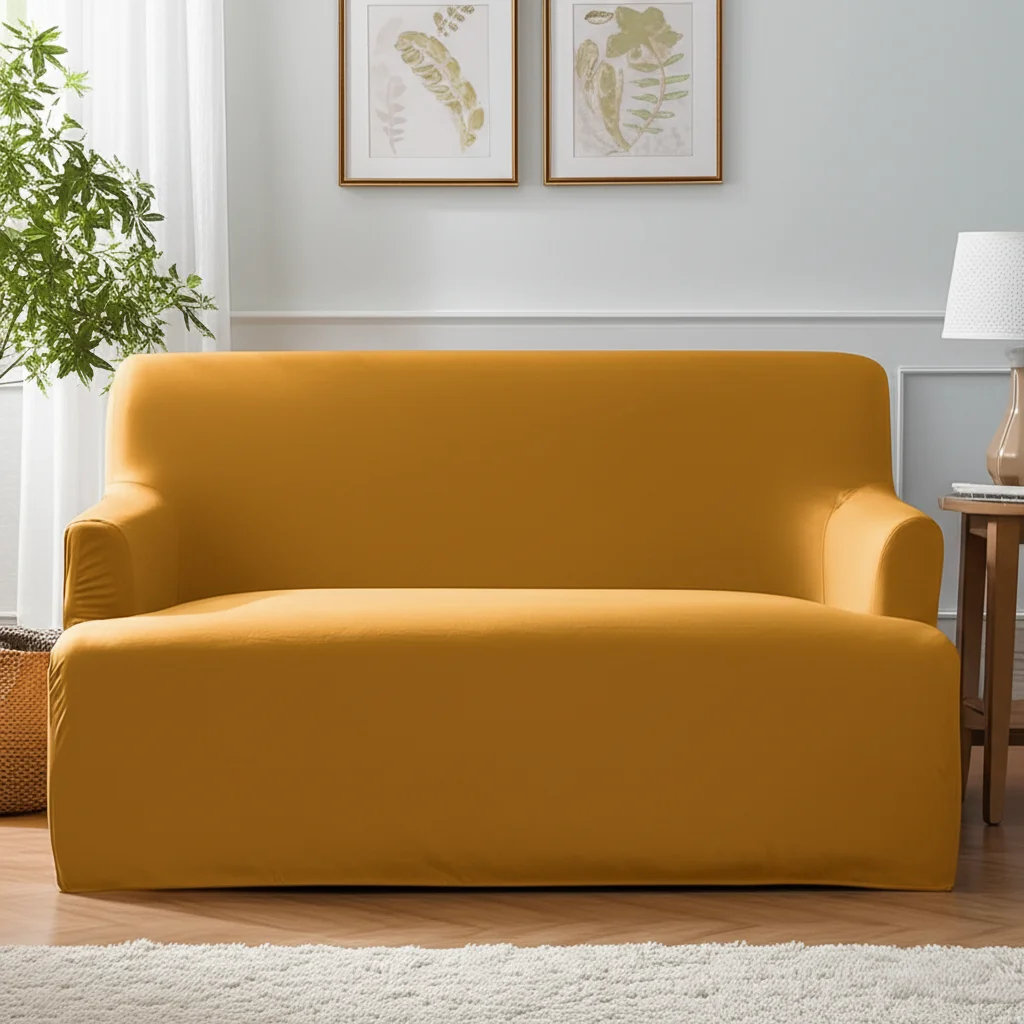
Have you grown tired of your sofa’s current look? Perhaps its slipcover has faded over time, or the color no longer matches your home decor. Instead of buying a new couch or an expensive replacement slipcover, consider a budget-friendly DIY project: learning how to dye a couch slipcover. This simple process can give your living space an entirely new feel.
Dyeing a couch slipcover offers a fantastic way to revitalize your furniture and update your room’s aesthetic. It allows for creative freedom, letting you choose the exact shade to complement your interior design. We will cover everything from preparing your slipcover and selecting the right dye to the actual dyeing process and aftercare. Get ready to transform your couch and your home with this rewarding project.
Takeaway:
- Identify your slipcover’s fabric type for proper dye selection.
- Always pre-wash your slipcover before dyeing to remove dirt and sizing.
- Choose between machine, bathtub, or bucket dyeing based on size and preference.
- Follow dye instructions carefully for best color results.
- Rinse thoroughly and wash newly dyed slipcovers alone to prevent color transfer.
Dyeing a couch slipcover involves pre-washing the fabric, selecting the correct dye based on the slipcover’s material composition, and then immersing it in a dye bath using a washing machine, bathtub, or large container. Proper rinsing and post-dye care are essential for a long-lasting, even color.
Why Dye Your Slipcover? Benefits of a DIY Makeover
Dyeing your couch slipcover provides many benefits. It offers a cost-effective solution for furniture refresh. Buying a new slipcover or an entire couch can be expensive. Dyeing lets you achieve a fresh look without a large financial outlay.
This DIY project also promotes sustainability. You give existing items new life instead of discarding them. This reduces waste and supports eco-friendly living. Furthermore, dyeing allows for unique personalization. You can pick any color to match your specific style or seasonal decor changes.
Breathing New Life into Old Furniture
Old furniture can look worn out. A faded slipcover makes a couch seem dated. Dyeing it brings back its vibrancy. You can choose a bold new color or refresh the existing one. This simple change makes your entire living room feel updated.
Imagine your old couch looking brand new again. This is possible with a fresh coat of dye. The process restores its appeal and extends its useful life. It is an act of creative recycling.
Customizing Your Living Space
Your home should reflect your personal taste. Sometimes, finding the perfect slipcover color is hard. Stores offer limited options. Dyeing solves this problem. You gain complete control over the color.
You can match existing decor items. You can create a themed room. Maybe you want a serene blue or a vibrant yellow. Dyeing makes these custom looks possible. It transforms your couch into a truly unique piece.
Essential Preparations Before You Dye
Successful dyeing starts with careful preparation. Skipping steps can lead to uneven colors or poor dye uptake. Proper preparation ensures the dye adheres well and provides a consistent finish. This phase is as important as the dyeing itself.
Gather all your materials beforehand. This includes the dye, salt (often needed for cotton), rubber gloves, and protective covers. Make sure your workspace is ready. A clean and organized area helps the process go smoothly.
Understanding Fabric Composition
First, identify your slipcover’s fabric type. This step is critical. Different fabrics absorb dye differently. Natural fibers like cotton, linen, and rayon take dye well. Synthetic fibers like polyester or acrylic are harder to dye. Blends can be tricky.
Check the slipcover’s care tag. It usually lists the material content. If it is 100% synthetic, special dyes are needed. These dyes often require heat. For blends, the dye will primarily color the natural fibers. This can result in a lighter shade than expected.
Cleaning Your Slipcover Thoroughly
Your slipcover must be perfectly clean. Any dirt, stains, or fabric finishes will block the dye. Wash your slipcover on a hot cycle. Use a strong detergent. This removes any sizing or invisible stains.
Do not use fabric softener or dryer sheets. These can leave residues that repel dye. If your slipcover has stubborn stains, clean them thoroughly first. For guidance on cleaning stains, refer to our article on how to clean stains on couch. A clean slipcover accepts dye evenly. This prevents splotchy results.
Protecting Your Workspace
Dye can permanently stain surfaces. Protect your work area. Lay down plastic sheets or old newspapers. Cover floors, countertops, and nearby furniture. Prepare your dyeing vessel. If using a bathtub, clean it first. Cover it with plastic if possible.
Wear old clothes and rubber gloves. Dye can stain skin and clothing. Have paper towels or old rags ready for spills. Keep a separate bucket of clean water nearby for quick rinses. Safety is key when working with dyes. If you get dye on your skin, our guide on how to clean hair dye off skin might offer useful tips for cleanup.
Choosing the Right Dye and Color
Selecting the right dye is crucial for your project’s success. The type of dye depends directly on your slipcover’s fabric. Different dyes work for natural versus synthetic materials. Picking the correct color is also key to achieving your desired look.
Consider the existing color of your slipcover. Dyeing a light slipcover a darker color is easy. Changing a dark slipcover to a lighter one is much harder. It often requires dye remover first, which can damage fabric. Plan your color choice carefully.
Selecting Dye Based on Fabric
For natural fibers (cotton, linen, rayon, ramie, hemp): Use all-purpose dyes or fiber-reactive dyes. All-purpose dyes are widely available and simple to use. Fiber-reactive dyes offer brighter, more permanent colors. They are great for cotton and similar materials.
For synthetic fibers (polyester, acrylic, acetate, nylon): These are much harder to dye at home. Polyester needs disperse dyes that require high heat. This often means stovetop dyeing or a special dyeing machine. All-purpose dyes will not work well on polyester. For blends, a dye meant for natural fibers will only color the natural portion, resulting in a lighter or heathered look.
Color Blending and Experimentation
Think about the final color you want. Look at color swatches before buying dye. Remember that the current slipcover color affects the outcome. For example, dyeing a yellow slipcover blue will result in green. Dyeing a beige slipcover blue will result in a muted blue.
If you are unsure, do a patch test. Cut a small, hidden piece of the slipcover fabric. Or use a similar scrap material. Dye this piece first to see the true color. This step saves you from unexpected results on your main slipcover. You can adjust dye amounts based on your test.
The Dyeing Methods: Bathtub, Washer, or Bucket?
You have a few options for dyeing your slipcover. The best method depends on the slipcover’s size and your comfort level. Each method has its pros and cons regarding convenience, evenness, and mess. Choose the one that suits your situation best.
Always read your dye’s specific instructions. These instructions often provide precise measurements and timings. Do not guess with dye. Following directions helps ensure the best outcome.
Bathtub Dyeing for Large Items
Bathtub dyeing is good for large slipcovers. It allows ample space for the fabric to move freely. This helps ensure an even dye job. First, clean your bathtub thoroughly. Protect surfaces around the tub from splashes. You can line the tub with plastic, but be careful not to create a slipping hazard.
Fill the tub with hot water. Add the dissolved dye as directed. Stir the water well to mix the dye. Fully submerge the wet slipcover. Use a long stick or tongs to agitate the fabric. Keep the slipcover moving constantly for the entire dyeing time. This prevents streaks and spots. Once done, rinse the slipcover in the tub until the water runs clear. Then, clean your tub immediately.
Washing Machine Dyeing for Convenience
Washing machine dyeing is often the easiest method. It is suitable for medium to large slipcovers. The machine does the agitation for you. Always use an old, top-loading machine if possible. Dyeing in a front-loader can be riskier for future laundry. Check your washing machine’s manual for dyeing compatibility.
First, set your machine to the hottest water setting. For large slipcovers, choose the largest load size. Add the dissolved dye to the machine. Then add your wet slipcover. Allow the machine to run a full wash cycle. After the cycle, run a second cycle with hot water and a bit of detergent to clean the machine. This prevents dye transfer to your next load. For understanding how washing machines help with cleaning, you might find our article on how to wash a couch useful, though it focuses on the couch itself.
Bucket Dyeing for Smaller Projects
Bucket dyeing is perfect for small slipcovers or cushions. It is a good choice for people without a suitable washing machine or bathtub. Use a large, clean plastic bucket or a utility sink. Make sure the container is big enough for the slipcover to move freely. This prevents dye lines.
Fill the bucket with hot water. Add the dissolved dye. Stir well. Submerge the wet slipcover completely. Use tongs or a stick to stir and agitate the fabric constantly. Continue stirring for the recommended dyeing time. This active agitation is key to even color. When finished, carefully remove the slipcover and rinse it.
The Dyeing Process: Step-by-Step Guide
Once you have chosen your method and prepared your slipcover, the actual dyeing begins. This stage requires patience and attention to detail. Follow the dye instructions carefully for the best results. Do not rush this part of the process.
The goal is to achieve a uniform color across the entire slipcover. Uneven dyeing can result in blotches or streaks. Constant agitation is vital during immersion. It ensures every fiber gets exposed to the dye evenly.
Achieving Even Dye Distribution
Start by dissolving your dye thoroughly in hot water. Follow the package instructions for dye-to-water ratios. Undissolved dye particles can cause dark spots. If using salt or other additives, mix them in as well. These often help the dye absorb better.
Pre-wet your slipcover completely. Wringing out excess water is helpful. A damp slipcover absorbs dye more evenly than a dry one. Place the wet slipcover into your chosen dyeing vessel. Make sure it is fully submerged. Use tongs or a stirring stick to keep the fabric moving throughout the dyeing process. This continuous agitation prevents creases and uneven color absorption. Continue stirring for the duration recommended by the dye manufacturer, typically 30-60 minutes.
Rinsing and Setting the Color
After the dyeing time, remove the slipcover from the dye bath. Begin rinsing it immediately. Rinse under cool, running water. Continue rinsing until the water runs completely clear. This step is critical. It removes excess dye that has not bonded to the fabric.
Failure to rinse thoroughly can lead to dye bleeding later. It can also stain your actual couch. After rinsing, you may need to use a dye fixative, if recommended by your dye. This product helps lock the color into the fabric fibers. It improves colorfastness. You can often purchase fixatives separately. For more on handling dyed fabrics, our guide on how to wash a tie-dye shirt offers good insights into similar textile care.
Post-Dyeing Care and Maintenance
Once your slipcover is dyed and rinsed, proper aftercare is important. This ensures the color lasts and does not bleed onto other items. Incorrect drying or washing can damage your newly dyed fabric. Take care of your refreshed slipcover.
This stage also prepares your slipcover for use. You want it to be ready to go back on your couch. Consider how you will use and wash it in the future. Proper maintenance makes your effort worthwhile.
Proper Washing after Dyeing
After dyeing and rinsing, wash the slipcover alone. Use cold water. Add a mild detergent. Do not add other clothes to this first wash. This prevents any remaining unbonded dye from transferring. Wash it at least once. Some recommend two separate washes.
For subsequent washes, continue to wash the slipcover separately. Or wash it with very similar dark colors. Use cold water cycles. Avoid harsh detergents or bleach. Bleach will remove the dye. This care helps keep the color vibrant for a long time.
Drying Your Dyed Slipcover
Hang your slipcover to air dry. If possible, dry it outdoors on a clothesline. The sun can help set colors for some dyes. Avoid direct, intense sunlight for prolonged periods, especially with darker colors, as it can cause fading.
You can also tumble dry on a low heat setting. High heat can cause some dyes to fade faster. Make sure the slipcover is completely dry before putting it back on your couch. A damp slipcover can transfer residual dye onto your furniture. This can lead to unwanted stains on your actual couch.
Maintaining Color Vibrancy
To maintain your slipcover’s new color, consider these tips. Wash it infrequently. Spot clean small messes instead of full washes. This reduces wear on the dye. When you do wash it, use cold water. Use a color-safe detergent.
Avoid placing your dyed slipcover in direct sunlight for long periods. UV rays cause fading over time. Rotate cushions if your slipcover covers them. This helps distribute exposure evenly. With good care, your dyed slipcover will look great for years. If you are interested in changing your couch’s color but don’t have a removable slipcover, read our guide on how to change the color of your couch for alternative methods.
Troubleshooting Common Dyeing Issues
Even with careful planning, sometimes things go wrong. It is helpful to know how to fix common dyeing problems. Understanding these issues can save your project. Do not despair if your first attempt is not perfect.
Many problems have simple solutions. The key is to act quickly. Address issues before the dye fully sets. This gives you the best chance to correct them.
Dealing with Streaks and Spots
Streaks and spots often happen from uneven dye absorption. This usually means the slipcover was not agitated enough. Or it was folded during dyeing. The dye did not reach all areas evenly.
To fix this, you can try re-dyeing the slipcover. Use the same color, but ensure continuous agitation. If the spots are very dark, a dye remover might be needed first. However, dye removers can weaken fabric. Always do a patch test with dye remover. Preventing streaks is easier than fixing them. Always agitate your slipcover during the entire dyeing process.
Fixing Too-Light or Too-Dark Results
If your slipcover turns out too light, you can re-dye it. Use the same color or a darker shade. Make sure the fabric is wet. Then, repeat the dyeing process. Adding more dye will deepen the color. Do not add too much dye at once. Build the color slowly.
If the color is too dark, fixing it is harder. You might try using a dye remover. This strips some or all of the color. It can be unpredictable. It might also lighten any patterns or existing colors on the fabric. A dye remover often leaves the fabric a pale, yellowish color. After using dye remover, you can then re-dye the slipcover your desired shade. Always test dye remover on a small, hidden area first.
FAQs About Dyeing Couch Slipcovers
Can you dye any couch slipcover fabric?
You can dye most natural fiber slipcovers, like cotton, linen, rayon, and hemp, with good results. Synthetic fabrics, such as polyester or acrylic, are much harder to dye at home and often require specialized dyes and high heat. Check your slipcover’s care tag to identify its fabric composition before buying dye.
How much dye do I need for a couch slipcover?
The amount of dye needed depends on the slipcover’s weight and the desired color intensity. Most dye packages provide guidelines. For a large couch slipcover, you will likely need multiple boxes or bottles of dye. Weigh your dry slipcover for accuracy, then consult the dye product’s instructions.
Will the dye bleed onto my couch?
If you rinse the slipcover thoroughly after dyeing and wash it alone before putting it back on the couch, bleeding should be minimal. However, new dye may lightly transfer during the first few uses. Always ensure the slipcover is completely dry before placing it on your couch. Consider placing an old sheet between the slipcover and the couch for the first few weeks as an extra precaution.
How long does dyed slipcover color last?
The longevity of your dyed slipcover’s color depends on the dye type, fabric, and how you care for it. Fiber-reactive dyes on natural fibers offer excellent washfastness and lightfastness. All-purpose dyes are generally less permanent. Proper washing (cold water, gentle cycle) and avoiding excessive sunlight exposure will help the color last longer.
Can I dye a dark slipcover a lighter color?
No, you generally cannot dye a dark slipcover a lighter color directly. Dyeing adds color; it does not remove it. To go lighter, you would first need to use a color remover or bleach. This process can be harsh on fabrics and may not yield predictable results. It is best to dye light-colored slipcovers darker.
What if the color is uneven after dyeing?
Uneven color often results from insufficient agitation during the dyeing process or the fabric being folded. To fix it, re-wet the slipcover thoroughly. Then, re-dye it using the same method and color, ensuring continuous and vigorous agitation throughout the entire dyeing time. This helps the dye penetrate all areas uniformly.
Conclusion
Dyeing your couch slipcover is a rewarding DIY project. It offers a creative, cost-effective way to refresh your living space. We have covered the entire process, from preparing your slipcover and choosing the right dye to executing the dyeing method and providing proper aftercare. Remember, understanding your fabric, thorough preparation, and continuous agitation are keys to achieving beautiful, even results.
With this guide, you now possess the knowledge to transform your tired slipcover into a vibrant, new centerpiece. So, go ahead. Pick your favorite color, gather your supplies, and give your couch the makeover it deserves. You will love the fresh look and the satisfaction of a successful DIY couch slipcover dyeing project!
- couch slipcover dyeing
- DIY home decor
- fabric dyeing guide
- sofa cover refresh


