· Todd Martin · Smart Home Installation · 13 min read
How To Install Nest Doorbell Wired 2nd Generation
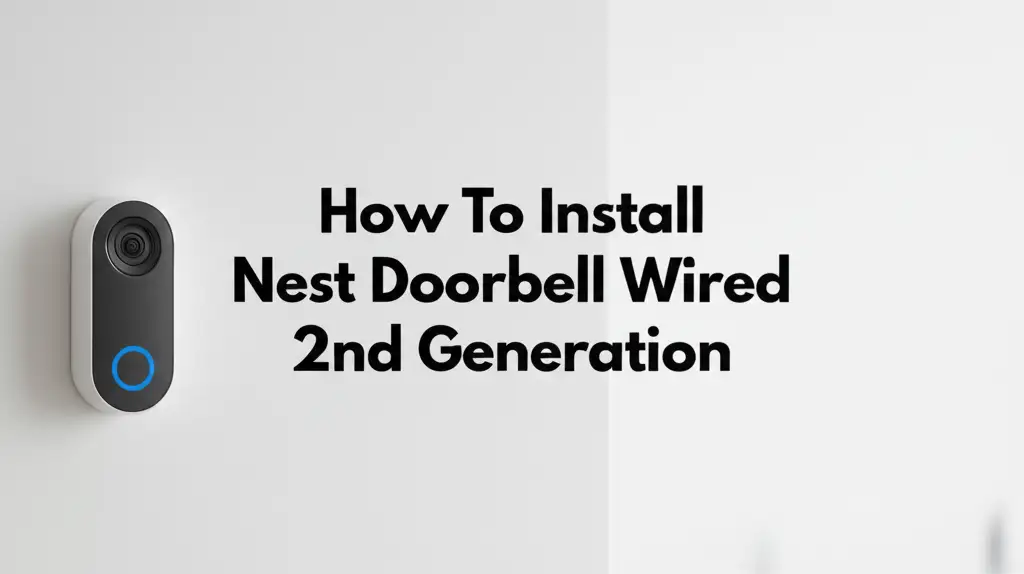
Mastering Your Nest Doorbell Wired 2nd Gen Installation
Are you ready to boost your home’s security and convenience? The Nest Doorbell Wired 2nd Generation offers advanced features like continuous video recording and smart alerts. Installing this device might seem like a big job, but it is a project you can do yourself. I am here to help you through each step. This guide provides clear instructions to help you install Nest Doorbell Wired 2nd Generation correctly. We will cover everything from power checks to app setup, making sure your new smart doorbell works well. Get ready to upgrade your front door!
Takeaway:
- Always turn off power before starting any electrical work.
- Check your existing doorbell’s voltage and chime type for compatibility.
- Mount the Nest base plate securely, ensuring a stable connection.
- Connect the Nest Doorbell wires carefully to the existing doorbell wiring.
- Install the chime connector inside your doorbell chime box.
- Complete the setup process using the Google Home app.
- Test all functions of your new Nest Doorbell for proper operation.
Install Nest Doorbell Wired 2nd Generation by first turning off power. Then, remove your old doorbell and connect Nest wires. Secure the Nest doorbell, install the chime connector, and complete setup using the Google Home app for smart home security.
Preparing for Your Nest Doorbell Wired 2nd Gen Installation
Before you begin the physical installation of your Nest Doorbell Wired 2nd Generation, some important preparation steps are needed. These steps ensure your home is ready and safe for the new smart doorbell. First, you must check your current doorbell system. This includes finding your doorbell transformer and determining its voltage. The Nest Doorbell Wired 2nd Gen requires a specific voltage range, usually 16-24V AC, to work correctly.
Next, you need to understand your existing chime. Your home likely has either a mechanical or a digital chime. The Nest Doorbell comes with a chime connector. This connector ensures the doorbell works well with your current chime system. Knowing your chime type helps you install the connector correctly later on. You can usually find the chime box near your front door or in a hallway. You may need to remove its cover to check the type. For help identifying your chime, you can refer to resources on how to tell if doorbell is mechanical or digital.
Finally, gather all the tools and parts you will need. The Nest Doorbell package includes most of the mounting hardware and the chime connector. You will also need common household tools. These include a screwdriver set, a drill with appropriate bits, and potentially a voltage tester. A pencil and level are useful for accurate mounting. Having everything ready before you start saves time and makes the installation process smoother. Proper preparation makes the installation quick and safe.
Essential Pre-Installation Checks and Safety Steps
Before touching any wires, safety is your top priority. You must turn off power to your doorbell system at the circuit breaker. Find your home’s electrical panel. Look for the breaker labeled “doorbell,” “front door,” or sometimes a general lighting circuit. Flip the switch to the “off” position. This step prevents electrical shocks and protects your Nest Doorbell from damage during installation.
After turning off the power, it is wise to confirm the power is off. Use a non-contact voltage tester on your existing doorbell wires. Touch the tester to the wires. If the tester lights up or beeps, power is still active. Double-check your circuit breaker to ensure the correct one is off. Never work with live wires. This simple check guarantees your safety.
You also need to check your doorbell’s power requirements. The Nest Doorbell Wired 2nd Gen needs a specific voltage range. Most wired doorbells operate on low voltage, but checking is important. You can use a multimeter to measure the voltage at your doorbell wires. This step confirms your existing wiring can power the Nest Doorbell. If your voltage is too low, you may need a new transformer. Understanding your current doorbell’s power source is critical. You can learn more about this by checking out articles like how to tell if doorbell is AC or DC. This information ensures compatibility and proper function for your new device.
Removing Your Old Doorbell and Mounting the Nest Base
With the power off, you can now remove your existing doorbell button. This process is usually straightforward. Most doorbell buttons attach with small screws. Use a screwdriver to remove these screws. Gently pull the old doorbell button away from the wall. You will see two small wires connected to it. These are the wires your new Nest Doorbell will use.
Sometimes, old doorbells do not have visible screws. They may clip into place or have a hidden release. You can find guides on how to remove a doorbell that doesn’t have screws if you encounter this situation. Once the old doorbell is off, carefully disconnect the two wires. Make sure the wires do not fall back into the wall. You can tape them to the wall or wrap them around a pencil to keep them accessible.
Next, it is time to mount the Nest Doorbell’s base plate. The Nest Doorbell kit includes a mounting plate and screws. Hold the mounting plate against the wall where your old doorbell was. Make sure the wires pass through the center hole of the plate. Use a pencil to mark the screw holes. For a clean installation, use a level to ensure the plate is straight. Then, drill pilot holes at your marks. Use the provided screws to secure the base plate firmly to the wall. This plate provides a stable foundation for your new Nest Doorbell.
Connecting Wires and Installing the Chime Connector
Now that the mounting plate is secure, you can connect the wires to your Nest Doorbell. You will see two terminals on the back of the Nest Doorbell. Take one wire from your wall and connect it to one terminal. Then, take the second wire and connect it to the other terminal. It does not matter which wire goes to which terminal; the Nest Doorbell works with either order. Ensure the wire connections are tight and secure. Loose connections can cause power problems later. Push any excess wire back into the wall.
After connecting the wires to the Nest Doorbell, gently snap the doorbell onto the mounting plate. It should click into place. Now, let’s move to your indoor chime box. This is where the chime connector comes in. You need to open your doorbell chime box cover. Inside, you will see a small circuit board with wires connected to “Front,” “Trans,” and “Rear” (if you have a back doorbell). The chime connector has two wires. Connect one chime connector wire to the “Front” terminal and the other to the “Trans” terminal. These are typically the two terminals that carry power to your chime from the transformer and the doorbell button.
Make sure the connections are secure. The chime connector helps regulate power for your Nest Doorbell and ensures your existing chime rings correctly. Once connected, tuck the chime connector and its wires neatly inside the chime box. Replace the chime box cover. This step ensures your indoor chime works as expected with your new smart doorbell. This part of the installation is key for the Nest Doorbell’s full functionality.
Final Setup and Configuration via Google Home App
With the physical installation complete, it is time to bring your Nest Doorbell to life through the Google Home app. Go back to your electrical panel and turn the power back on to your doorbell circuit. Your Nest Doorbell should power on. You might see a light ring or hear a chime. This shows it is getting power. Now, open the Google Home app on your smartphone or tablet.
If you do not have the Google Home app, download it from your app store. Sign in with your Google account. In the app, tap the ’+’ icon to add a new device. Then select “New device.” The app will guide you through the setup process. You will need to scan the QR code on your Nest Doorbell or on its packaging. This code links the doorbell to your Google account. The app will then connect your Nest Doorbell to your home’s Wi-Fi network. Make sure you have your Wi-Fi password ready. A strong Wi-Fi signal at your doorbell location is important for reliable performance.
During setup, you will customize settings like motion detection zones, video quality, and notification preferences. You can also name your doorbell. The app will confirm that your chime is working properly. If you face any issues during the app setup, check your Wi-Fi connection or try restarting the doorbell and the app. The Google Home app makes controlling and viewing your Nest Doorbell simple. This digital setup completes the installation process and gives you control over your new smart device.
Testing Your New Nest Doorbell System
After completing both the physical installation and the Google Home app setup, it is crucial to test your new Nest Doorbell Wired 2nd Generation. This step ensures everything works as expected before you rely on it for your home’s security. First, press the doorbell button. Your indoor chime should ring clearly. At the same time, you should receive a notification on your Google Home app. This confirms both the wired connection and the app integration are successful.
Next, open the Google Home app and check the live video feed from your doorbell. Make sure the video is clear and shows a wide view of your front entrance. Test the two-way talk feature. Speak into your phone and listen for your voice coming from the doorbell’s speaker. Ask someone to stand at your door and speak into the doorbell. Listen for their voice through your phone. This confirms the audio functions are working well.
You should also test the motion detection. Walk around in front of your doorbell’s view. Your phone should receive motion alerts. Adjust the motion detection zones and sensitivity settings in the Google Home app if needed. This helps prevent too many unwanted alerts. For example, you can set a zone to only cover your porch, not the sidewalk. Test night vision as well. Wait until it is dark and check the video feed. Ensure you can see clearly in low light conditions. Thorough testing ensures your Nest Doorbell provides the security and convenience you expect.
Common Issues and Troubleshooting Tips
Even with careful installation, you might encounter small issues with your Nest Doorbell Wired 2nd Generation. Do not worry; many common problems have simple solutions. If your doorbell is not getting power, first recheck the circuit breaker to ensure it is on. Then, open your chime box again and check the chime connector wires. Make sure they are firmly connected to the “Front” and “Trans” terminals. Also, ensure the doorbell wires at the unit are tight. A loose wire is a common cause for power loss.
If your indoor chime does not ring, but the app notifies you, the chime connector might be the issue. Double-check its installation inside the chime box. The Google Home app also has a chime troubleshooting option. You can try adjusting the chime duration settings in the app. Sometimes, older chimes need a longer power pulse to ring properly. If your chime still does not work, the chime type setting in the app might be wrong. Ensure you selected the correct mechanical or digital chime type.
For Wi-Fi connection issues, check your home’s Wi-Fi signal strength at the doorbell’s location. If the signal is weak, consider moving your router closer or adding a Wi-Fi extender. You can also try restarting your router and modem. If the doorbell appears offline, simply unplugging it (by turning off the breaker) for 30 seconds and then restoring power can often fix it. Finally, ensure your Google Home app is updated to the latest version. Sometimes, app bugs are fixed with an update. These simple steps help you quickly solve most common problems.
Frequently Asked Questions
What voltage does the Nest Doorbell Wired 2nd Gen need?
The Nest Doorbell Wired 2nd Generation needs a power source between 16V AC and 24V AC. This is a common voltage for most existing doorbell systems. You should check your current doorbell transformer’s voltage before installation. Using a multimeter helps confirm this.
Can I install the Nest Doorbell Wired 2nd Gen if I have a digital chime?
Yes, you can install the Nest Doorbell Wired 2nd Gen with both mechanical and digital chimes. The included chime connector works with both types. You just need to select the correct chime type in the Google Home app during setup.
Do I need professional help to install this doorbell?
No, you do not always need professional help. This guide offers step-by-step instructions for a DIY installation. However, if you are uncomfortable working with electrical wiring, hiring a qualified electrician is a good idea for safety.
What if my doorbell wires are too short?
If your existing doorbell wires are too short, you might need to extend them. Use wire nuts and additional low-voltage wire to make them longer. Ensure connections are secure and insulate them properly. This provides enough slack for an easy and safe connection.
Does the Nest Doorbell Wired 2nd Gen record 24/7?
Yes, the Nest Doorbell Wired 2nd Generation offers 24/7 continuous video recording with a Nest Aware subscription. Without a subscription, it records event-based video clips when motion is detected or the doorbell is pressed. The wired connection allows for constant power and recording.
What is the Google Home app used for with this doorbell?
The Google Home app is essential for setting up, controlling, and managing your Nest Doorbell Wired 2nd Gen. You use it to connect to Wi-Fi, customize settings, view live video, receive notifications, and talk to visitors. It serves as your main interface for the device.
Your Secure and Connected Home Starts Here
You have now successfully learned how to install Nest Doorbell Wired 2nd Generation. From gathering your tools to completing the app setup, each step brings you closer to a smarter, more secure home. Remember, safety always comes first, so ensure power is off during the wiring stages. This powerful smart doorbell provides clear video, two-way talk, and intelligent alerts, keeping you connected to your front door.
Embrace the convenience and peace of mind that comes with knowing who is at your door, anytime, anywhere. Your new Nest Doorbell Wired 2nd Generation is more than just a doorbell; it is an important part of your home security system. If you want more tips on maintaining your smart home or exploring other essential installations, check out our other guides. Ready to enhance your home even further? Explore more smart home devices today!
- Nest Doorbell
- Wired Doorbell
- Smart Home
- DIY Installation
- Google Nest

Todd Martin
Senior Writer
With over 15 years of experience in home renovation and design, I started HEG to share what I’ve learned with homeowners who want to create spaces that are both beautiful and functional. I’ve always believed in a hands-on approach, and over the years, I’ve picked up practical solutions that actually work. Through HEG, I aim to make home improvement more approachable, sharing real tips that help you create a home you truly love.