· Katria Melrose · Home Improvement, Kitchen Renovation, DIY Guides · 21 min read
How To Level Cabinets For Countertop

Perfect Surface: Leveling Cabinets for Countertops
Starting a kitchen renovation is exciting. One crucial step often overlooked is correctly leveling your cabinets. Knowing how to level cabinets for countertop installation ensures a smooth, stable surface. An unlevel cabinet base can cause serious problems for your new countertops. It can lead to cracks, uneven surfaces, and even structural instability. This guide will walk you through the precise steps to level your base cabinets. We will cover everything from preparation to the final checks. Get ready to create a perfect foundation for your new kitchen.
Takeaway
Achieving a perfectly level cabinet base for your countertop is essential for durability and appearance.
- Preparation is key: Clear the space, assess the floor, and mark your layout.
- Start with the highest point: Find the highest spot on your floor and build from there.
- Use shims and a level: Adjust cabinet height with shims until each cabinet is level and plumb.
- Secure properly: Fasten cabinets to the wall studs and to each other for a stable structure.
- Verify all dimensions: Double-check level, plumb, and overall height before installing the countertop.
Main Query Answer
To level cabinets for countertop installation, find the highest point on your floor, then use shims to raise each cabinet until its top edge is perfectly level and plumb. Secure the cabinets to wall studs and to each other, ensuring a stable and flat surface for the countertop. This precision prevents future countertop issues.
Why Proper Cabinet Leveling Matters for Your Countertop
I often tell people that the foundation is everything in home projects. When you install new kitchen cabinets, leveling them correctly is the most important step. It creates a stable base for your countertops. Many issues can arise if you skip this crucial task.
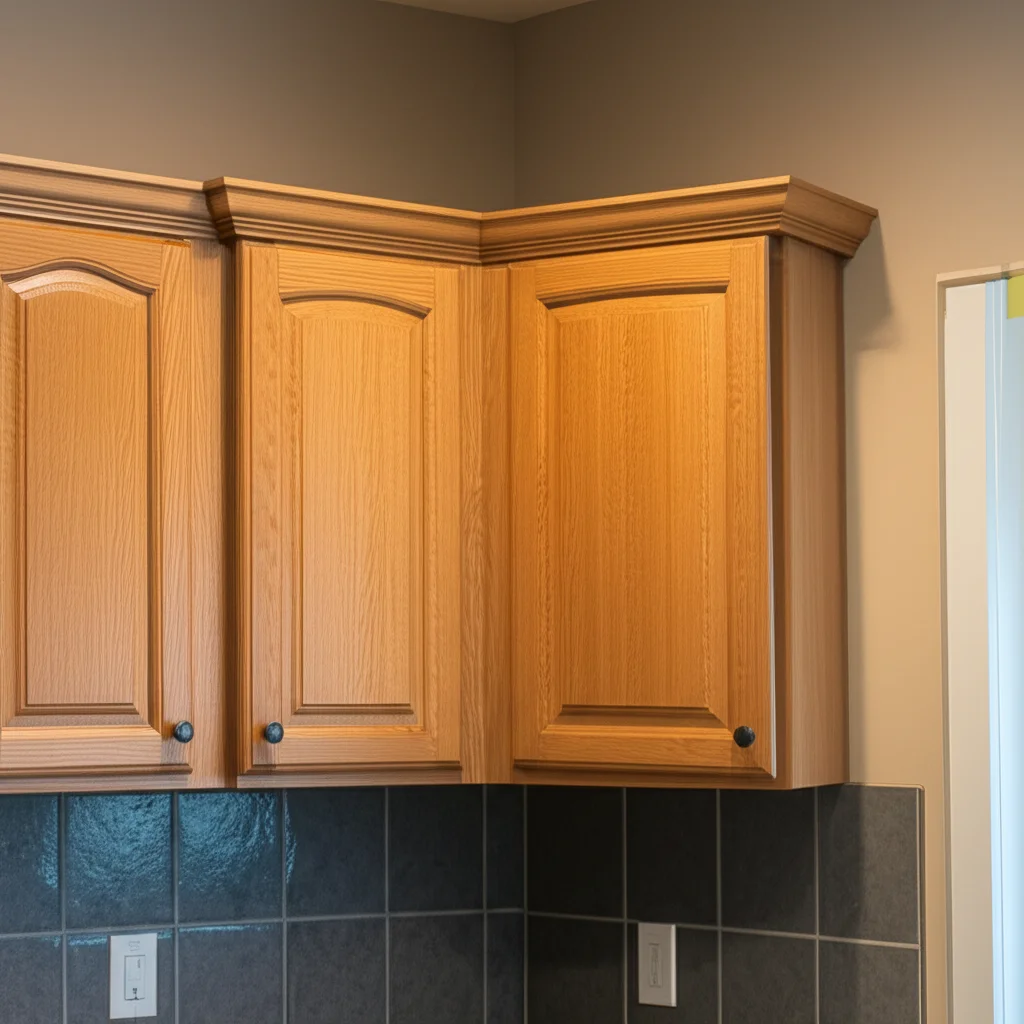
An unlevel cabinet run looks bad. It makes the entire kitchen appear unprofessional. Beyond aesthetics, it causes significant functional problems. Cabinets that are not level can cause drawers to stick or doors to hang crookedly. This frustrates daily use. More importantly, it directly impacts the life and stability of your countertop.
Preventing Countertop Damage
Imagine placing a heavy, rigid countertop on an uneven base. This creates stress points. Over time, these stress points can lead to cracking, especially with materials like granite or quartz. These materials are very strong but rigid. They do not flex to accommodate unevenness. The weight of the countertop will press down, creating pressure in specific areas. This can cause significant damage or even breakage.
Water can also become an issue. If your countertop is not level, water might pool in certain areas. This is true around sinks or along backsplashes. Standing water can damage the countertop material itself. It can also harm the cabinets below over time. It promotes mold growth and weakens cabinet materials. A level surface ensures proper drainage and prevents these problems.
Ensuring a Smooth Finish and Long-Term Stability
A level cabinet ensures a perfectly flat surface for your countertop. This is critical for both appearance and function. Countertops that are perfectly flat allow for seamless joins. This makes them easier to clean and maintain. It also improves their overall lifespan. When your countertop lies flat, its weight distributes evenly. This reduces stress on both the countertop and the cabinet structure.
Long-term stability is also a huge benefit. Properly leveled and secured cabinets prevent any shifting. Shifting can loosen fasteners and cause cabinets to move away from the wall. This compromises the entire kitchen structure. By taking the time to level cabinets correctly, you are investing in the durability and longevity of your whole kitchen. This step makes all the difference in a successful kitchen renovation.
Essential Tools and Materials for Leveling Cabinets
Before you start, gather all your tools and materials. Having everything ready saves time and frustration. I always make a checklist to ensure nothing is forgotten. This preparation step makes the leveling process much smoother. You will need a variety of items for accurate measurement and effective adjustment.
Measuring and Marking Tools
Accurate measurement is the backbone of cabinet leveling. You need tools that provide precise readings.
- Long Level: A 4-foot or 6-foot level is essential. It helps you check the level across multiple cabinets at once. This ensures a consistent plane for your countertop. I also keep a smaller 2-foot level for individual cabinet checks.
- Laser Level: A laser level projects a perfectly straight line around your room. This tool makes it easy to establish a consistent height reference. You can use it to mark the ideal top height for all your cabinets. It saves a lot of time compared to traditional levels and pencils.
- Tape Measure: A good quality tape measure is always necessary. Use it to measure cabinet heights and distances. It helps confirm your layout and ensure correct spacing.
- Pencil: You will need a pencil to mark stud locations and reference lines on the walls. It is a simple tool but very important for accurate planning.
- Framing Square: This tool helps check if your cabinets are square. Square cabinets ensure tight joints and a clean look. They also fit better against walls.
Shimming and Fastening Supplies
Shims and fasteners are your primary tools for adjustment and securing. These materials ensure your cabinets stay exactly where you want them.
- Wood Shims: These thin, tapered pieces of wood are vital. You will use them to fill gaps between the cabinet bottom and the floor. They also go between the cabinet back and the wall. Use different thicknesses to get precise adjustments. I prefer composite shims as they do not compress over time like some wood varieties.
- Cabinet Screws: Use 2.5-inch or 3-inch cabinet screws. These are long enough to pass through the cabinet back and into wall studs. They secure the cabinets firmly to the structure of your house. Make sure they are suitable for wood.
- Washer Head Screws (for joining cabinets): These screws have a flat, wide head. They are excellent for joining adjacent cabinets. They prevent pull-through and create a strong connection. A common size is 1.25-inch.
- Drill/Driver: A powerful drill/driver makes pre-drilling and driving screws easy. You will use it extensively for securing cabinets. Have spare battery packs charged and ready.
- Stud Finder: This device locates the wooden studs behind your drywall. You must screw cabinets into these studs. This provides strong support for your cabinets and countertop.
- Safety Glasses and Gloves: Always protect your eyes and hands. Safety glasses prevent dust and debris from entering your eyes. Gloves protect your hands from splinters and sharp edges.
Having these tools and materials ready before you begin will streamline your cabinet leveling process. You will work more efficiently and achieve better results.
Preparing Your Space: Subfloor and Layout
Proper preparation makes any project easier. Before you even think about lifting a cabinet, you must prepare your work area. This includes assessing your floor and planning your cabinet layout. This phase ensures your foundation is ready for the new cabinets. It helps prevent unexpected issues later on.
First, clear the entire work area. Remove old cabinets, appliances, and any debris. You need a clean, open space to work safely and accurately. I always sweep and vacuum the floor thoroughly. This removes small particles that could interfere with shimming.
Checking the Subfloor for Levelness
The subfloor is the base for your cabinets. It is rare to find a perfectly level subfloor. Variations are common, especially in older homes. You must identify the high points and low points. This information guides your leveling process.
Start by using your long level or laser level. Place the long level across the floor in multiple directions. Check from wall to wall, and diagonally. Note down any areas where the bubble is off-center. A laser level is even better for this task. Set it up in the center of the room. It will project a perfectly level line onto the walls. You can then measure from this line down to the floor at various points. The smallest measurement indicates the highest point on your subfloor. This highest point becomes your reference. All other cabinets will be shimmed up to this height.
Knowing your subfloor’s condition prevents surprises. It allows you to anticipate where you will need more shims. This step saves time and ensures greater accuracy for the entire project.
Marking Your Cabinet Layout
Once you know your floor’s levelness, mark the cabinet layout on the walls. This visual guide helps you place cabinets correctly. It ensures they align with each other and fit your kitchen design.
Begin by marking the overall height of your base cabinets. Standard base cabinet height is usually 34.5 inches from the finished floor to the top of the cabinet. Use your laser level to draw a level line across all walls at this height. This line is your guide for the top edge of the cabinets. You will level each cabinet to this line. If you are planning to add height to your kitchen cabinets, you will adjust this line accordingly. Learn more about how to add height to kitchen cabinets by visiting our detailed guide.
Next, mark the stud locations on your walls. Use a stud finder for this. Wall studs provide the essential anchoring points for your cabinets. Mark these locations clearly with a pencil. This ensures you screw cabinets into solid wood. This prevents cabinets from pulling away from the wall. You should also mark the exact positions where each cabinet will sit. This includes the corners and ends of your cabinet runs. Use a tape measure to mark these points on the floor and wall. Drawing a line for the front edge of the cabinets can also be helpful. This ensures your cabinets are installed perfectly square to the wall.
These preparation steps are vital. They lay the groundwork for a smooth and accurate cabinet installation. Do not rush this phase. Time spent here pays off in the quality of your finished kitchen.
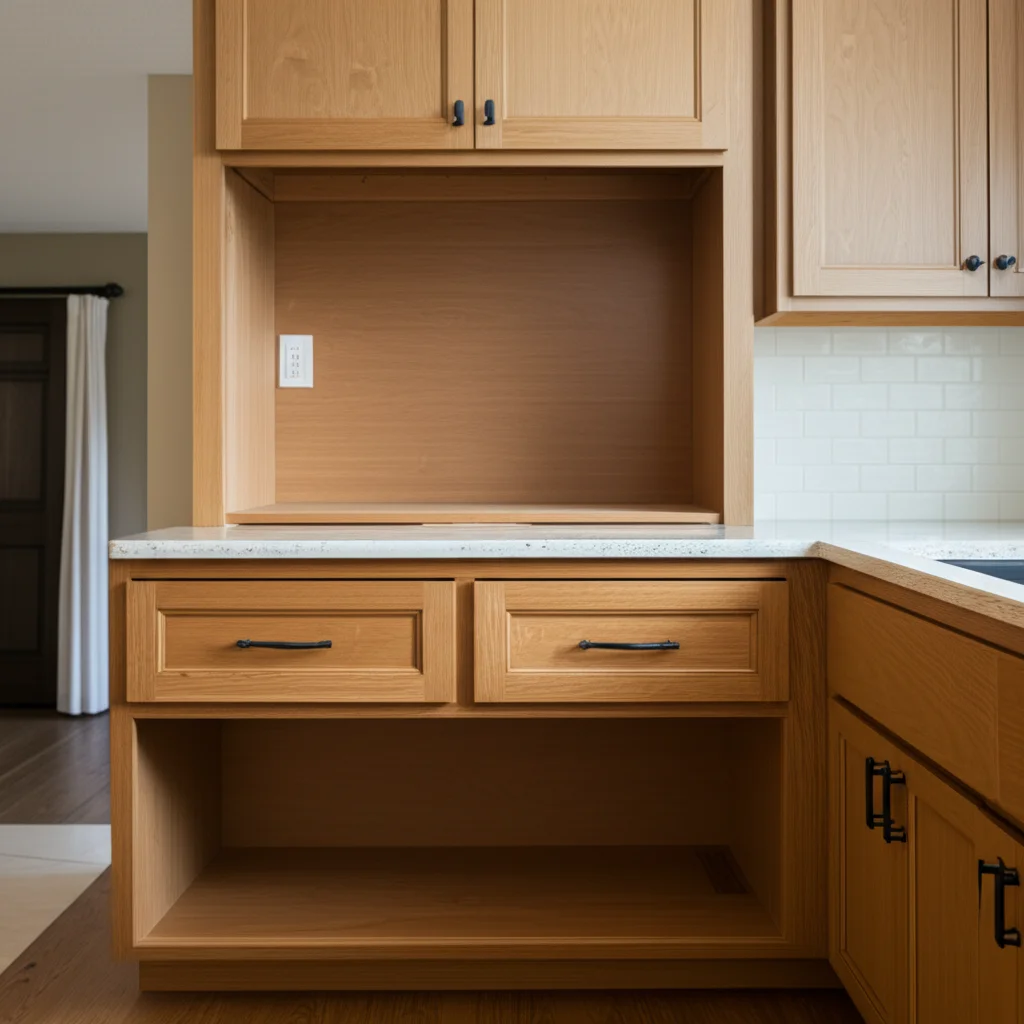
The Step-by-Step Process to Level Base Cabinets
Now comes the practical part: leveling your cabinets. This process requires patience and precision. You will work one cabinet at a time. The goal is to make each cabinet perfectly level and plumb, both individually and relative to its neighbors.
Starting with the Highest Point
Remember that highest point you found on your subfloor? That is where you will place your first cabinet. This cabinet will not need any shims under its base. It sets the baseline for the entire cabinet run. If you are starting in a corner, begin with the corner cabinet. Otherwise, pick the cabinet at your highest floor point.
Place the first cabinet in its designated spot. Use your long level to check its levelness. Check from front to back and side to side. Also, check for plumb using a level against the cabinet’s face. If the cabinet is not perfectly plumb, it might be leaning forward or backward. You might need to place thin shims behind the cabinet’s top or bottom edge where it meets the wall. This squares it up. Once the first cabinet is perfectly level and plumb, proceed to secure it loosely to the wall. Do not fully tighten the screws yet. You may need slight adjustments later.
Adjusting with Shims
With the first cabinet in place, move to the next. Place the second cabinet next to the first. Now, the real shimming begins.
- Rough Placement: Slide the cabinet into its approximate position.
- Checking Adjacent Level: Place your long level across the top edges of both cabinets. Identify any gaps or high spots.
- Shimming from Below: Carefully slide wood shims under the low points of the second cabinet. Tap them gently with a hammer. Continuously check with your level. You want the top of the second cabinet to be perfectly flush and level with the first cabinet.
- Front-to-Back Level: Once side-to-side is good, check the front-to-back level of the second cabinet. Adjust with shims at the front or back edges of the cabinet base as needed.
- Plumb Check: Use your level to check the face of the cabinet for plumb. Shim behind the cabinet where it meets the wall to adjust if it is leaning. You can use shims at the top or bottom behind the cabinet.
- Repeating: Continue this process for each subsequent cabinet. Always reference the previously leveled cabinet. This ensures a continuous, level surface across your entire cabinet run.
Remember, sometimes you need very thin shims. You can even split a shim thinner with a utility knife if necessary. The goal is minute precision.
Securing Cabinets to the Wall
Once individual cabinets are level and plumb, it is time to secure them. This step anchors them firmly to your home’s structure. It adds crucial stability for your future countertop.
Find the wall studs you marked earlier. You will drive screws through the cabinet’s back into these studs. For base cabinets, typically place two screws per stud. One screw should be near the top and one near the bottom. Pre-drill pilot holes through the cabinet back. This prevents wood splitting. Then, drive your 2.5-inch or 3-inch cabinet screws. Use washers under the screw heads if they are small to prevent pulling through the cabinet material. Do not overtighten the screws. Overtightening can pull the cabinet out of level or warp its structure. Just make them snug.
This attachment provides the primary support. It keeps the cabinets from shifting forward or backward. It also helps hold the level you worked so hard to achieve.
Joining Cabinets Together
After securing cabinets to the wall, you must join them to each other. This creates a single, rigid unit. It prevents individual cabinets from moving independently. This step is essential for a truly stable countertop base.
Use clamps to pull adjacent cabinets together. Align their face frames perfectly. There should be no gap between them. Use your long level to ensure the front faces are flush. If one cabinet is slightly forward or back, gently tap it into alignment. Once aligned, clamp them tightly.
Now, pre-drill pilot holes through the stiles of the face frames. Place screws roughly 1/2 inch from the top and bottom of the stiles. Use 1.25-inch washer head screws for this. These screws pull the cabinet frames together securely. Do this for every adjacent cabinet in your run. For more details on aligning structures, you might find our guide on how to fill gap between two cabinets helpful for ensuring tight seams. This method creates a robust, single foundation for your countertop.
Completing these steps ensures your cabinets are not only level and plumb individually. They also form a cohesive and strong unit. This is the solid foundation your new countertop needs.
Addressing Common Leveling Challenges
Leveling cabinets can sometimes present unique challenges. Floors are rarely perfectly flat, and walls can be out of plumb. Knowing how to handle these common issues makes the job easier. I have encountered many tricky situations over the years. My advice is always to be prepared for the unexpected.
Dealing with Uneven Floors
Uneven floors are the most common challenge in cabinet installation. You will almost certainly find high spots and low spots. This is where your shims truly shine.
- Significant Depressions: If you find a large dip in the floor, you might need more than just thin shims. You can stack multiple shims. For very large depressions, consider using a solid piece of plywood or blocking. Cut it to fit the footprint of the cabinet base. This provides a more stable and continuous support. Place this larger block first, then fine-tune with smaller shims on top.
- Rocking Cabinets: A rocking cabinet means the support points are not even. This happens if shims are only under the corners. Ensure shims support the cabinet along its entire base where it meets the floor. Spread the support. Sometimes, you need shims in the middle of the cabinet run, not just at the ends.
- Checking Throughout: Even after shimming, continually recheck the level. Walk around the cabinet run. Lightly press on different areas of the countertop surface. Look for any movement or give. If you feel any movement, identify the unstable spot and add more shims. You want zero movement.
Remember to trim any excess shim material after the cabinets are fully secured. A utility knife works well for this. You want the shims to be flush with the cabinet kick plate.
Bridging Gaps Between Cabinets
Sometimes, even after joining cabinets, small gaps can appear between them. This happens if the cabinet boxes themselves are not perfectly square. It can also happen if the wall is very uneven. These gaps are not ideal for countertop installation. They can also look unsightly.
- Face Frame Gaps: If the gap is in the face frame area, use a clamp to pull the two cabinets together. Apply a little pressure. You might need to adjust the position of the cabinets slightly on the shims. Once they are tight, drive your joining screws. If the gap persists due to warped wood, you may need to use a very thin wood shim or a little wood glue to fill it before screwing. You could also use a specialized cabinet bolt if screws aren’t enough.
- Back Gaps to Wall: If there’s a gap between the back of the cabinet and the wall, this often means the wall is not plumb. You must shim behind the cabinet. Use flat shims or pieces of plywood cut to size. These shims will prevent the cabinet from rocking against the wall. Drive your long cabinet screws through these shims into the wall studs. This pulls the cabinet back flush with the shims, creating a solid connection. It prevents movement once the countertop is in place. Ensuring your cabinets are firmly attached to the wall, even with shims, is key for overall stability.
- Filling Interior Gaps: For any interior gaps after the cabinets are fully installed, you can use a color-matched caulk or wood filler. This creates a seamless appearance. This is more of an aesthetic fix after the structural work is done. For specific methods and tips on how to fill gap between two cabinets, our article offers in-depth advice.
Addressing these common challenges with patience and the right techniques will ensure your cabinets are perfectly prepared for a flawless countertop. Do not rush these final adjustments.
Final Checks Before Countertop Installation
You are almost ready for your countertop! Before the installers arrive or you begin your DIY countertop project, perform a series of final checks. This ensures all your hard work pays off. These checks confirm the stability and accuracy of your cabinet installation. They prevent costly errors or rework later.
Verifying Level and Plumb
This is your last chance to confirm everything. Take your time with these final measurements.
- Overall Levelness: Place your longest level across the entire run of cabinets. Check it from one end to the other. Look for any high or low spots. The bubble should be perfectly centered. Do this for both the front edge and the back edge of the cabinets. You want a consistent, flat plane for the countertop.
- Front-to-Back Level: Place your level from the front edge of each cabinet to the back. Ensure each individual cabinet is level in this direction. This is crucial for preventing water pooling and ensuring the countertop sits flat.
- Plumb Check: Use your level against the face of each cabinet. Verify that it is perfectly vertical (plumb). Also, check the cabinet sides to ensure they are plumb. This impacts how doors and drawers fit. If a cabinet is leaning, adjust the shims behind it. This creates a solid, stable structure.
- Corner to Corner Measurement: Use your tape measure to measure diagonally across the top of each cabinet box. These measurements should be identical. This confirms the cabinet is perfectly square. A square cabinet fits snugly against its neighbors. It also provides a flat base.
If you find any discrepancies, make small adjustments. Re-tap shims or slightly loosen/tighten screws. Small adjustments now prevent major headaches later.
Ensuring Cabinet Stability
Beyond level and plumb, your cabinets must be rock solid. Any movement can compromise the countertop.
- Wiggle Test: Push and pull on each cabinet firmly. Try to rock them from side to side and front to back. There should be no movement. If you detect any wobble, locate the source. It might be an un-shimmed spot or loose screw. Add more shims or tighten screws as needed. Pay extra attention to corners and ends of runs.
- Screw Tightness: Double-check all cabinet screws. Ensure they are snug. Overtightening can warp cabinets. Undertaightening leaves them loose. Just tighten until they are secure. Confirm that all screws attaching cabinets to wall studs are properly driven. Also, verify the screws joining adjacent cabinets are tight. You want a cohesive, single unit. If you’re attaching a wood countertop, ensure the cabinet structure is robust enough to support it, and remember to learn how to attach wood countertop to cabinet properly for a secure fit.
- Shim Trimming: Once you are fully satisfied with stability and levelness, trim any excess shim material. Use a utility knife to score and snap off the shims flush with the cabinet kick plate. This creates a neat appearance. It also prevents interference with toe kicks or base molding. Later, you may want to learn how to add trim to bottom of kitchen cabinets to give your newly leveled cabinets a finished look.
- Clearance for Appliances: Ensure you have proper clearance for appliances. Double-check that the cabinets are at the correct height relative to your dishwasher or range. Measure the opening dimensions precisely. This avoids issues when installing appliances.
These final checks are your quality assurance step. They confirm that your cabinets are ready to support the weight and provide a beautiful, long-lasting surface for your new countertop. Take pride in this detailed work. It directly affects the success of your entire kitchen project.
FAQ Section
Why is leveling cabinets so important for countertops?
Leveling cabinets provides a perfectly flat and stable foundation for countertops. This prevents stress points that can cause cracks in materials like granite or quartz. It ensures proper weight distribution, extends the countertop’s life, and avoids issues like water pooling.
What tools do I need to level kitchen cabinets?
You will need a long level (4-6 feet), a laser level for accuracy, a tape measure, a pencil, and a stud finder. For adjustments and securing, gather wood shims, cabinet screws, washer head screws, a drill/driver, and safety glasses.
How do I find the highest point on my floor for cabinet leveling?
Use a long level or a laser level to check your subfloor in multiple directions. A laser level projects a flat line; measure from this line down to the floor at various points. The smallest measurement indicates the highest point, which becomes your reference for the entire cabinet run.
Can I use shims for very uneven floors?
Yes, shims are designed for uneven floors. For significant dips, you can stack multiple shims or use larger pieces of plywood or blocking under the cabinet base for more continuous support. Always fine-tune with thinner shims for precise leveling.
How do I join two cabinets together after leveling?
After leveling and securing cabinets to the wall, use clamps to pull adjacent cabinet face frames together. Ensure they are perfectly flush. Then, pre-drill pilot holes through the stiles of the face frames and drive 1.25-inch washer head screws through them to create a strong, unified structure.
What happens if I don’t trim excess shims?
Untrimmed shims can interfere with the installation of toe kicks or base molding, making them difficult to fit correctly. They can also create an uneven surface for flooring or be unsightly. Always trim shims flush with the cabinet kick plate after installation.
Conclusion
Successfully leveling your kitchen cabinets is a fundamental step in any kitchen renovation. It might seem like a small detail, but it profoundly impacts the stability, longevity, and appearance of your entire kitchen. By understanding how to level cabinets for countertop installation, you ensure a flawless foundation for your beautiful new surfaces. This detailed approach prevents issues like cracked countertops, misaligned doors, and unstable structures. My experience tells me that patience and precision in this stage will save you significant time and money in the long run.
Remember to prepare your space thoroughly, from assessing the subfloor to marking your layout precisely. Take the time to select and utilize the correct tools and materials. Follow the step-by-step process of shimming, leveling, and securing each cabinet. Address any challenges like uneven floors or gaps with careful adjustment and proper fastening. Finally, always perform those critical final checks before installing your countertop. Your diligence in leveling cabinets will result in a professional-looking kitchen that stands the test of time. Now, you are ready to complete your dream kitchen. Start leveling your cabinets today and build a solid foundation for your home.
- cabinet leveling
- countertop installation
- kitchen cabinets
- DIY home
- stable foundation
- cabinet shims

Katria Melrose
Cleaning Specialist
With over 12 years of experience in commercial cleaning and a certification in workplace ergonomics, I’ve developed a deep understanding of what makes a workspace truly productive. At HEG, I specialize in helping people transform their home offices into clean, efficient, and comfortable environments. Through smart cleaning routines and strategic organization solutions, I empower readers to create spaces that support focus, comfort, and success—one well-organized desk at a time.