· Todd Martin · Home Improvement · 11 min read
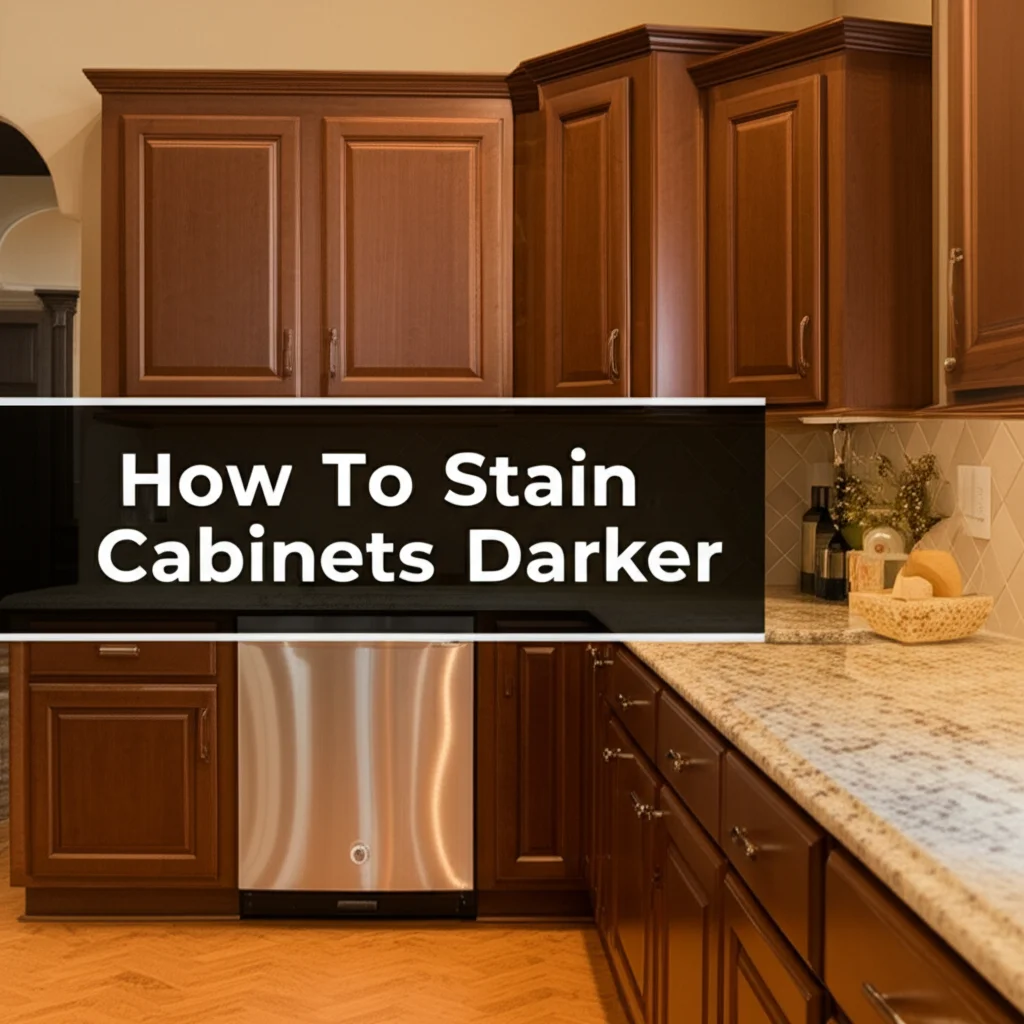
How To Darken Oak Cabinets

Transform Your Kitchen: How To Darken Oak Cabinets Effectively
Oak cabinets offer a classic look in many homes. Their light, often golden, tone might feel outdated for some homeowners. You do not need to replace them to achieve a fresh, modern aesthetic. Learning how to darken oak cabinets can give your kitchen a dramatic new style. This process offers a cost-effective way to update your space.
Darkening your existing oak cabinets can completely change the feel of your kitchen or bathroom. This article explores different methods. We will cover staining, gel stain, glazing, and dark wax applications. You will learn about crucial preparation steps, proper application techniques, and how to seal your new finish for lasting beauty.
Takeaway
- Assess your cabinets’ current finish. Choose a darkening method that suits your desired result.
- Thorough cleaning and surface preparation are critical for success.
- Always test your chosen darkening product on an inconspicuous area.
- Apply the darkening agent evenly and carefully.
- Protect your newly darkened cabinets with a durable topcoat.
Clear, Concise Answer
You can darken oak cabinets using wood stain, gel stain, wood dye, or a tinted topcoat. Prepare the surface by cleaning and light sanding. Apply your chosen product evenly. Seal the new finish for durability.
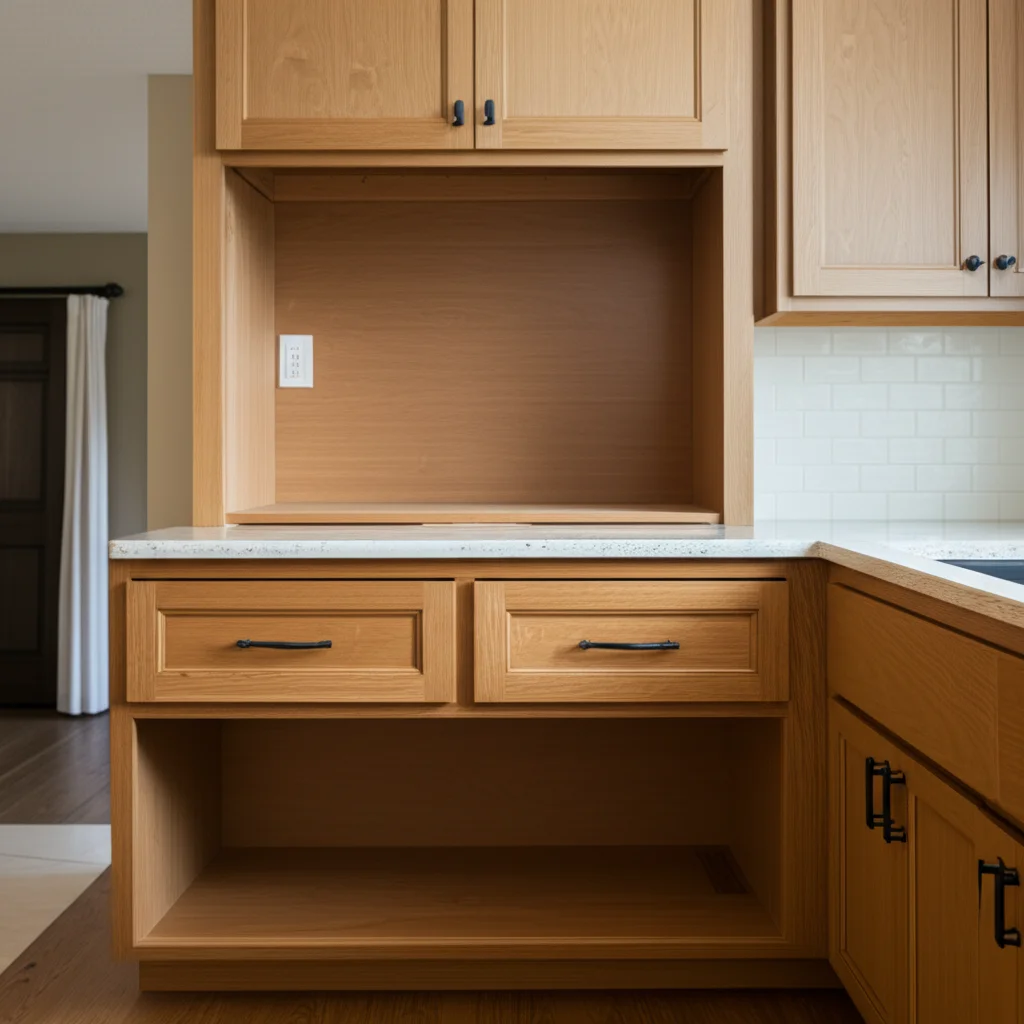
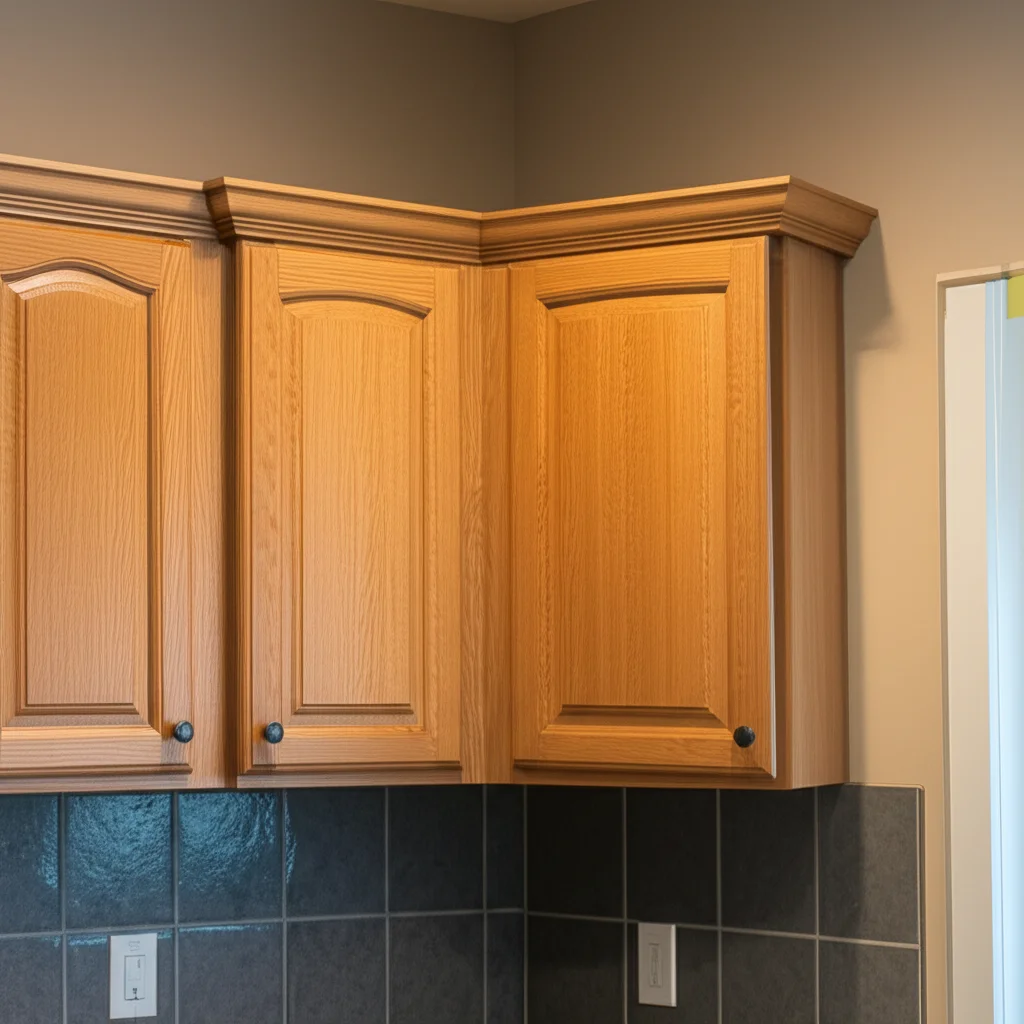
Understanding Oak Grain and Finish Options
Oak wood is popular for its durability and distinct open grain pattern. This unique grain impacts how darkening products absorb. Light oak cabinets often show this grain prominently. When you darken oak cabinets, the grain can become even more pronounced. This creates a rich, textured appearance.
Different methods will yield varied results on oak. Staining penetrates the wood fibers. Gel stain sits more on the surface. Glaze adds a transparent layer of color. Dark wax offers a subtle tint and protection. Your existing finish also plays a role. Unfinished oak absorbs products differently than previously finished oak.
Consider the level of darkness you want. Think about the overall style of your home. A very dark stain gives a dramatic effect. A subtle glaze offers a softer change. Choosing the right method ensures you achieve your desired outcome. Each technique requires specific steps and considerations.
Essential Preparation for Darkening Oak Cabinets
Proper preparation is the most important step when you darken oak cabinets. Skipping these steps leads to poor adhesion and an uneven finish. Start by emptying all cabinets and drawers. Remove all hardware, including hinges, pulls, and knobs. Keep all pieces organized to make reinstallation easy.
Next, thoroughly clean all cabinet surfaces. Kitchen cabinets accumulate grease, grime, and food residue. Use a strong degreaser to remove these contaminants. I often use a mixture of warm water and a powerful kitchen cleaner. Scrub all surfaces, then rinse them with clean water. Allow the cabinets to dry completely. A clean surface ensures your chosen product adheres correctly. If you need a more detailed guide on how to clean oak cabinets, you can find helpful information online. For extremely greasy cabinets, specialized cleaners are available to clean greasy cabinets.
Sanding prepares the surface for new layers. If your cabinets have an existing finish, light sanding helps the new product grip. Use 120-grit or 150-grit sandpaper. Sand with the wood grain. Do not sand too aggressively, especially if you plan to stain. You just want to scuff the surface. If your cabinets have no previous finish, a light sanding still helps. After sanding, wipe away all dust with a tack cloth or a damp cloth. A clean, smooth surface is ready for darkening. This careful preparation sets the stage for a successful redo oak cabinets project.
Method 1: Staining Oak Cabinets for a Deeper Hue
Staining is a popular way to darken oak cabinets. It penetrates the wood fibers, changing their color. This method provides a rich, deep hue. It still allows the natural wood grain to show through. Choosing the right stain color is key. Test a few shades on an inconspicuous area, like the back of a door. This helps ensure you like the final color.
Before applying stain, consider using a pre-stain wood conditioner. Oak has an open grain structure. It can absorb stain unevenly, leading to blotchy results. A pre-stain conditioner helps the wood absorb stain more uniformly. Apply the conditioner according to product directions. Let it penetrate for the recommended time. Then, wipe off any excess. This step ensures a more consistent finish when you stain oak cabinets.
Apply the stain with a brush or a clean cloth. Work in small sections. Apply a generous amount, then wipe off the excess after a few minutes. The longer the stain sits, the darker the color will be. Always wipe with the grain. Allow each coat to dry completely before applying another. You can apply multiple coats to achieve a darker color. This allows you to gradually stain cabinets darker to your desired shade. If you are trying to match an existing piece, knowing how to match stain on cabinets can be very helpful.
Method 2: Achieving Richness with Gel Stain
Gel stain is a fantastic option for darkening oak cabinets, especially if you want to avoid heavy sanding. Unlike traditional liquid stains, gel stain has a thicker consistency. It sits more on the surface of the wood. This means it offers more uniform coverage, which can be beneficial for oak’s open grain. It also tends to be less messy to apply.
Preparation for gel stain is similar to traditional stain, but often less intensive. You still need to clean your cabinets thoroughly. Remove all grease and grime. Lightly sand the surface with fine-grit sandpaper (220-grit) to create a dull surface. This dullness helps the gel stain adhere. However, you often do not need to strip the existing finish completely. Gel stain can go over many existing finishes, as long as they are clean and scuffed.
Apply gel stain with a foam brush or a lint-free cloth. Apply a thin, even coat. Work in the direction of the wood grain. Gel stain does not penetrate as deeply as traditional stain, so apply it like paint. After applying, wipe off any excess before it dries. This helps prevent a patchy look. You can apply multiple thin coats to build up the color. Allow each coat to dry completely before applying the next. This layering technique helps you achieve the desired depth of color and hides imperfections.
Method 3: Enhancing Color with Wood Glaze or Tinted Topcoats
Wood glazes and tinted topcoats offer a unique way to darken oak cabinets. They add a translucent layer of color over an existing finish or a newly stained surface. This method is great for adding subtle depth. It also works well for creating an aged or antique look. Glaze enhances the natural grain and texture of oak rather than completely covering it.
A wood glaze is a translucent, colored medium. You apply it over a sealed or finished surface. It settles into the wood grain and any decorative elements. This adds depth and definition. Tinted topcoats, like a tinted polyurethane, offer similar results. They provide a protective layer with a hint of color. These are applied after cleaning and light sanding. This ensures proper adhesion.
To apply glaze, brush it onto a small section. Work it into the grain and corners. Then, quickly wipe off the excess with a clean, lint-free cloth. The amount you wipe off determines the final color intensity. For a more subtle effect, wipe more. For a darker look, wipe less. Work in small sections to prevent the glaze from drying before you can manipulate it. Always apply a clear topcoat over a glaze once it is dry. This seals the color and provides durability. Without a topcoat, glaze can easily rub off.
Method 4: Using Dark Wax or Furniture Wax
Dark wax provides a softer, more subtle way to darken oak cabinets. It is an excellent choice if you want to add an antique look or simply enrich the wood’s existing tone. This method does not drastically change the color. Instead, it adds depth and a protective sheen. It is also less labor-intensive than staining or painting. This makes it an attractive option for a quick refresh. You can often update oak furniture without painting using this technique.
Preparation for dark wax is minimal. Ensure your cabinets are clean and free of grease. You do not typically need to sand extensively. Dark wax can be applied directly over an existing finish or bare wood. For the best result, I recommend applying a clear wax first. This provides a base layer for the dark wax. It also makes it easier to control the dark wax application.
Apply the dark wax with a lint-free cloth or a wax brush. Work in small sections. Apply the wax thinly and evenly. Allow it to sit for a few minutes. Then, wipe off any excess. Use a clean cloth to buff the surface. This brings out a subtle sheen and deepens the color. You can apply multiple thin coats of dark wax for more intensity. Each coat adds more color and protection. Learn more about how to darken wood furniture with wax for detailed steps. Dark wax is not as durable as stain or polyurethane. It may require reapplication over time. It is a good choice for less-used cabinets or for a low-commitment update.
Protecting Your Newly Darkened Oak Cabinets
After you darken oak cabinets, applying a protective topcoat is essential. This step seals the new color. It also protects the wood from moisture, scratches, and daily wear and tear. Skipping this step leaves your beautiful new finish vulnerable. Your hard work could be undone quickly.
Several types of topcoats are available. Polyurethane is a popular choice for cabinets. It is durable and water-resistant. It comes in oil-based and water-based formulas. Water-based polyurethanes dry faster and clean up with water. Oil-based polyurethanes are more durable and offer a slightly amber tint. Other options include varnish or lacquer. Each has its own drying times and application methods. Choose a topcoat that is compatible with your chosen darkening product.
Apply the topcoat in thin, even coats. Use a high-quality brush or a foam roller. Allow each coat to dry completely before applying the next. Lightly sand with very fine-grit sandpaper (220-grit or higher) between coats. This creates a smoother finish and helps subsequent layers adhere. Always wipe away sanding dust. Aim for at least two to three coats for adequate protection. Follow the manufacturer’s instructions for drying and curing times. Full cure time can take several days to a few weeks. Avoid heavy use during this period.
FAQ Section
Can you darken oak cabinets without sanding?
Yes, you can darken oak cabinets without extensive sanding. Gel stains and dark waxes often work over existing finishes with just cleaning and a light scuffing. Glazes can also be applied this way. However, a clean and lightly prepared surface always ensures the best adhesion. Minimal sanding improves the bond.
How long does it take to darken oak cabinets?
The time varies greatly based on the method and cabinet count. Preparation can take one to two days. Staining or gel staining usually involves several coats, each needing drying time. This can extend the process to three to five days. Waxing is quicker, often done in a day or two.
What’s the best product to darken oak cabinets?
The “best” product depends on your desired outcome. For a deep, lasting color change, traditional wood stain or gel stain is excellent. For a subtle tint or antique look, wood glaze or dark wax works well. Consider your skill level and how much preparation you want to do.
Can I darken previously finished oak cabinets?
Yes, you can darken previously finished oak cabinets. The key is proper preparation. You must clean the existing finish thoroughly. Then, scuff sand it to create a surface for the new product to adhere to. Gel stains, glazes, and dark waxes are often ideal for this situation.
How do I maintain my newly darkened oak cabinets?
Maintain darkened oak cabinets by cleaning them regularly with a mild, non-abrasive cleaner. Avoid harsh chemicals that can strip the finish. Wipe up spills immediately. Reapply a protective wax or topcoat every few years, especially on high-traffic cabinets.
Will darkening cover the oak grain?
Darkening products will not completely cover the oak grain. Stains and glazes enhance the grain, making it more prominent. Gel stains sit on the surface but still allow the grain to show through. If you wish to hide the grain, painting is a better option than darkening.
Conclusion
You now know how to darken oak cabinets, transforming them from light to rich, deep hues. This DIY project gives your home a significant style upgrade. You have explored various methods, from deep-penetrating stains and easy-to-use gel stains to subtle glazes and protective dark waxes. Remember, meticulous preparation is the most critical step. Cleaning and lightly sanding ensures any product adheres well.
Choosing the right method depends on your desired look and skill level. Whether you aim for a dramatic change or a gentle enrichment, there is a darkening solution for your oak cabinets. Always test your chosen product first. Apply coats evenly. Finally, protect your newly darkened cabinets with a durable topcoat. This ensures your beautiful new finish lasts for years. Start your cabinet transformation journey today!
- darkening oak
- cabinet staining
- kitchen cabinets
- wood finishing
- DIY home

Todd Martin
Senior Writer
With over 15 years of experience in home renovation and design, I started HEG to share what I’ve learned with homeowners who want to create spaces that are both beautiful and functional. I’ve always believed in a hands-on approach, and over the years, I’ve picked up practical solutions that actually work. Through HEG, I aim to make home improvement more approachable, sharing real tips that help you create a home you truly love.