· Todd Martin · DIY & Crafts · 14 min read
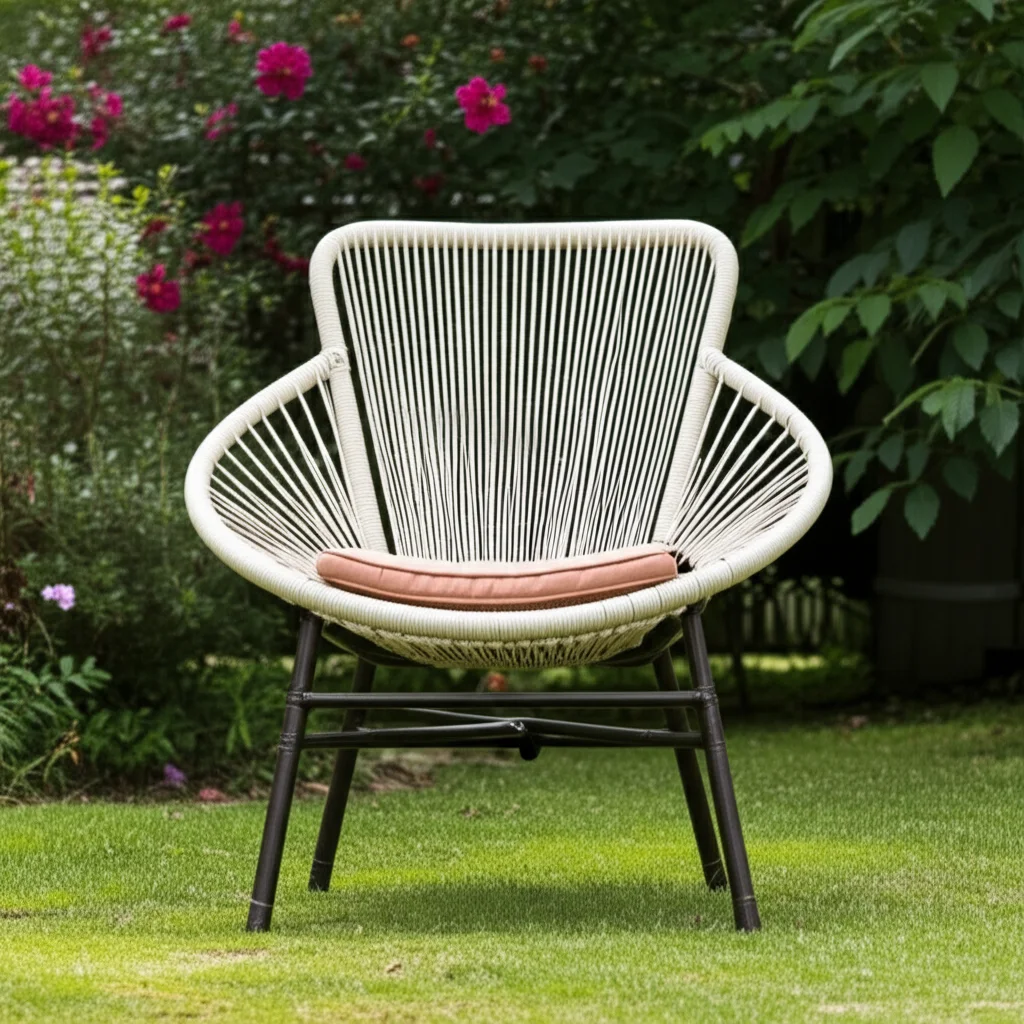
How To Macrame Lawn Chairs
Revitalize Your Outdoors: Macrame Lawn Chairs
Do you have old lawn chairs collecting dust in the garage? Perhaps their webbing is torn or faded. Instead of discarding them, imagine giving them a beautiful, custom look. You can macrame lawn chairs, transforming them into stylish, comfortable outdoor seating.
This project combines practicality with creative expression. It allows you to upcycle existing furniture, which is great for the environment. You create unique pieces for your patio, deck, or garden. This article provides a complete guide. We will cover everything from choosing materials to mastering the knots. You will learn how to prepare your chair frame and weave a stunning new seat. Get ready to give your outdoor space a fresh, handmade touch!
Takeaway
- Select durable, outdoor-grade macrame cord for lasting results.
- Thoroughly prepare the chair frame by cleaning and repairing it.
- Master basic macrame knots like the Lark’s Head and Square Knot.
- Measure cord lengths precisely to avoid running short during weaving.
- Securely finish all knots and ends for a stable and beautiful seat.
- Maintain your macrame chairs with simple cleaning and proper storage.
Macrame lawn chairs involves removing old webbing, preparing the frame, and weaving a new seat using macrame knots and durable cord. This process transforms dated or damaged outdoor chairs into unique, comfortable, and stylish pieces for your outdoor living area.
Why Macrame Your Lawn Chairs? The Ultimate DIY Upgrade
Old lawn chairs often become eyesores. Their plastic webbing cracks, or fabric tears. You might consider buying new ones. However, macrame offers a better solution. It gives these chairs a second life.
This method transforms your outdoor furniture. Macrame adds a handcrafted, bohemian touch. This look is popular in home decor today. It creates a comfortable, supportive seat, different from traditional webbing. I decided to try this project with a few old chairs. The results were amazing. My patio looks so inviting now.
Beyond aesthetics, macrame is a sustainable choice. You save money by not buying new chairs. You also reduce waste. This project becomes a personal statement. You showcase your creativity and care for the environment. Each chair becomes a unique piece of art.
Beyond Simple Repair: A Design Statement
Macrame elevates a simple chair into a focal point. You choose the cord color and texture. You decide the knot patterns. This allows for complete customization. A plain metal frame can become a rustic or modern piece.
You can match your chairs to your existing outdoor decor. Or, you can create a vibrant, contrasting statement. The knots create a distinct look. They add visual interest to any outdoor setting. This project adds both comfort and style.
Gathering Your Macrame Chair Essentials: Materials and Tools
Starting any DIY project requires the right supplies. Macrame lawn chairs are no different. Having everything ready makes the process smooth. You need specific cord types and basic tools. Consider the outdoor elements when choosing materials.
Choosing the correct cord is very important. Outdoor macrame requires weather-resistant materials. Cotton cord, while beautiful, may not withstand rain and sun. Polyester, polypropylene, or nylon cords are good choices. These synthetic fibers resist mildew and UV damage. They also dry quickly after rain.
Think about the thickness of your cord. A thicker cord creates a bolder, quicker-to-finish weave. A thinner cord allows for more intricate patterns. I recommend starting with a 5mm or 6mm cord. It offers a good balance. Ensure you buy enough cord. You will need a lot for a full chair.
Essential Tools for Your Project
You do not need many tools for this project. Most items are easy to find. A good pair of sharp scissors is a must. They cut the cord cleanly. A tape measure helps you get accurate cord lengths. This avoids waste.
You might also want some masking tape or clips. These help hold cords in place while you work. A sturdy workspace is also helpful. This could be a table or a workbench. Make sure your chair frame is stable before you begin.
- Durable Macrame Cord: Polyester, polypropylene, or nylon (5mm-6mm recommended).
- Sharp Scissors: For clean cuts.
- Tape Measure: For accurate cord length measurement.
- Masking Tape or Clips: To secure cords.
- Optional: Lighter or clear adhesive for sealing synthetic cord ends.
- Your Lawn Chair Frame: Clean and ready for macrame.
Preparing Your Lawn Chair Frame for Macrame Success
Before you start macrame weaving, your lawn chair frame needs preparation. This step ensures a clean, durable foundation. Proper preparation extends the life of your macrame seat. It also makes the weaving process much easier. Do not skip this part.
First, remove all old webbing or fabric. Cut it away carefully. Use scissors or a utility knife. Make sure to remove any staples or fasteners left behind. The frame should be completely bare. This gives you a clean slate for your new macrame design. This step is similar to how you would approach a re-webbing project. If you are uncertain about removing the old material, you can find more guidance on how to replace webbing on lawn chairs.
Next, clean the chair frame thoroughly. Dirt, grime, and mildew can build up over time. Use a stiff brush and a mixture of mild soap and water. For metal frames, check for rust. If you find rust, remove it with a wire brush or sandpaper. Then, wipe the frame down completely. If you have metal chairs, learn how to clean metal chairs for detailed steps. For plastic frames, a good scrub is usually enough.
Repairing and Refinishing the Frame
Inspect the frame for any damage. Check for loose joints or cracks. Tighten screws or apply epoxy for minor repairs. A sturdy frame is essential. Your macrame seat will put tension on it. If your chair is plastic and faded, consider painting it. Painting plastic lawn furniture can give it a fresh look. You can learn more about how to paint plastic lawn furniture to enhance your chair’s appearance.
Once clean and repaired, decide if you want to paint or refresh the frame. A fresh coat of paint can make the whole chair look new. Choose outdoor-grade paint for durability. Allow paint to dry completely before starting macrame. This preparation stage is crucial for a successful and long-lasting macrame chair.
Mastering Basic Macrame Knots for Chair Weaving
Macrame seems complex, but it uses simple knots. You need to learn just a few basic ones. These knots form the foundation of your chair’s seat. Practice them before you start on the chair. This builds confidence and skill.
The first knot you must learn is the Lark’s Head Knot. This knot attaches your cords to the chair frame. It creates a secure loop. To make a Lark’s Head Knot, fold a long cord in half. Place the folded loop over the frame bar. Then, pull the two loose ends through the loop. Pull tightly to secure it. You will use this knot repeatedly.
The Square Knot is your main weaving knot. It forms strong, flat patterns. This knot looks like a square. It involves two working cords around two filler cords. You make half a square knot, then the other half. Alternate left and right starting loops for a balanced knot. This knot creates the bulk of your seat. It provides comfort and support.
Creating Patterns with Knots
The Half Hitch Knot is another useful knot. You can use it to create diagonal lines or borders. It also helps to secure cords on the frame’s edges. This knot involves looping a working cord over and under a filler cord. You repeat it in a series.
Practice these knots on a small piece of dowel or a spare chair leg. Get comfortable with the tension. Consistent tension is key for a flat, even seat. You want the knots to be tight but not distorted. Once you master these basic knots, you are ready to start weaving your chair.
- Lark’s Head Knot: Attaches cords securely to the chair frame.
- Square Knot: Creates the main weaving pattern for the seat and back.
- Half Hitch Knot: Used for decorative lines, borders, or securing cords.
Step-by-Step Guide to Macrame Weaving Your Chair Seat
With your frame ready and knots mastered, it is time to weave. This is the most exciting part. You see your chair transform. Work steadily and maintain good tension. This ensures a neat, strong seat.
First, decide on your design. Will you weave the back and seat separately? Or will you make one continuous piece? For most lawn chairs, weaving the back first, then the seat, is easier. Measure the sections of your chair. This helps determine cord lengths. A general rule is to cut cords 8-10 times the length of the section you are weaving. For example, if your chair back is 2 feet tall, cut cords 16-20 feet long. You will fold these in half for the Lark’s Head Knot. This creates two working cords of half that length.
Attach your measured cords to the top bar of the chair back using Lark’s Head Knots. Space them evenly. The spacing depends on your desired pattern. For a dense seat, place them closer. For an open, airy look, space them wider. You want enough cords to cover the width.
Weaving the Seat and Back
Begin weaving with Square Knots. Work in rows. You can create a simple alternating Square Knot pattern. This means you skip the first two cords in a row. Then you tie a Square Knot with the next four cords. In the next row, you start with the first two cords. This creates a brick-like pattern. You can also weave vertical lines or other patterns.
Maintain consistent tension as you tie each knot. Loose knots make a saggy seat. Too tight knots make the seat rigid. Aim for evenness across the entire surface. As you approach the bottom bar of the backrest, plan how to secure your cords. You can tie a row of Half Hitch Knots directly onto the bottom bar. Or, you can continue the Square Knot pattern and secure the ends underneath. This step requires patience.
When you move to the seat, attach new cords to the front bar of the seat if weaving separately. Alternatively, continue the cords from the backrest. Weave the seat section using the same methods. Ensure the cords are taut across the seat area. This provides good support. The process is repetitive, but the results are worth it.
Finishing Touches and Styling Your Macrame Lawn Chair
Your macrame lawn chair is almost complete. The weaving is done. Now, you need to add the finishing touches. These steps make your chair look polished and professional. They also ensure the seat stays secure for a long time.
First, secure all loose ends. For synthetic cords like polyester or nylon, you can carefully melt the tips. Use a lighter or a hot knife. This prevents fraying. Press the melted tip against a hidden part of the knot. Be very careful with this step. If you use natural cord, like cotton, tie a small knot at the very end of each cord. You can also apply a small drop of clear fabric glue to the ends. Trim any excess cord. Cut it close to the knot for a clean finish. You want the ends to be discreet.
Step back and admire your work. Check the tension across the entire seat. Adjust any loose knots if possible. The seat should feel firm and even. A well-finished seat looks much better. It also lasts longer.
Enhancing Comfort and Aesthetics
Now, you can style your new macrame chair. Add an outdoor cushion for extra comfort. Choose cushions that complement your macrame colors. You can also select patterned cushions. This adds another layer of design. Ensure cushions are weather-resistant.
Think about the overall outdoor space. Does your macrame chair fit the theme? You can add small decor items. A cozy throw blanket draped over the arm can make it more inviting. Small outdoor pillows add softness and color. Consider pairing your chair with other DIY outdoor pieces. You could even learn how to make outdoor chairs from scratch to complete a whole set.
Your macrame lawn chair is now ready for use. It serves as a comfortable, beautiful, and unique piece of outdoor furniture. Enjoy the satisfaction of creating something truly special for your home.
Maintaining Your Macrame Lawn Chairs for Lasting Beauty
You spent time and effort macrame-ing your lawn chairs. Now, you want them to last. Proper maintenance keeps your chairs looking great. It also extends their lifespan. A little care goes a long way.
Regular cleaning is important. Dust, pollen, and outdoor grime can accumulate on the macrame cords. To clean, mix mild soap with water. Use a soft brush or cloth to gently scrub the cords. Rinse thoroughly with a garden hose. Avoid high-pressure washers, which can damage the knots. Allow the chairs to air dry completely in the sun. This prevents mildew growth. This cleaning process is similar to how you would approach other outdoor seating. For example, the principles are much like how to clean resin chairs. You can learn more about how to clean resin chairs to understand general outdoor furniture cleaning.
Protect your chairs from harsh weather. Intense sun can fade cords over time. Heavy rain can make them damp for longer. During long periods of bad weather, move your chairs to a covered area. A patio cover or garage works well. If you live in a region with cold winters, store your chairs indoors. This prevents damage from freezing temperatures.
Simple Repairs and Longevity Tips
Inspect your macrame chairs periodically. Look for loose or damaged cords. If a cord breaks, you can often re-tie it. Small repairs are easier than large ones. Keep some extra cord on hand for this purpose. If you used synthetic cords, a quick melt with a lighter can re-seal minor fraying.
Consider applying a UV-protective spray to the cords. This adds an extra layer of defense against sun damage. It helps retain the cord color. Keeping lawn furniture stable on uneven ground also helps. Preventing stress on the frame helps the macrame last longer. You can find tips on how to keep lawn furniture from sinking into grass. With these simple maintenance steps, your macrame lawn chairs will remain beautiful and functional for many seasons to come.
FAQ Section
What type of cord is best for outdoor macrame chairs?
For outdoor macrame chairs, synthetic cords are best. Polyester, polypropylene, and nylon cords are excellent choices. They resist UV damage, mildew, and moisture. This ensures your chair withstands various weather conditions and remains durable for outdoor use. Avoid cotton or natural fibers for prolonged outdoor exposure.
How much cord do I need for one lawn chair?
The amount of cord needed depends on chair size, cord thickness, and knot pattern. A typical lawn chair requires a significant amount. A rough estimate is 1,000 to 2,000 feet of 5mm or 6mm cord per chair. Always buy extra. It is better to have too much than run out in the middle of your project.
Can I macrame over existing webbing?
No, you should remove all existing webbing or fabric before macrame. Macrame requires a clean, bare frame for proper knot attachment and tension. Leaving old material can lead to an uneven seat. It also traps moisture, which can cause mildew. A clean frame ensures durability and a professional finish.
How do I clean a macrame lawn chair?
Clean your macrame lawn chair with mild soap and water. Use a soft brush or cloth to gently scrub the cords. Rinse thoroughly with a garden hose. Let the chair air dry completely in the sun. Regular cleaning prevents dirt and mildew buildup, keeping your macrame looking fresh.
Is macrame suitable for all lawn chair types?
Macrame works best on lawn chairs with sturdy, open frames. Chairs with metal or plastic frames that once held webbing or sling fabric are ideal. Frames with bars or holes for cord attachment are perfect. Chairs with solid backs or seats are not suitable for macrame.
How long does it take to macrame a lawn chair?
The time it takes to macrame a lawn chair varies. It depends on your macrame experience, the chair’s size, and the chosen pattern. A beginner might take 15-20 hours for one chair. An experienced crafter could finish in 8-10 hours. It is a rewarding project, so enjoy the process.
Conclusion
You now have the knowledge to transform old, forgotten lawn chairs into stunning showpieces. Learning how to macrame lawn chairs is a project that offers immense satisfaction. You give new life to an old item. You also add unique style to your outdoor space. This DIY endeavor is not just about crafting; it is about creativity and sustainability.
Remember the key steps: choose your materials wisely, prepare your chair frame with care, and master those basic macrame knots. Each knot you tie builds towards a comfortable, beautiful seat. With a little patience and effort, your outdoor area will reflect your personal touch. Do not let those old chairs sit idle. Take on this rewarding challenge. Create something beautiful and functional for your home today!
- Macrame
- Lawn Chairs
- DIY Furniture
- Outdoor Decor
- Chair Restoration

Todd Martin
Senior Writer
With over 15 years of experience in home renovation and design, I started HEG to share what I’ve learned with homeowners who want to create spaces that are both beautiful and functional. I’ve always believed in a hands-on approach, and over the years, I’ve picked up practical solutions that actually work. Through HEG, I aim to make home improvement more approachable, sharing real tips that help you create a home you truly love.