· Todd Martin · DIY & Crafts · 14 min read
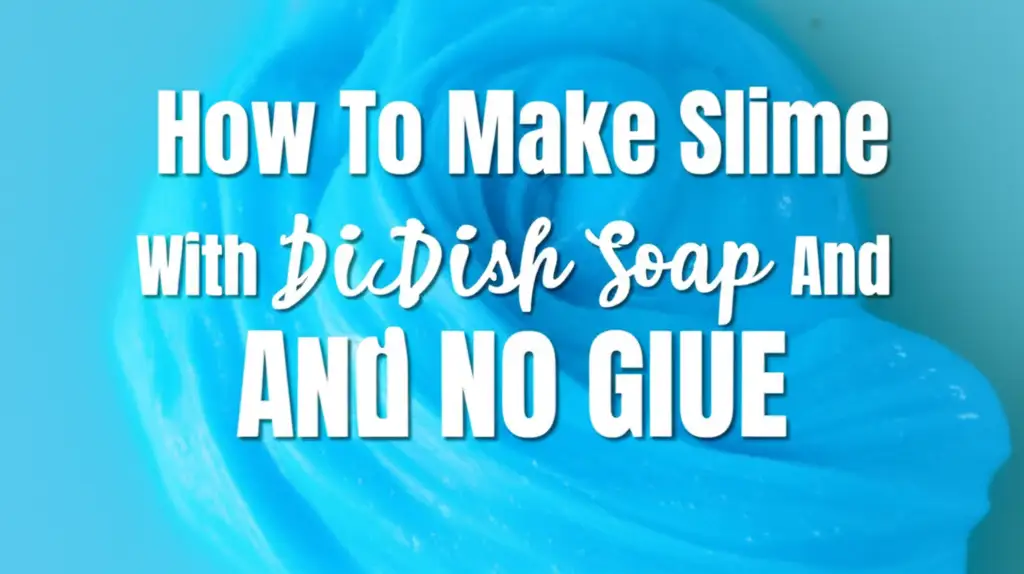
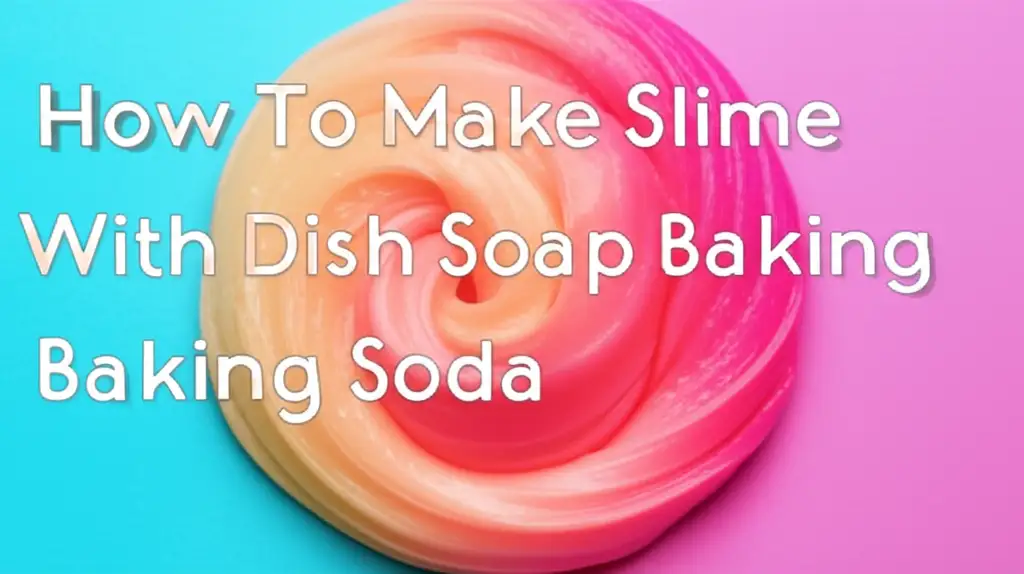
How To Make Slime With Dish Soap Baking Soda
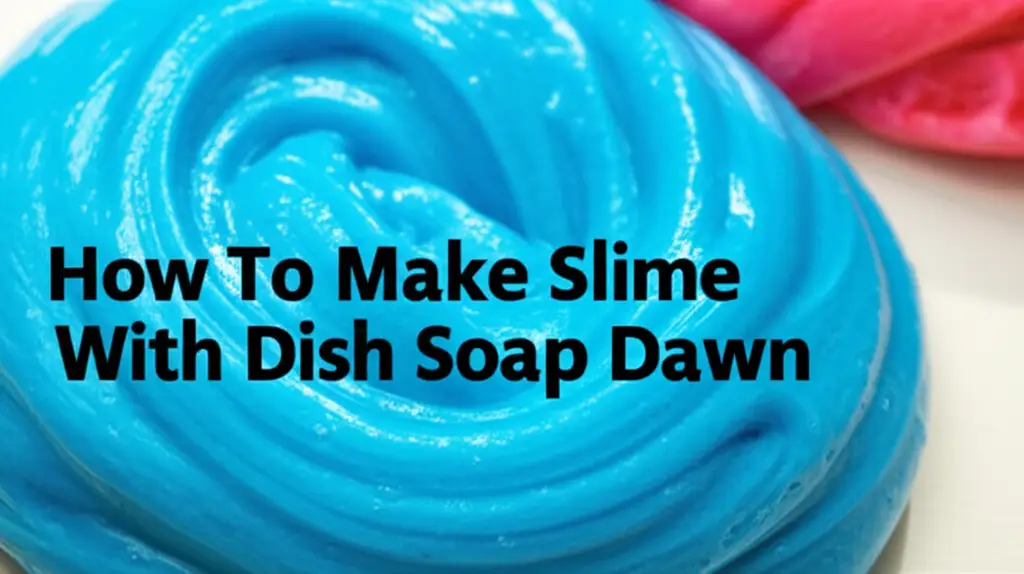
Crafting Slime with Dish Soap and Baking Soda
Creating your own slime at home brings so much fun. Many people think you need glue or borax for slime. This is not true. I want to show you how to make slime with dish soap baking soda, using common household items. It is an easy project for kids and adults alike.
This guide helps you create safe, stretchy slime. We will go over the simple ingredients you need. You will learn the step-by-step process. We will also share tips for the best results. You will find out how to store your slime. Let’s make some amazing homemade slime!
Takeaway
- Make slime using only dish soap and baking soda.
- Follow simple steps for a fun, no-glue creation.
- Adjust ingredients to fix slime consistency.
- Store slime properly for longer play.
To make slime with dish soap and baking soda, simply mix a small amount of dish soap with a larger amount of baking soda. Stir them together until a thick paste forms. Gradually add more dish soap, mixing until the slime reaches your desired stretchy consistency.
Gathering Your Simple Slime Ingredients
To start your slime project, you need very few items. The beauty of this recipe is its simplicity. You likely have these ingredients in your kitchen already. This makes it a great choice for a spontaneous craft session.
You will need dish soap as your main liquid. Any brand of dish soap usually works. Thicker dish soaps often give better results. They help create a more cohesive slime. Think about the consistency of your favorite dish liquid.
Next, you need baking soda. This white powder is crucial. Baking soda helps thicken the dish soap. It reacts with the soap to change its texture. This reaction helps create the slime. You do not need any special kind of baking soda. The regular one from your pantry is perfect.
You also need a mixing bowl and a spoon. These tools help you combine the ingredients. A measuring spoon or cup can be useful too. This allows you to measure ingredients precisely. Precise measurements help get the right slime consistency. Optional items include food coloring or glitter. These additions make your slime colorful and sparkly. I love adding bright colors to my batches.
Having all your items ready saves time. It makes the slime-making process smooth. You can focus on the fun part: mixing and playing. These simple ingredients show you do not need fancy supplies. You can make amazing homemade slime with common items.
The Step-by-Step Guide to Making Slime with Dish Soap and Baking Soda
Making slime with dish soap and baking soda is a straightforward process. You do not need complex steps or special tools. Just follow these simple instructions. Soon you will have your very own batch of homemade slime. This method creates a satisfying no-glue slime that is fun to play with.
Measuring Your Materials
First, gather your main ingredients. You will need dish soap and baking soda. Start with a ratio of about one tablespoon of dish soap. Then, measure out two to three tablespoons of baking soda. The exact amounts can vary slightly. Different dish soaps have different thicknesses. Place the baking soda into your mixing bowl. Make sure your bowl is clean and dry. This helps prevent any unwanted reactions.
Gentle Mixing and Observing
Now, add the dish soap to the baking soda. Pour it directly into the bowl. Begin stirring the mixture slowly with your spoon. You will notice a change in texture. The powder will start absorbing the soap. It will form a thick paste. Continue to stir until all the baking soda is wet. The mixture should start pulling away from the sides of the bowl. This is a good sign. It means your slime is forming.
Kneading for Perfection
Once your mixture forms a cohesive mass, it is time to use your hands. Lightly dust your hands with a little extra baking soda if it feels too sticky. Take the slime out of the bowl. Begin to knead it gently. This is like kneading dough. Stretch and fold the slime repeatedly. As you knead, the slime will become less sticky. It will become more elastic. The more you knead, the better the consistency. If your slime is still too sticky, add a tiny bit more baking soda. If it is too stiff, add a very small drop of dish soap. Keep kneading until you get a smooth, stretchy slime. This process allows you to fine-tune the texture. This homemade slime is a great alternative to traditional recipes. It shows you how to make slime with simple ingredients. You can also explore how to make slime with dish soap and no glue for other simple methods.
Tips for Achieving the Best Dish Soap Baking Soda Slime Consistency
Creating the perfect slime consistency can take a little practice. The good news is, making slime with dish soap and baking soda is forgiving. You can always adjust it. Do not worry if your first attempt is not exactly right. With these tips, you will get it perfect. Many people wonder how to make slime out of dish soap no glue, and these tips are key to success.
If your slime feels too sticky, you need more baking soda. Add it in small pinches. Knead it thoroughly after each addition. The baking soda helps absorb excess moisture from the soap. This makes the slime firmer and less tacky. A little goes a long way, so add slowly.
Conversely, if your slime is too stiff or crumbly, it needs more dish soap. Add just a few drops at a time. Knead the slime well after each addition. The dish soap will rehydrate the mixture. It will make the slime more flexible and stretchy. This balances the stickiness and firmness.
The type of dish soap matters. Thicker dish soaps often produce better results. They have more body and less water. If you use a very thin dish soap, you might need more baking soda. Experiment with different brands if you have them. I found that different brands give slightly different textures.
Mixing technique also plays a role. Stir thoroughly when combining the initial ingredients. This ensures the baking soda disperses evenly. When kneading, be patient. The warmth from your hands helps activate the ingredients. It helps them bond together. This brings out the true slime texture.
Consider the temperature of your ingredients. Room temperature items work best. Very cold dish soap might make the slime less pliable. A warm environment can also make it slightly stickier. Finding the right balance is part of the fun. Remember, this is about making slime without borax or glue, so the consistency might differ from traditional slimes. It is a unique experience.
Fun Add-Ins and Variations for Your Homemade Slime
Once you master the basic dish soap and baking soda slime, you can get creative. Adding different elements makes your slime unique. These additions boost the sensory experience. They make play time even more exciting. It is easy to personalize your homemade slime.
Food coloring is a simple way to change your slime’s look. Add a few drops to the dish soap before mixing. You can mix colors to create new shades. Bright colors make the slime more visually appealing. My kids love making rainbow-colored slime.
Glitter is another popular choice. Sprinkle fine glitter into the mixture as you knead. This adds sparkle and shimmer. It catches the light as you stretch the slime. Be mindful of how much glitter you add. Too much can make the slime feel gritty.
You can try adding small, soft items for texture. Think about tiny foam beads or very fine plastic confetti. These add a different feel to the slime. They make the stretching experience more interesting. Ensure any add-ins are small and safe. Avoid anything with sharp edges.
For a scented slime, add a drop or two of essential oil. Lavender or peppermint oils work well. Use only a tiny amount. Essential oils are potent. Always check if the oil is safe for skin contact. This turns your slime into an aromatic sensory tool.
Always add these extra items slowly. Incorporate them fully before adding more. This prevents overloading the slime. It helps maintain the desired consistency. These variations show how versatile making slime can be. Your slime can be an endless source of creativity. It’s a fantastic way to customize your homemade slime.
Storing and Maintaining Your Dish Soap Slime
After you make your slime, you want it to last. Proper storage is key to extending its life. Dish soap and baking soda slime will not last forever. However, good care helps you enjoy it longer. Knowing how to maintain it prevents disappointment.
The best way to store your slime is in an airtight container. A small plastic container with a lid works perfectly. Zip-top bags are also good options. The goal is to keep air out. Air exposure causes the slime to dry out. When it dries, it becomes hard and crumbly. Place the slime inside and seal the container tightly.
Store the container at room temperature. Avoid direct sunlight or extreme heat. These conditions can cause the slime to melt or break down. A cool, dry place like a cupboard is ideal. Do not put it in the refrigerator. Cold temperatures can make the slime stiff and less pliable. I always keep my slime in a small container on a shelf.
If your slime starts to feel a bit dry, you can try to reactivate it. Add one or two drops of dish soap. Knead it gently. The soap will rehydrate the slime. It helps restore its original consistency. Do not add too much soap at once. Add sparingly until it feels right again. This trick often brings old slime back to life.
Over time, your slime might become less stretchy. It might collect dust or small debris. This is normal with play. When the slime gets too dirty or loses its texture, it is time to make a new batch. It is easy to make more! Remember to clean up any slime spills promptly. If you get slime on fabric, you can learn how to clean slime off couch or other surfaces.
Understanding the Science Behind Dish Soap and Baking Soda Slime
Making slime with dish soap and baking soda is a simple process. Yet, there is a bit of science at play. Understanding how these common items create a slime-like texture is interesting. It is different from traditional glue-based slimes. This method relies on physical changes.
Dish soap contains surfactants. Surfactants are special molecules. They reduce the surface tension of water. This is why dish soap cleans so well. It helps water spread and penetrate grease. In slime, these surfactants help give the soap its slippery, cohesive feel. The soap itself has a viscous nature. This means it is already thick and flows slowly.
Baking soda, or sodium bicarbonate, plays a different role. It is an alkaline powder. When baking soda mixes with dish soap, it does not create a strong chemical reaction in the way borax does with glue. Instead, the baking soda acts as a thickening agent. It changes the viscosity of the dish soap. The tiny particles of baking soda get suspended within the soap. This suspension makes the mixture less fluid. It turns the runny soap into a moldable substance.
Think of it like adding flour to water. Flour thickens the water. Baking soda does something similar with dish soap. It absorbs some of the liquid. It also increases the friction between the soap molecules. This friction is what gives the slime its body. It makes it less liquid and more solid. The exact proportions are important. Too much baking soda makes it crumbly. Too little keeps it too liquid.
This slime does not involve polymers forming new long chains. That is what happens with glue and borax. Instead, it is a physical interaction. The baking soda alters the existing structure of the dish soap. This creates a non-Newtonian fluid. It behaves like a solid when squeezed fast. It flows like a liquid when left alone. This simple science makes for fascinating play. You can also explore how to clean with baking soda to understand more about its general properties.
Safety First: Important Considerations for Slime Play
While making slime with dish soap and baking soda is generally safe, it is important to keep safety in mind. Any craft activity involving chemicals, even household ones, needs common sense. Following basic safety rules ensures fun for everyone. This is especially true when children are involved.
Always supervise young children when they play with slime. Slime is not food. It should never be eaten or put in the mouth. Small children might try to taste it. Make sure they understand it is for playing, not eating. Explain this clearly before you start.
Be aware of potential skin sensitivities. Dish soap can sometimes irritate sensitive skin. If you or your child experience redness or itching, stop playing with the slime. Wash hands thoroughly with water. You might need to use gloves for future slime sessions. Choosing a mild, sensitive-skin dish soap can also help.
After playing with slime, wash your hands thoroughly with soap and water. This removes any residue from the dish soap and baking soda. It helps keep things clean. It also prevents accidental ingestion. This simple step is crucial for hygiene.
Keep the ingredients away from eyes. If dish soap or baking soda gets into eyes, rinse them immediately with plenty of water. If irritation continues, seek medical advice. This is a standard safety measure for many household products.
Store ingredients and finished slime out of reach of very young children and pets. This prevents accidental spills or ingestion. A high shelf or a locked cabinet works well. These simple precautions make your slime-making experience safe and enjoyable for everyone.
FAQ Section
Q1: Why is my dish soap baking soda slime too sticky?
Your slime is likely too sticky because it needs more baking soda. Add a small pinch of baking soda at a time. Knead it into the slime thoroughly after each addition. Continue this process until the slime reaches a less sticky, more manageable consistency.
Q2: Can I use any type of dish soap for this slime recipe?
Yes, you can use most types of liquid dish soap. However, thicker dish soaps often yield better results. They provide more body for the slime. Very thin or watery dish soaps might require more baking soda to achieve the desired consistency.
Q3: How long does homemade dish soap baking soda slime typically last?
This type of homemade slime usually lasts for a few days up to a week. Its lifespan depends on proper storage. Keep it in an airtight container at room temperature. Exposure to air will dry it out quickly, making it hard and crumbly.
Q4: Is this slime recipe safe for young children to play with?
This slime recipe uses common household ingredients and is generally safer than borax-containing slimes. However, it is not edible. Always supervise young children to ensure they do not ingest the slime. Wash hands after playing.
Q5: Can I make this slime without baking soda?
No, baking soda is a necessary ingredient for this recipe. It acts as a thickening agent and reacts with the dish soap to create the slime’s texture. Without baking soda, the mixture will remain a liquid dish soap and not form slime.
Q6: What if my dish soap baking soda slime is too hard or crumbly?
If your slime is too hard or crumbly, it means you added too much baking soda. You can fix this by adding a very small amount of dish soap. Add one or two drops at a time and knead the slime thoroughly. This will help rehydrate and soften it.
Conclusion
Making slime with dish soap baking soda is a simple, rewarding activity. We explored how easy it is to create this fun, no-glue slime using common household ingredients. You have learned the precise steps, from gathering your materials to kneading the perfect consistency. We also covered essential tips for adjusting your slime and adding creative variations.
This homemade slime offers a safe and enjoyable sensory experience. It is a fantastic alternative to traditional slime recipes. You now know how to store your slime properly to make it last. Remember the simple science behind it. You also understand the important safety tips for playtime. I encourage you to try this easy project. Unleash your creativity with colors and add-ins. This simple recipe provides hours of fun. Get started today and enjoy your unique, homemade slime!
- dish soap slime
- baking soda slime
- no glue slime
- homemade slime
- easy slime recipe
- kids craft
- safe slime

Todd Martin
Senior Writer
With over 15 years of experience in home renovation and design, I started HEG to share what I’ve learned with homeowners who want to create spaces that are both beautiful and functional. I’ve always believed in a hands-on approach, and over the years, I’ve picked up practical solutions that actually work. Through HEG, I aim to make home improvement more approachable, sharing real tips that help you create a home you truly love.