· Kianna Connelly · Home Maintenance · 14 min read
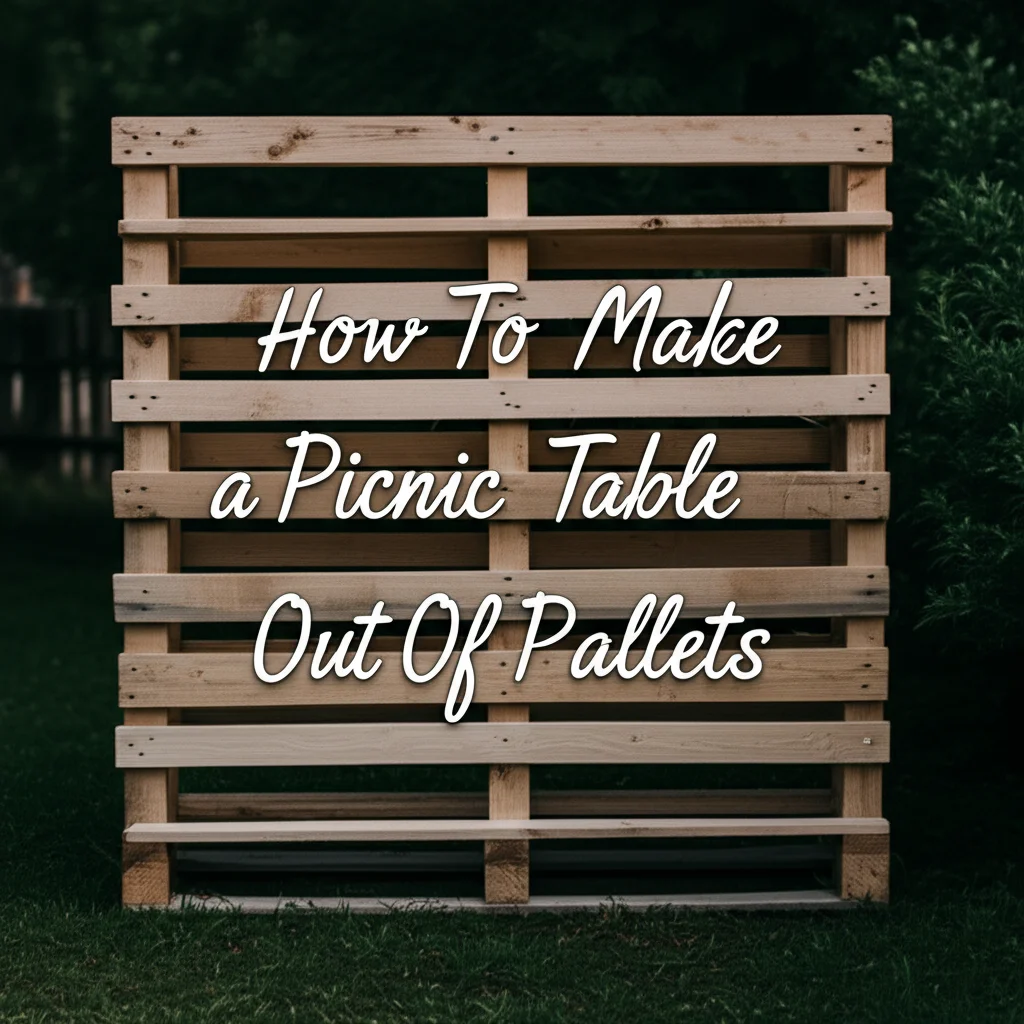
How To Make A Picnic Table Out Of Pallets

Build Your Own Pallet Picnic Table: A Step-by-Step DIY Guide
Do you dream of enjoying outdoor meals with family and friends? Imagine a sturdy, charming picnic table in your backyard. What if you could create this functional piece of furniture yourself, using readily available and often free materials? Building your own outdoor furniture can be a rewarding project. This guide will show you how to make a picnic table out of pallets, transforming reclaimed wood into a beautiful and useful addition to your home.
This comprehensive article covers everything you need. We will discuss why pallets are a great choice for this project. We will list the essential tools and materials you need to get started. You will learn how to prepare pallets safely, design your table, and assemble it step-by-step. Finally, we will share tips for finishing and maintaining your new pallet picnic table.
Takeaway
- Gather essential tools and safety gear before starting your project.
- Select only heat-treated (HT) pallets to ensure safety and durability.
- Deconstruct pallets carefully to preserve wood planks for your table.
- Design your picnic table with accurate measurements for a stable structure.
- Assemble the table frame and benches securely using robust fasteners.
- Sand the wood thoroughly and apply weather-resistant finishes for longevity.
How do you make a picnic table out of pallets?
You can make a picnic table from pallets by first deconstructing safe, heat-treated pallets into individual wood planks. Next, you cut these planks to size for the tabletop, benches, and supporting frame. Finally, you assemble the pieces using screws and bolts, then sand and seal the entire structure for outdoor use.
Why Choose Pallets for Your Picnic Table?
Choosing pallets for your picnic table offers many benefits. It is a cost-effective way to get new outdoor furniture. Pallets are often available for free, which significantly reduces your material costs. This makes building a picnic table accessible even on a tight budget.
Using pallets also supports environmental sustainability. You are upcycling materials that might otherwise end up in landfills. This reduces waste and conserves natural resources. It is a green choice that helps the planet. Many people feel good knowing they are giving discarded materials a new life.
Pallet wood is strong and durable, especially when properly treated. It is designed to withstand heavy loads during shipping. This inherent strength makes it suitable for outdoor furniture. With the right preparation and finish, your pallet picnic table will last for many years. It stands up well to various weather conditions.
Finally, a DIY pallet project offers a unique, rustic aesthetic. Each pallet piece has its own character, making your table one-of-a-kind. This adds charm and personality to your outdoor space. Building it yourself also gives you the satisfaction of creating something beautiful and functional with your own hands. This project is both practical and rewarding.
Essential Tools and Materials for Your Pallet Project
Starting your pallet picnic table project requires the right tools and materials. Having everything ready saves time and ensures a smooth build. First, you need a good supply of pallets. Aim for about 4-6 pallets, depending on your desired table size. Look for pallets marked “HT” (heat-treated) to avoid chemically treated wood.
Your basic tool kit should include several key items. A reciprocating saw or a circular saw will help with deconstruction and cutting planks. A hammer and a pry bar are essential for safely disassembling the pallets. You will also need a drill for pre-drilling holes and driving screws. Measuring tape, a pencil, and a speed square are necessary for accurate marking and cutting.
For assembly, you will need outdoor-grade screws or bolts. These fasteners are designed to resist rust and corrosion when exposed to the elements. Consider using carriage bolts for critical structural connections for added strength. You also need sandpaper or an electric sander to smooth the wood surfaces. This step prepares the wood for finishing and makes it safe to use.
Finally, gather your finishing materials. This includes wood stain or exterior paint, along with a weather-resistant sealant. These products protect your table from moisture, UV rays, and general wear. Brushes or rollers will help apply the finishes evenly. Remember to wear safety glasses and gloves throughout the entire process to protect yourself.
Preparing Your Pallets: Deconstruction and Cleaning
Proper preparation of your pallets is crucial for a successful picnic table build. The first step is deconstruction, which needs care and safety. Use a reciprocating saw or a pry bar to separate the wooden planks from the stringers (the thicker support beams). Take your time to avoid splitting the wood, as you will use these planks for the tabletop and benches. Cut through the nails or gently pry them out to keep the planks intact.
After deconstruction, cleaning the wood is essential. Pallets often gather dirt, dust, and sometimes even oil stains during their use. Start by removing any remaining nails or staples from the planks. Then, give each piece a thorough cleaning. You can scrub them with a stiff brush, warm water, and mild detergent. This removes grime and prepares the wood for further treatment.
For a deeper clean, especially if your pallets look very dirty, you can use a pressure washer. This quickly removes embedded dirt and old residues. However, allow the wood to dry completely afterward, which can take several days. Ensuring the wood is dry prevents warping and ensures that any future treatments, like sealants, adhere properly.
Remember to inspect each plank for rot, cracks, or excessive damage. Discard any pieces that are too compromised. Strong, clean wood is the foundation of a durable table. This preparation phase is vital for the safety and longevity of your finished picnic table. A clean pallet is a happy pallet, and you can learn more about how to get it ready for your project by checking out our guide on how to clean wooden pallets.
Designing Your Pallet Picnic Table
Designing your pallet picnic table is an exciting phase. This is where your vision takes shape. Start by deciding on the overall dimensions. Consider the space you have available in your yard or patio. Also, think about how many people you want the table to seat comfortably. A standard picnic table is typically 6 to 8 feet long.
You need to sketch your design on paper. Draw a simple top-down view and a side view. This helps you visualize the structure and plan your cuts. Decide on the width of the tabletop and the benches. A common picnic table design uses an “A-frame” for the legs, which provides stability. However, you can also opt for simple straight legs with support beams.
When using pallets, remember the size limitations of the planks you can salvage. This will influence the width of your tabletop and benches. You might need to join multiple planks together to achieve your desired width. Plan for adequate overhang on the tabletop ends to provide comfortable seating.
Calculate the number of planks needed for the tabletop and each bench. Also, determine the length of the pieces required for the legs and support beams. Accurate measurements are key here. This planning helps you minimize waste and ensures your finished table is sturdy and proportionate. A well-thought-out design simplifies the building process significantly.
Building the Table Frame: Foundation of Your Picnic Table
The table frame is the backbone of your picnic table. A strong frame ensures stability and longevity. Start by constructing the “A-frames” that will serve as the legs. Each A-frame requires two legs cut at an angle at the top, and a cross piece to connect them. The angle ensures the legs splay out slightly, providing a wider, more stable base.
Cut two top support beams to the desired length of your table. These beams connect the two A-frames. They form the primary support for your tabletop. Use long, heavy-duty screws or bolts to attach the A-frames securely to these top beams. Ensure all connections are tight and square. This step is critical for the table’s overall strength.
Next, add a stretcher beam between the two A-frames. This beam runs horizontally near the bottom of the A-frames. It greatly enhances the stability of the entire structure. Bolt this stretcher into place. This prevents the legs from splaying out further under weight or movement.
Once you have assembled the frame, check its stability. Rock it gently to ensure there is no wobble. Make any necessary adjustments to ensure all connections are secure. A solid frame is paramount for the safety and durability of your pallet picnic table. You are building the foundation that will support many meals and memories.
Assembling the Tabletop and Benches
With the frame complete, it is time to assemble the tabletop and benches. This is where your picnic table truly starts to take shape. Begin with the tabletop. Lay out your prepared pallet planks side-by-side on the top support beams. Ensure there is a consistent small gap between each plank for drainage and wood expansion.
Once you are satisfied with the spacing, secure each plank to the support beams using outdoor-grade screws. Drive screws through the top of the plank into the beams below. Use at least two screws per plank at each support beam. This prevents the planks from warping or lifting over time. Make sure the ends of the planks are flush or have a slight overhang, depending on your design.
Next, move to the benches. Similar to the tabletop, lay out the bench planks onto the lower support beams of your A-frames. Ensure they are level and evenly spaced. Secure these planks with screws as well, using the same method as the tabletop. Double-check that the benches are sturdy enough to support weight safely.
Consider adding a few extra cross-supports underneath the tabletop and benches if your design feels less rigid. These can be smaller pieces of pallet wood screwed perpendicularly to the main planks and support beams. This extra bracing adds significant strength. A well-assembled tabletop and benches provide a comfortable and reliable surface for all your outdoor activities.
Finishing Touches: Sanding, Sealing, and Protection
The finishing touches are crucial for the longevity and appearance of your pallet picnic table. Start with thorough sanding. Pallet wood can be rough and splintery. Use an electric sander, like an orbital or belt sander, to smooth all surfaces. Begin with a coarser grit sandpaper (around 80-100 grit) to remove imperfections. Then, move to a finer grit (150-220 grit) for a smooth finish. Pay special attention to edges and corners to prevent splinters. Proper sanding makes the table pleasant to touch and helps protective coatings adhere better. You can find more detailed instructions on sanding techniques, including how to sand a table with an electric sander or even how to use a belt sander on a table top in our guides.
After sanding, clean off all dust. Then, apply a wood stain or exterior paint. A stain can enhance the natural beauty of the wood grain, while paint offers a wider range of colors. Choose a product designed for outdoor use. Apply according to the manufacturer’s instructions, usually in thin, even coats. Allow each coat to dry completely before applying the next.
Finally, apply a weather-resistant sealant. This is perhaps the most important step for outdoor furniture. A good sealant protects the wood from moisture, UV rays, and rot. Options include spar urethane, exterior varnish, or penetrating oil finishes. Apply multiple coats for maximum protection, especially on horizontal surfaces like the tabletop and benches that collect water. This protective layer ensures your pallet picnic table withstands the elements and remains beautiful for years to come.
Maintenance and Longevity for Your Pallet Picnic Table
Maintaining your pallet picnic table extends its lifespan and keeps it looking great. Regular cleaning is a simple but effective step. Wipe down the table and benches with a damp cloth after each use. This removes food spills and dirt before they can set in. For more stubborn grime, use a mild soap and water solution. Scrub gently with a soft brush, then rinse thoroughly. Make sure to dry the table completely afterward to prevent water spots or mildew. You can find more tips on keeping wood surfaces clean with our guide on how to clean a wood table.
Reapplying a protective sealant every one to two years is essential for outdoor tables. Exposure to sun and rain wears down the protective finish over time. Inspect your table annually for signs of wear, such as fading, cracking, or water absorption. Lightly sand any worn areas before applying new coats of your chosen exterior sealant or varnish. This fresh coat replenishes the table’s defense against the elements. Our articles on how to clean wooden table and how to clean dining table can offer more insights into wood care.
Consider covering your picnic table during harsh weather seasons, such as heavy rain or snow. A breathable outdoor furniture cover can provide an extra layer of protection. This prevents excessive moisture absorption and minimizes UV damage. Storing the table under a covered patio or in a shed during winter months can also greatly extend its life.
Finally, periodically check all screws and bolts for tightness. Wood expands and contracts with temperature changes, which can loosen fasteners over time. Tightening them ensures the table remains stable and safe for use. By following these simple maintenance steps, your DIY pallet picnic table will continue to provide a charming and functional spot for outdoor gatherings for many years.
Frequently Asked Questions (FAQs)
How many pallets do I need for a picnic table?
The number of pallets needed depends on the size of your desired picnic table. For a standard 6-foot-long table, you will typically need about 4 to 6 pallets. This allows for enough wood planks for the tabletop, benches, and the structural frame, plus a few extra for any cuts or mistakes.
What kind of pallets are safe to use?
Only use heat-treated (HT) pallets for your project. These pallets are stamped with an “HT” mark, indicating they were heated to kill pests, not chemically treated. Avoid pallets marked “MB” (methyl bromide) or those with no stamp, as they may contain harmful chemicals.
How do I protect my pallet picnic table from the weather?
To protect your pallet picnic table from weather, thoroughly sand the wood, then apply multiple coats of an exterior-grade wood sealant. Options include spar urethane, exterior varnish, or a penetrating oil finish. Reapply the sealant every 1-2 years and consider using an outdoor furniture cover during harsh weather.
Can a beginner build a pallet picnic table?
Yes, a beginner can definitely build a pallet picnic table. This project is straightforward and does not require advanced carpentry skills. Basic tools and a willingness to learn are sufficient. Following a step-by-step guide helps simplify the process, making it an achievable DIY project for most.
How long does it take to build?
Building a pallet picnic table typically takes 1 to 3 days, depending on your skill level and how much time you dedicate each day. Deconstructing and cleaning pallets takes a significant portion of the time. Assembly and finishing, including drying times for sealants, also add to the overall duration.
What are common challenges when working with pallets?
Common challenges include finding enough safe, heat-treated pallets, the effort of deconstructing them without damaging the planks, and dealing with potentially warped or splintered wood. Ensuring consistent plank thickness and achieving perfectly square cuts can also be tricky, but patience and proper tools help overcome these.
Conclusion
Creating your own picnic table out of pallets is a rewarding project. It transforms reclaimed materials into a functional and attractive piece of outdoor furniture. By following the steps outlined in this guide, you can build a durable table that saves money and helps the environment. From selecting the right pallets to applying the final protective finish, each stage contributes to a successful outcome.
Embrace the DIY spirit and give your outdoor space a unique touch. Your new pallet picnic table will be a perfect spot for family meals, backyard gatherings, or simply enjoying the fresh air. Begin your journey today and enjoy the satisfaction of crafting something beautiful with your own hands. Get ready to gather around your new, custom-built pallet picnic table!
- pallet picnic table
- DIY outdoor furniture
- recycled wood projects
- upcycling pallets
- garden table DIY
- sustainable living
- home improvement


