· Todd Martin · Home Improvement · 15 min read
How To Remove Bathroom Cabinet
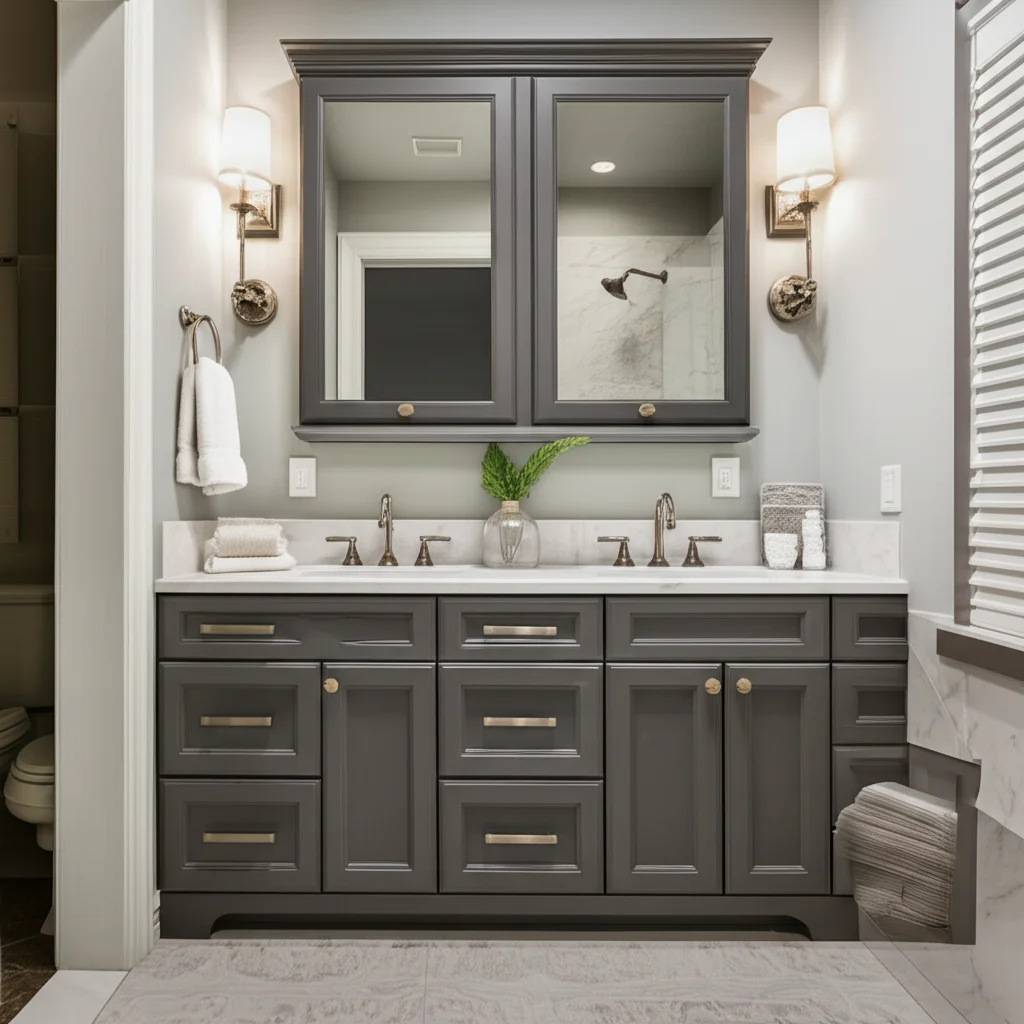
Safely Remove Your Bathroom Cabinet
Have you ever looked at your bathroom cabinet and thought, “It’s time for a change”? Maybe your current cabinet is old, damaged, or simply does not fit your style anymore. Removing a bathroom cabinet might seem like a big job, but it is a manageable task for most homeowners. This guide will help you understand how to remove a bathroom cabinet safely and efficiently. I will walk you through each step, from preparing your workspace to detaching the cabinet from the wall. We will discuss the tools you need, crucial safety measures, and what to do before and after the removal.
Takeaway
- Gather Tools: Collect safety gear, basic hand tools, and prying tools before you start.
- Prioritize Safety: Turn off water and power. Wear gloves, eye protection, and a dust mask.
- Clear the Area: Empty the cabinet and protect your bathroom floor and fixtures.
- Disconnect Utilities: Detach plumbing and electrical connections if working with a vanity or lighted medicine cabinet.
- Carefully Detach: Locate and remove screws or fasteners securing the cabinet to the wall.
- Lift and Remove: Get help to carefully lift and move the cabinet away from the wall.
- Clean Up: Prepare the area for your next project, checking for damage or debris.
Clear Answer to the Main Query
To remove a bathroom cabinet, first, clear the cabinet and surrounding area. Turn off water and electricity if connected. Disconnect any plumbing lines or electrical wires. Locate and unscrew all mounting fasteners. Then, carefully pull the cabinet from the wall, making sure to support its weight.
Preparing for Bathroom Cabinet Removal
Before you even touch your bathroom cabinet, good preparation is key. This step helps ensure your safety and makes the entire removal process much easier. I always start by gathering everything I will need. This saves time and prevents interruptions once I begin working.
First, identify the type of cabinet you have. Is it a wall-mounted medicine cabinet? Is it a vanity cabinet with a sink? Knowing this helps you plan for plumbing and electrical considerations. A freestanding cabinet will require less work than a wall-mounted one.
Essential Tools for Cabinet Removal
Having the right tools ready makes a big difference. You do not want to stop midway to search for a screwdriver. I always lay out all my tools beforehand. This list covers most bathroom cabinet removal jobs:
- Safety Gear: Safety glasses, work gloves, dust mask.
- Basic Hand Tools: Screwdrivers (Phillips and flathead), adjustable wrench, utility knife.
- Prying Tools: Pry bar, putty knife, hammer.
- Measuring and Marking: Pencil, tape measure.
- Cleanup: Drop cloths or old towels, shop vacuum, garbage bags.
- Support: Helper (if the cabinet is heavy).
Make sure your tools are in good condition. Dull blades or worn-out screwdrivers can make the job harder and less safe. A small investment in good tools protects your time and your hands.
Safety First: Protecting Yourself and Your Bathroom
Safety is not just a suggestion; it is a rule. Removing a bathroom cabinet can involve heavy lifting, sharp objects, and sometimes electrical or plumbing work. Always prioritize your well-being.
First, wear your safety glasses to protect your eyes from dust or falling debris. Gloves will protect your hands from splinters or sharp edges. If there is a lot of dust, use a dust mask. If you have a vanity, you may need to repair water damaged bathroom cabinet after removal. This is a good time to check for any hidden issues.
Second, protect your bathroom. Lay down drop cloths or old towels on the floor. This protects your flooring from scratches, dirt, or accidental spills. Cover your toilet and bathtub too, especially if they are close to the work area. Move any small rugs or decor items out of the way.
Disconnecting Utilities: Water and Electricity
If you are removing a bathroom vanity with a sink or a medicine cabinet with lights, you must address the utilities. Skipping this step can lead to water leaks, electrical shocks, or serious injury. Always be cautious.
I always start with the water. Find the shut-off valves for your sink. They are usually under the sink, connected to the hot and cold water lines. Turn them clockwise until they are tight. This stops water flow to the faucet.
Shutting Off Water Supply
After turning off the valves, open the faucet on the sink. Let any remaining water drain out. This relieves pressure in the lines. Have a bucket ready to catch any drips. Sometimes, even after shutting off valves, a little water remains in the pipes.
Next, you need to disconnect the P-trap. This is the curved pipe under your sink. Place a bucket underneath it. Use a wrench to loosen the slip nuts on either side of the P-trap. Carefully remove the P-trap, letting any water inside drain into the bucket. Then, disconnect the supply lines from the faucet. Use your wrench for this. You might find some old build-up; it is a good idea to learn how to clean cabinet after you remove the vanity.
Handling Electrical Connections
For medicine cabinets with lights or outlets, you must turn off the power. Go to your home’s main electrical panel. Find the breaker switch that controls the bathroom circuit. Flip it to the “off” position. It is smart to label this breaker clearly for future use.
Before touching any wires, use a non-contact voltage tester. Touch it to the wires inside the cabinet’s electrical box. If it shows no power, you are safe to proceed. If it lights up or beeps, the power is still on. Go back to the breaker box and try another switch. Once you confirm no power, disconnect the wires. You will usually find three wires: black (hot), white (neutral), and green or bare copper (ground). Unscrew the wire nuts and separate the connections. Secure the ends of the wires with wire nuts or electrical tape. This keeps them safe until you are ready for a new installation.
Emptying and Detaching the Cabinet
With utilities safely disconnected, the next part is to empty the cabinet and prepare for its removal from the wall. This step requires careful work to avoid damaging the cabinet, the wall, or yourself. I take my time with this part.
Start by completely emptying the cabinet. Take out everything inside it. This includes all toiletries, towels, and any decorative items. Remove any shelves, drawers, or doors. If your cabinet has glass doors, you might want to remove glass from cabinet doors before removing the cabinet. This makes the cabinet lighter and prevents accidental breakage.
Removing Doors, Drawers, and Shelves
Removing the doors is usually simple. Most cabinet doors are attached with hinges. Use a screwdriver to unscrew the hinges from the cabinet frame. Keep the screws in a marked bag so you do not lose them. If you plan to reuse the cabinet or its hardware, put the doors aside safely.
For drawers, most slide out once fully extended. Some have small tabs or levers on the drawer glides that you push to release them. Lift the drawer up and out. Shelves often rest on pins or clips. Simply lift them out. Removing these parts makes the cabinet lighter and easier to handle. It also gives you better access to the mounting screws inside the cabinet.
Locating and Unscrewing Mounting Fasteners
Bathroom cabinets are usually mounted to wall studs for stability. You need to find all the screws or fasteners holding the cabinet in place. Look inside the cabinet, typically along the top and back rails. They are often hidden behind shelf pins or sometimes covered by small caps.
Use your screwdriver to remove these screws. If they are tight, apply firm, steady pressure. Sometimes, wall anchors or toggle bolts are used, especially if the cabinet is not directly mounted into studs. These might require a different removal method, like unscrewing or pushing through the wall. As you remove each screw, the cabinet will feel looser. Make sure you have a helper ready to support the cabinet’s weight as you remove the last few fasteners. This prevents it from suddenly falling.
Removing Wall-Mounted Cabinets
Removing a wall-mounted cabinet requires careful technique. These cabinets are often heavy, especially if they are large vanities. Having a helper for this step is very important. I never try to lift a large cabinet by myself.
Once all the screws are removed, the cabinet is still likely to be stuck to the wall. This is because of caulk, paint, or just being tightly fitted. You need to gently pry it away. Do not just pull it; this can damage your wall.
Prying the Cabinet from the Wall
Start at the top or sides of the cabinet. Insert a putty knife or a thin pry bar into the gap between the cabinet and the wall. Gently tap the pry bar with a hammer to create a small gap. Work your way around the edges, slowly increasing the gap. You might hear cracking sounds as the caulk or paint separates.
Be careful not to damage the drywall. If you use a pry bar, place a thin piece of wood or cardboard against the wall as a buffer. This protects the wall from dents or holes. Once the cabinet feels loose, it is ready to be moved. Have your helper ready to assist.
Safely Lifting and Moving the Cabinet
With a helper, stand on opposite sides of the cabinet. Bend at your knees, not your back, and lift the cabinet together. Coordinate your movements. Slowly pull the cabinet straight out from the wall. If it is a vanity, make sure the plumbing lines are completely clear.
Once the cabinet is free from the wall, carefully carry it out of the bathroom. Decide where you will put it. If it is going to a landfill, take it outside. If you plan to paint bathroom cabinets without sanding or perhaps reface bathroom cabinets for reuse, place it in a safe area where you can work on it. Be mindful of doorways and hallways. Measure the cabinet if needed, to make sure it will fit through.
Dealing with Freestanding Vanities and Medicine Cabinets
Not all bathroom cabinets are rigidly attached to walls. Some are freestanding, like small storage units, or specific types of medicine cabinets. Removing these is generally simpler, but they still require proper steps. I always assess the type of cabinet first. This helps avoid surprises.
A freestanding vanity or storage cabinet often just sits on the floor. It might have small feet or a base. It can still be heavy, especially if made of solid wood or if it has a stone countertop. Medicine cabinets can vary from surface-mounted to recessed. Each type needs a slightly different approach for safe removal.
Removing Freestanding Vanities
Freestanding vanities are common. They are not screwed into the wall, but they are often connected to plumbing. You will still need to shut off the water supply and disconnect the P-trap and supply lines, just like with a wall-mounted vanity. These steps are crucial to prevent leaks. Once the plumbing is disconnected, the removal process is usually straightforward.
If the vanity has a countertop, it might be heavy. Sometimes, the countertop is separate from the base and simply rests on top, held in place by its weight and caulk. If so, you might be able to remove the countertop first to lighten the load. Use a utility knife to cut any caulk lines around the sink or where the countertop meets the wall. Then, with a helper, carefully lift the countertop off. Once the countertop is off, the base is much lighter and easier to move. Have your helper assist you in carrying the vanity out of the bathroom.
Removing Recessed and Surface-Mounted Medicine Cabinets
Medicine cabinets come in two main types: surface-mounted and recessed. Surface-mounted cabinets are screwed directly onto the wall surface. Their removal is similar to other wall-mounted cabinets. Empty the cabinet, remove shelves and doors, then locate and remove the screws. These are usually on the top or bottom inside the cabinet.
Recessed medicine cabinets fit into a cut-out section of the wall. This makes them flush with the wall surface. Removing these can be a bit more involved. First, empty the cabinet and remove the door. Look for screws inside the cabinet frame. They are typically on the sides, top, and bottom, fastening the cabinet to the wall studs or framing. Remove all these screws. The cabinet might still be snug due to paint or caulk. Use a utility knife to score around the edges where the cabinet meets the wall. Gently pry the cabinet out of its opening. Be careful not to damage the drywall around the opening. You might need to gently tap on the sides to loosen it. If you plan to install a new cabinet, knowing how to measure cabinet doors or how to make glass cabinet doors for a new one can be useful.
Post-Removal: Cleanup and Next Steps
You have successfully removed the bathroom cabinet. Congratulations! Now it is time to clean up and prepare your space for what comes next. This final stage is just as important as the removal itself. A clean workspace is a safe workspace, and it helps you get ready for your next project, whether it is painting, new flooring, or installing a new cabinet.
First, take a moment to inspect the area where the cabinet once stood. Look for any damage to the walls, floor, or plumbing connections. This is the perfect time to fix small issues before they become bigger problems.
Cleaning the Area and Assessing Wall Damage
After the cabinet is out, you will likely find dust, debris, and perhaps some old caulk or paint residue on the wall and floor. Use your shop vacuum to clean up all the loose dirt. Wipe down the walls and floor with a damp cloth. This creates a clean slate.
Inspect the wall surface carefully. There might be holes from screws or anchors. If you are painting or installing new wallpaper, you will need to patch these holes. Use spackling paste to fill them, then sand smooth once dry. If the wall suffered more significant damage during prying, you might need to cut out and replace a section of drywall. This is a common step if you are doing a full renovation. If you plan to waterproof bathroom vanity for your new cabinet, ensure the wall behind it is clean and ready.
Preparing for a New Installation or Renovation
Once the area is clean and any wall damage is addressed, you are ready for the next phase. If you are installing a new cabinet, measure the space carefully. Make sure the new cabinet fits perfectly. This is also a good time to consider any changes to plumbing or electrical outlets. You might need to move them to fit the new cabinet.
If you are renovating, this clear space gives you a chance to paint the walls, lay new flooring, or install new trim. Thinking ahead saves time and effort. For instance, it is much easier to paint behind where a cabinet will go before the new cabinet is installed. If you are replacing the cabinet with a different style, consider how the new piece will fit the bathroom’s overall design. You have completed a significant step in your home improvement journey.
Frequently Asked Questions
What tools do I need to remove a bathroom cabinet?
You will need basic hand tools like screwdrivers, a utility knife, and a pry bar. Essential safety gear includes safety glasses, work gloves, and a dust mask. An adjustable wrench is useful for plumbing. A hammer might be needed for the pry bar.
How do I disconnect water lines from a bathroom vanity?
First, turn off the hot and cold water shut-off valves under the sink. Open the faucet to drain remaining water. Place a bucket under the P-trap (the U-shaped pipe) and loosen its slip nuts with a wrench. Remove the P-trap, then disconnect the supply lines from the faucet.
Do I need to turn off electricity to remove a medicine cabinet?
Yes, if your medicine cabinet has lights or an electrical outlet. Always go to your main electrical panel and turn off the circuit breaker for the bathroom. Use a non-contact voltage tester to confirm the power is off before touching any wires.
What if the cabinet is stuck to the wall after removing screws?
Cabinets often stick due to caulk, paint, or tight fit. Use a utility knife to score any caulk lines around the cabinet edges. Then, gently insert a putty knife or a thin pry bar into the gap between the cabinet and the wall. Slowly work your way around, prying it loose.
Can I remove a bathroom cabinet by myself?
It depends on the cabinet’s size and weight. Small medicine cabinets or light wall-mounted cabinets can often be removed by one person. However, for larger, heavier vanity cabinets, especially those with stone countertops, I highly recommend having a helper to ensure safety and prevent injury or damage.
What should I do after the cabinet is removed?
After removing the cabinet, clean up any debris, dust, or old caulk from the wall and floor. Inspect the wall for damage, like screw holes, and patch them with spackling if needed. This prepares the area for painting, new flooring, or installing your new cabinet.
Conclusion
Removing a bathroom cabinet might seem daunting, but it is a project you can handle with the right approach. We have covered every step, from gathering your essential tools to the final cleanup. Remember, careful preparation, prioritizing safety, and a systematic approach make this task much smoother. Always double-check your utility connections before starting and ensure the cabinet is fully detached before attempting to move it.
Taking out an old or damaged bathroom cabinet creates new possibilities for your space. Whether you are installing a modern vanity, a simple pedestal sink, or just opening up the room, you have just completed a key part of your home improvement journey. Feel proud of your work. Now, you are ready to transform your bathroom into the space you have always wanted.
- bathroom renovation
- cabinet removal
- DIY home repair
- vanity removal
- home improvement project

Todd Martin
Senior Writer
With over 15 years of experience in home renovation and design, I started HEG to share what I’ve learned with homeowners who want to create spaces that are both beautiful and functional. I’ve always believed in a hands-on approach, and over the years, I’ve picked up practical solutions that actually work. Through HEG, I aim to make home improvement more approachable, sharing real tips that help you create a home you truly love.