· Todd Martin · Home Improvement · 16 min read
How To Fix Cracks In Painted Cabinets
How to Fix Cracks in Painted Cabinets: A DIY Guide
Unattractive cracks can spoil the look of your painted cabinets. These imperfections often appear over time, diminishing your kitchen or bathroom’s appeal. Restoring a smooth, flawless surface is possible with the right approach. I will guide you through the process of how to fix cracks in painted cabinets. This article details the essential tools, proper techniques, and valuable tips for a lasting repair. You can bring your cabinets back to their original beauty and extend their lifespan.
Takeaway
- Assess Crack Type: Identify if cracks are hairline or deeper to choose the right repair method.
- Prepare Surface Thoroughly: Clean and sand the area around the crack for proper filler adhesion.
- Use Appropriate Filler: Select wood filler for deeper cracks and lightweight spackle for hairline cracks.
- Apply Filler Carefully: Press filler firmly into the crack, then smooth it perfectly.
- Sand and Prime: Create a seamless transition with sanding, then apply a good primer.
- Paint for Blending: Match your cabinet paint and apply thin coats for an invisible repair.
- Prevent Future Cracks: Control humidity and maintain cabinets to avoid new damage.
To fix cracks in painted cabinets, clean the surface, gently sand the area, and fill hairline cracks with lightweight spackle. For deeper cracks, use wood filler, ensuring it’s pressed firmly into the void. Sand the dried filler smooth, apply a stain-blocking primer, and finish with matching paint for a seamless repair.
Understanding Why Painted Cabinets Crack
Painted cabinets often develop cracks due to various factors. Knowing the cause helps you choose the right repair strategy and prevent future issues. The material under the paint, the environment, and the paint application method all play roles. I have seen many cabinets crack from common household conditions.
Humidity and Temperature Fluctuations
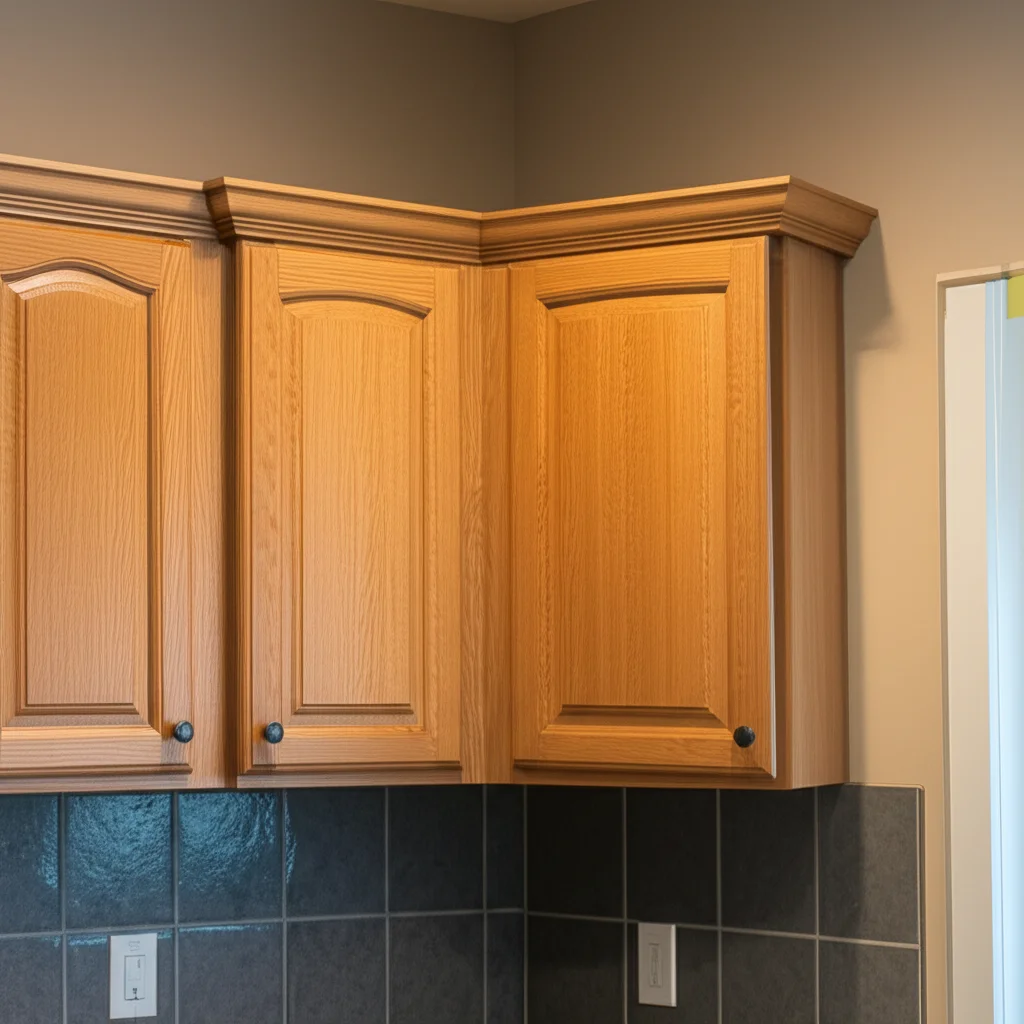
Wood is a natural material. It expands when humidity is high and shrinks when humidity is low. This constant movement puts stress on the paint film. Over time, these stresses cause cracks, especially at joints or along grain lines. Kitchens and bathrooms are prone to these changes. The constant cooking vapors and hot showers affect the wood.
Temperature changes also contribute to this expansion and contraction cycle. If your kitchen gets very hot or very cold, the cabinets will respond. This movement often reveals cracks in the paint layer. Maintaining a stable indoor environment helps protect your cabinets.
Aging Paint and Substrate
Paint loses flexibility as it ages. Older paint becomes brittle and cannot flex with the wood’s natural movement. This makes it more prone to cracking. The substrate, or the material under the paint, also ages. Old wood can become less stable.
Poor quality paint or an insufficient number of coats can also lead to cracks sooner. Sometimes, the primer was not applied correctly. This affects how well the paint adheres and flexes with the cabinet. The bond weakens, causing cracks.
Improper Surface Preparation
Surface preparation is a critical step before painting cabinets. If the surface was not cleaned correctly, paint might not stick well. Old grease or dirt can prevent proper adhesion. Skipping sanding or using the wrong primer also causes problems.
Paint needs a good surface to bond with. If the base layer is unstable or uneven, cracks can appear quickly. Applying paint too thickly in one coat also leads to issues. I always make sure to prepare my surfaces well to avoid future headaches. You can learn more about how to clean cabinets before painting.
Gathering Your Tools and Materials
Before starting any repair project, gather all necessary tools and materials. This prevents interruptions and ensures a smooth process. Having everything ready saves time and effort. I always make a checklist before I begin.
Essential Cleaning Supplies
You need to clean the cabinet surface thoroughly. This removes dirt, grease, and grime that could interfere with the repair. A clean surface ensures proper adhesion of fillers and new paint. Skipping this step often leads to failed repairs.
- Mild Detergent or Degreaser: Use a solution of warm water and a mild dish soap or a dedicated cabinet degreaser. This cuts through kitchen grease effectively.
- Clean Cloths or Sponges: You will need several clean cloths for washing and rinsing. Microfiber cloths work well for a streak-free finish.
- Bucket: For mixing your cleaning solution.
- Protective Gloves: To protect your hands from cleaning agents and paint.
- Drop Cloths or Old Sheets: To protect your floors and countertops from spills and dust.
- Painter’s Tape: To mask off areas you do not want to paint or fill.
Proper cleaning is a crucial first step for any paint repair. For details on how to clean your cabinets effectively, consider this guide on how to clean painted cabinets.
Repair Materials for Cracks
Selecting the right filler is essential for a lasting repair. The type of crack determines the best material to use. Hairline cracks need different fillers than deeper, more structural cracks. Choose quality products for the best results.
- Lightweight Spackle or Joint Compound: Ideal for fine hairline cracks. It dries quickly and sands smoothly. I prefer it for small surface imperfections.
- Wood Filler: Necessary for deeper cracks, gouges, or structural separations in wood. It offers more strength and flexibility than spackle. Choose a wood filler that is paintable.
- Fine-Grit Sandpaper (220-320 grit): For smoothing the filled areas and preparing the surface for priming. You might also need a sanding block.
- Putty Knife or Flexible Spreader: For applying and smoothing the filler. A flexible plastic spreader can give a very smooth finish.
- Primer: A high-quality stain-blocking primer is crucial. It ensures good adhesion for the new paint and prevents previous stains from bleeding through. It also helps hide the repair.
- Matching Paint: Obtain paint that precisely matches your cabinet’s current color and sheen. This is key for an invisible repair. Test a small area if unsure.
- Small Brushes or Foam Rollers: For applying primer and paint. Small artist brushes are good for touch-ups.
- Tack Cloth: For wiping away fine dust particles after sanding.
Having these materials ready will make the repair process much easier.
Step-by-Step Guide to Repairing Hairline Cracks
Hairline cracks are common and usually easy to fix. They are often cosmetic, not structural. This process focuses on creating a seamless repair that blends with the existing finish. Take your time with each step for the best outcome.
Cleaning and Preparing the Surface
First, clean the cracked area thoroughly. Use a mild degreaser or soapy water to remove all grease and dirt. Rinse the area with a clean, damp cloth. Let it dry completely.
Next, gently sand around the crack. Use fine-grit sandpaper (220-grit or higher). The goal is to slightly abrade the existing paint for better adhesion of the new filler and paint. This also helps feather the edges of the crack. Wipe away all sanding dust with a tack cloth. A clean, smooth surface is essential for a good repair.
Applying the Crack Filler
Now, apply a small amount of lightweight spackle or joint compound. Use a putty knife or a flexible spreader. Press the filler firmly into the crack. Ensure the crack is completely filled. Scrape off any excess filler immediately, leaving only a thin layer over the crack.
The goal is to make the filled area flush with the surrounding surface. Do not overapply. A thin, even layer is always better. Let the filler dry completely according to the product’s instructions. This usually takes 30 minutes to a few hours.
Sanding and Priming for a Smooth Finish
Once the filler is dry, gently sand the repaired area again. Use very fine-grit sandpaper (320-grit recommended). Sand until the filled area is perfectly smooth and undetectable to the touch. It should blend seamlessly with the cabinet surface. Wipe off all dust with a tack cloth.
Next, apply a thin coat of stain-blocking primer. Use a small brush or foam roller. The primer seals the filler and prepares the surface for the new paint. It also helps prevent the repair from showing through the topcoat. Let the primer dry completely. For more tips on achieving a smooth finish, read about how to get smooth finish on cabinets. If you have paint peeling along with cracks, learn how to fix paint peeling off cabinets.
Addressing Deeper Cracks and Structural Damage
Deeper cracks indicate more significant movement or damage in the wood itself. These require a stronger, more flexible filler than hairline cracks. This process addresses the underlying wood issue before addressing the paint. I take extra care with these repairs.
Cleaning and Expanding the Crack
Begin by thoroughly cleaning the area around the deep crack. Use a mild degreaser and a damp cloth, then let it dry. For deeper cracks, sometimes it helps to gently widen the crack slightly. Use a utility knife to create a V-groove along the crack. This gives the filler a better area to grip. Be careful not to damage the surrounding cabinet finish.
Remove any loose debris or old paint chips from inside the crack. A vacuum cleaner nozzle can help here. The crack must be clean and free of obstructions for the filler to bond properly. This preparation ensures a strong, lasting repair.
Using Wood Filler for Deeper Voids
Apply a high-quality wood filler into the widened crack. Use a flexible putty knife. Press the filler firmly into the void, ensuring it fills the crack completely from the bottom up. Overfill the crack slightly. This allows for shrinkage as the filler dries and gives you material to sand down.
For very deep or wide cracks, you might need to apply the filler in multiple thin layers. Allow each layer to dry thoroughly before applying the next. This prevents shrinkage and ensures the filler hardens properly. Wood filler provides a more durable and flexible bond for wood movement. If you’re dealing with a crack in solid wood, consider insights from how to fix a crack in wood furniture.
Sanding and Priming for Paint
Once the wood filler is completely dry and hard, sand it smooth. Start with a medium-grit sandpaper (around 120-150 grit) to remove the bulk of the excess filler. Then, move to a finer grit (220-320 grit) for a perfectly smooth finish. The repaired area should be flush with the cabinet surface. Take your time to achieve a seamless blend.
Wipe away all sanding dust with a tack cloth. Apply a high-quality, stain-blocking primer over the repaired area. The primer helps seal the wood filler and creates an even surface for the final paint coats. It ensures the repair does not show through the paint. Allow the primer to dry completely before proceeding to painting. If the crack was due to water damage, additional steps may be needed, as described in how to fix water damage on wood cabinets.
Achieving a Flawless Finish After Repair
The repair work is only half the battle. Achieving a seamless, invisible finish requires careful attention to priming and painting. The goal is for the repaired section to blend perfectly with the rest of the cabinet. This takes patience and precision.
Priming for Adhesion
After sanding the filler smooth, priming is essential. A good primer ensures the new paint adheres correctly to both the repaired area and the surrounding old paint. I use a high-quality, stain-blocking primer. This type of primer prevents any discoloration from the filler or underlying wood from showing through the topcoat.
Apply a thin, even coat of primer with a small brush or foam roller. Make sure to cover the entire repaired section and slightly feather it out onto the existing painted surface. Allow the primer to dry fully according to manufacturer instructions. Sometimes a second thin coat of primer is beneficial for an even base.
Applying the Topcoat
Once the primer is dry, it is time for the final paint coat. Use the exact matching paint for your cabinets. Stir the paint well before use. Apply thin, even coats of paint. Using multiple thin coats is always better than one thick coat. Thick coats can show brush marks and take longer to dry.
Apply paint with a high-quality brush or a small foam roller. Follow the grain of the wood if applicable. Let each coat dry completely before applying the next. This ensures proper adhesion and a smooth finish. Pay attention to matching the sheen of the existing paint.
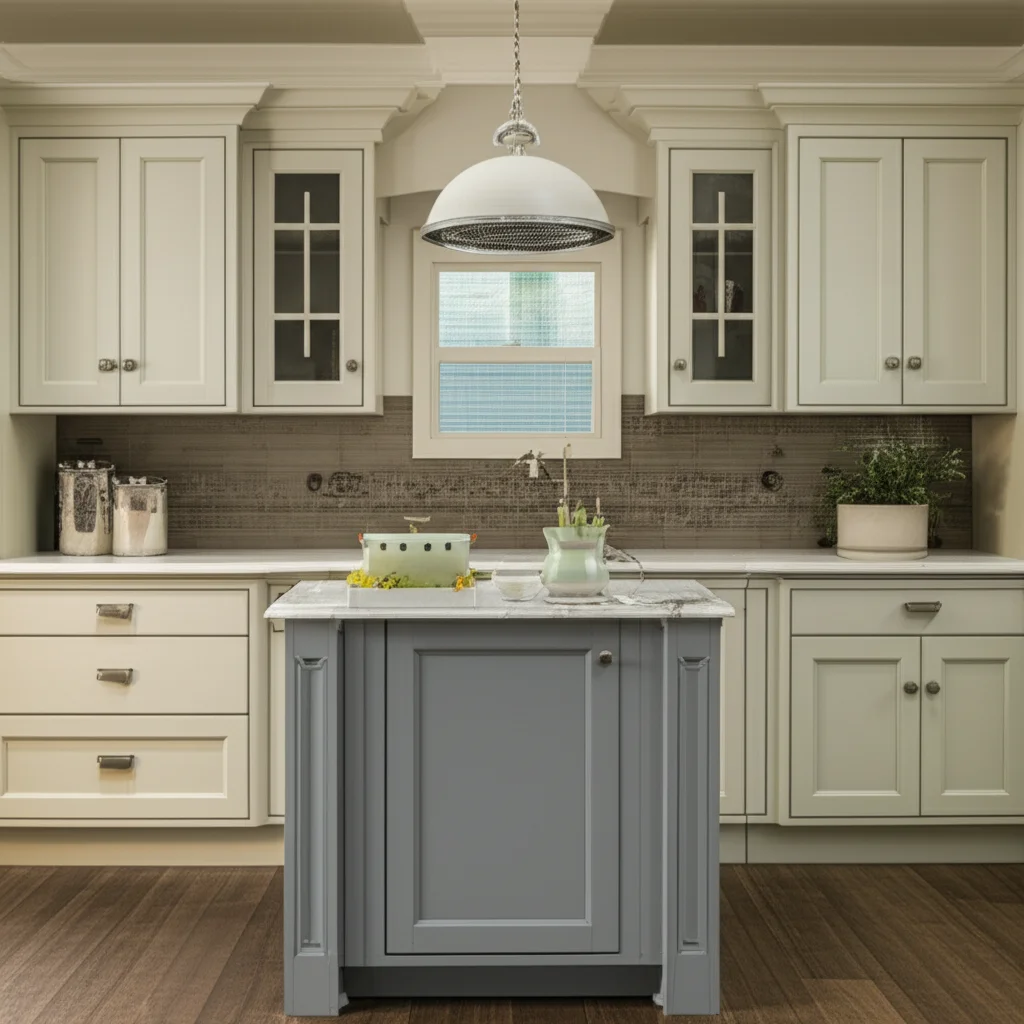
Matching Paint Color and Sheen
Matching the paint color and sheen is crucial for an invisible repair. Even if you have the original paint can, paint can change slightly over time. Test a small, inconspicuous area first. Allow it to dry completely to see the true color.
If your cabinets are old, the existing paint might have yellowed or faded. Custom color matching at a paint store can help. They can often analyze a small chip of your cabinet paint. The sheen also matters, whether it is matte, satin, or semi-gloss. A mismatched sheen will make the repair visible. Achieving a truly smooth finish is key, which you can read more about in how to get smooth finish on cabinets.
Preventing Future Cracks in Your Painted Cabinets
Fixing cracks is satisfying, but preventing them is even better. Proactive measures can save you time and effort in the long run. By understanding what causes cracks, you can take steps to protect your cabinet investment. I always try to maintain my cabinets well.
Humidity Control
Controlling indoor humidity is the most effective way to prevent wood movement. Wood expands and contracts with changes in moisture content. Use a humidifier in dry seasons and a dehumidifier in humid seasons. Aim for a consistent indoor humidity level between 35% and 55%.
Good ventilation in kitchens and bathrooms also helps. Use exhaust fans when cooking or showering. This removes excess moisture from the air. Stable humidity reduces stress on the cabinet’s paint finish.
Routine Cleaning and Inspection
Regular cleaning does more than just keep cabinets looking nice. It helps you inspect them for early signs of wear or new cracks. Catching small issues early prevents them from becoming larger problems. Wipe down surfaces weekly.
Pay attention to areas around hinges, door panels, and joints. These are common spots for cracks to start. Early detection means you can do minor touch-ups instead of major repairs. Keeping cabinets clean also reduces grime build-up that can hide damage. For cleaning tips, refer to how to clean painted cabinets. Also, you might find useful tips on how to prevent painted cabinets from chipping as chipping often precedes or accompanies cracking.
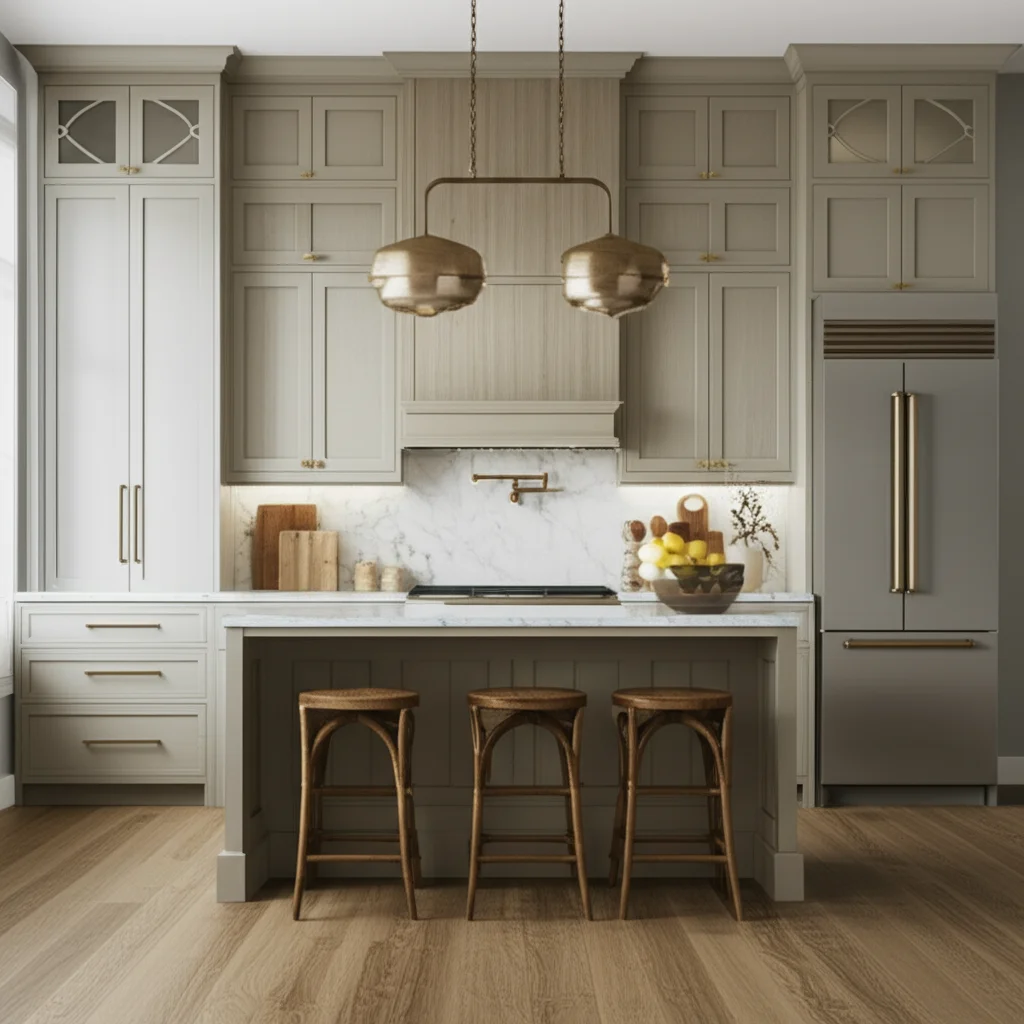
Using Quality Materials
When you paint or repaint your cabinets, invest in high-quality primers and paints. Cheaper paints may lack the flexibility needed to withstand wood movement. Quality paints offer better adhesion and durability. They also age better and are less prone to cracking.
Ensure proper surface preparation every time. Skipping steps like cleaning and sanding makes cracks more likely. A good primer creates a strong bond for the paint layer. This foundation helps prevent future cracking.
When to Call a Professional
While many crack repairs are DIY-friendly, some situations warrant professional help. Knowing when to call an expert can save you time, money, and frustration. Sometimes, the problem is bigger than a simple surface crack.
Extensive Damage or Structural Issues
If the cracks are very wide, deep, or appear across multiple cabinet components, you might have structural issues. This could indicate underlying wood damage, water damage, or significant cabinet movement. A professional can assess the structural integrity. They have the tools and expertise to address these more complex problems safely. Attempting extensive structural repairs without experience can lead to further damage.
Lack of Time, Tools, or Expertise
Cabinet repair can be time-consuming. It also requires specific tools and a certain level of skill. If you lack the time, the necessary equipment, or the confidence to achieve a good result, hiring a professional is a wise choice. Professionals ensure the job is done correctly and efficiently. They also have access to specialized products and techniques. This guarantees a high-quality, long-lasting repair.
Desire for Perfect, Long-Lasting Results
If you want a truly flawless finish that looks factory-new, a professional painter or cabinet refinisher is your best bet. They have experience in seamlessly blending repairs and matching finishes. Their expertise minimizes visible signs of repair. They also often provide warranties for their work, ensuring durability. For a complete cabinet overhaul or custom finish, a professional can deliver superior results that maintain or increase your home’s value.
Frequently Asked Questions
Why do painted cabinets crack?
Painted cabinets crack mainly due to wood’s natural expansion and contraction from humidity changes. Aging paint loses flexibility, becoming brittle. Improper surface preparation before painting also causes poor adhesion, leading to cracks. Temperature fluctuations also put stress on the paint.
What kind of filler should I use for cabinet cracks?
For hairline cracks, use lightweight spackle or joint compound because it sands smoothly. For deeper or wider cracks in wood, use a high-quality paintable wood filler. Wood filler offers more strength and flexibility, making it better for significant damage.
Can I paint over cracks without repairing them?
No, painting over cracks without proper repair is not recommended. The cracks will likely show through the new paint, or even reappear. The new paint will not adhere well to an unstable surface. Proper cleaning, filling, and sanding are essential for a smooth and lasting finish.
How long does it take to fix cracks in cabinets?
The time it takes depends on the number and severity of cracks. Hairline cracks might take a few hours to repair, including drying times. Deeper cracks requiring multiple filler layers could take a day or more, factoring in multiple drying periods. Preparation and drying are the most time-consuming steps.
How do I prevent new cracks from appearing?
To prevent new cracks, maintain stable indoor humidity levels using humidifiers or dehumidifiers. Use exhaust fans in kitchens and bathrooms to control moisture. When painting, use high-quality primers and paints. Always prepare surfaces properly by cleaning and sanding thoroughly before applying paint.
Is it better to fix or replace cracked cabinets?
For minor to moderate cracks, fixing is usually more cost-effective and environmentally friendly than replacing. If cracks are extensive, indicate structural damage, or if you desire a complete style change, replacement might be a better long-term solution. Assess the damage and your budget carefully.
Conclusion
Tackling cracks in your painted cabinets might seem daunting, but it is a rewarding DIY project. You can restore the beauty of your cabinets with the right tools and techniques. We covered everything from understanding why cracks form to performing seamless repairs. Remember, preparation is key, and patience ensures a flawless finish.
You now possess the knowledge to fix cracks in painted cabinets. Whether it’s a tiny hairline fracture or a deeper void, you can achieve professional-looking results. Don’t let unsightly cracks diminish your home’s appeal. Take control of your home improvement projects. Gather your materials, follow these steps, and enjoy the renewed look of your cabinets. Start your cabinet repair project today and bring back that fresh, clean appearance!
- painted cabinets
- crack repair
- cabinet maintenance
- DIY home repair
- wood cabinet cracks
- kitchen cabinets
- home renovation
- paint repair

Todd Martin
Senior Writer
With over 15 years of experience in home renovation and design, I started HEG to share what I’ve learned with homeowners who want to create spaces that are both beautiful and functional. I’ve always believed in a hands-on approach, and over the years, I’ve picked up practical solutions that actually work. Through HEG, I aim to make home improvement more approachable, sharing real tips that help you create a home you truly love.