· Todd Martin · Appliance Repair · 13 min read
How To Remove Lg Dishwasher Kick Plate
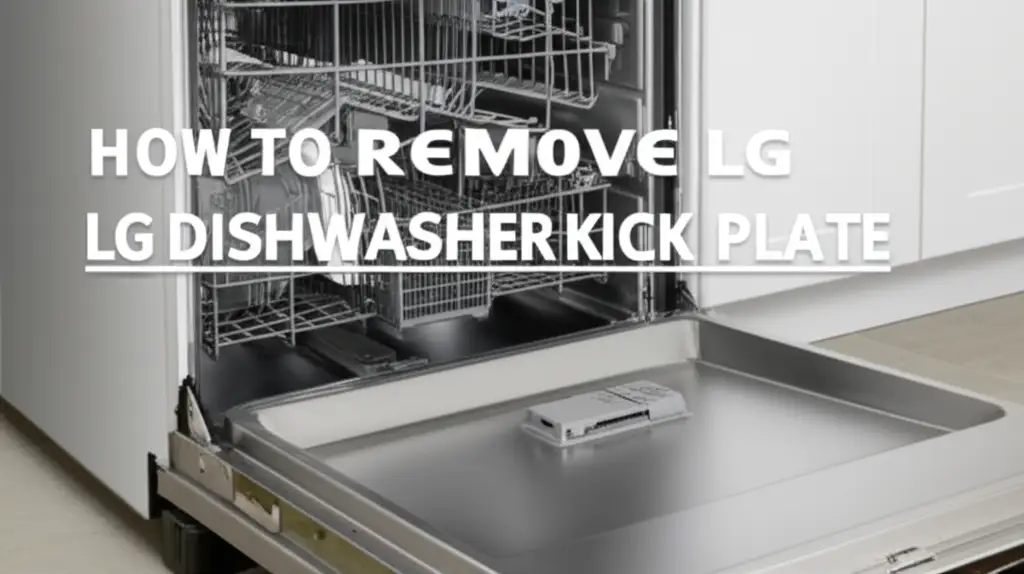
How To Remove Your LG Dishwasher Kick Plate
Have you ever needed to work on your LG dishwasher but couldn’t get to its internal parts? The kick plate, often called the access panel or toe kick, stands in your way. Removing this part is a common first step for many DIY repairs or maintenance tasks. You might need to access the motor, water inlet valve, or even clear a drain clog.
This guide helps you understand the process. We will cover the tools you need, safety precautions, and step-by-step instructions. Learning to remove your LG dishwasher kick plate gives you confidence for various appliance care needs. This helps you save time and money on service calls. Let’s get started on this essential home appliance skill.
Takeaway:
- Always disconnect power before starting work.
- Identify the type of fasteners holding the kick plate.
- Use the correct tools for screws or clips.
- Store the kick plate and fasteners safely.
- Reinstallation is the reverse of removal.
To remove an LG dishwasher kick plate, first, disconnect power to the appliance for safety. Locate the screws or clips holding the plate in place, usually along the bottom edge. Use a screwdriver or pry tool to remove these fasteners. Gently pull the kick plate away from the dishwasher base to detach it.
Understanding the LG Dishwasher Kick Plate’s Purpose
The LG dishwasher kick plate serves several important functions. It covers the lower operational components of your appliance. This includes electrical connections, the motor, and the water inlet valve. The kick plate also helps reduce noise during operation, as it acts as a sound barrier.
Beyond its functional role, the kick plate adds to the aesthetic appeal of your kitchen. It provides a finished look to the dishwasher, blending it seamlessly with your cabinetry. Think of it as the base trim for your appliance. Removing it exposes the working parts of the dishwasher. This access is crucial for various maintenance activities or troubleshooting problems. Knowing its purpose helps you appreciate why it must be removed carefully for servicing.
This component also protects the internal parts from dust and debris. It prevents small objects from rolling under the dishwasher. This helps maintain the cleanliness and efficiency of the appliance’s inner workings. The kick plate is a simple part with a big job in keeping your dishwasher running smoothly. Understanding its role makes the removal process seem less intimidating.
Essential Tools for Kick Plate Removal
Before you start, gather the right tools. Having everything ready makes the process smoother and quicker. You will likely need a few basic hand tools that are common in most households. The exact tools depend on the fasteners LG used on your specific dishwasher model.
A Phillips head screwdriver is often the primary tool. Many LG kick plates use Phillips head screws. A flathead screwdriver might also be useful for prying or if your model uses different fasteners. Sometimes, the kick plate might use clips instead of screws. In that case, a trim removal tool or a putty knife can help. These tools help you gently pry without damaging the appliance’s finish. Ensure your tools are in good condition to prevent stripping screw heads.
You might also want a small container or magnetic tray. This helps you keep track of any screws or clips you remove. Losing small fasteners can make reinstallation difficult. A flashlight is also helpful. It illuminates the often dark space beneath the dishwasher. This ensures you can clearly see the fasteners and avoid mistakes. Having the right tools saves time and frustration.
Prioritizing Safety Before You Begin
Safety is the most important step before attempting any appliance repair. Working with electrical appliances carries risks if you do not take precautions. Disconnecting the power supply is critical to prevent electric shock. You should never work on your dishwasher while it is still plugged in or receiving power.
First, locate your dishwasher’s power cord. Unplug it directly from the wall outlet. If your dishwasher is hardwired, you must turn off the circuit breaker that supplies power to the appliance. Go to your home’s main electrical panel and switch the corresponding breaker to the “off” position. Label the breaker to prevent others from turning it on by mistake. Take a moment to confirm the power is off by trying to turn on the dishwasher. If it does not power on, you are safe to proceed.
Wearing work gloves can protect your hands from sharp edges or grime. The area under the dishwasher can be dusty or have hidden sharp components. Safety glasses are also a good idea to protect your eyes from any falling debris. Prioritizing these steps ensures a safe working environment. This protects both you and your appliance.
Step-by-Step Guide to Removing the Kick Plate
Now that you have your tools and have ensured safety, you can begin the removal process. Follow these steps carefully to remove your LG dishwasher kick plate without damage. This process is straightforward but requires attention to detail.
- Locate the Fasteners: Kneel or lie down in front of your dishwasher. Look along the bottom edge of the kick plate. You will see screws, clips, or a combination of both. LG models typically have two or four screws. They are usually positioned near the corners or slightly inward. Use your flashlight to get a clear view of these fasteners.
- Remove the Screws/Clips:
- For Screws: Use the appropriate screwdriver (usually Phillips head). Turn the screws counter-clockwise to loosen and remove them. Keep the screws in your small container.
- For Clips: If your model uses clips, gently pry them away from the dishwasher frame. Use a flathead screwdriver or a trim removal tool. Apply even pressure to avoid bending or breaking the clips.
- Gently Detach the Kick Plate: Once all fasteners are removed, the kick plate should be loose. Grasp the kick plate firmly but gently. Pull it straight outwards from the dishwasher. Some models might have a slight lip or groove that requires a gentle upward or downward tug initially. Be careful not to force it, as this could bend or damage the plate.
- Store the Kick Plate: Once detached, set the kick plate aside in a safe place. Ensure it is out of the way where it won’t be stepped on or scratched. You can place it against a wall or on a soft cloth.
You now have full access to the components under your LG dishwasher. This is a common step if your LG dishwasher has water in the bottom, as you may need to check the drain pump or hoses. For issues like your LG dishwasher not turning on, accessing the control board or power connections might be necessary, and the kick plate removal facilitates this. Remember these steps for any future access needs.
Common Reasons to Remove the LG Dishwasher Kick Plate
Removing the kick plate is not just for curiosity; it serves practical purposes. Many common dishwasher problems or maintenance tasks require access to the hidden components behind it. Understanding these reasons helps you prepare for future issues.
One primary reason is troubleshooting and repairing problems. If your dishwasher is not draining properly, you might need to check the drain pump or clear a clog. This part of the system is often located behind the kick plate. Similarly, if your LG dishwasher has no power, you might need to inspect the wiring connections or the control board, which are also often accessible from this area. Accessing these parts helps diagnose why your dishwasher might be failing to operate.
Another common task is leveling the dishwasher. Dishwashers have adjustable feet, and these are typically found right behind the kick plate. If your dishwasher is wobbly or not sitting level, removing the kick plate allows you to adjust the leveling feet. This ensures proper door closure and efficient operation. Periodically cleaning the area under the dishwasher is also a good practice, as dust and debris can accumulate there. This access helps keep your appliance in top condition.
Troubleshooting and Reinstallation Tips
After completing your repair or maintenance, you must reinstall the LG dishwasher kick plate correctly. Reinstallation is generally the reverse of removal, but a few tips can make it easier. Always ensure all components are secured and aligned properly.
Reinstallation Steps:
- Align the Kick Plate: Hold the kick plate in front of the dishwasher opening. Line up any tabs or grooves on the plate with corresponding slots on the dishwasher frame.
- Insert Fasteners: If your model uses clips, push them firmly into place until you hear a click. For screws, insert them into their respective holes. Turn them clockwise by hand first to prevent cross-threading.
- Tighten Screws: Once all screws are in place, use your screwdriver to tighten them. Do not overtighten, as this can strip the screw heads or damage the kick plate. They should be snug and secure.
- Check for Stability: Once reinstalled, gently push on the kick plate to ensure it is firmly attached and does not wobble.
If you face issues, check for obstructions preventing the plate from sitting flush. Sometimes a wire or hose might be in the way. Ensure all parts are free from obstruction before securing the plate. If you’ve addressed issues like your LG dishwasher keeping turning off, proper reinstallation is vital for continued operation. Test the dishwasher by reconnecting power and running a short cycle.
When to Call a Professional
While removing the LG dishwasher kick plate is a straightforward DIY task, there are times when calling a professional is the best course of action. Knowing your limits can save you from further damage or personal injury. Do not hesitate to seek expert help if you feel unsure or encounter complex issues.
You should call a professional if you cannot identify the fasteners or encounter unexpected resistance during removal. Forcing the kick plate can cause damage to the appliance or its components. Also, if your troubleshooting leads you to complex electrical repairs or major component replacements, it is wise to consult a certified technician. They have the expertise and specialized tools to handle such jobs safely.
Professionals can diagnose problems more accurately and perform repairs efficiently. They also have access to genuine LG parts, ensuring your dishwasher functions correctly after the repair. If your LG dishwasher is still under warranty, attempting DIY repairs might void it. Always check your warranty terms before starting any significant work. Sometimes, learning how to use your LG dishwasher for the first time might be all you need, but advanced issues need professional care. Safety and effectiveness are key.
Maintaining Your LG Dishwasher for Longevity
Regular maintenance helps extend the life of your LG dishwasher. Removing the kick plate can be part of this maintenance. It gives you a chance to inspect and clean areas that are otherwise hidden. Proactive care helps prevent major breakdowns and keeps your appliance running efficiently for years.
One simple maintenance task is cleaning the area behind the kick plate. Dust, pet hair, and debris can accumulate there, potentially affecting air circulation around the motor. Use a vacuum cleaner with an attachment to remove any build-up. You can also wipe down any visible surfaces with a damp cloth. This helps keep the internal components free from insulating layers of dirt.
Regularly check hoses and connections for leaks or wear. While the kick plate is off, you have a clear view of the water inlet hose and drain hose connections to the dishwasher. Look for any signs of corrosion, kinks, or drips. Addressing small issues like a loose clamp early can prevent bigger water damage problems later. This type of routine check-up, made possible by kick plate removal, contributes significantly to your dishwasher’s reliability and overall lifespan.
FAQ Section
Q1: What is the kick plate on an LG dishwasher? The kick plate, also known as the toe kick or access panel, is the decorative and protective panel at the very bottom front of your LG dishwasher. It covers the internal components, such as the motor, electrical connections, and leveling feet, while providing a finished look to the appliance in your kitchen.
Q2: Do all LG dishwasher models have a removable kick plate? Yes, almost all LG dishwasher models are designed with a removable kick plate. This design allows for necessary access to internal components for maintenance, repairs, or installation adjustments. The method of attachment (screws, clips) may vary slightly between models, but the principle of removal remains consistent.
Q3: Can I remove the kick plate without unplugging the dishwasher? No, you must always unplug your LG dishwasher or turn off its dedicated circuit breaker before attempting to remove the kick plate. This is a critical safety step. It prevents accidental electric shock and protects you while working near electrical components. Do not skip this important precaution.
Q4: What if I can’t find screws on my LG dishwasher kick plate? If you do not see visible screws, your LG dishwasher kick plate likely uses clips or a hidden latch mechanism. Gently feel along the bottom edge for any indentation or release points. You might need a flathead screwdriver or a trim removal tool to carefully pry it loose. Avoid excessive force to prevent damage.
Q5: How do I know if I have damaged the kick plate during removal? Signs of damage include visible bends, cracks, or broken tabs. If the screw holes are stripped or the plate does not sit flush during reinstallation, it might be damaged. Always use gentle, even pressure and the correct tools to avoid causing harm to the kick plate or the dishwasher’s frame.
Q6: What is the ideal frequency for checking components behind the kick plate? There is no strict schedule. You should check the components behind the kick plate if you notice any performance issues with your LG dishwasher, such as unusual noises, leaks, or drainage problems. For general preventative maintenance, a check every few years can help ensure everything is in good order.
Conclusion
Learning how to remove your LG dishwasher kick plate is a valuable skill for any homeowner. This simple procedure grants you access to critical components for various maintenance and repair tasks. By following the steps outlined in this guide, you can confidently troubleshoot common issues, level your appliance, or perform routine cleaning that extends its lifespan. Remember to prioritize safety by disconnecting power before you begin.
You now have the knowledge to approach minor dishwasher issues with confidence. From checking the motor to adjusting leveling feet, access to these parts is a key first step. Taking charge of basic appliance care saves you money and helps you understand your home’s systems better. If you encounter challenges or feel unsure, do not hesitate to call a certified professional. Empower yourself with this skill to keep your LG dishwasher running smoothly.
- LG Dishwasher
- Kick Plate Removal
- Dishwasher Maintenance
- DIY Appliance Repair
- Home Appliance
- Access Panel
- Troubleshooting

Todd Martin
Senior Writer
With over 15 years of experience in home renovation and design, I started HEG to share what I’ve learned with homeowners who want to create spaces that are both beautiful and functional. I’ve always believed in a hands-on approach, and over the years, I’ve picked up practical solutions that actually work. Through HEG, I aim to make home improvement more approachable, sharing real tips that help you create a home you truly love.