· Katria Melrose · Home Appliances · 13 min read
How To Use Samsung Oven For The First Time

Unlock Your New Samsung Oven: A First-Time Use Guide
Bringing a new Samsung oven into your kitchen is exciting. It offers many possibilities for delicious meals. You might feel a little overwhelmed when you consider all its features. We understand this feeling. This guide helps you learn how to use Samsung oven for the first time.
We will cover everything from initial setup to understanding its cooking modes. You will gain confidence in operating your new appliance. Our step-by-step instructions make the process simple. Get ready to cook with ease.
Takeaway
- Unpack and inspect your new Samsung oven carefully before setup.
- Perform a crucial burn-in cycle to remove manufacturing odors.
- Familiarize yourself with the control panel and its functions.
- Understand basic cooking modes like Bake, Broil, and Convection.
- Always prioritize safety and follow maintenance guidelines.
To use your Samsung oven for the first time, unpack it carefully, complete a burn-in cycle to eliminate new appliance odors, and then familiarize yourself with the control panel to select appropriate cooking modes like Bake or Broil for your desired recipe.
1. Unboxing and Initial Setup of Your Samsung Oven
Unpacking your new Samsung oven is the first step. Remove all packaging materials. Check for any damage during transit. This ensures your oven is ready for safe operation.
Proper placement and leveling are important. This prevents issues during cooking. Connecting the oven to power correctly ensures it functions well. Taking these initial steps sets you up for success.
Checking for Damage
Carefully inspect the oven exterior and interior. Look for dents, scratches, or broken parts. Check the door, racks, and control panel. If you find any damage, contact the retailer immediately. Do not attempt to use a damaged oven. Document any issues with photos. This helps with warranty claims or returns.
Placement and Leveling
Place your Samsung oven in its designated spot. Ensure it is away from flammable materials. Most Samsung ovens have adjustable leveling legs. Use a spirit level to check stability. Adjust the legs until the oven sits perfectly even. This prevents uneven cooking and ensures the door closes properly. An uneven oven can also cause issues with spills.
Power Connection
Connect your oven to the correct power outlet. For electric ovens, this typically means a 240V outlet. Gas ovens require a gas line connection and a standard electrical outlet for controls. Ensure connections are secure. If you are unsure, consult a qualified electrician or plumber. Refer to your owner’s manual for specific power requirements. Proper power ensures safe and efficient operation.
2. First Burn-In Cycle: Eliminating New Oven Odors
A new oven often has a distinct smell. This comes from manufacturing oils and protective coatings. Performing a burn-in cycle is important. It helps to eliminate these odors. This makes your oven ready for cooking without transferring unwanted smells to food. It also helps to properly cure internal components.
Why Burn-In is Essential
The burn-in cycle heats the oven to a high temperature. This process burns off any residual manufacturing oils and fumes. Skipping this step can result in strange odors when you cook your first meal. These odors are generally harmless but unpleasant. A proper burn-in ensures a clean start. It also helps the oven components settle.
Step-by-Step Burn-In Process
- Remove everything from the oven: Take out all racks, baking sheets, and any other accessories.
- Ensure ventilation: Open windows and doors. Turn on your kitchen exhaust fan. This removes the fumes produced during the burn-in.
- Set temperature: Set your Samsung oven to 350-500°F (175-260°C). Check your oven’s manual for the exact recommended temperature.
- Set time: Let the oven run for 30 minutes to 1 hour. Again, consult your manual for the precise duration.
- Monitor the process: Stay in the house during the burn-in. Do not leave the oven unattended.
- Cool down: Once the cycle finishes, turn off the oven. Allow it to cool completely with the door slightly ajar.
- Wipe down: After it cools, wipe the interior with a damp cloth. This removes any residue.
Ventilation Tips
Good ventilation is crucial during the burn-in. The fumes can be strong. Open multiple windows in your kitchen and adjacent rooms. Use a powerful kitchen exhaust fan. If you have a ceiling fan, turn it on too. You might even use a portable fan facing an open window. This ensures air circulation. This helps clear the air quickly.
3. Understanding Your Samsung Oven’s Control Panel
Your Samsung oven’s control panel is its brain. It allows you to select cooking functions and set temperatures. Knowing how to use it is key to successful cooking. Samsung ovens offer intuitive controls. Take time to explore each button and setting. This familiarity helps you operate your oven with confidence.
Key Buttons Explained
Most Samsung oven control panels include common buttons. You will find “Bake,” “Broil,” and “Convection” buttons. There are also “Start,” “Cancel/Off,” and numeric keypads. A “Timer” button is typically present. Some models also feature “Proof,” “Warm,” or “Self Clean” options. Each button performs a specific action. Refer to your manual for a detailed description of your model’s unique buttons.
Setting Temperature and Time
To set the temperature:
- Press the “Bake” button (or your desired mode).
- Enter the desired temperature using the numeric keypad.
- Press “Start.”
To set a cooking time:
- After setting temperature, press the “Timer” or “Cook Time” button.
- Enter the desired duration.
- Press “Start.” The oven will turn off automatically when the time expires.
You may also need to change the temperature unit. Many Samsung ovens allow switching between Celsius and Fahrenheit. If you need to change this setting, you can find detailed instructions on how to change Samsung oven from C to F. This feature helps if you follow recipes from different regions.
Exploring Cooking Modes
Samsung ovens often come with multiple cooking modes. Beyond standard bake and broil, you might find convection. Convection uses a fan to circulate hot air. This results in faster, more even cooking. Other modes might include Roast, Dehydrate, or Air Fry. Experiment with different modes to see their effects. Your manual provides specific guidance for each. Each mode is designed for specific types of food.
4. Essential Cooking Modes and Features
Samsung ovens offer a range of cooking modes. These modes are designed for different culinary tasks. Understanding them helps you get the best results. Whether you are baking a cake or roasting chicken, there is a mode for it. Explore these features to maximize your oven’s potential.
Baking Basics
Baking is a fundamental oven function. Use the “Bake” mode for cakes, cookies, and casseroles. This mode uses heat from both the top and bottom elements. It provides even, gentle heat. Always preheat your oven before baking. This ensures the oven reaches the correct temperature. Proper preheating is crucial for consistent results. Place your baking dish on the center rack for best circulation.
Broiling for Perfect Results
Broiling uses intense heat from the top element. It is ideal for browning food quickly. Use it for cheese on nachos, toast, or caramelizing toppings. Place food on a top rack. Keep a close eye on your food while broiling. Items can burn very quickly. Adjust the rack position to control browning intensity. Broiling is a fast-cooking method.
Convection Advantage
Convection mode uses a fan to circulate hot air. This results in more even cooking. It also reduces cooking time. Use convection for roasting meats, baking multiple trays of cookies, or anything requiring even browning. You may need to reduce cooking temperature or time for convection. Often, a 25-degree Fahrenheit reduction is recommended. Check your recipe and oven manual for specific guidelines.
Using the Air Fry Mode
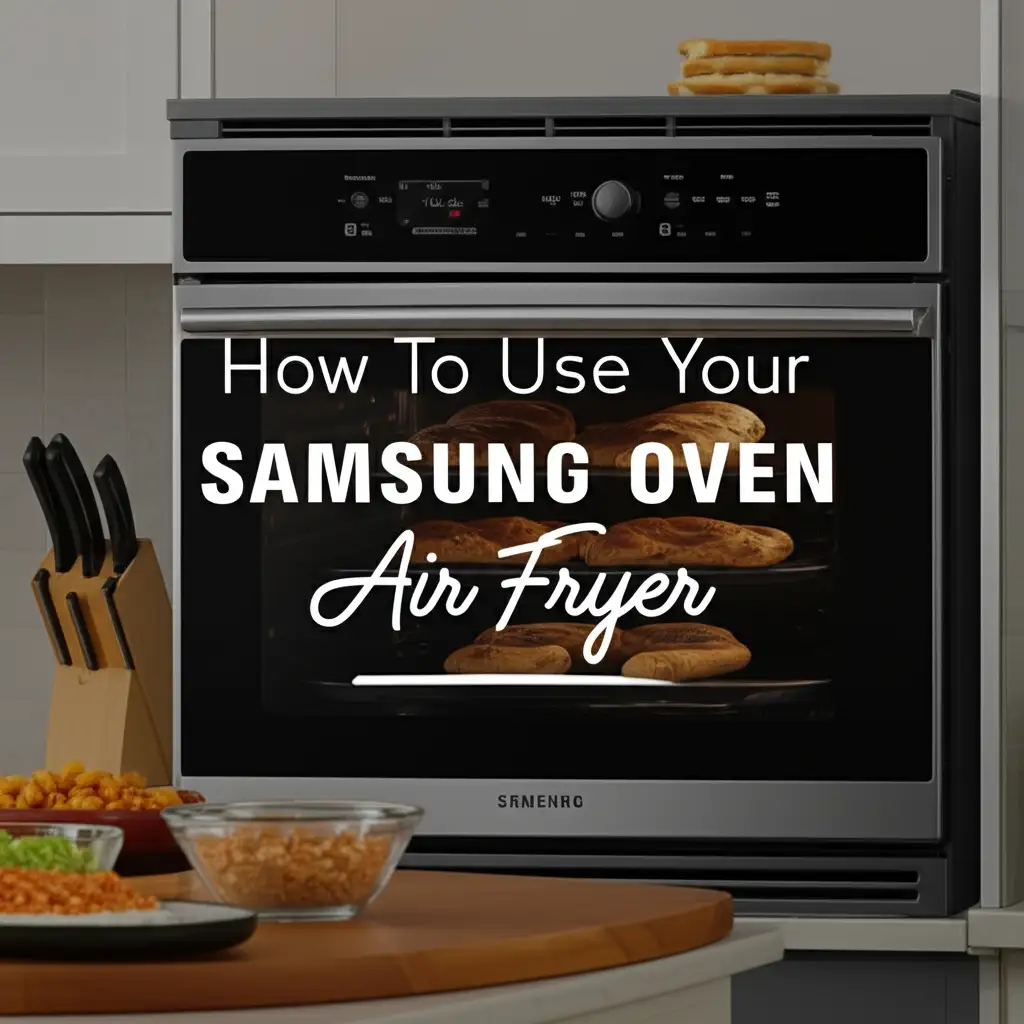
Many newer Samsung ovens include an Air Fry mode. This feature uses high-speed air circulation. It creates crispy results with less oil. It mimics the function of a standalone air fryer. To use this mode, you might need an air fry basket. This accessory allows air to circulate around food. If you own an air fryer basket for your Samsung oven, learn how to use air fryer basket in Samsung oven effectively. This mode is excellent for fries, chicken wings, or crispy vegetables.
5. Important Safety Tips and Maintenance for Your New Oven
Operating any kitchen appliance requires safety awareness. Your Samsung oven is no exception. Proper maintenance also extends its lifespan. Following these guidelines ensures safe cooking. It also keeps your oven in top working condition for years. This section covers essential safety and cleaning steps.
General Oven Safety
- Read the Manual: Always consult your Samsung oven’s user manual. It contains specific safety warnings and operating instructions.
- Clear the Area: Keep the area around your oven clear. Remove flammable items like curtains or paper towels.
- Use Oven Mitts: Always use oven mitts when handling hot dishes or racks.
- Supervise Children: Never leave children unsupervised near a hot oven.
- Do Not Line Bottom: Never line the bottom of your oven with aluminum foil. This can trap heat and damage the oven.
- Ventilation: Ensure good ventilation when cooking, especially at high temperatures.
- Avoid Overloading: Do not overload oven racks. This can hinder air circulation and affect cooking.
First Cleaning Steps
Your new oven is generally clean. However, a light wipe-down after the burn-in cycle is good. Use a damp cloth with mild soap or a non-abrasive cleaner. Wipe the interior and exterior surfaces. Avoid harsh chemicals. For stubborn spots on the bottom, you may need a more focused approach. Information on how to clean bottom of oven can be helpful for general cleaning tips. Do not use abrasive pads.
Troubleshooting Common Issues
Sometimes, minor issues arise. If your oven is not turning on, check the power supply. Ensure it is plugged in correctly. If the oven door is locked and won’t open, there is usually a safety mechanism. This often happens after a self-clean cycle. Instructions on how to unlock my Samsung stove oven are available. If your oven is not heating adequately, there could be several reasons. Sometimes, it is a calibration issue. Refer to your manual for specific troubleshooting steps. Contact Samsung support if problems persist.
6. Advanced Features and Smart Connectivity
Many modern Samsung ovens come with advanced features. These include smart connectivity and specialized cooking functions. Exploring these can enhance your cooking experience. They offer convenience and precision. Samsung integrates technology to make your kitchen smarter.
Connecting to SmartThings
Most new Samsung ovens are Wi-Fi enabled. They connect to Samsung’s SmartThings app. Download the SmartThings app on your smartphone. Follow the in-app instructions to connect your oven. This usually involves putting the oven in pairing mode. It then connects to your home Wi-Fi network. This connection unlocks remote control features. It also allows for smart diagnostics.
Remote Control Cooking
Once connected, you can control your oven remotely. Use the SmartThings app to preheat the oven. You can also adjust temperature or turn it off. This is convenient if you are busy elsewhere. You can start dinner preparation on your way home. Always ensure no flammable items are in the oven before remote activation. This feature offers great flexibility.
Recipe Integration
Some Samsung smart ovens offer recipe integration. The SmartThings app can suggest recipes. It can also send cooking instructions directly to your oven. The oven then automatically sets the correct temperature and time. This simplifies complex recipes. It ensures consistent cooking results. This feature is great for culinary exploration. It takes the guesswork out of new dishes.
7. Tips for Optimal Performance and Longevity
Making your Samsung oven last longer requires good habits. Optimal performance depends on how you use it. Small adjustments can make a big difference. These tips help you get the most from your appliance. They also ensure it remains efficient over time.
Mastering Preheating
Always preheat your Samsung oven. This brings the oven cavity to the desired temperature before adding food. Many recipes specify preheating. Skipping this step can lead to uneven cooking. It can also affect baking rise and texture. Give your oven enough time to preheat fully. The preheat indicator light or sound confirms readiness. This typically takes 10-15 minutes for standard baking temperatures.
Rack Placement Matters
Oven rack placement significantly impacts cooking results. Use the middle rack for most baking and roasting. This position allows for even heat circulation. For broiling, use a top rack. For browning the bottom of dishes, use a lower rack. When baking multiple items, ensure proper spacing. This allows air to circulate freely. Consult your recipe for specific rack recommendations.
Choosing the Right Cookware
Use cookware appropriate for oven use. Metal pans conduct heat well. Glass and ceramic dishes retain heat. Dark pans absorb more heat. They can lead to faster browning. Light-colored pans reflect heat. This results in lighter crusts. Always ensure your cookware is oven-safe. Avoid plastic items that are not oven-rated. Proper cookware choice contributes to better cooking outcomes.
FAQ Section
Q1: Do I need to preheat my Samsung oven for the first time?
Yes, you should preheat your Samsung oven before its very first use. This preheating is part of the burn-in cycle. It removes manufacturing odors and residues. After the burn-in, always preheat for regular cooking. This ensures accurate temperatures for your recipes.
Q2: How do I clean my new Samsung oven?
After the initial burn-in cycle, let the oven cool completely. Then, wipe the interior with a damp cloth and a mild soap solution. For the exterior, use a soft cloth and a non-abrasive cleaner. Avoid harsh chemicals or abrasive pads on any surface.
Q3: What temperature should I use for the burn-in cycle?
For the first burn-in cycle, set your Samsung oven to a high temperature, typically between 350°F and 500°F (175°C and 260°C). The exact temperature and duration (usually 30 minutes to 1 hour) are in your oven’s user manual. Always follow your specific model’s instructions.
Q4: Why does my new Samsung oven smell like plastic?
The “plastic” or chemical smell from a new Samsung oven is normal. It comes from manufacturing oils, protective coatings, and insulation materials burning off. The burn-in cycle is designed to eliminate these odors. Ensure good ventilation during this process.
Q5: Can I use aluminum foil in my Samsung oven?
You can use aluminum foil to cover dishes or create tented tops. However, never line the bottom of your Samsung oven with aluminum foil. This can trap heat, damage the oven’s interior finish, or interfere with temperature sensors. Always follow your manual’s guidelines.
Q6: How do I set the clock on my Samsung oven?
To set the clock on your Samsung oven, look for a “Clock” or “Settings” button on the control panel. Press it, then use the numeric keypad to enter the current time. Press “Start” or “Clock” again to confirm. Refer to your specific model’s manual for precise instructions.
Conclusion
Using your new Samsung oven for the first time is a straightforward process. You start by carefully unboxing and setting it up correctly. Then, perform the important burn-in cycle to prepare the oven for cooking. Understanding the control panel and various cooking modes empowers you in the kitchen. Remember to prioritize safety and perform regular maintenance.
Your Samsung oven is ready to help you create amazing meals. We have covered the essentials. You can now use your Samsung oven for the first time with confidence. Experiment with different recipes and enjoy your culinary adventures. Happy cooking!
- Samsung oven
- first time use
- oven guide
- appliance setup
- cooking tips

Katria Melrose
Cleaning Specialist
With over 12 years of experience in commercial cleaning and a certification in workplace ergonomics, I’ve developed a deep understanding of what makes a workspace truly productive. At HEG, I specialize in helping people transform their home offices into clean, efficient, and comfortable environments. Through smart cleaning routines and strategic organization solutions, I empower readers to create spaces that support focus, comfort, and success—one well-organized desk at a time.